Best Viewed on a Computer or in Landscape Mode.
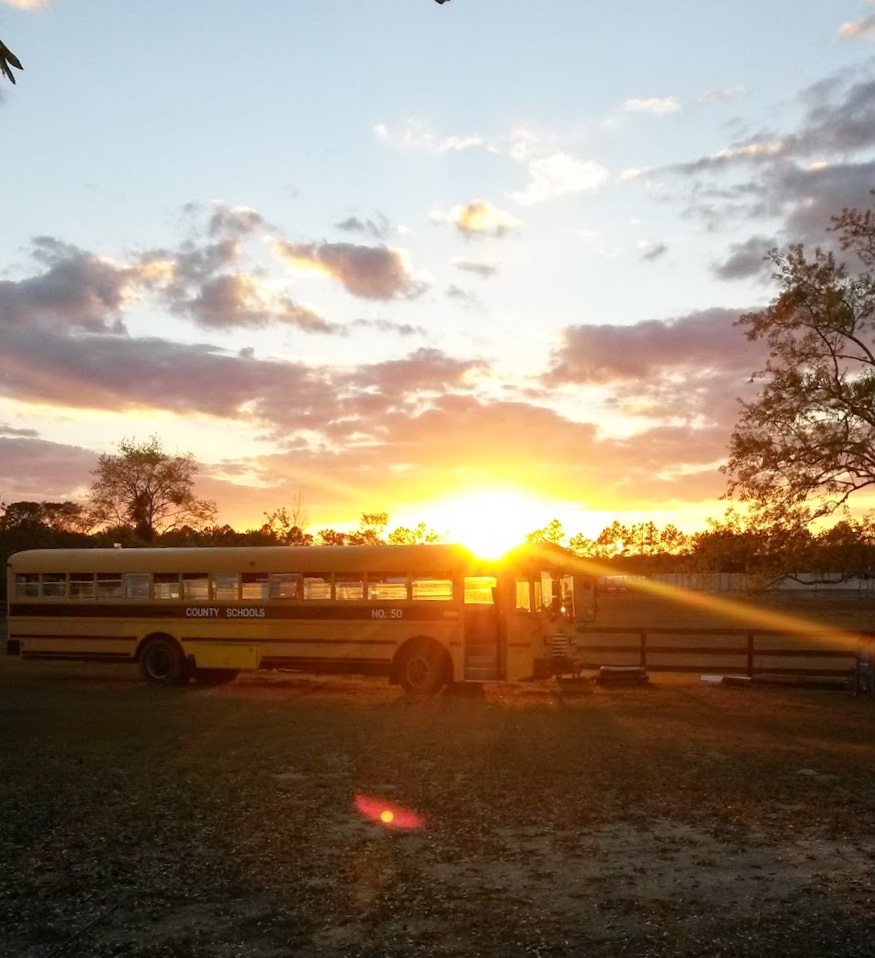
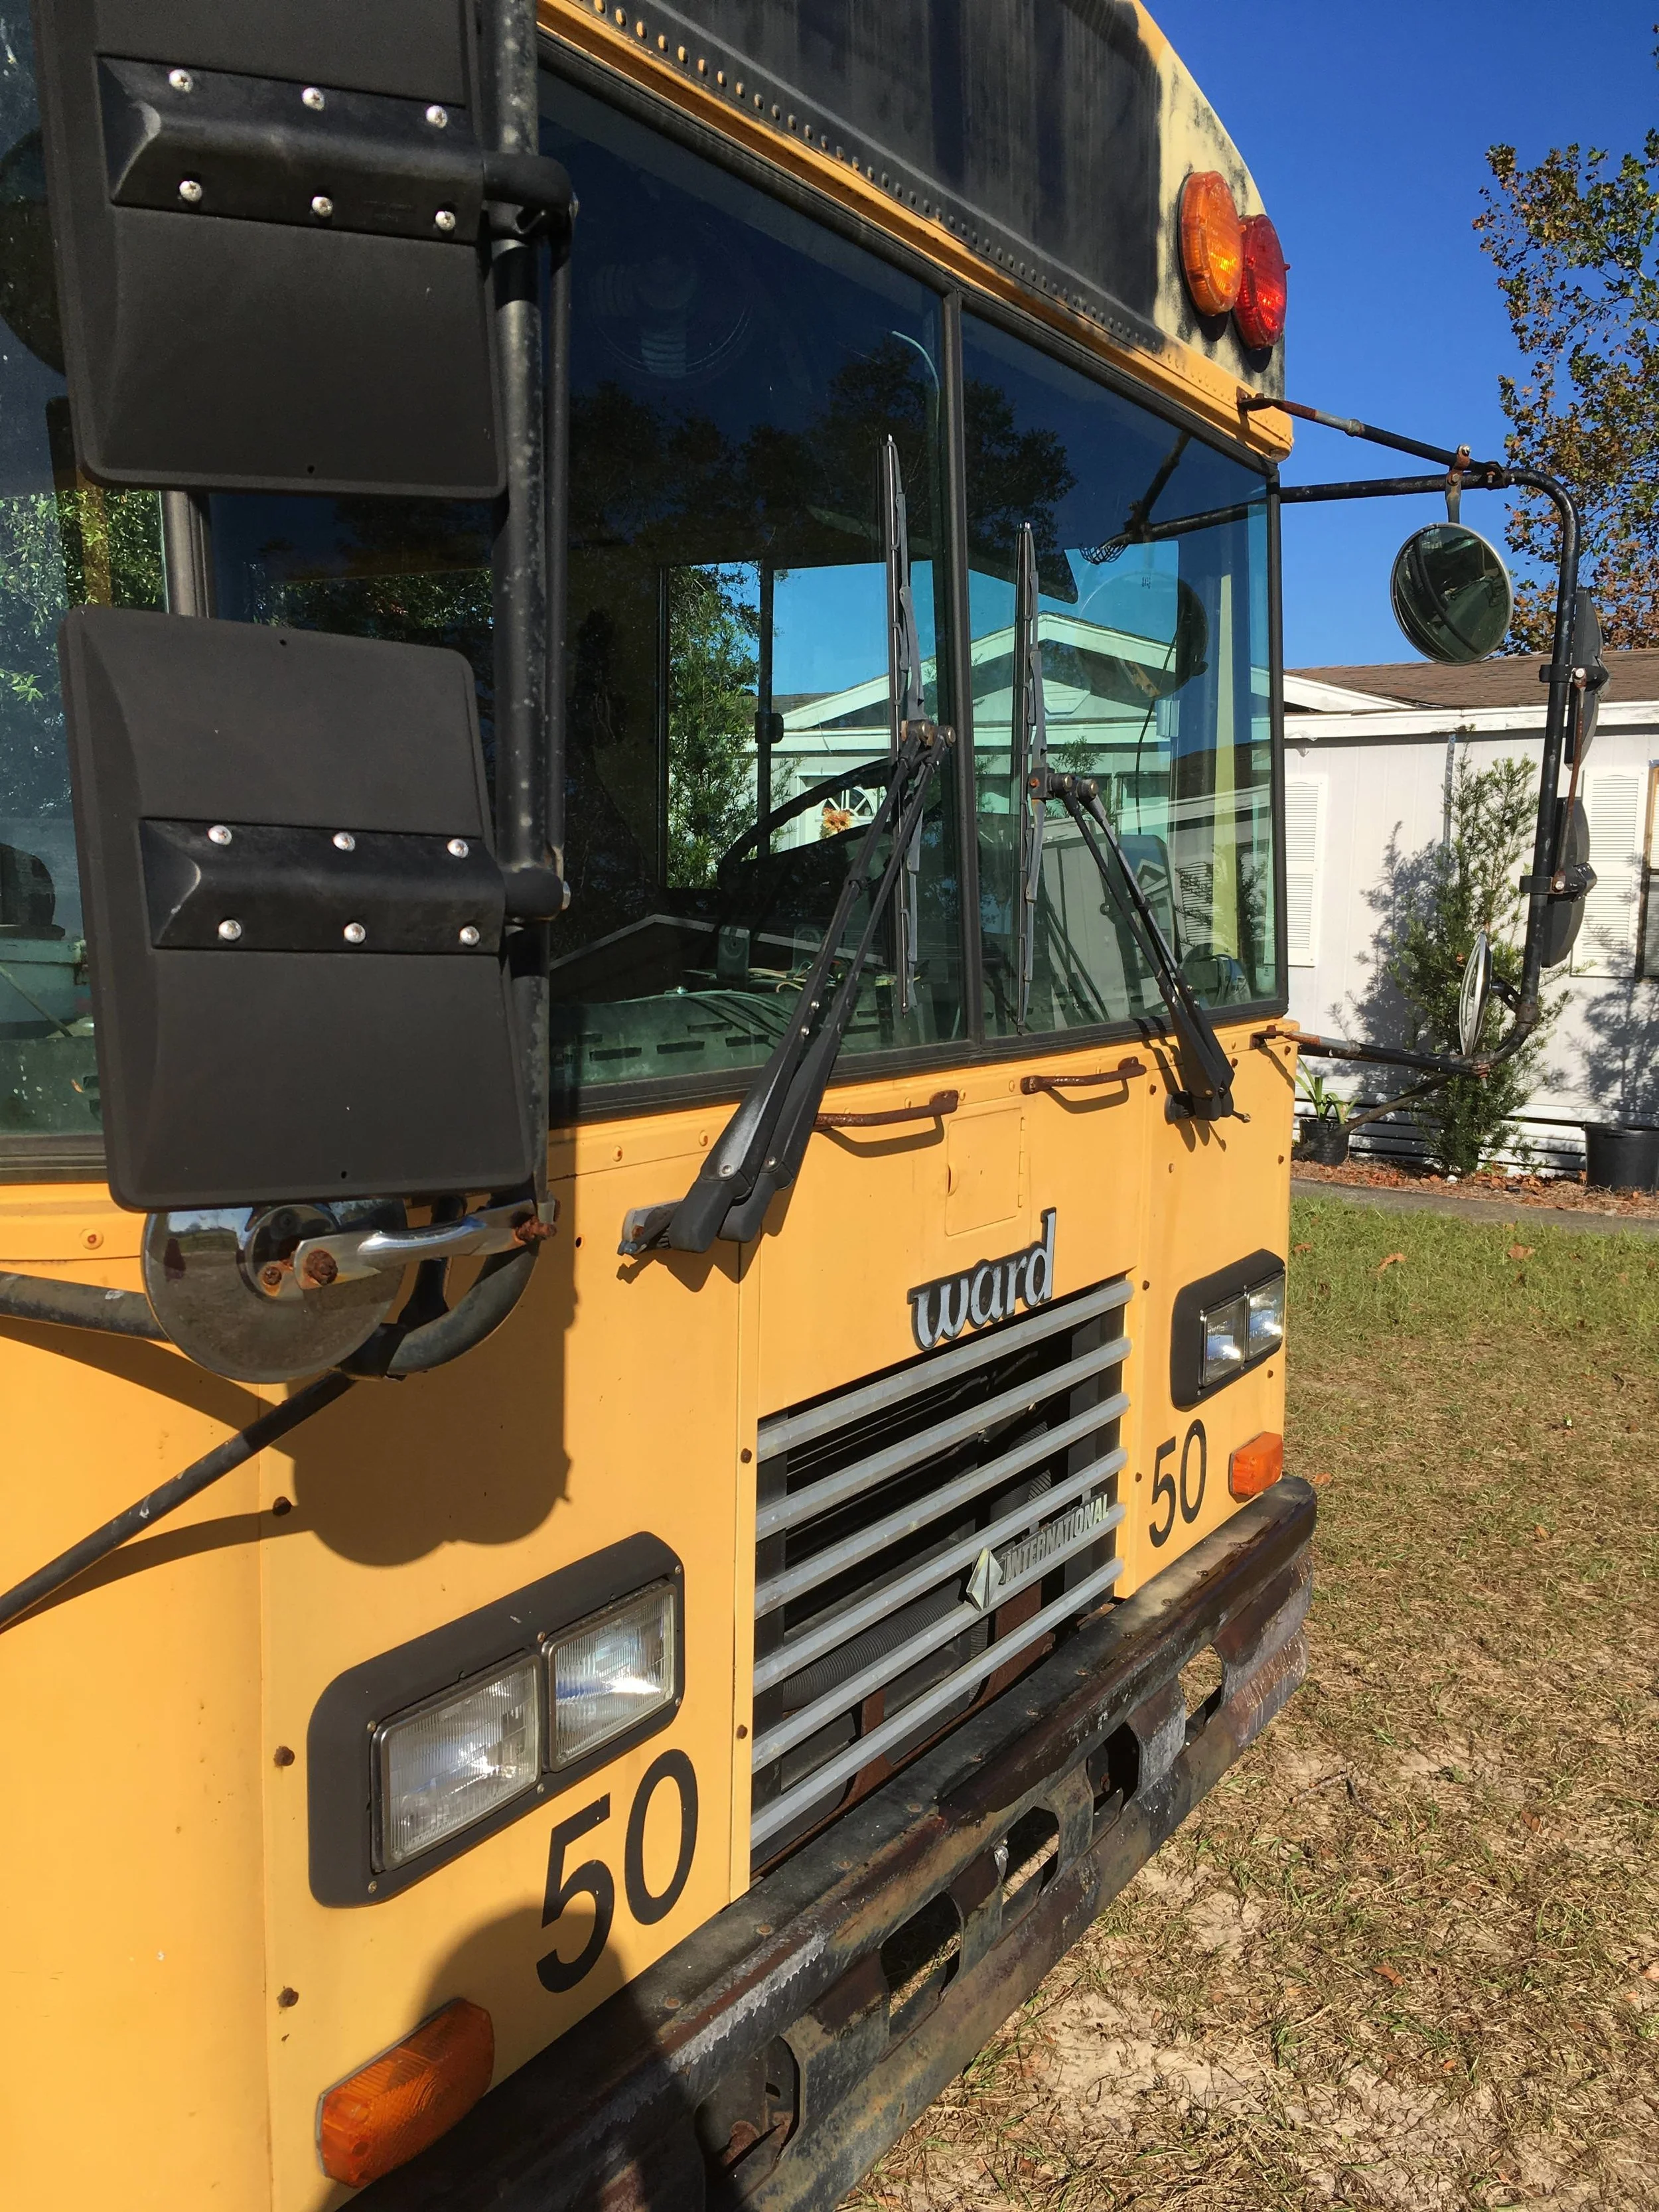
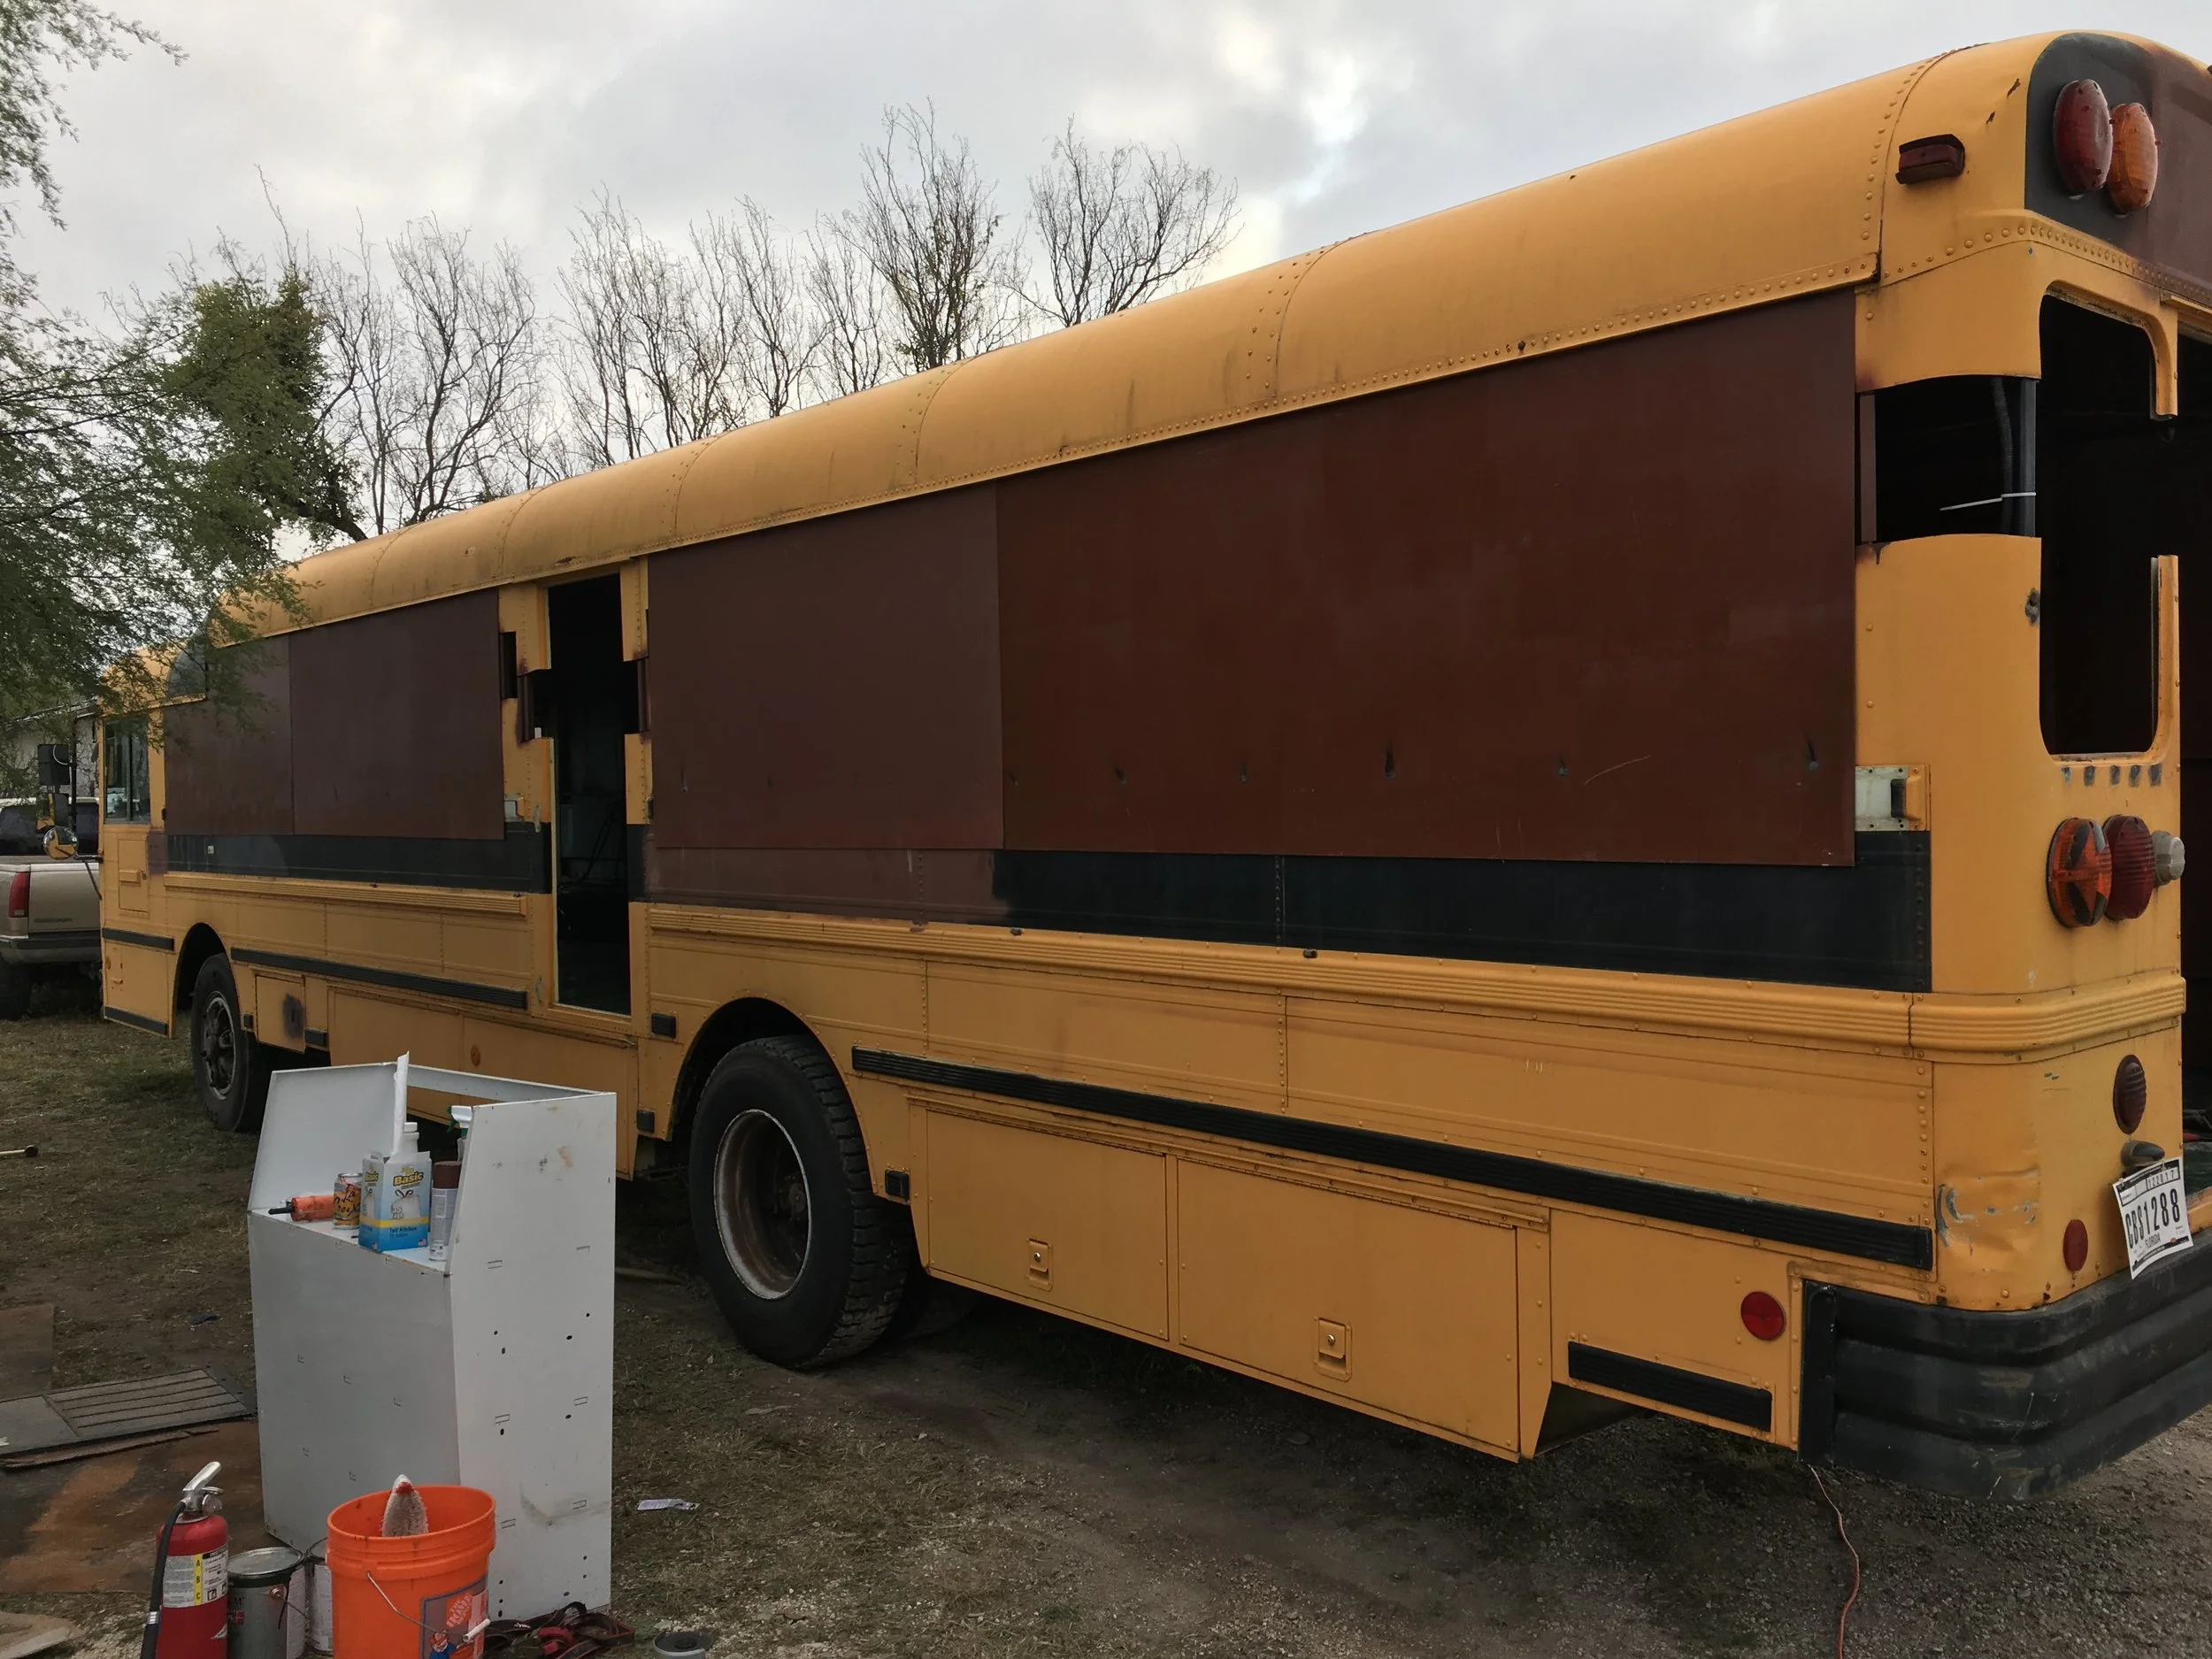
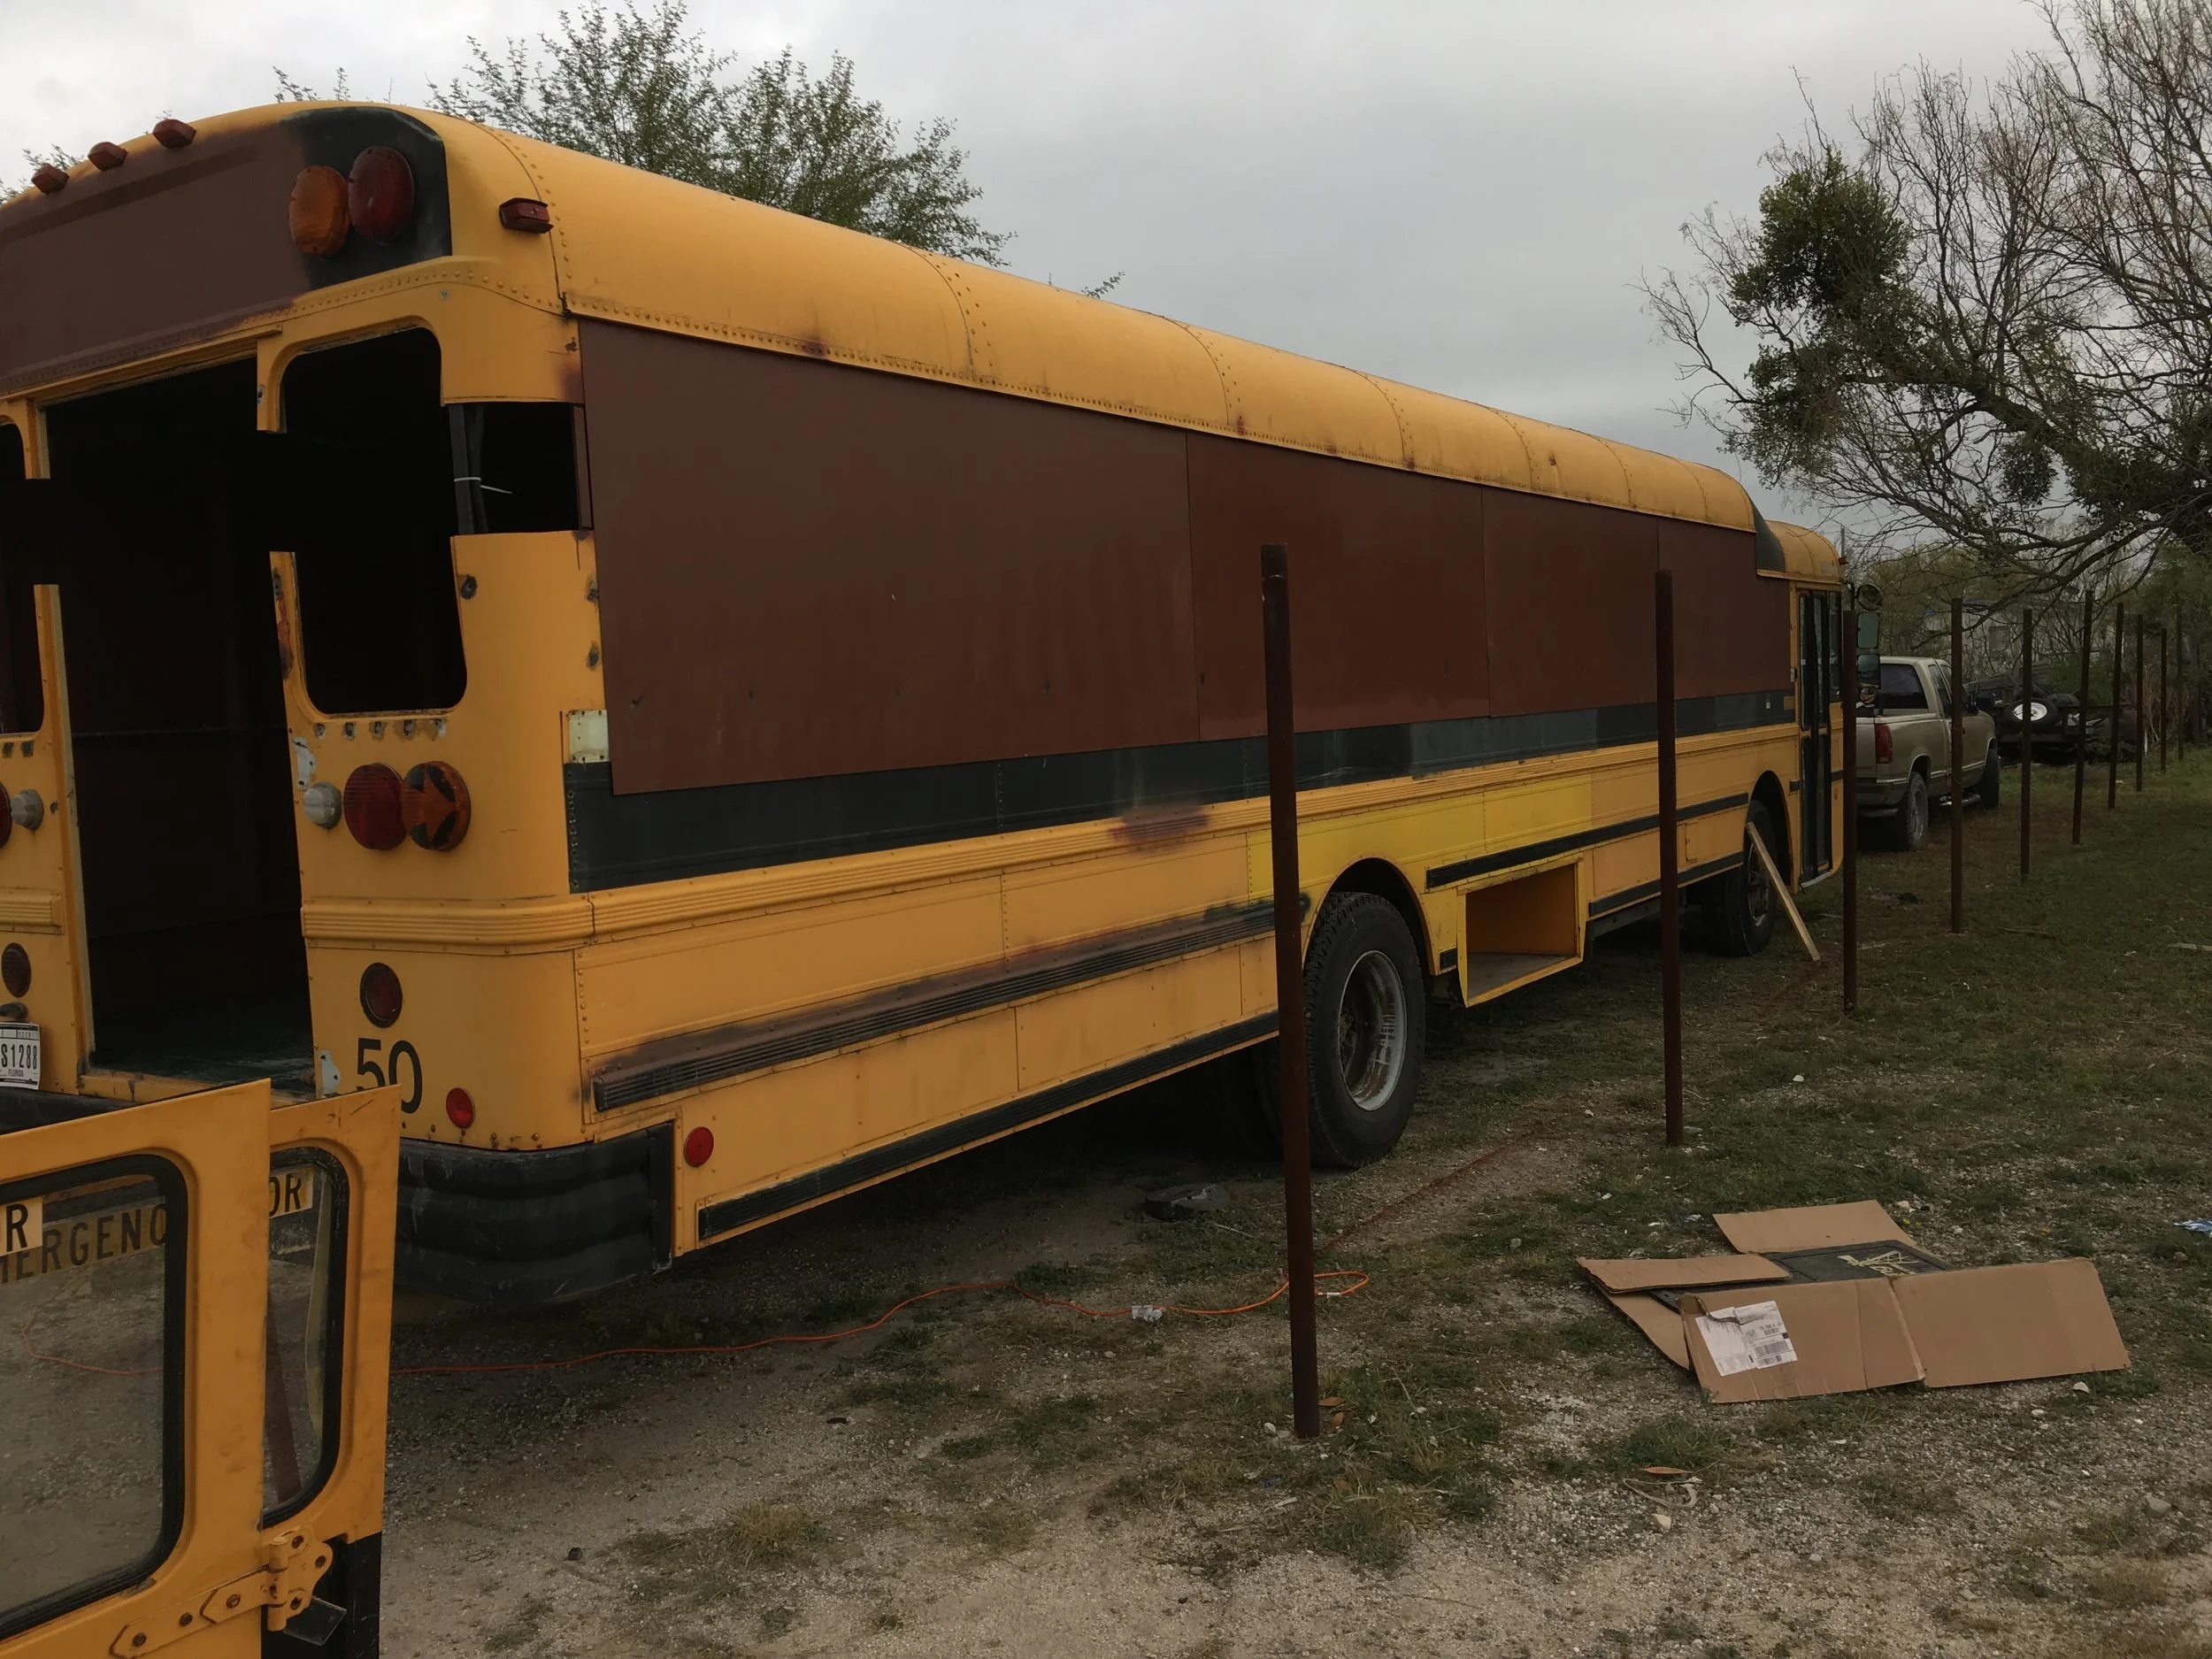
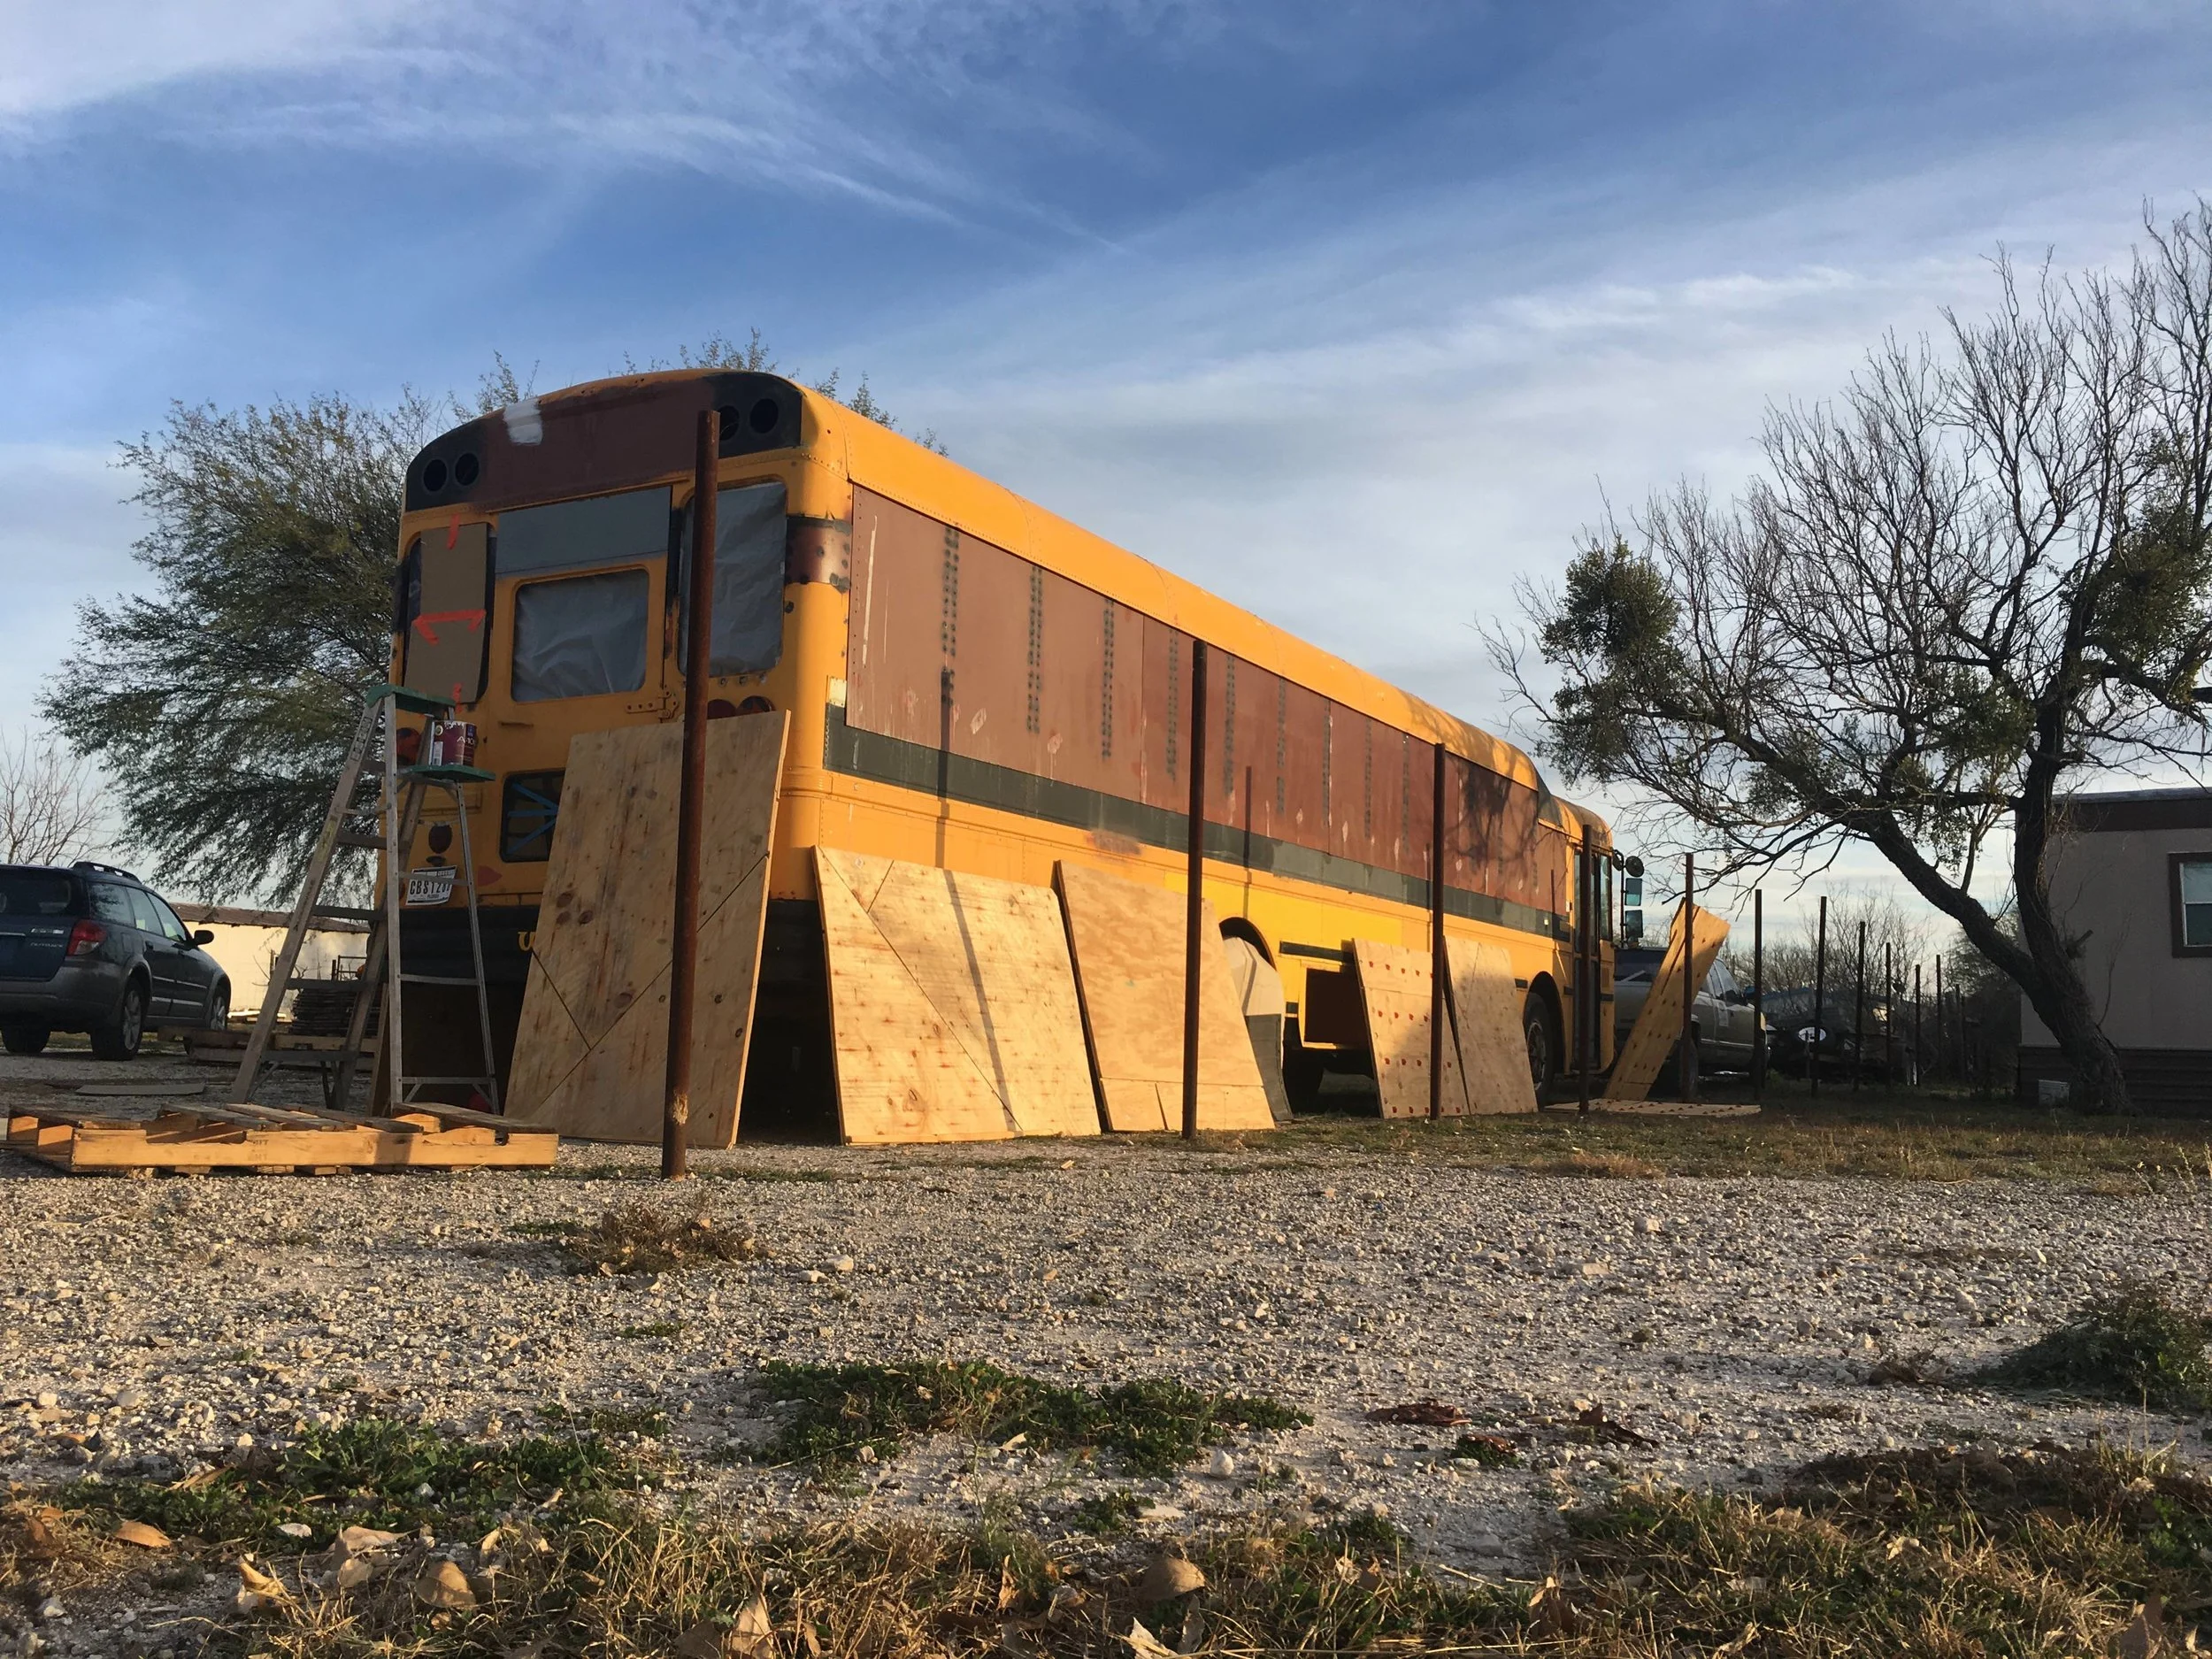
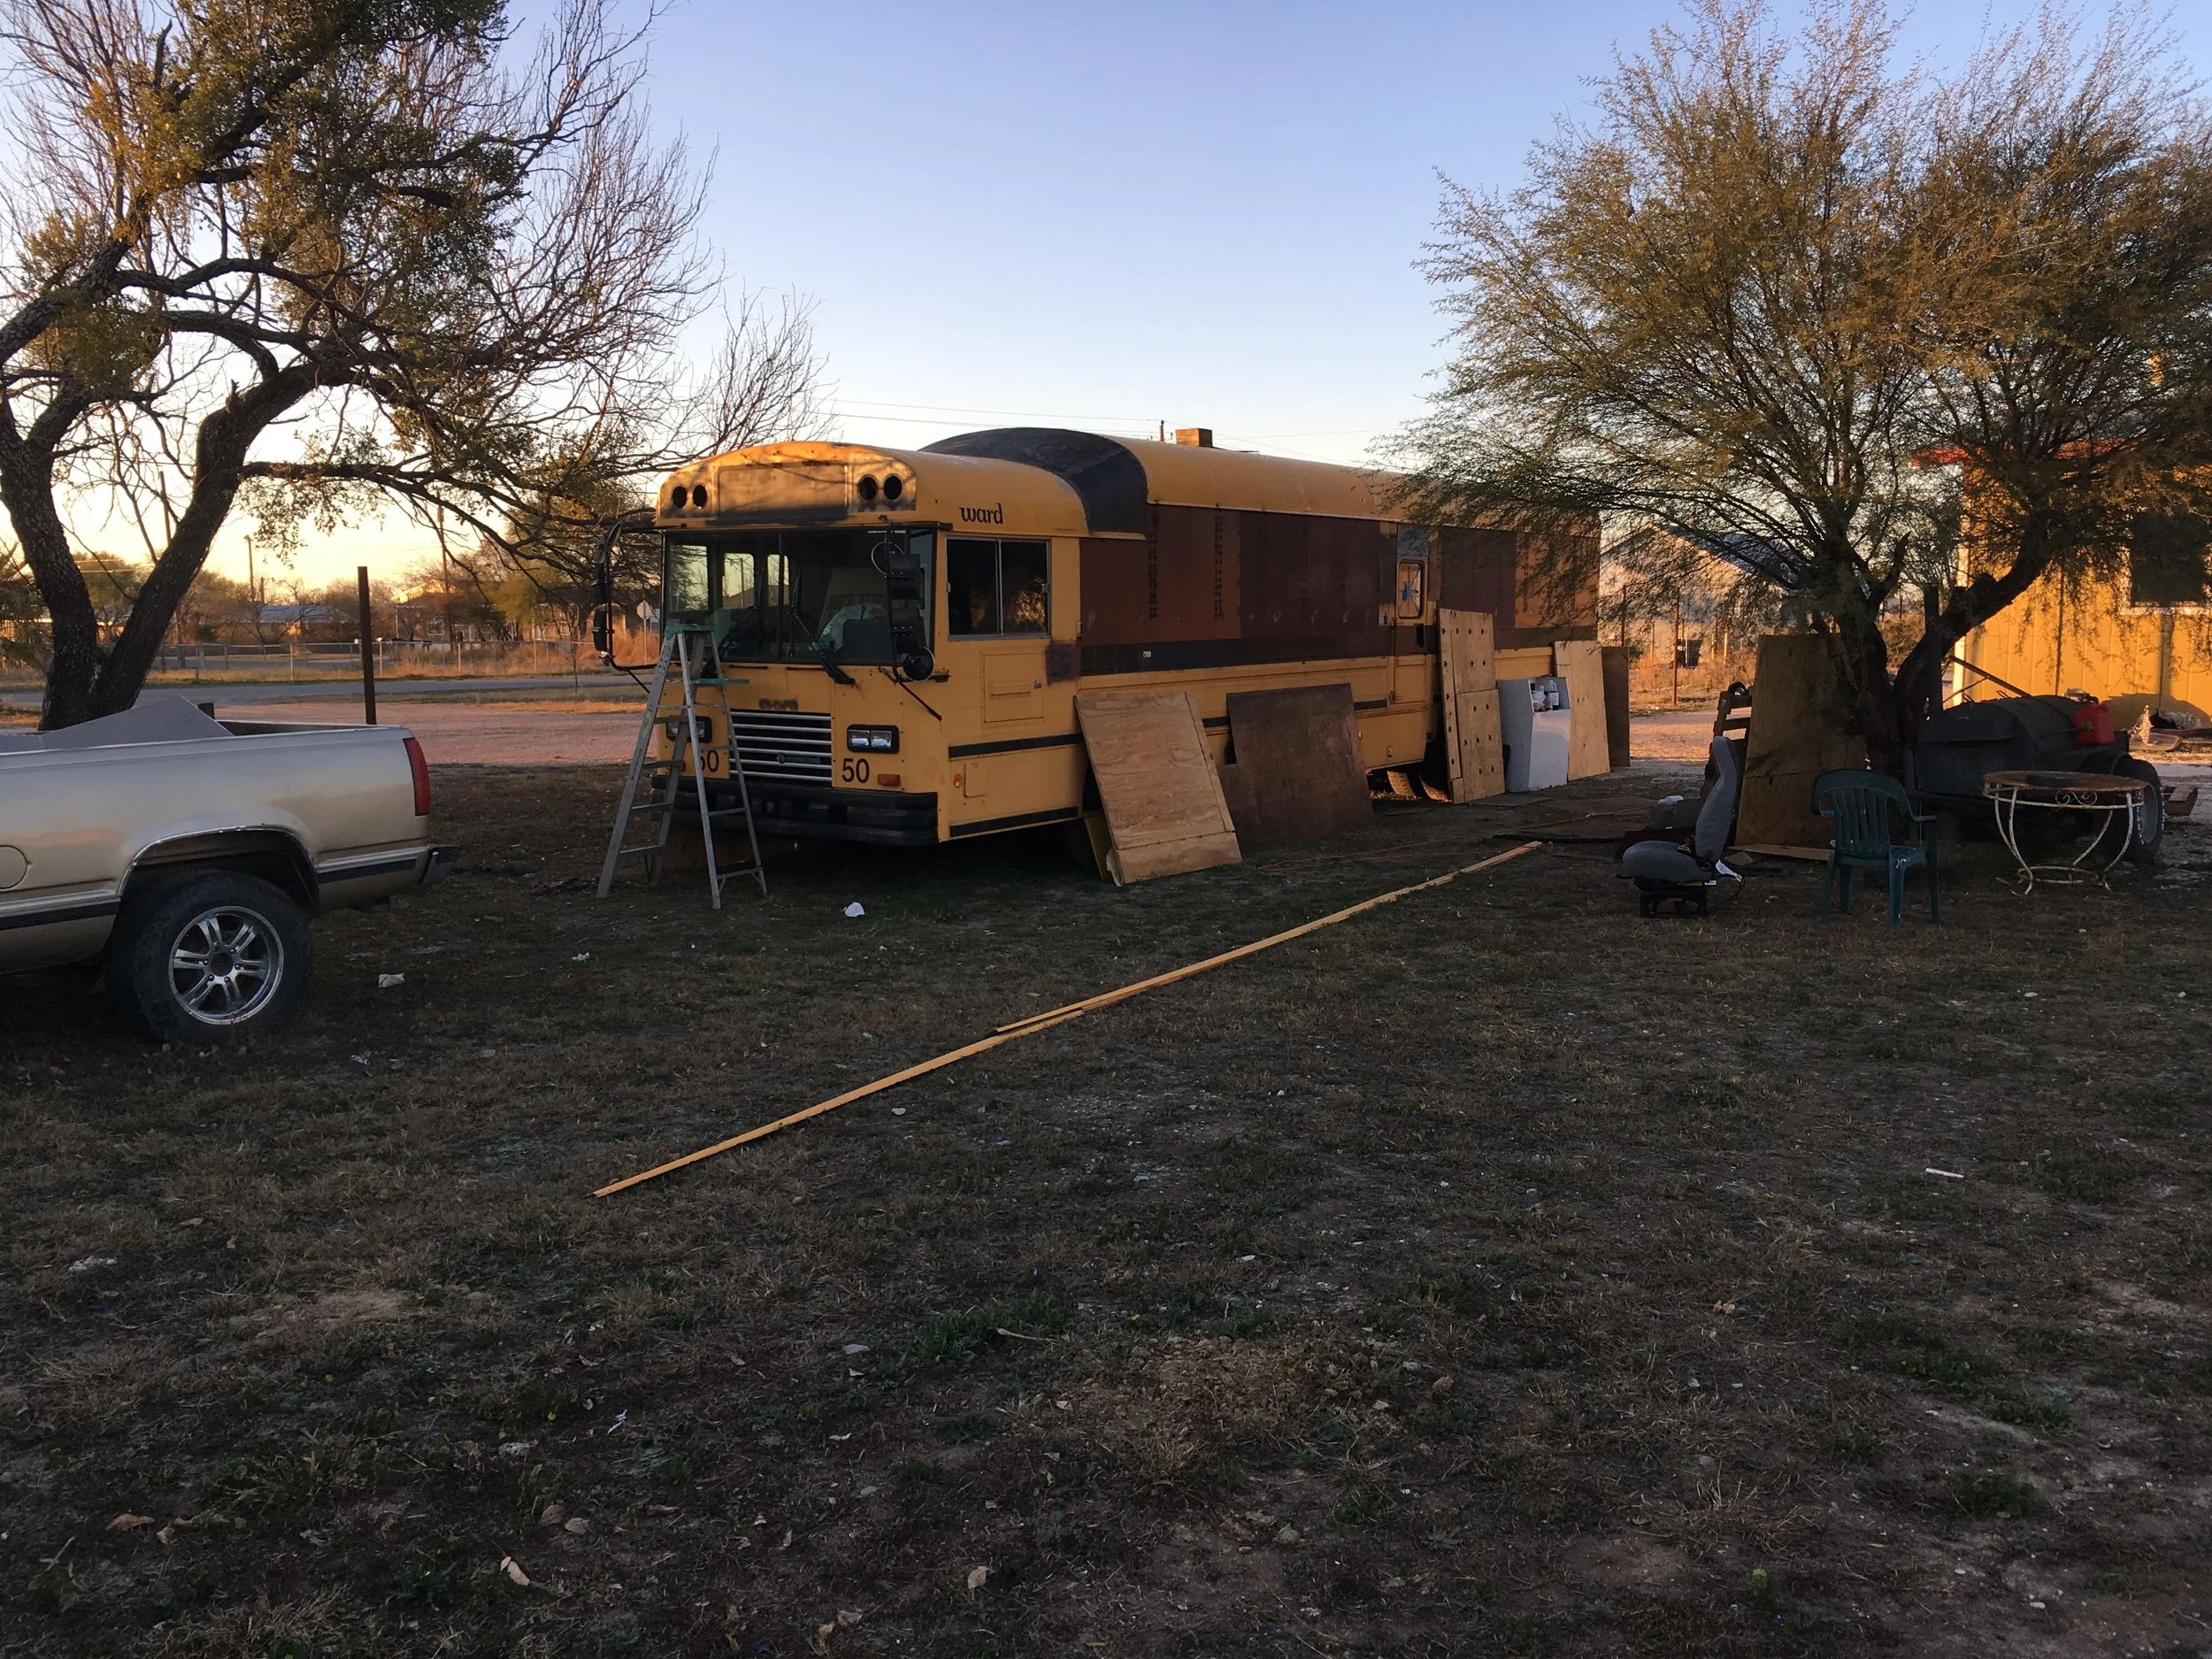
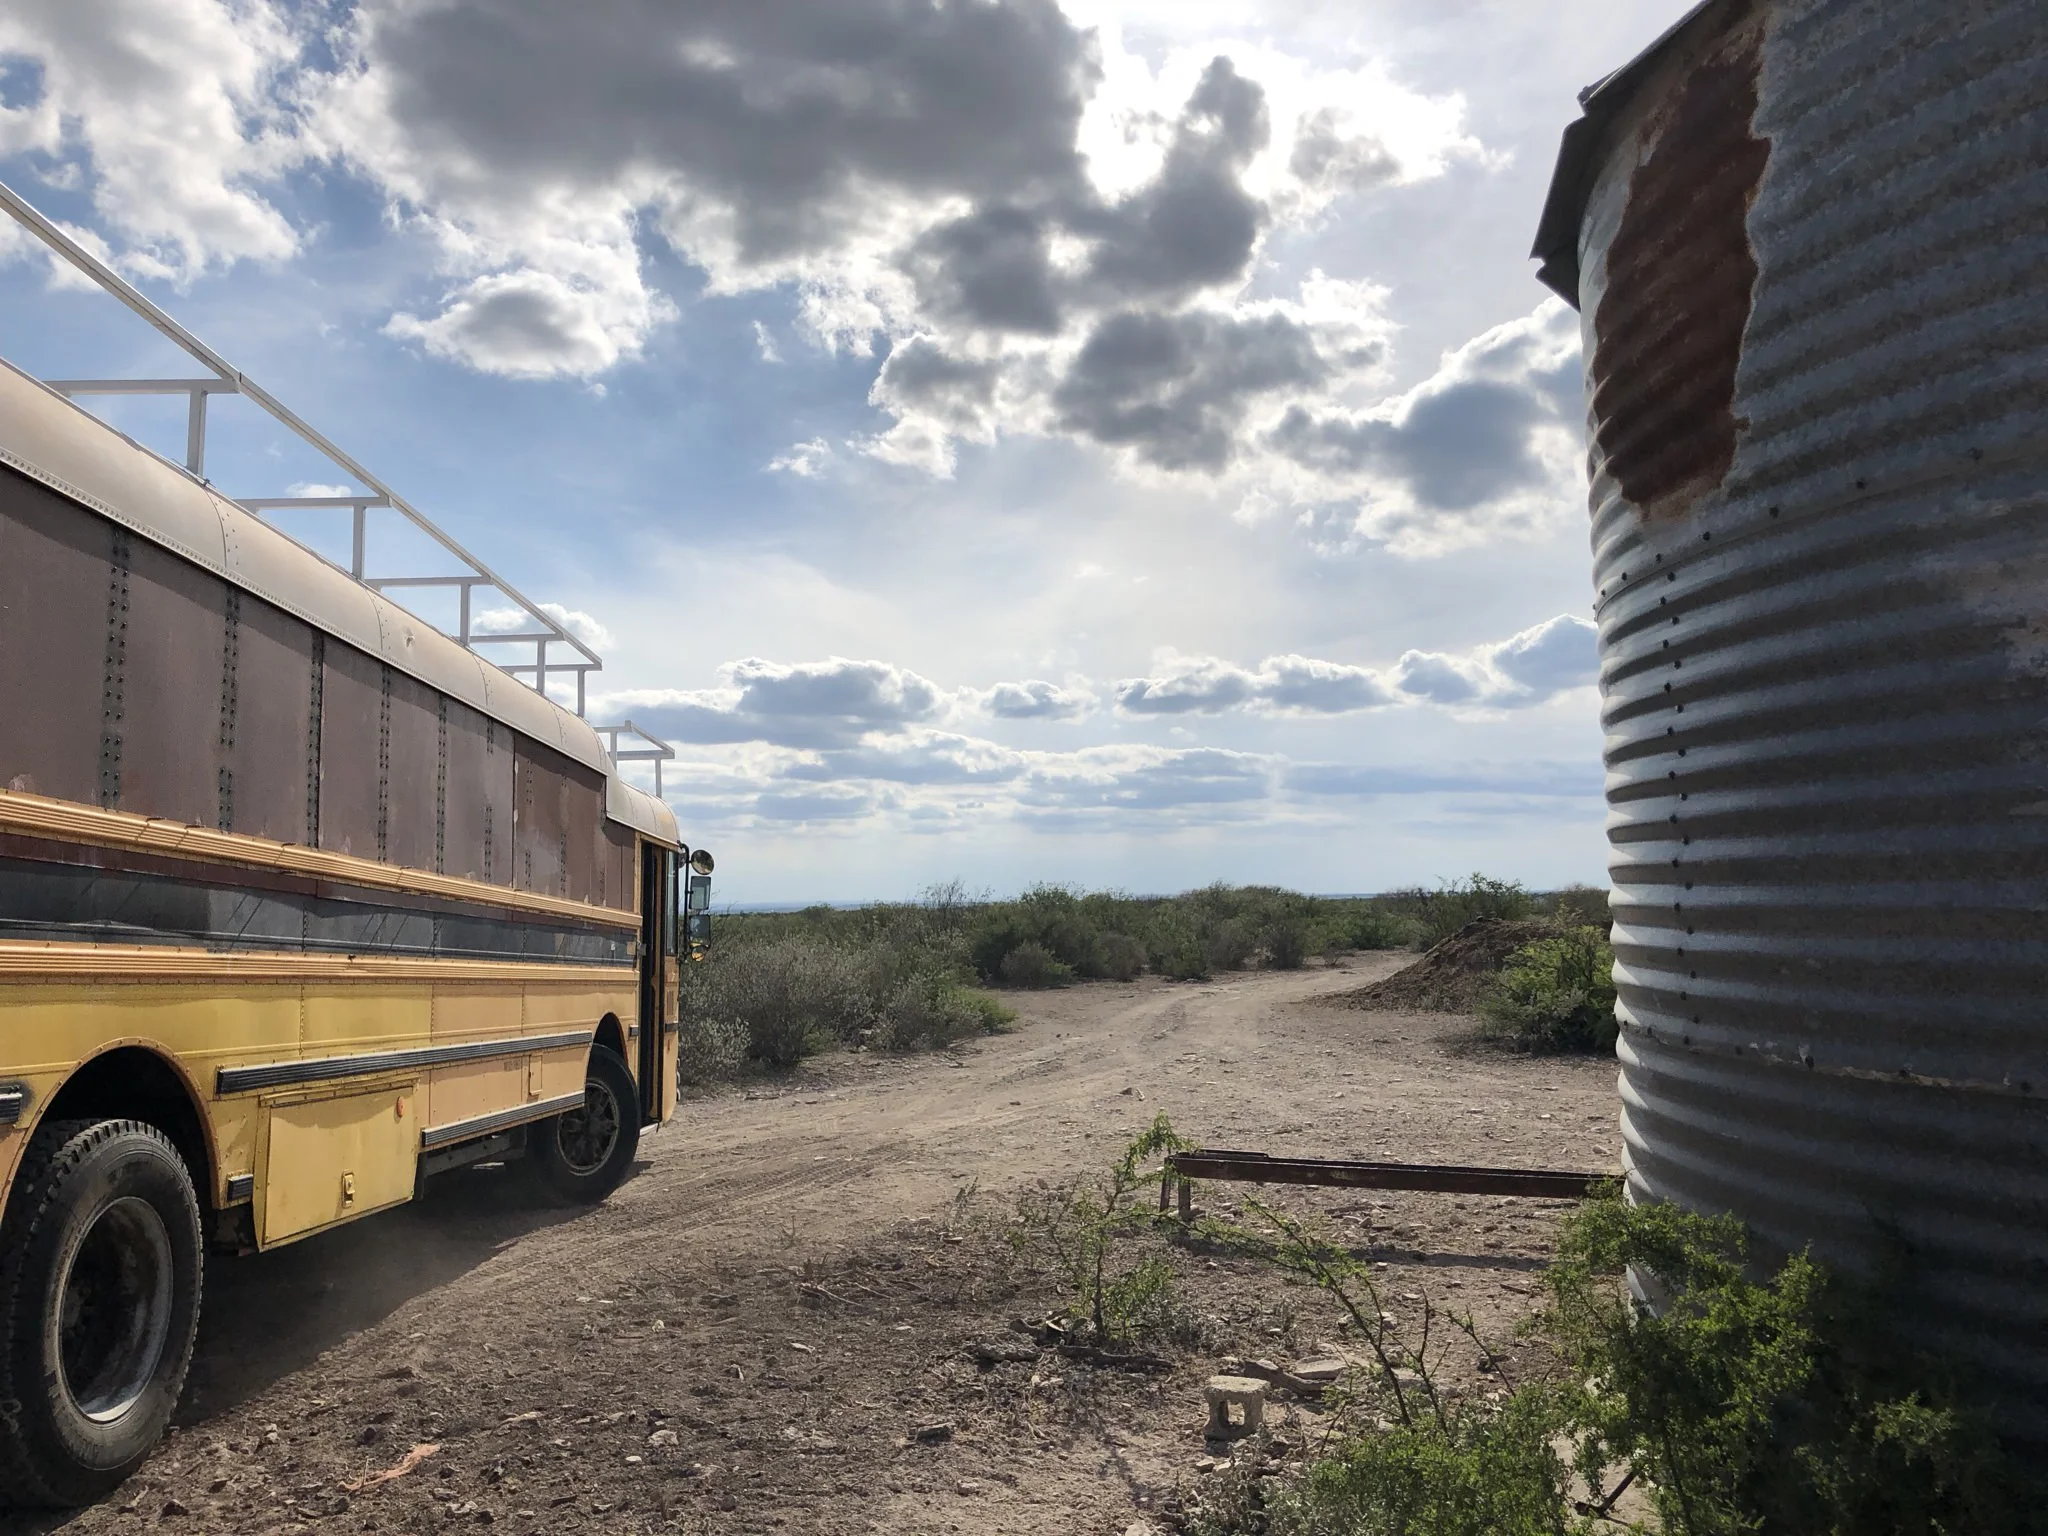
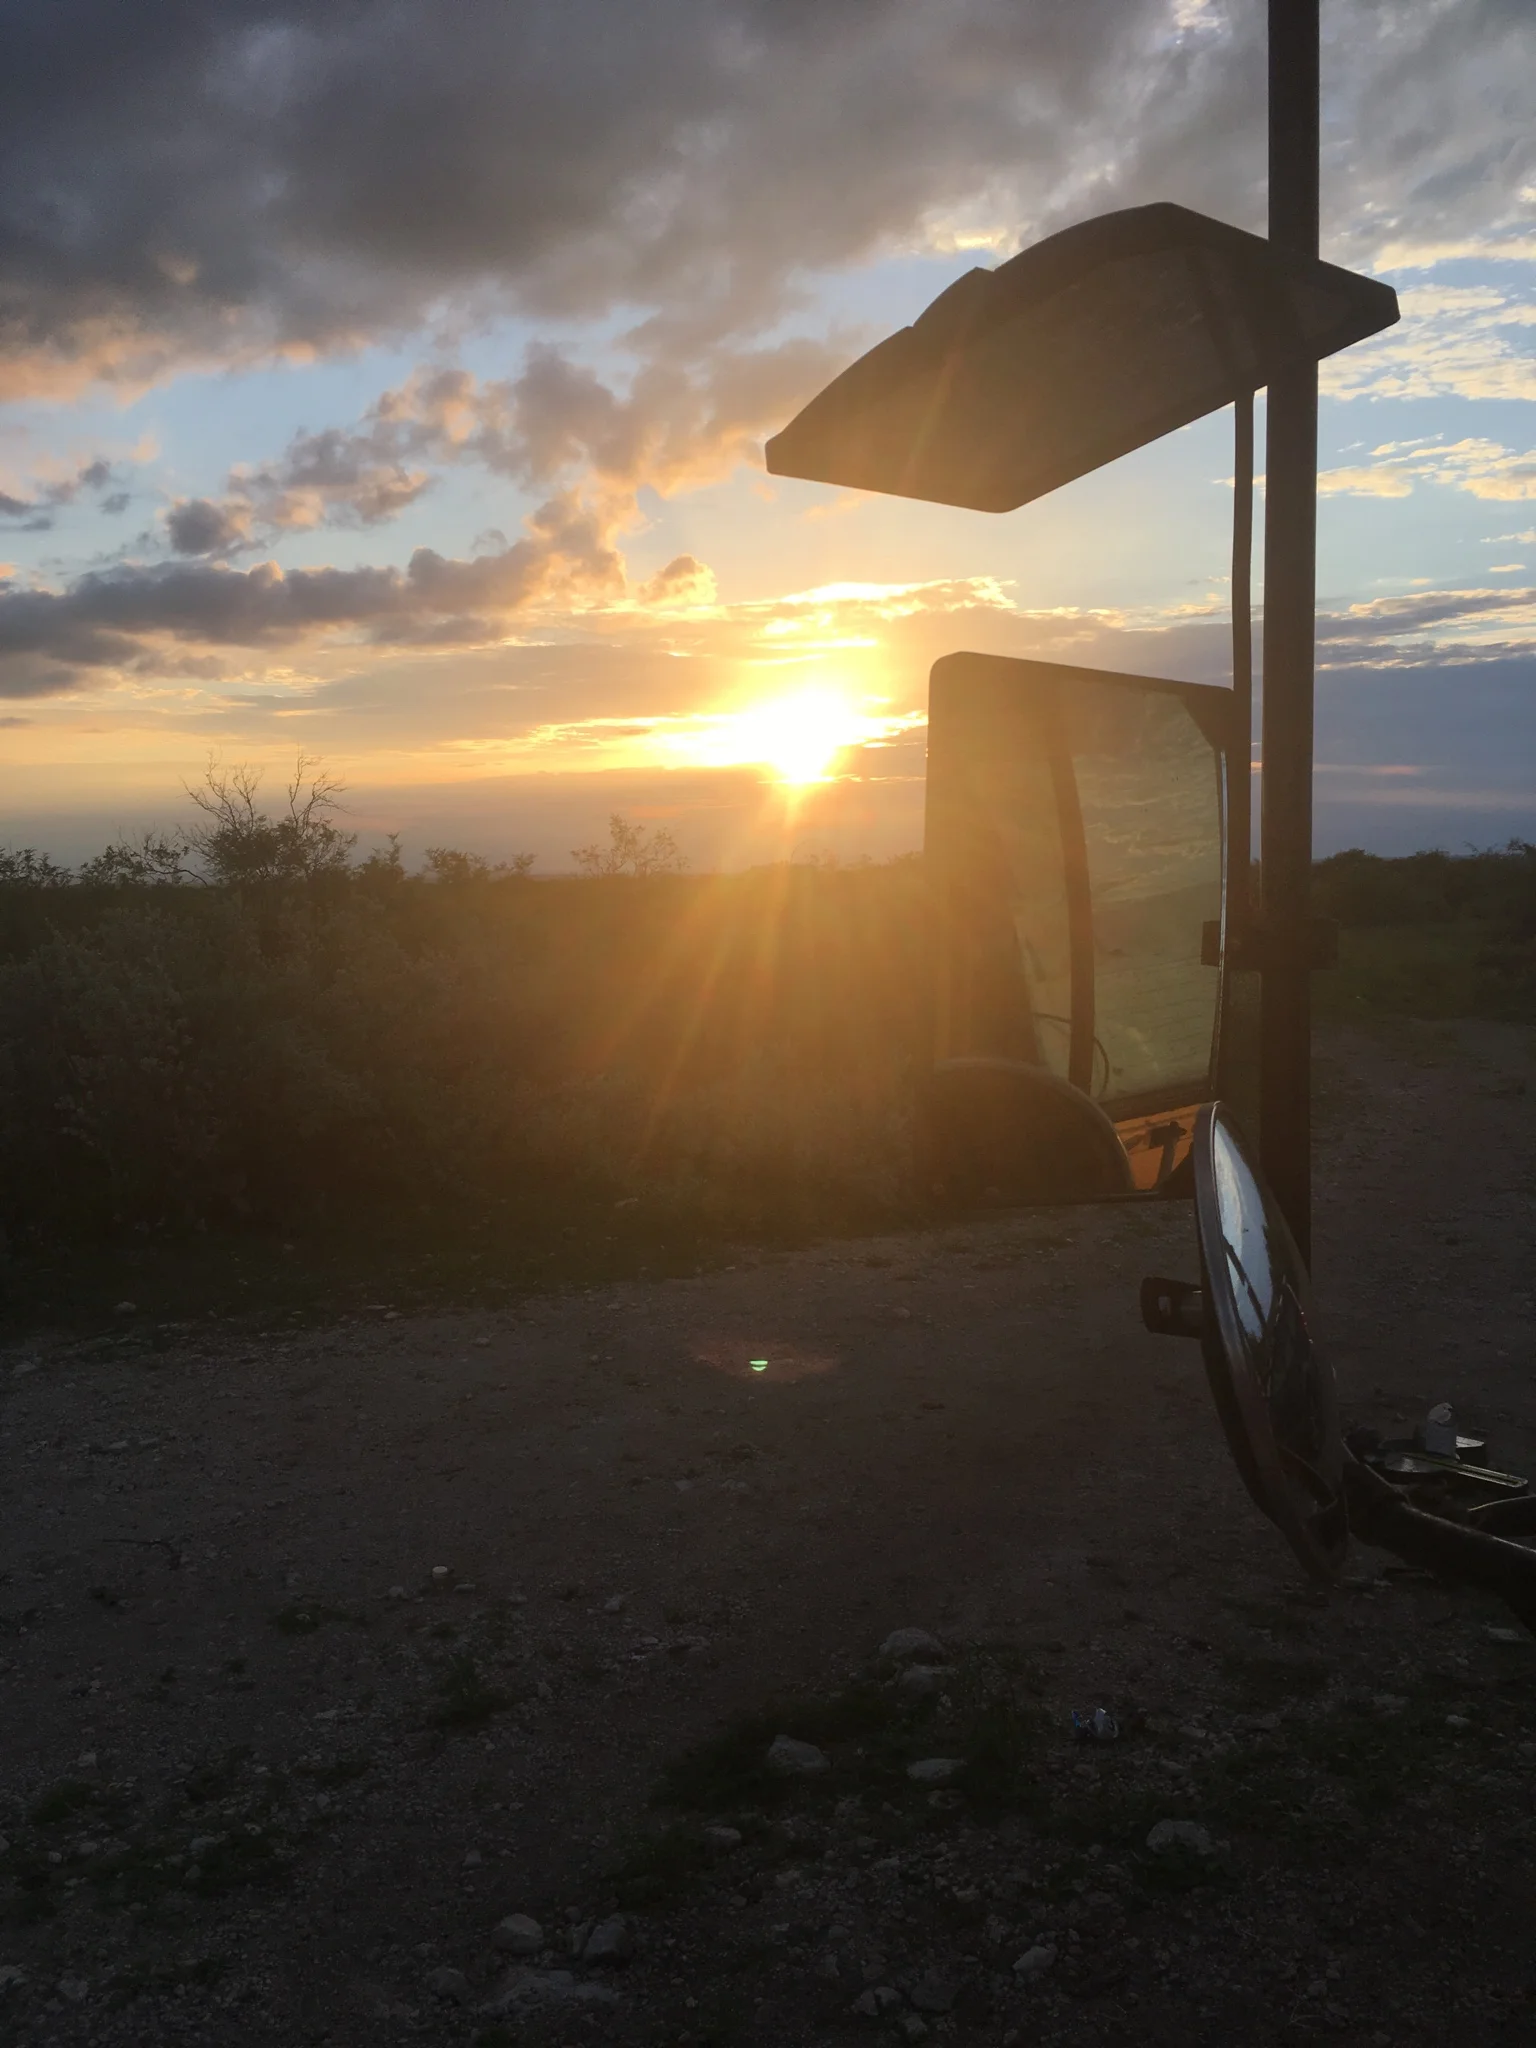
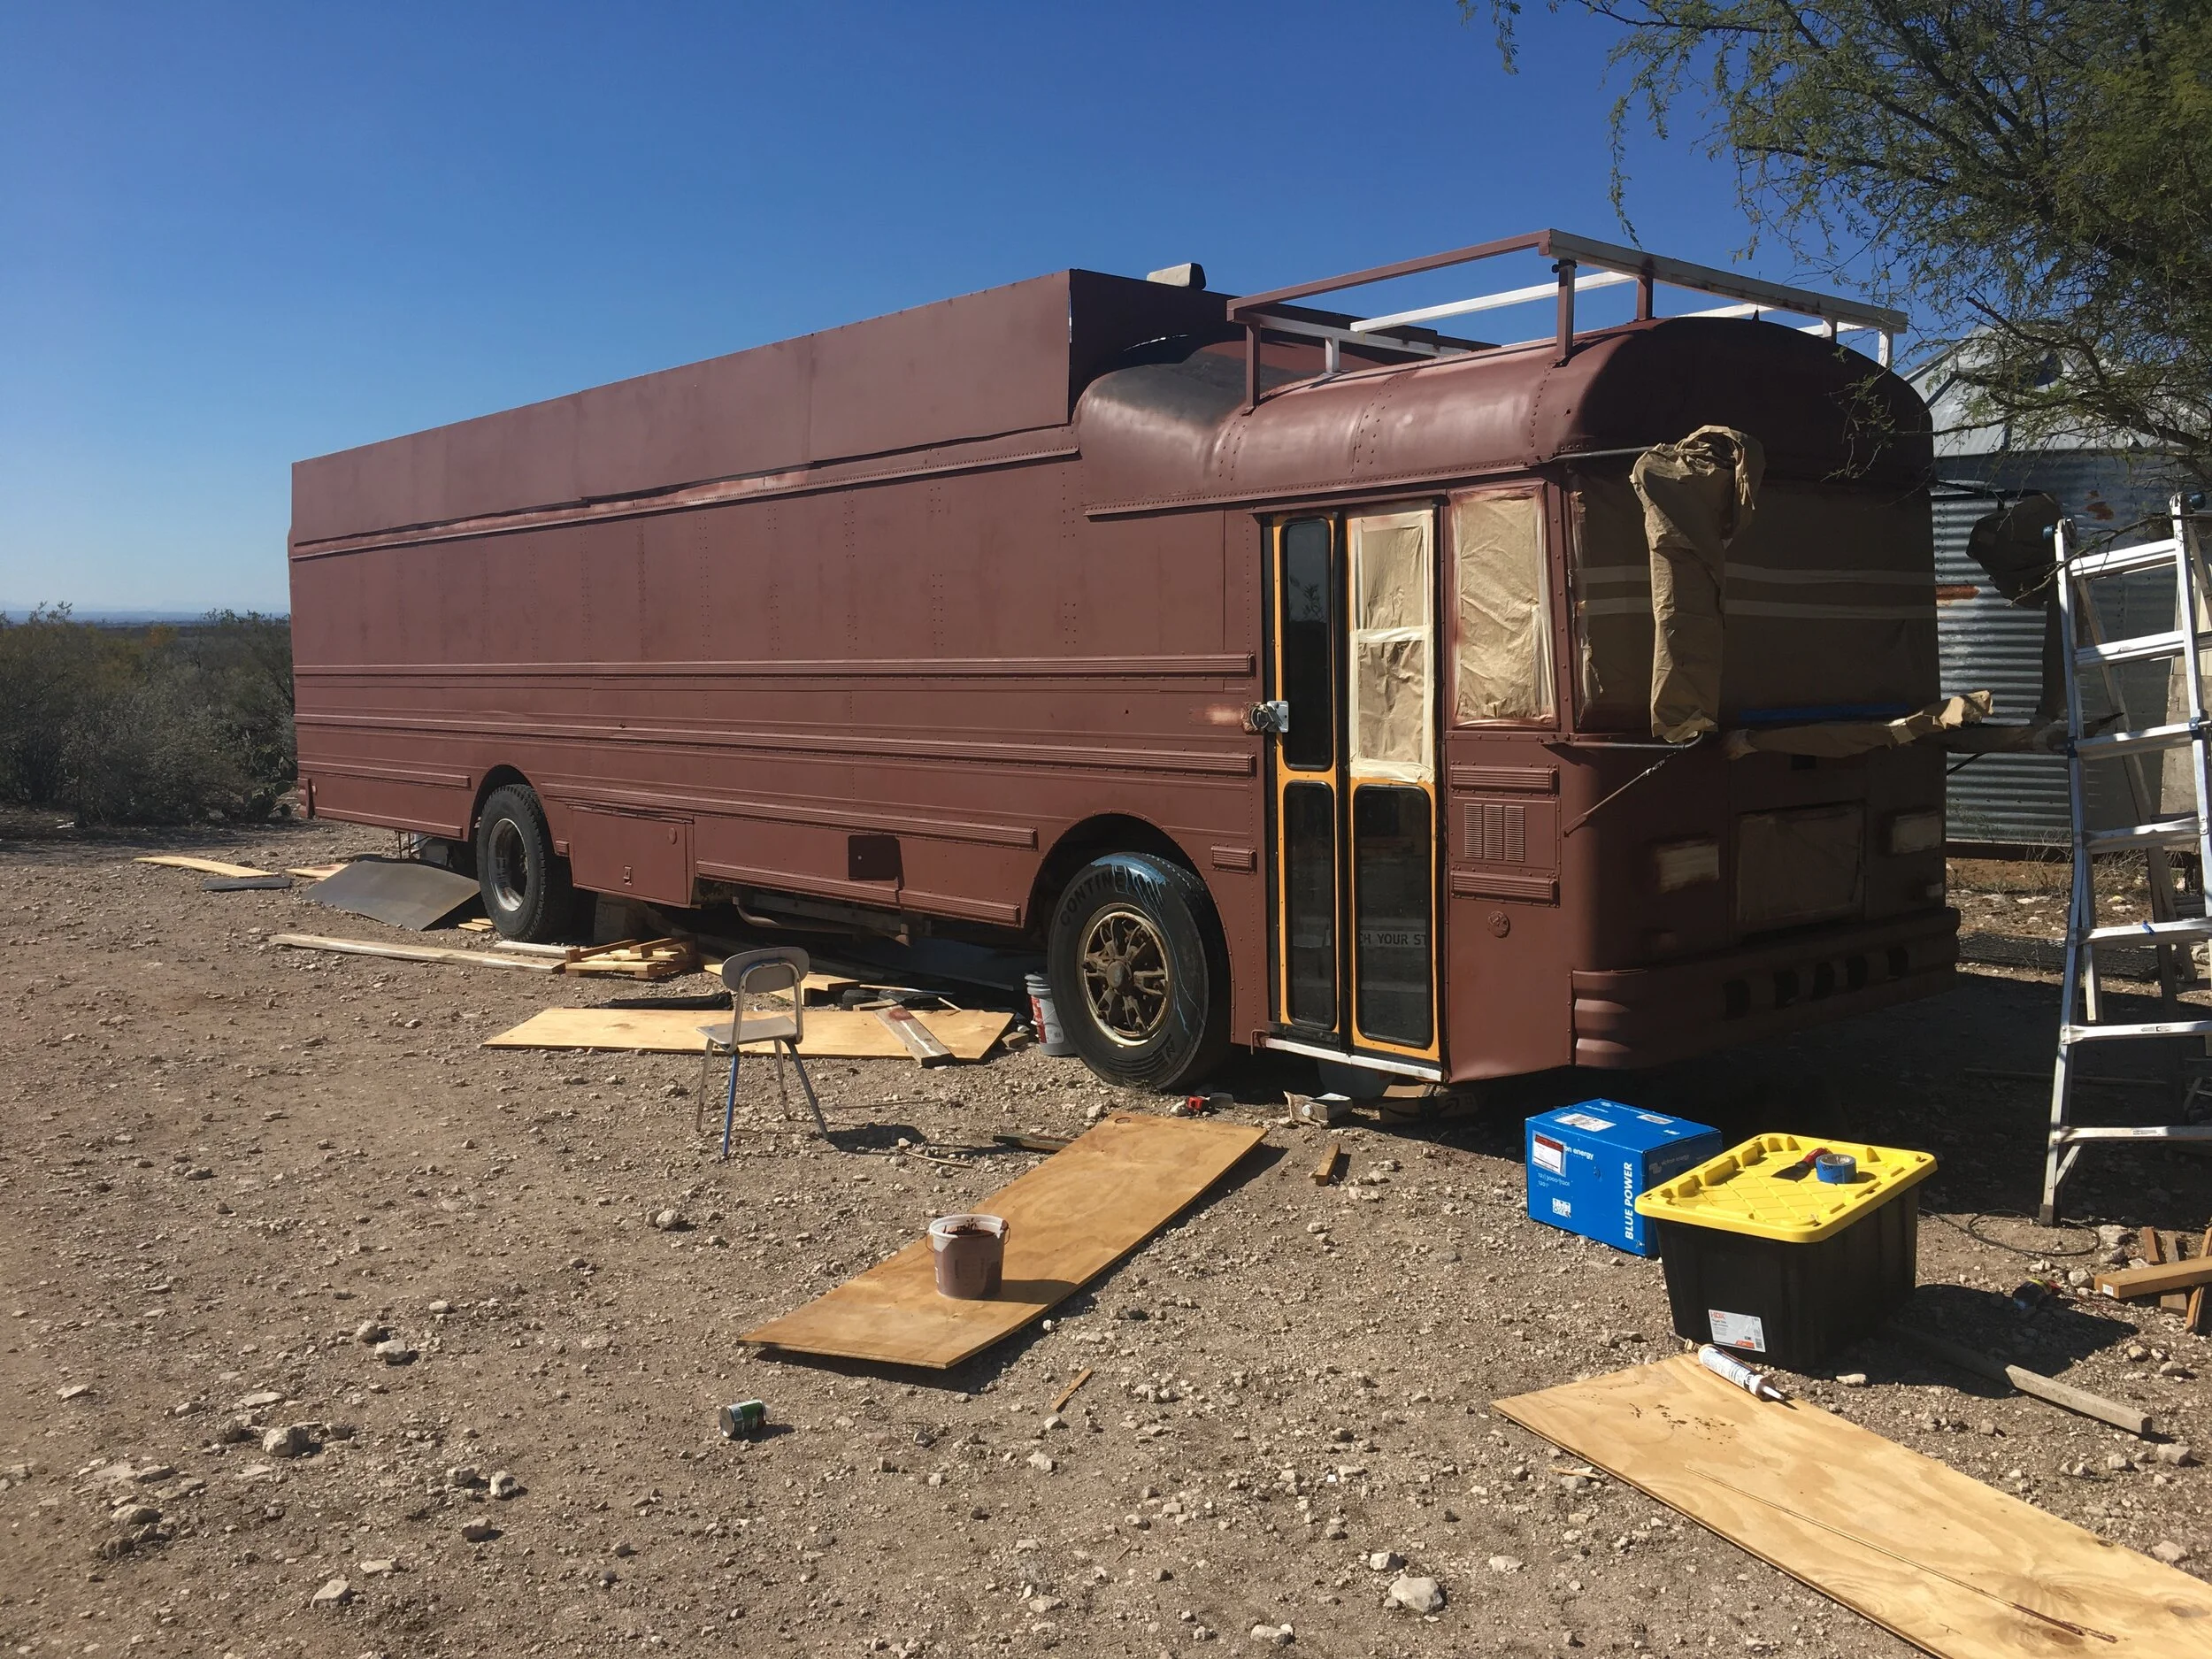
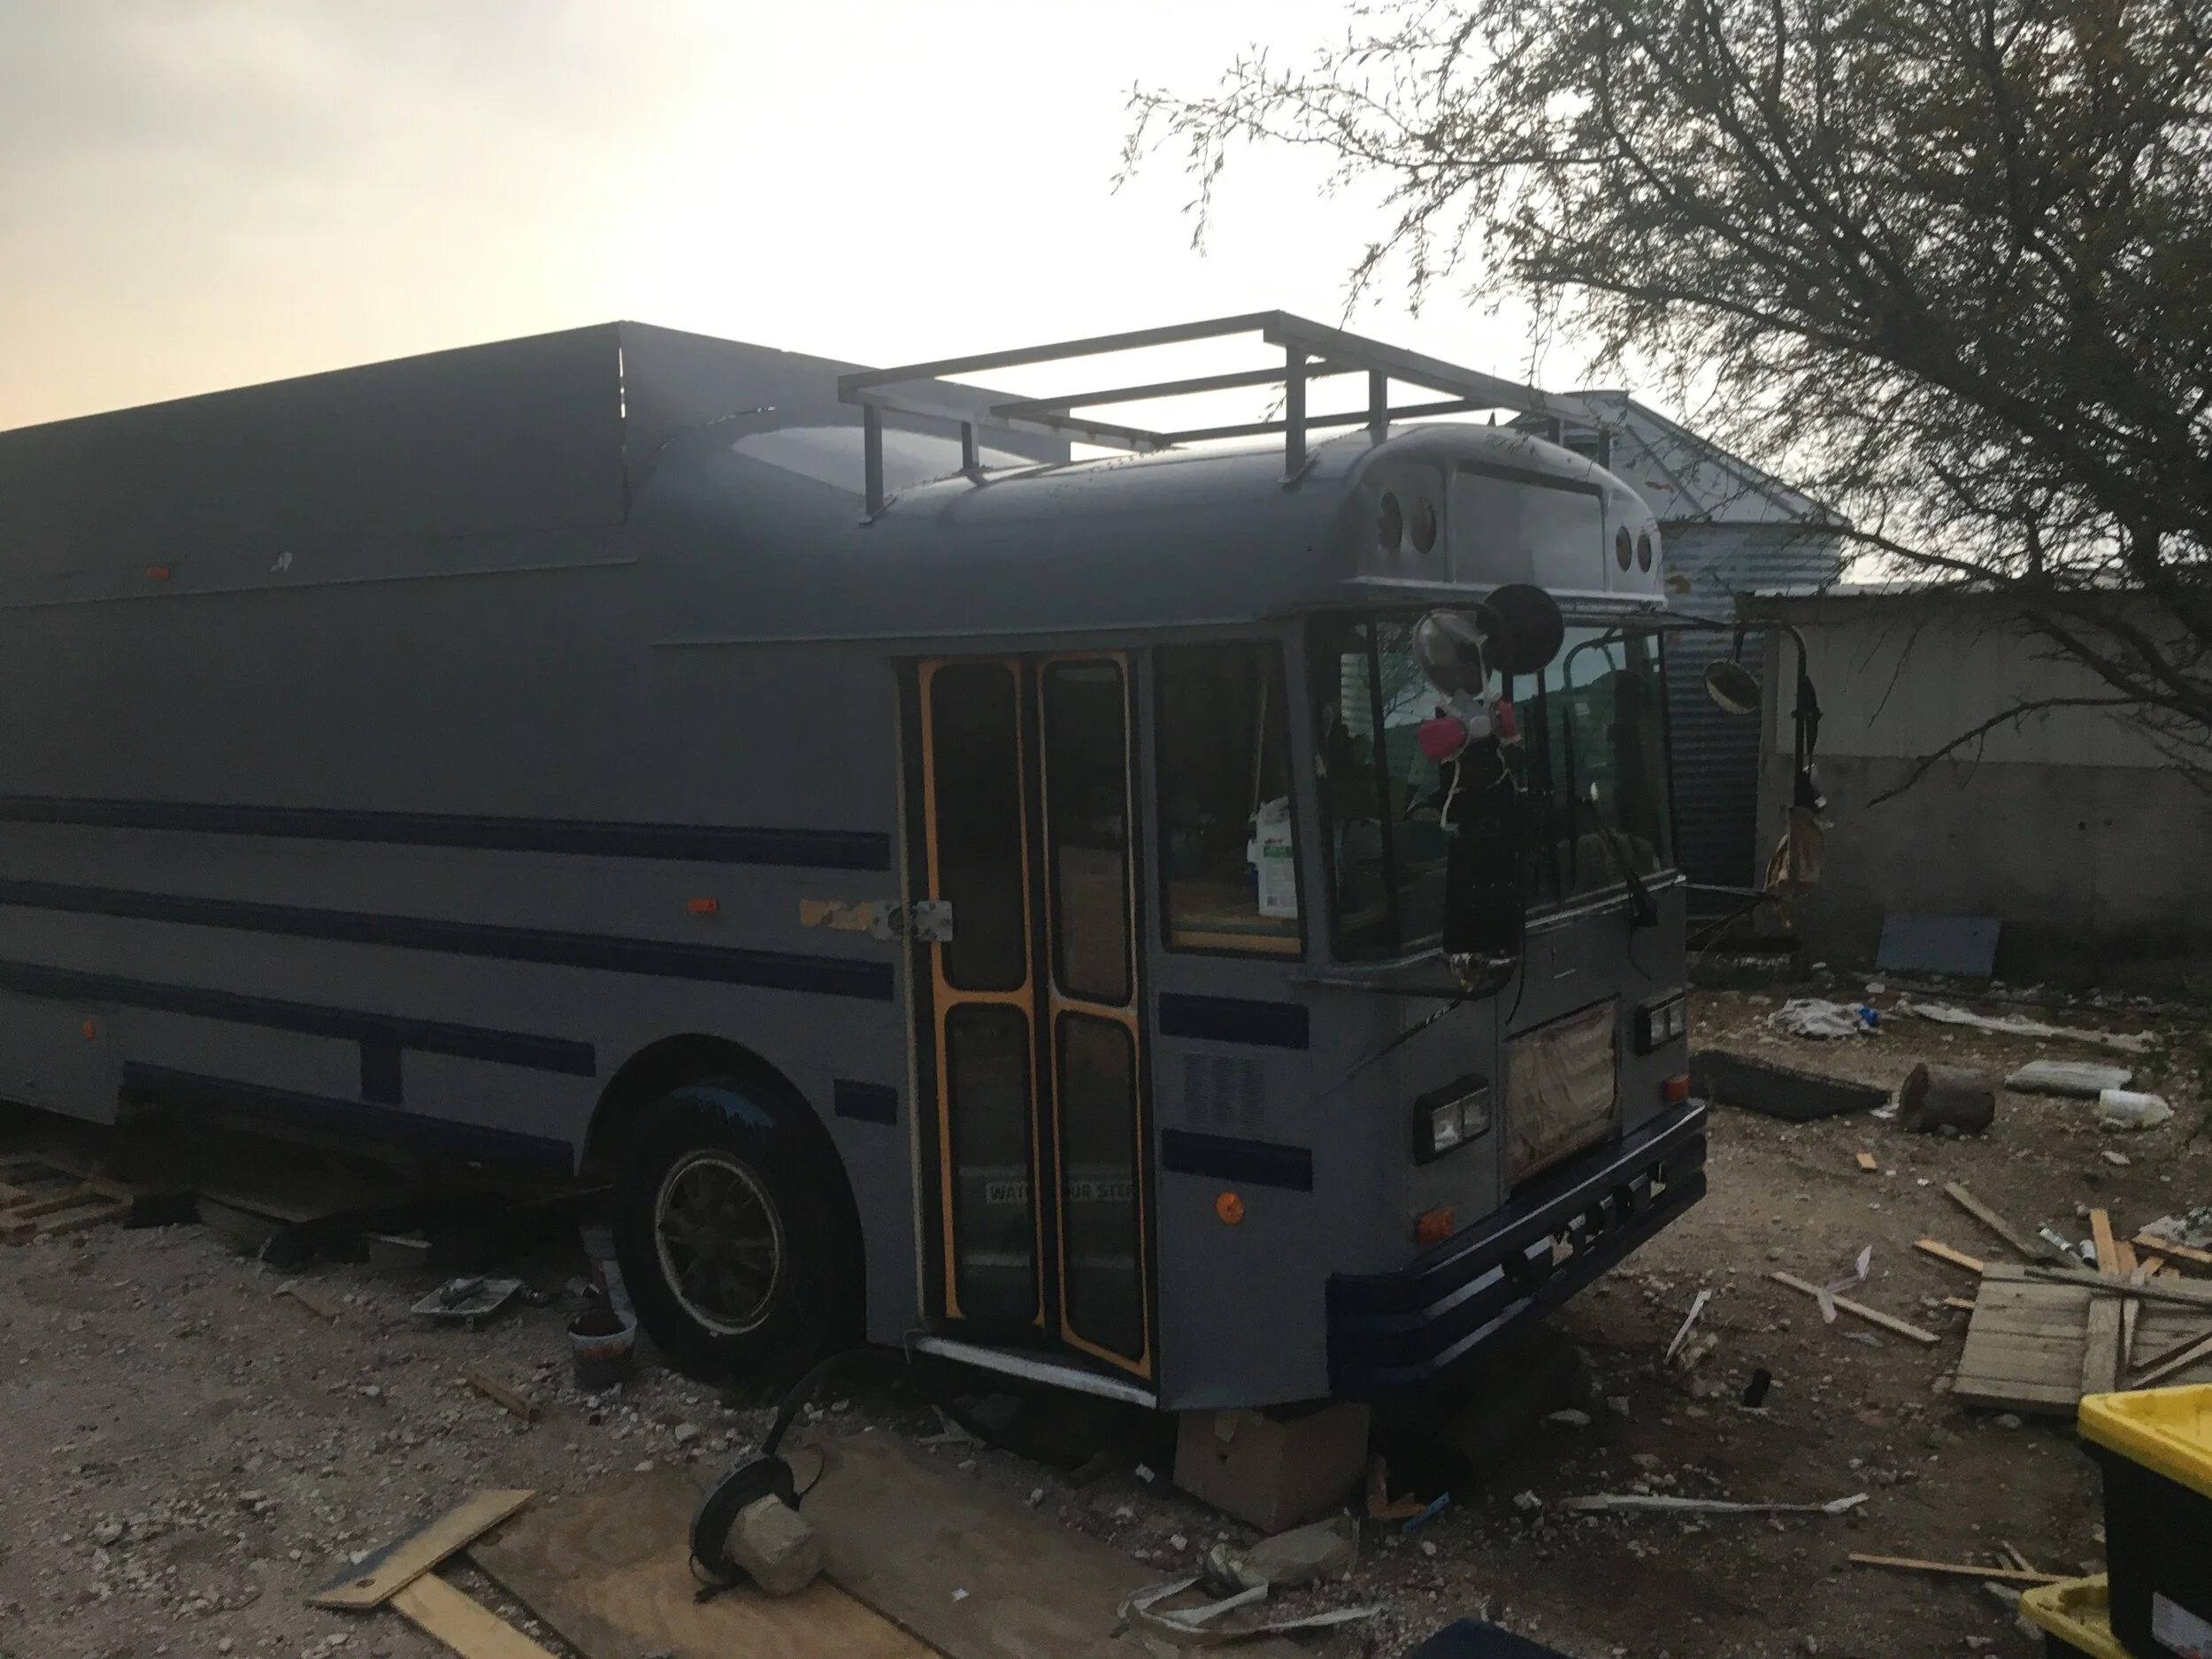
The sun sets on what will eventually be the Derelicte Bus. Originally sourced from Kentucky, it is a Ward (Now International) 1992 Senator. This was a band bus geared for the mountains. That means that it has an Allison DT466 mechanical transmission and a turbo-charged 7.3L diesel in addition to plenty of storage under the bus. This is also pre-roof-raise, but there's very little rust and the bus functions perfectly.
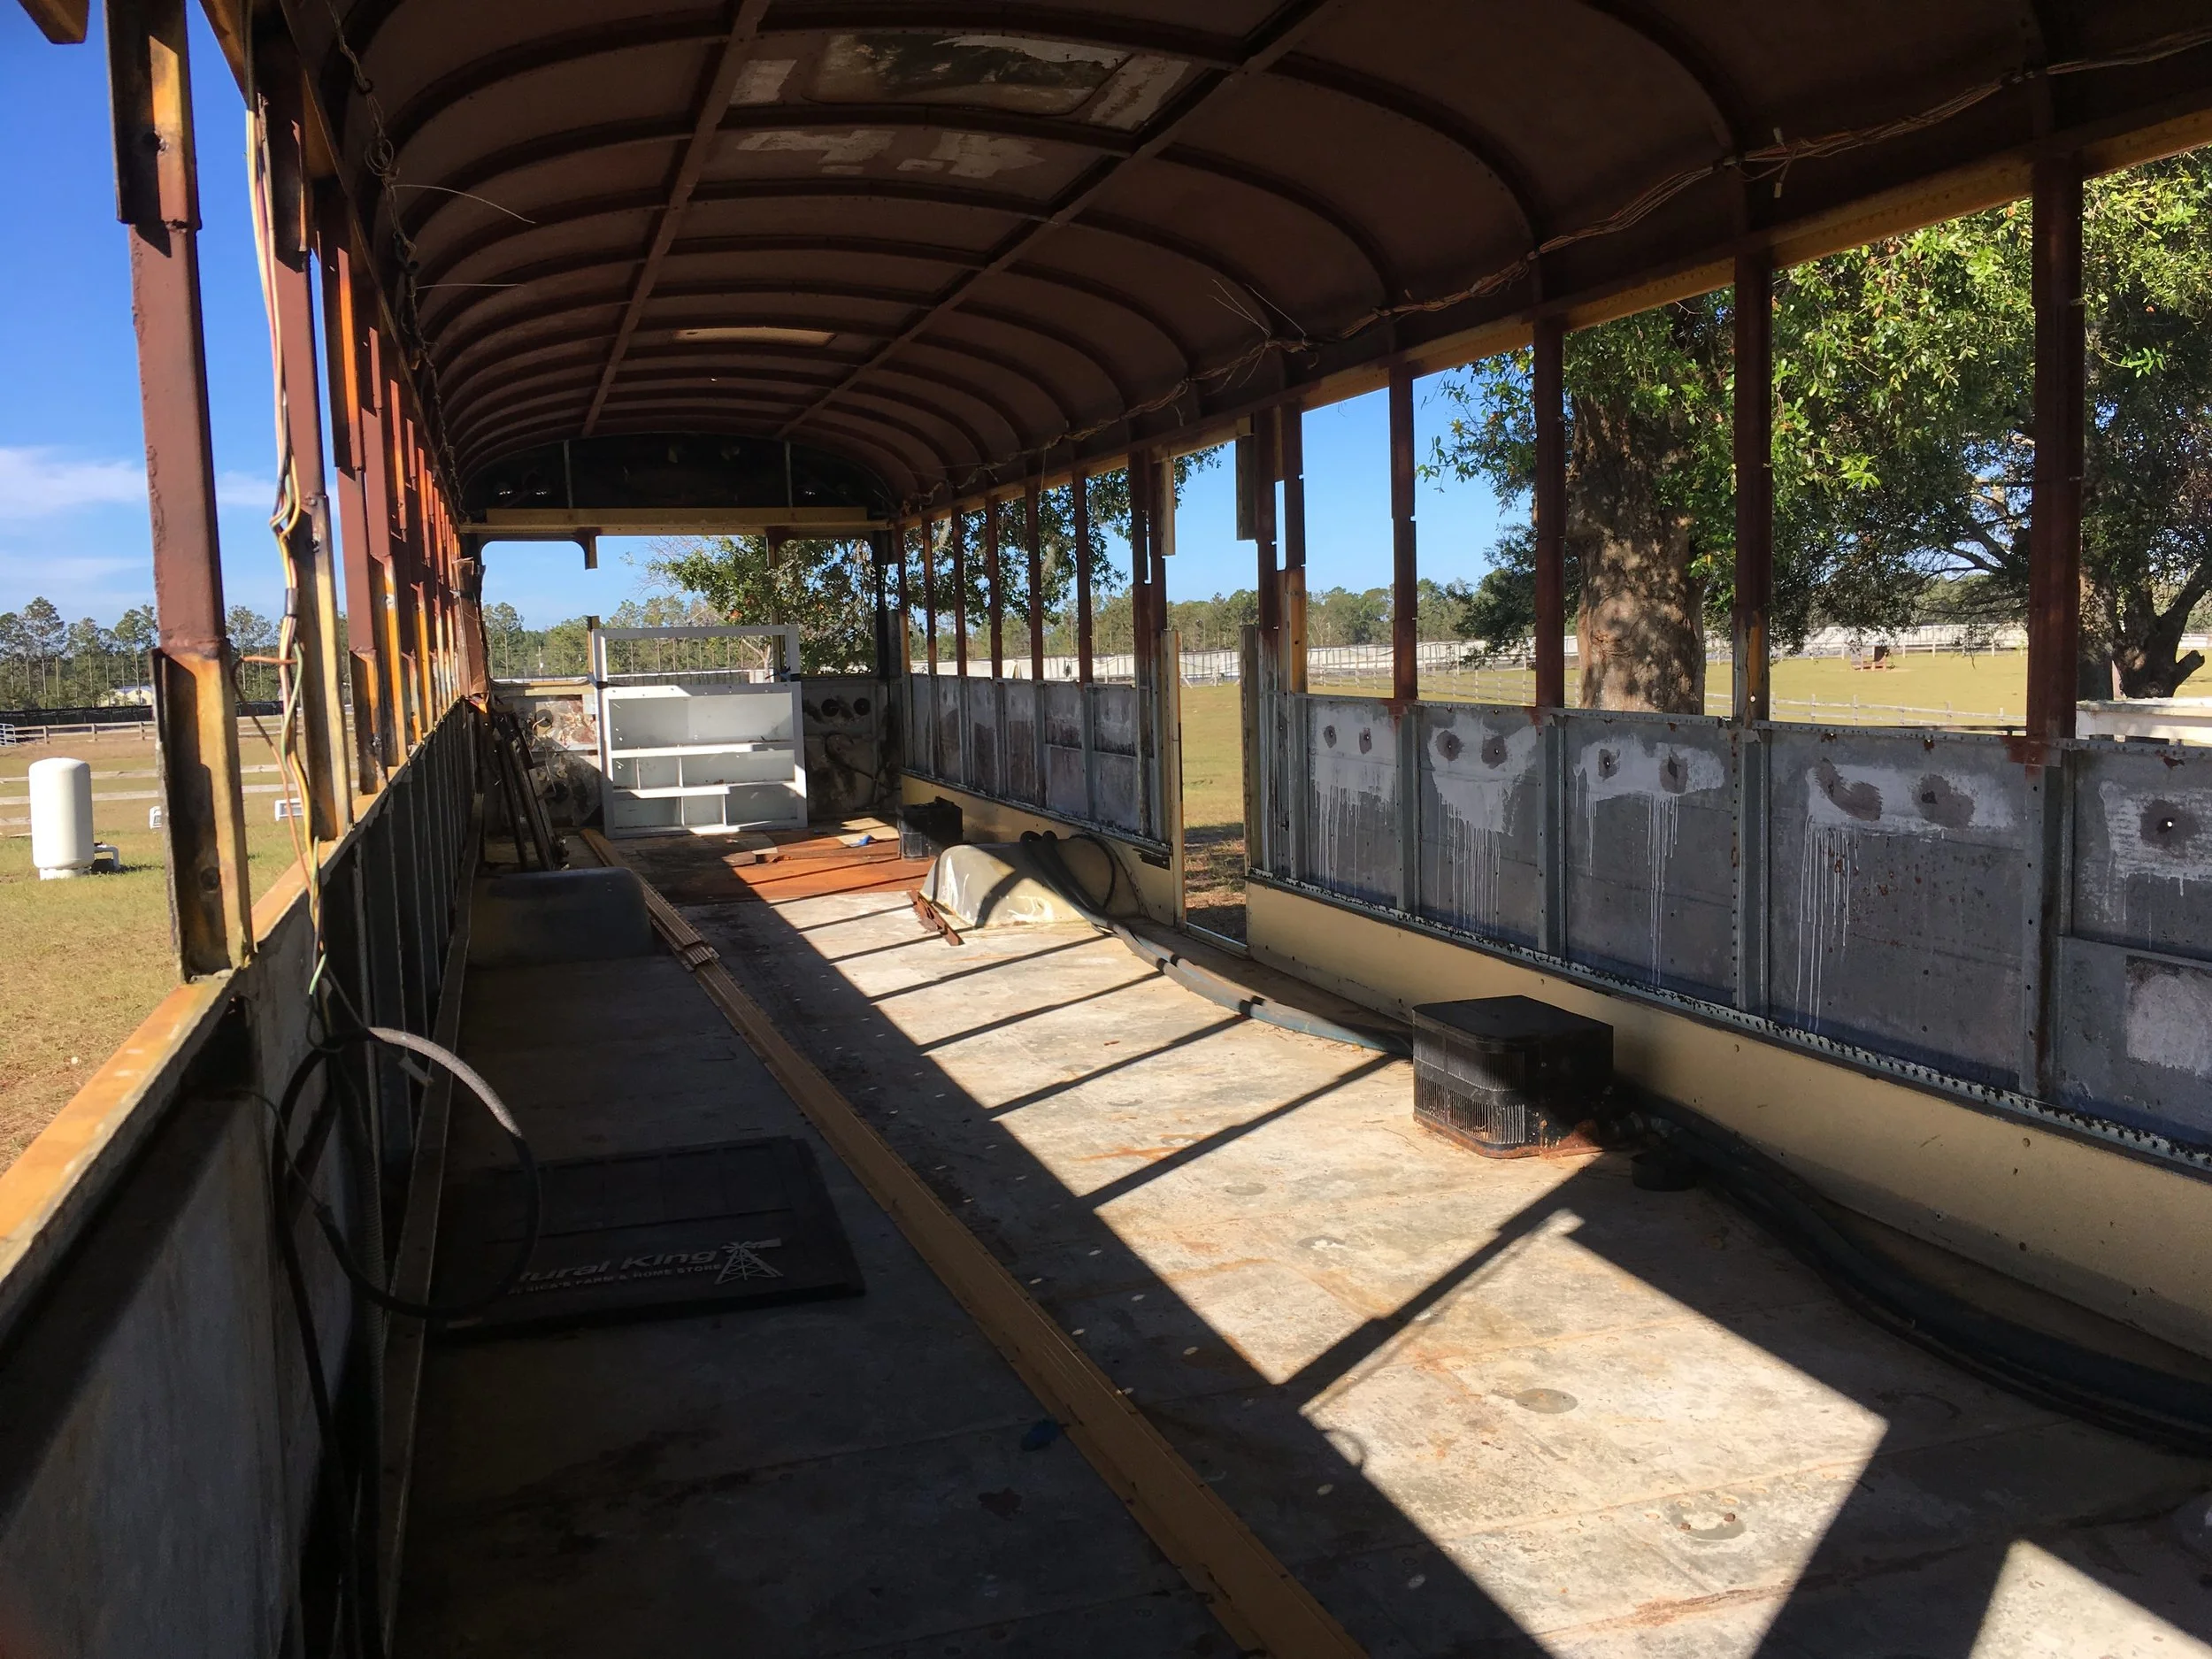
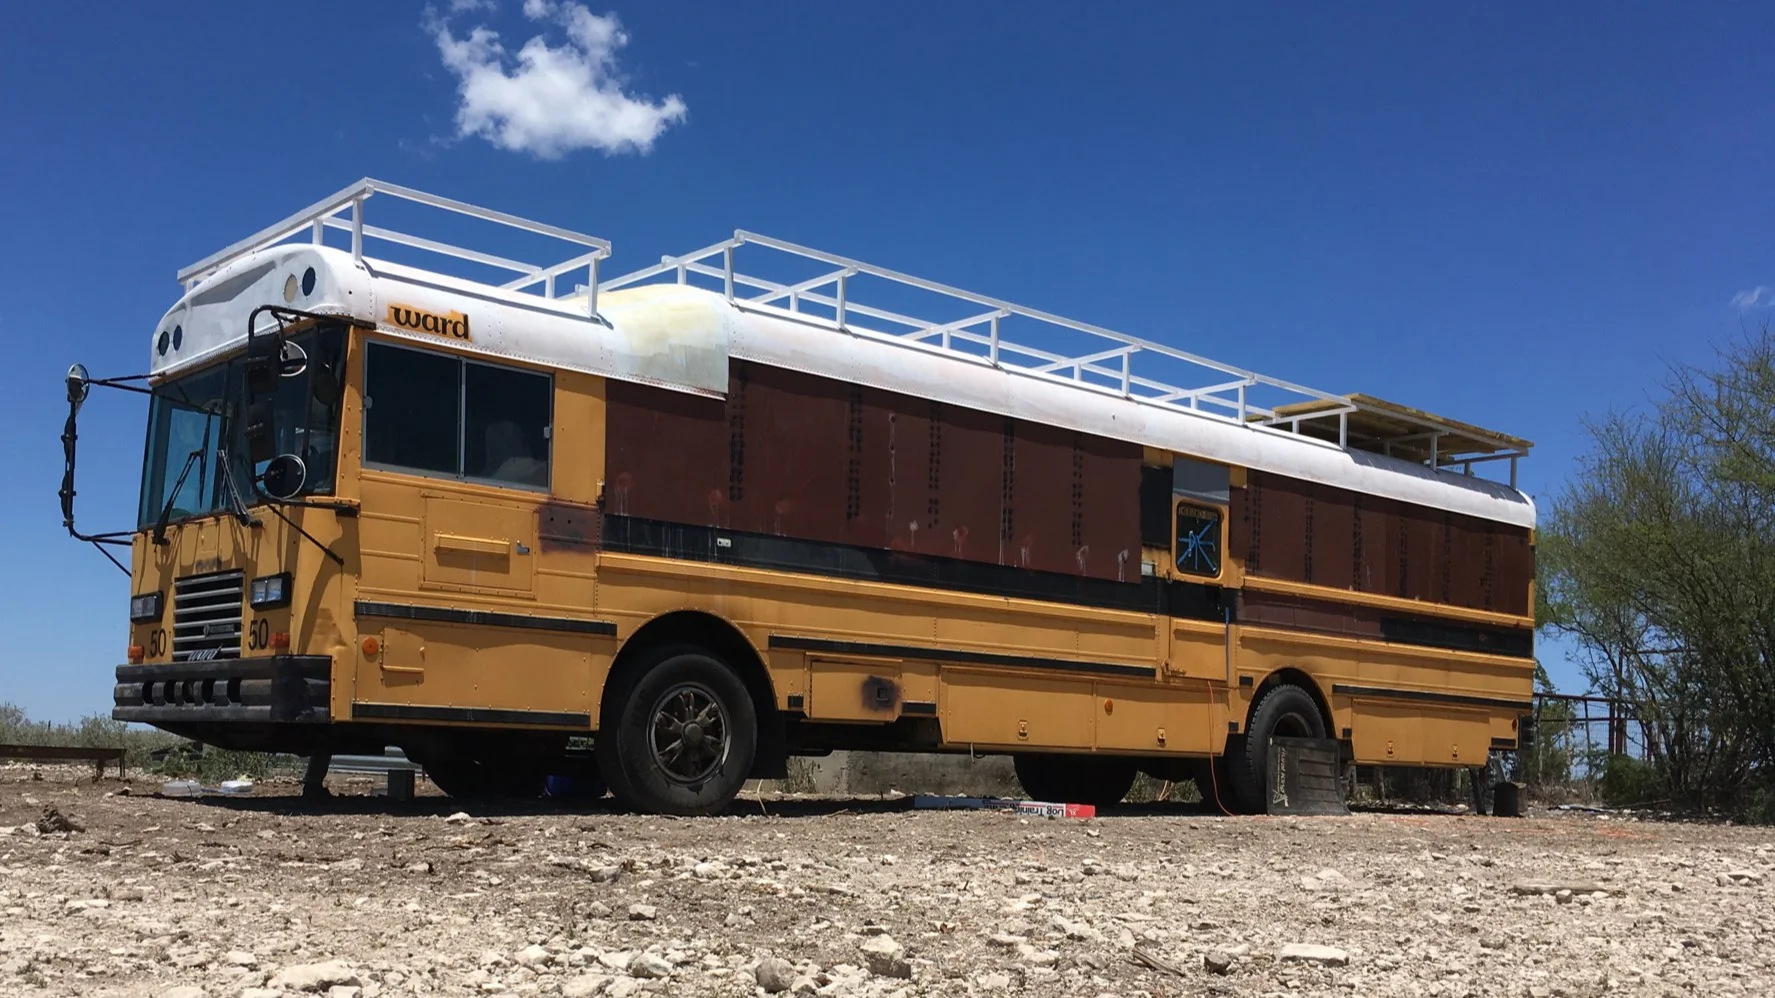
Post roof-raise. None of the windows fit anymore, and the same goes for the doors. It's going to be a long ride to Del Rio from Orlando.
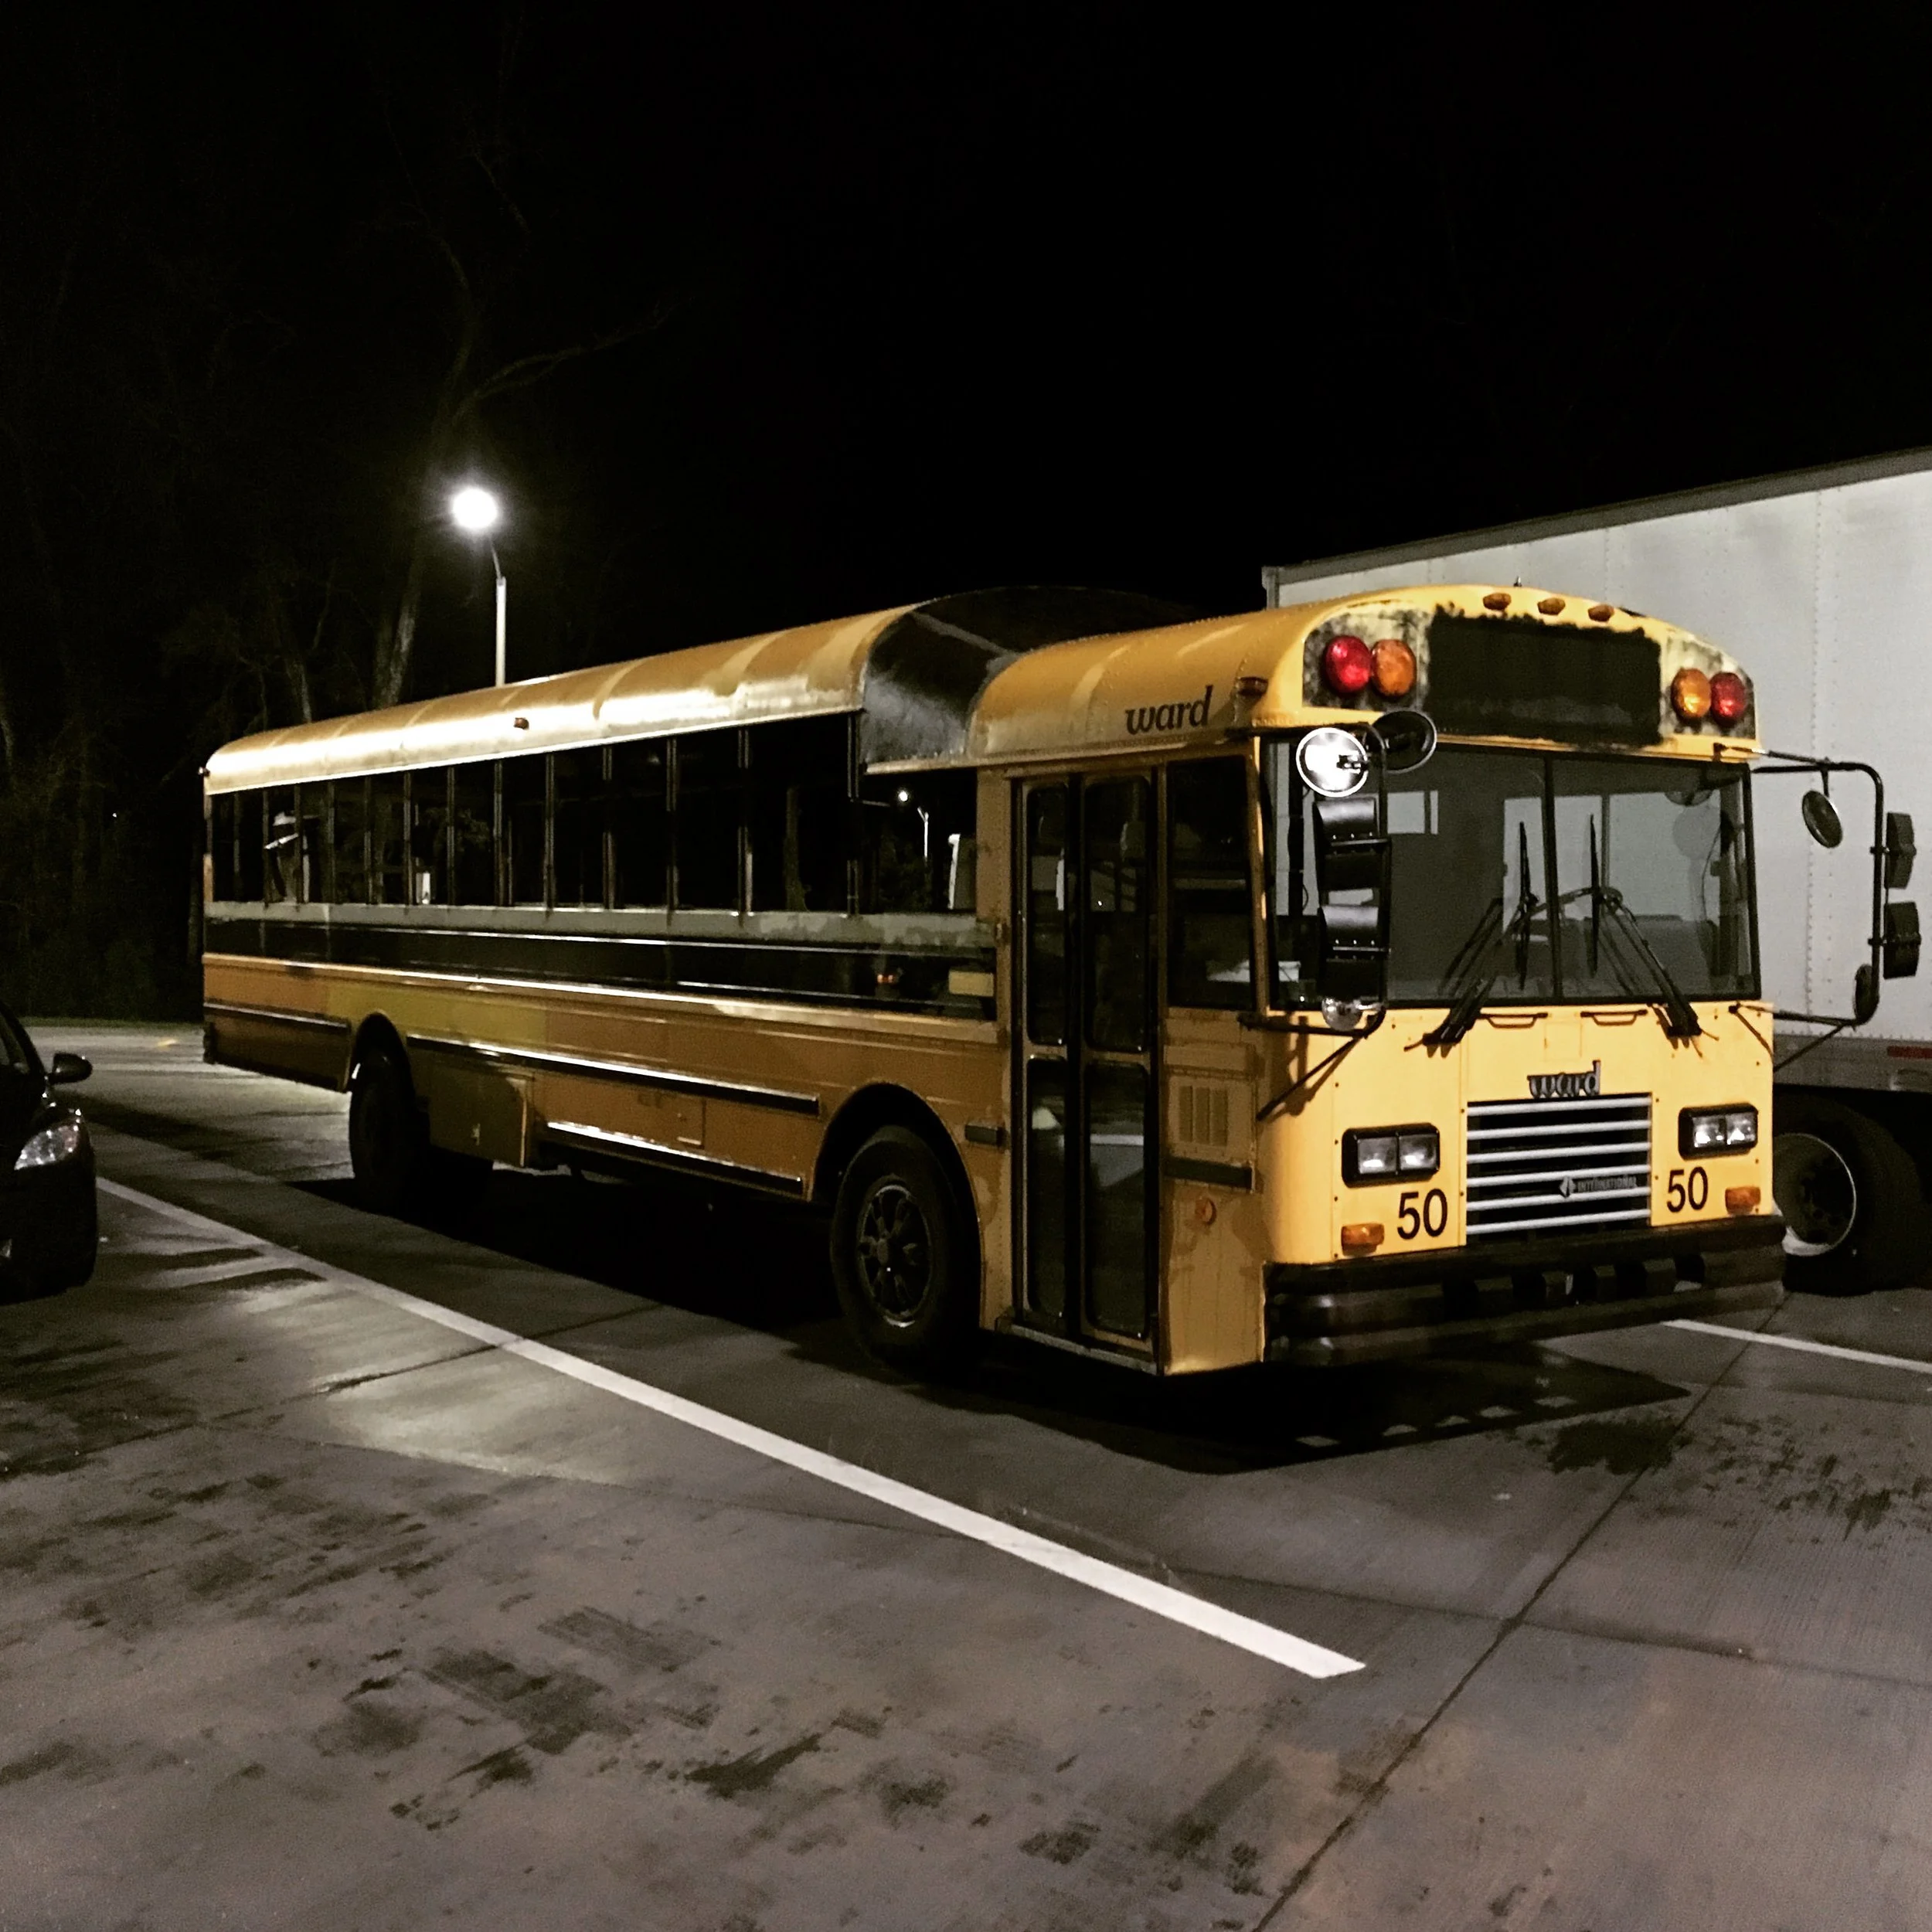
All set for the 1,300 mile drive to Del Rio, Texas. It turned out to be cold and very rainy.
Henceforth known as "Derelicte," the 40' Ward Senator will become a tiny house. Currently in transit in the rain from Orlando to Del Rio, Tx. Only about 1,300 miles and averaged about 8mpg. There were no windows for this drive in late November... in the rain... and with no windows. At least the heaters worked.
50/50 it either will become a tiny house or it won't. Only time (and my determination) will tell.
I washed the floor with TSP which is an industrial strength cleaner that primarily removes oil from metal as a preparation for painting.
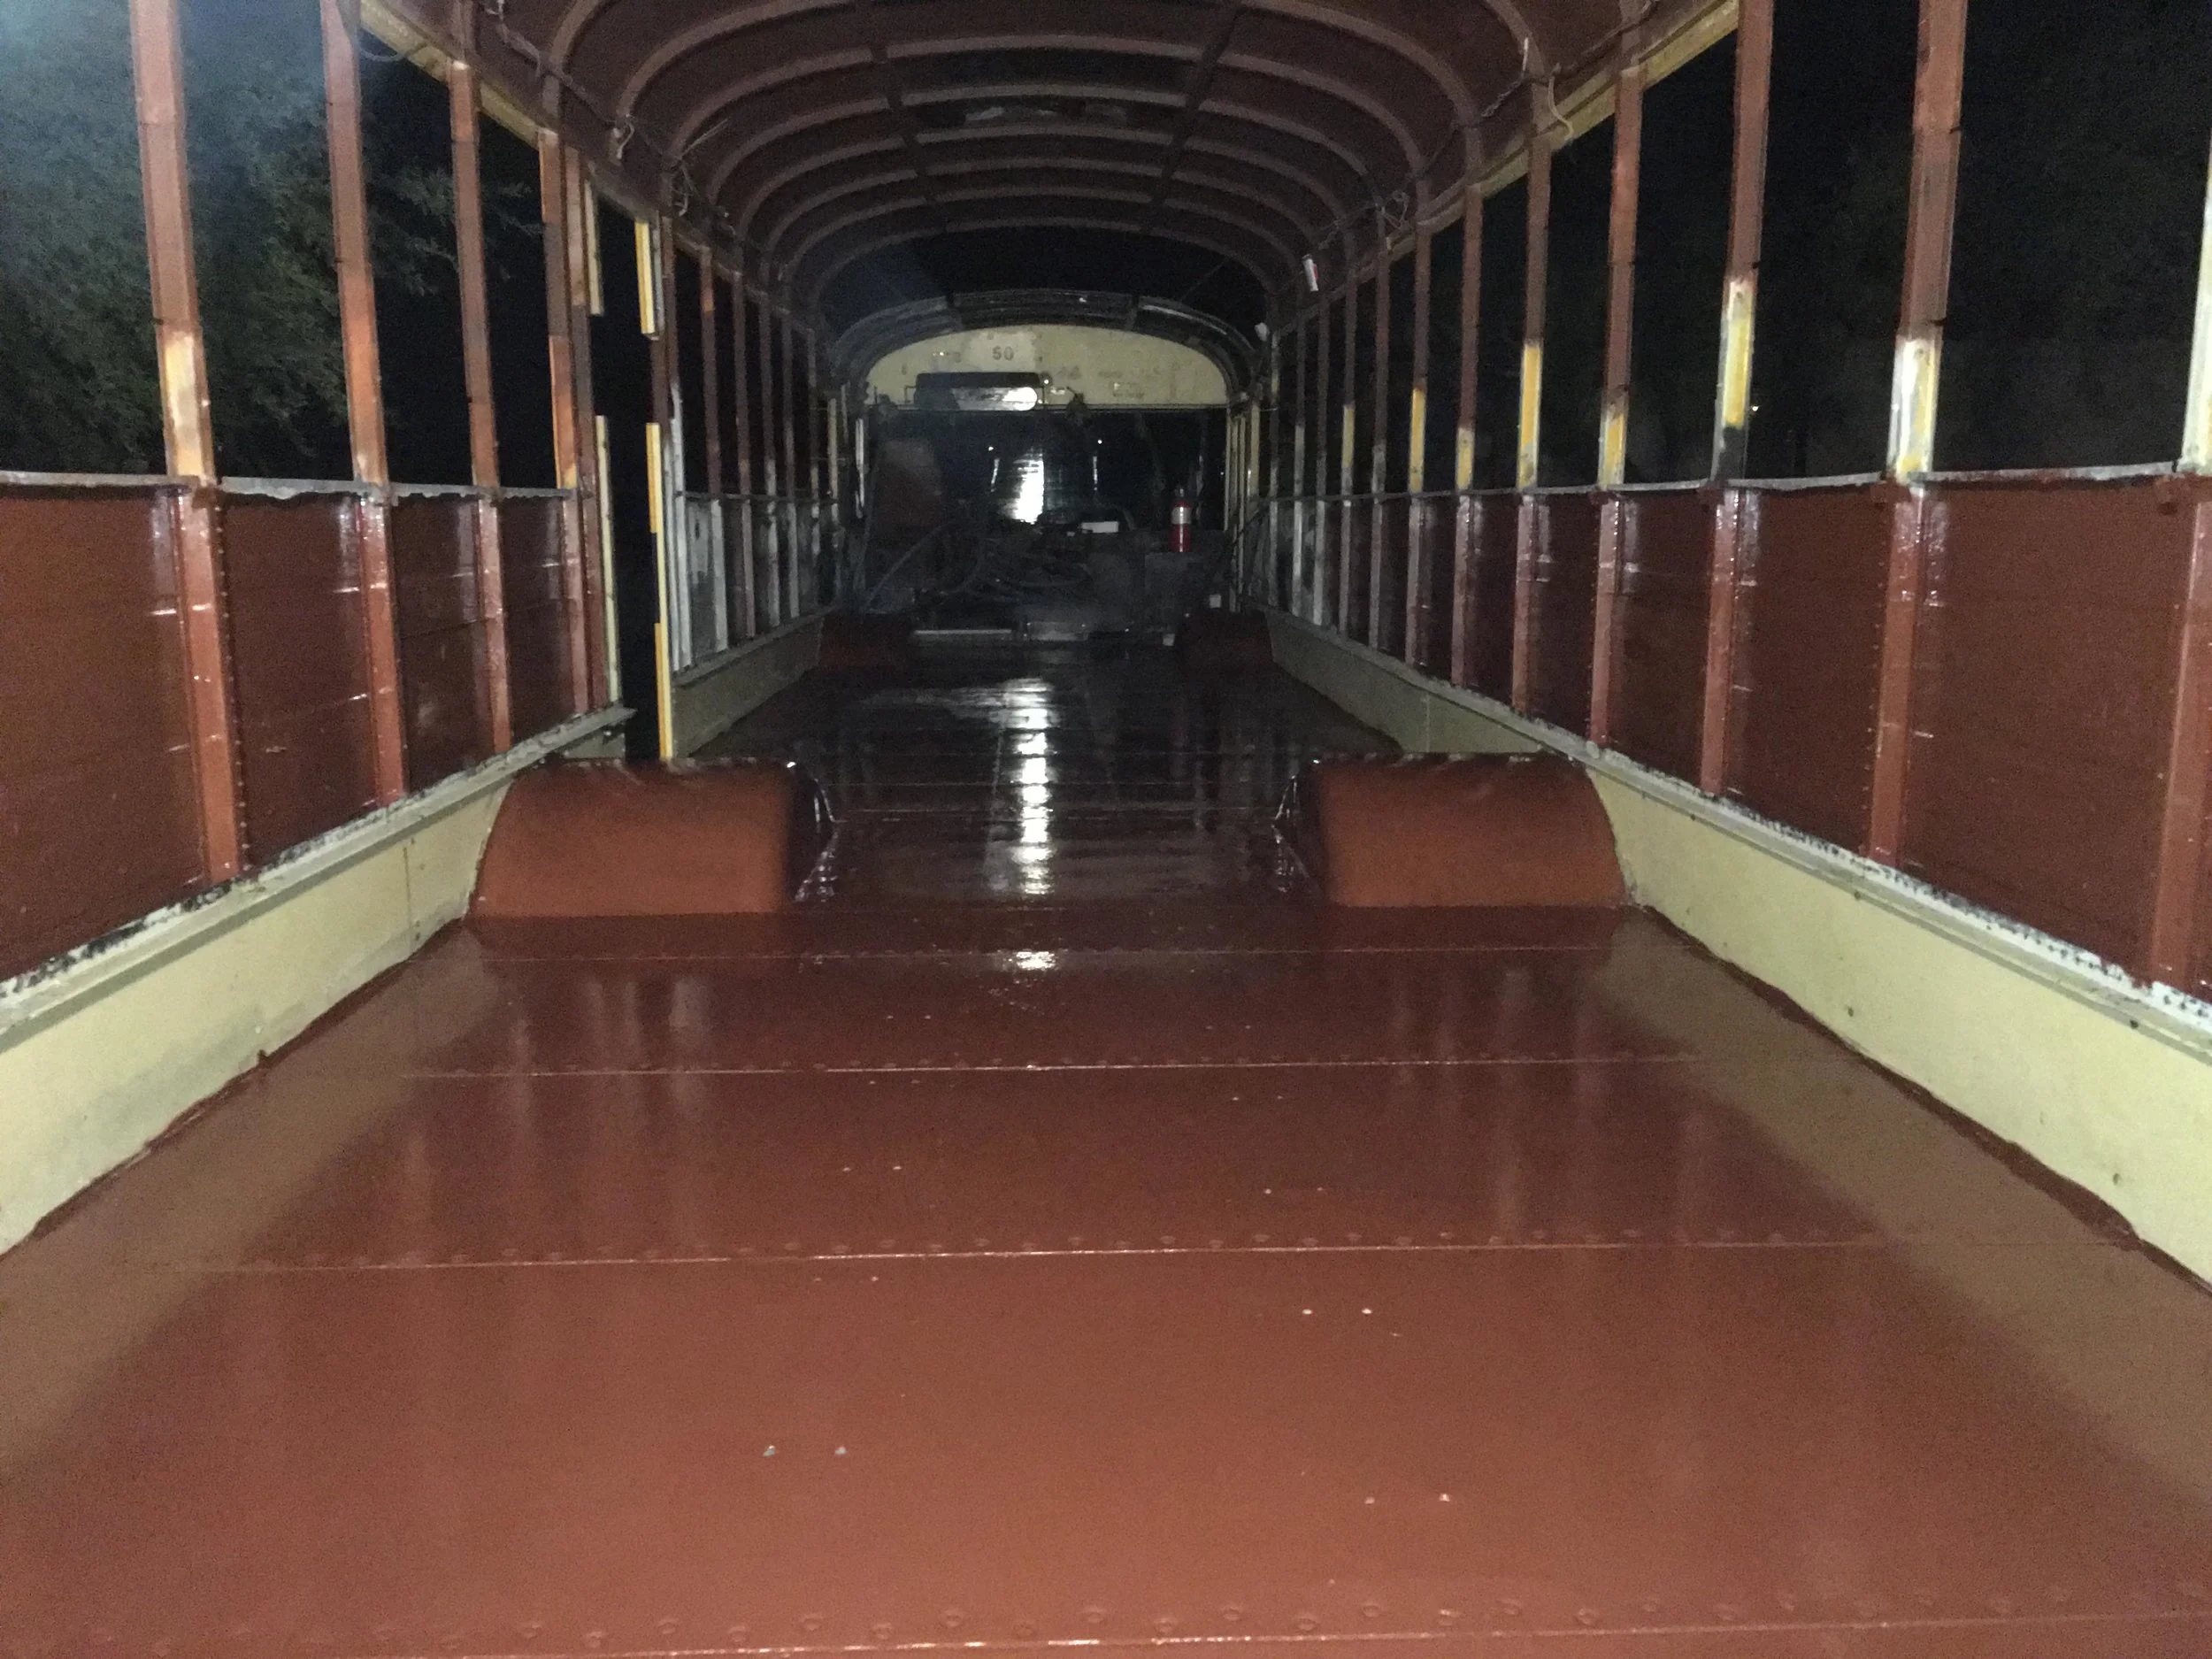
I've just applied OSPHO to the floor the night before. That's why the floor has a white chalky appearance to it. The floor is ready to be painted!
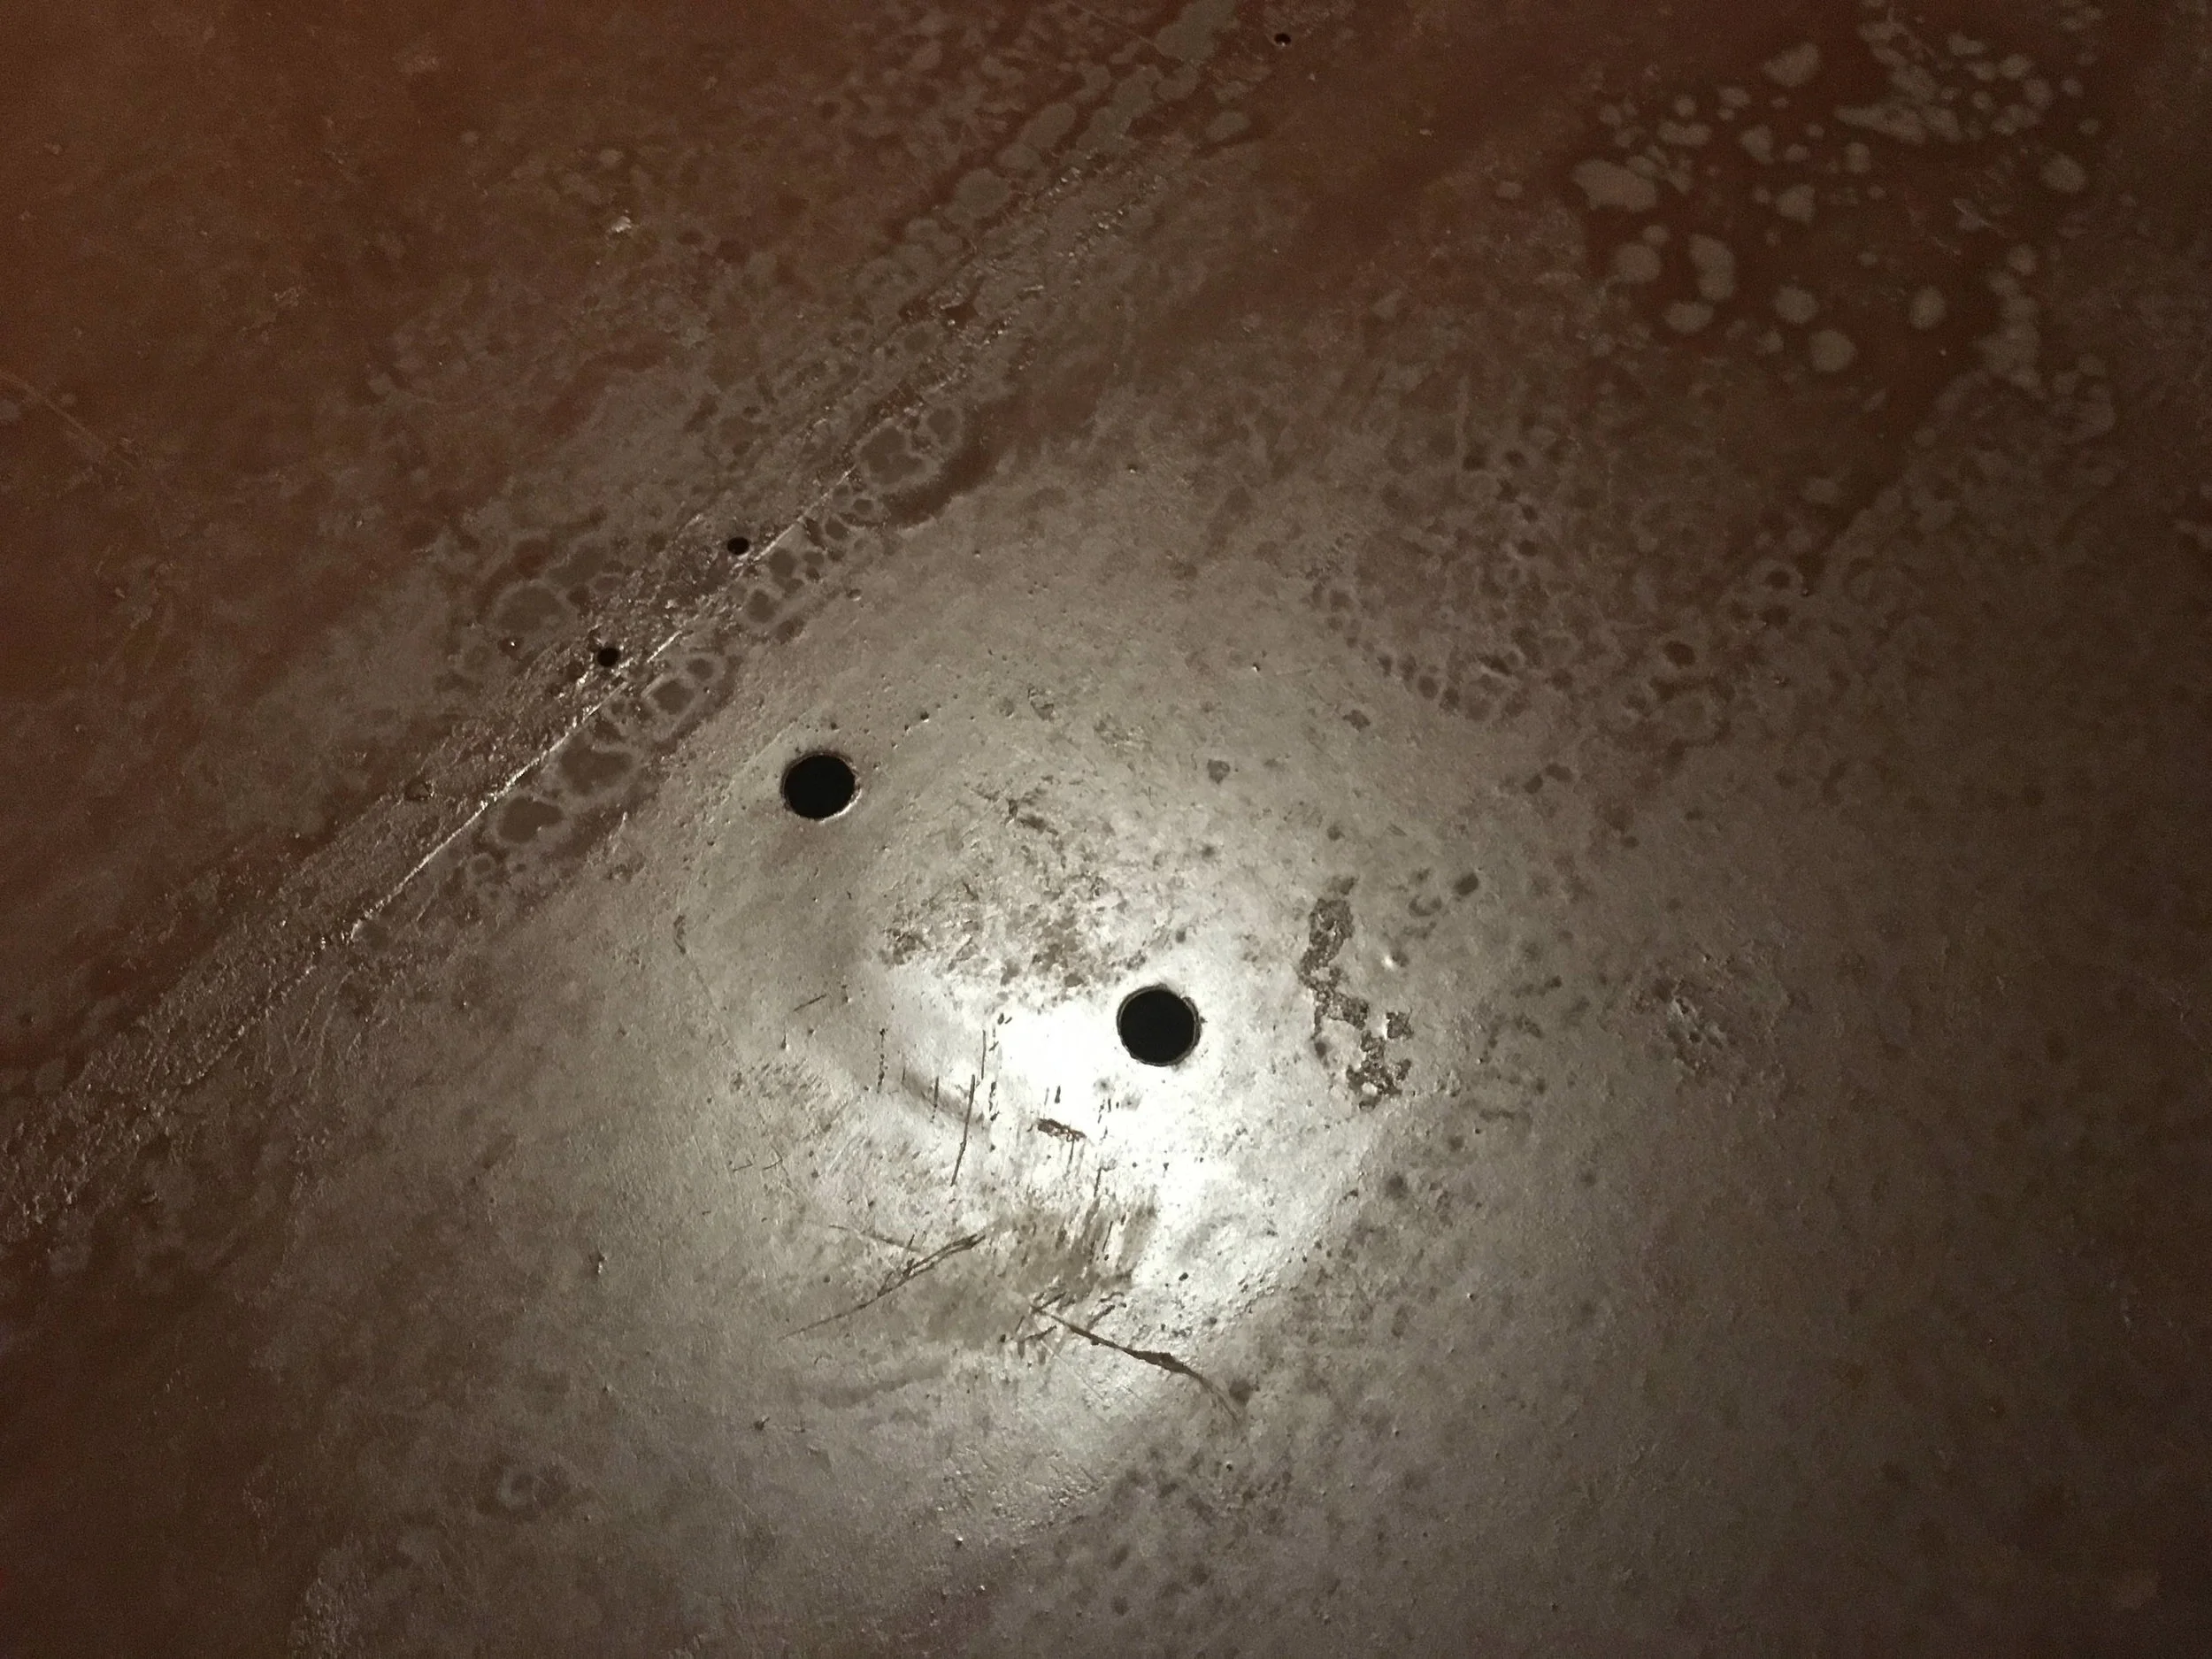
School bus manufacturers build on quite the budget... and as a result they drill with complete disregard into the steel flooring. It's a minor miracle that there wasn't really any rust on the bottom of this bus. These holes were large and there were 119 of them.
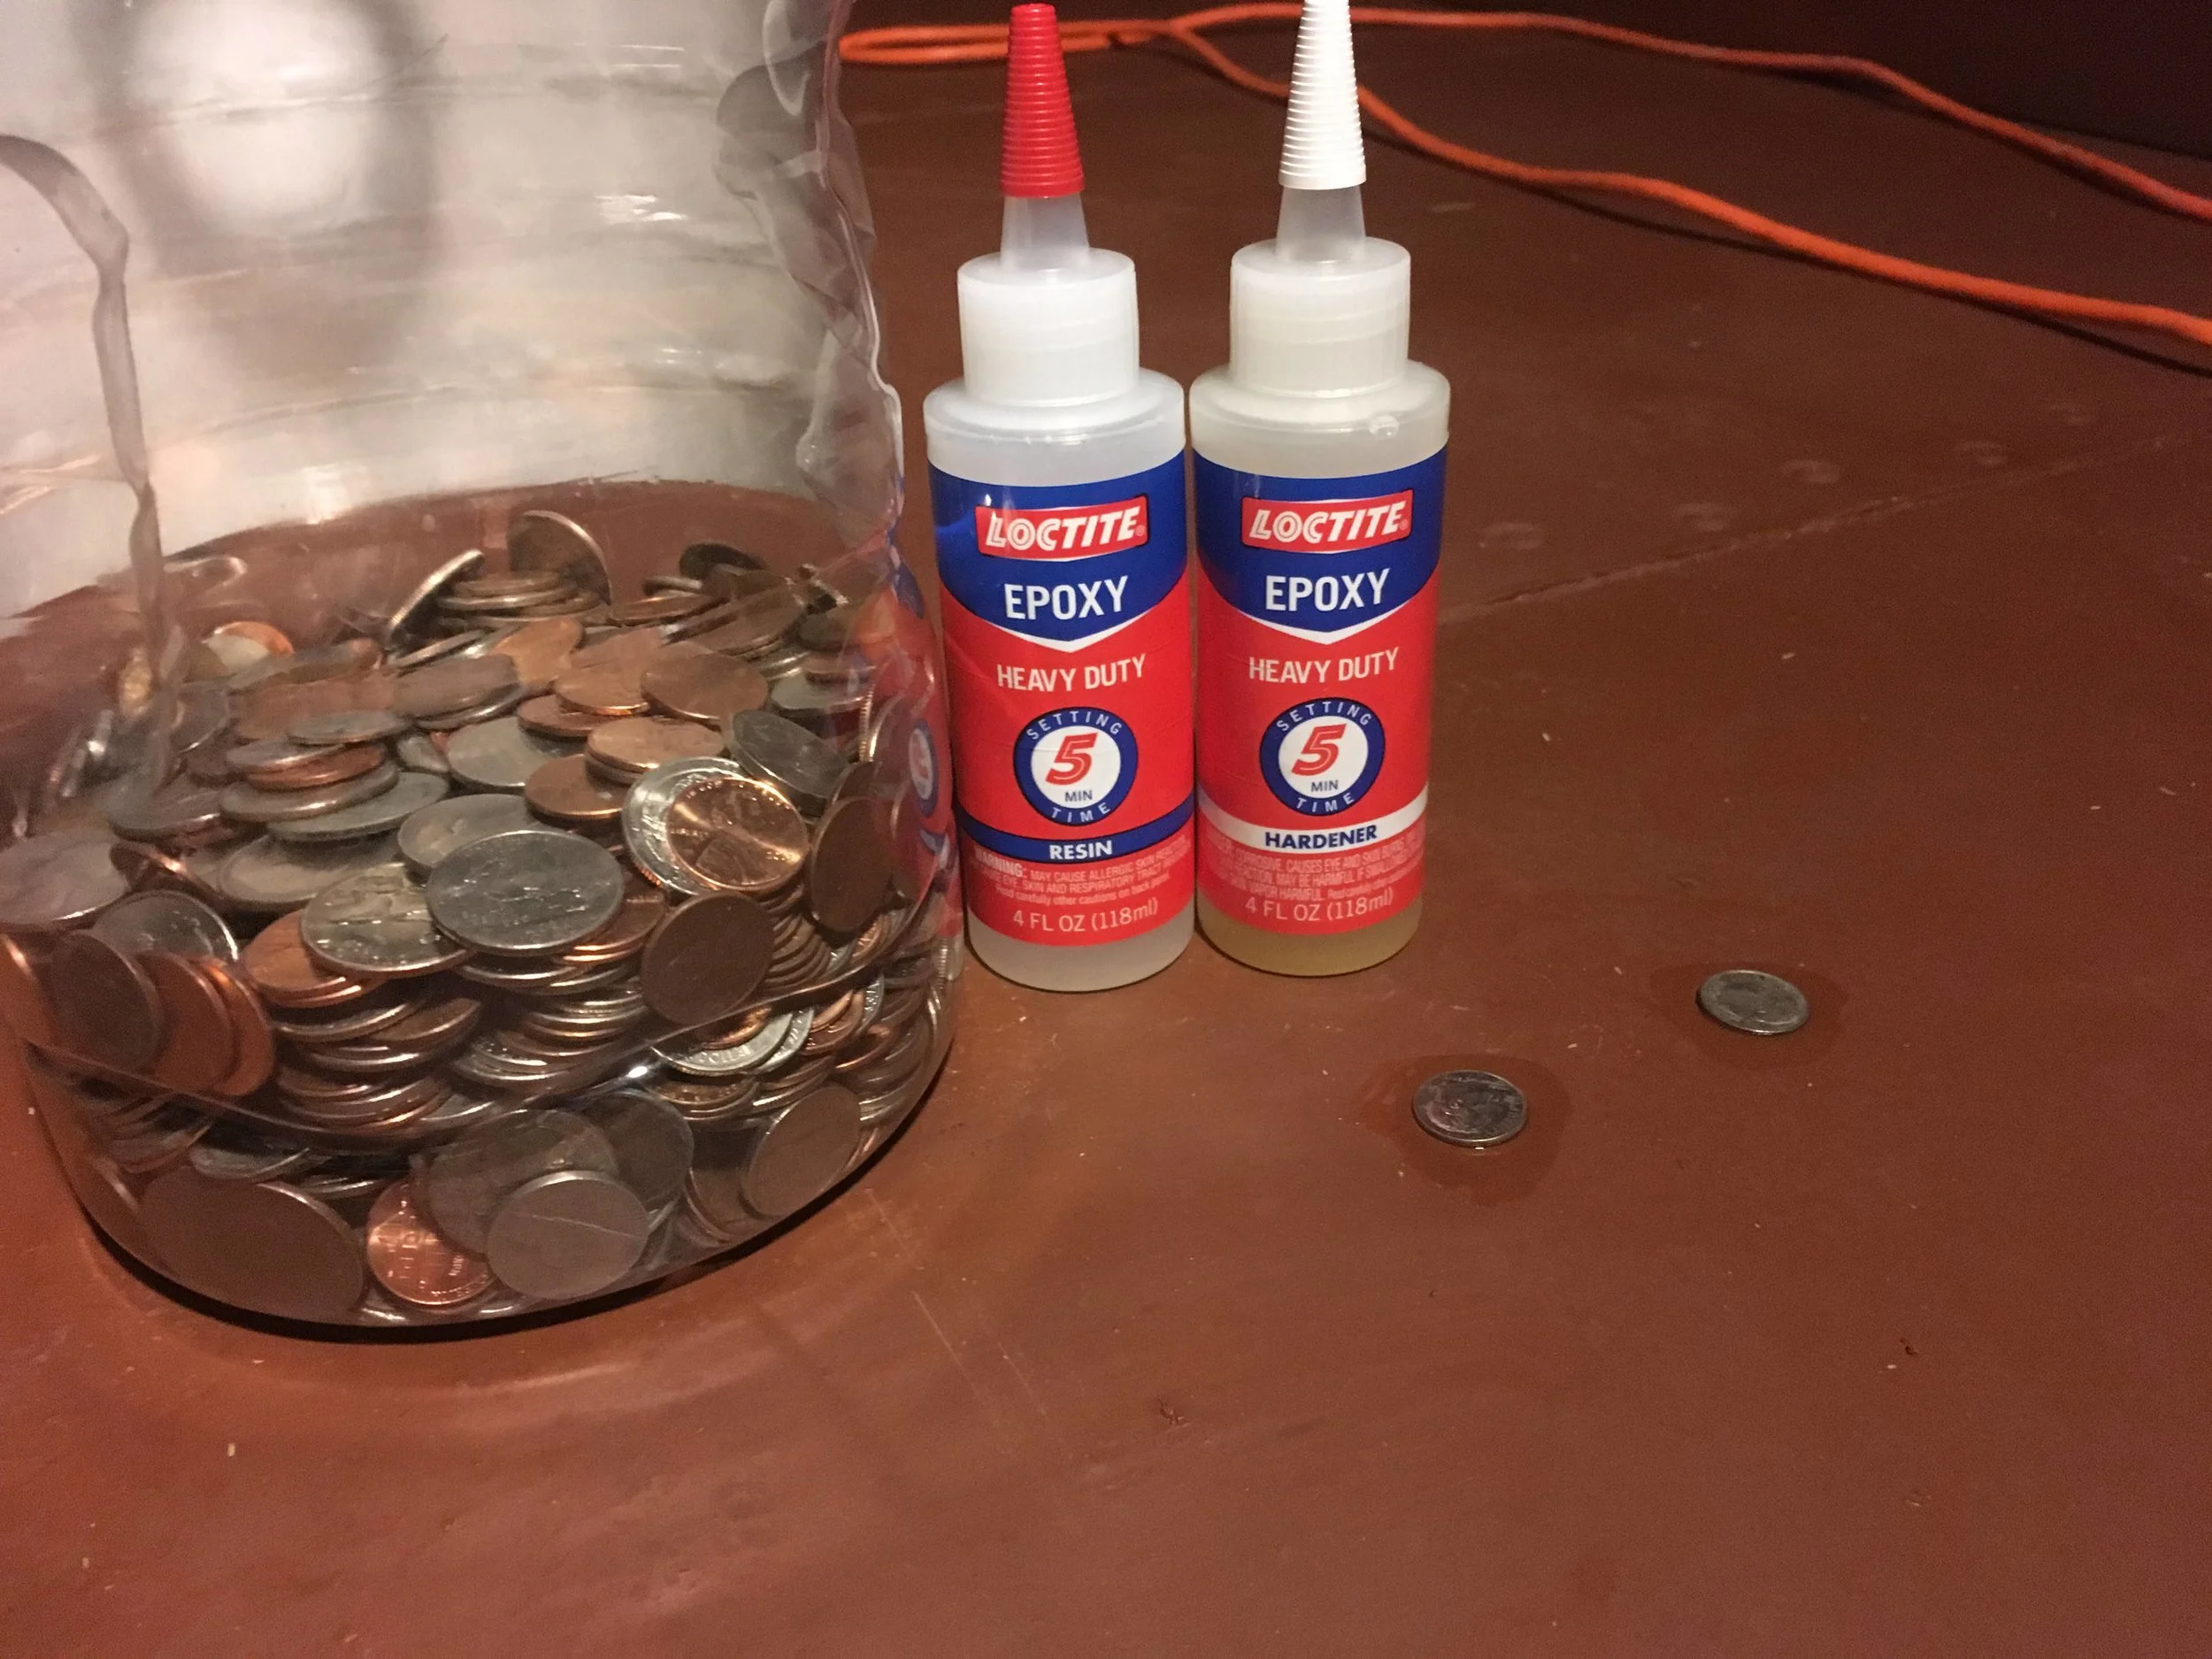
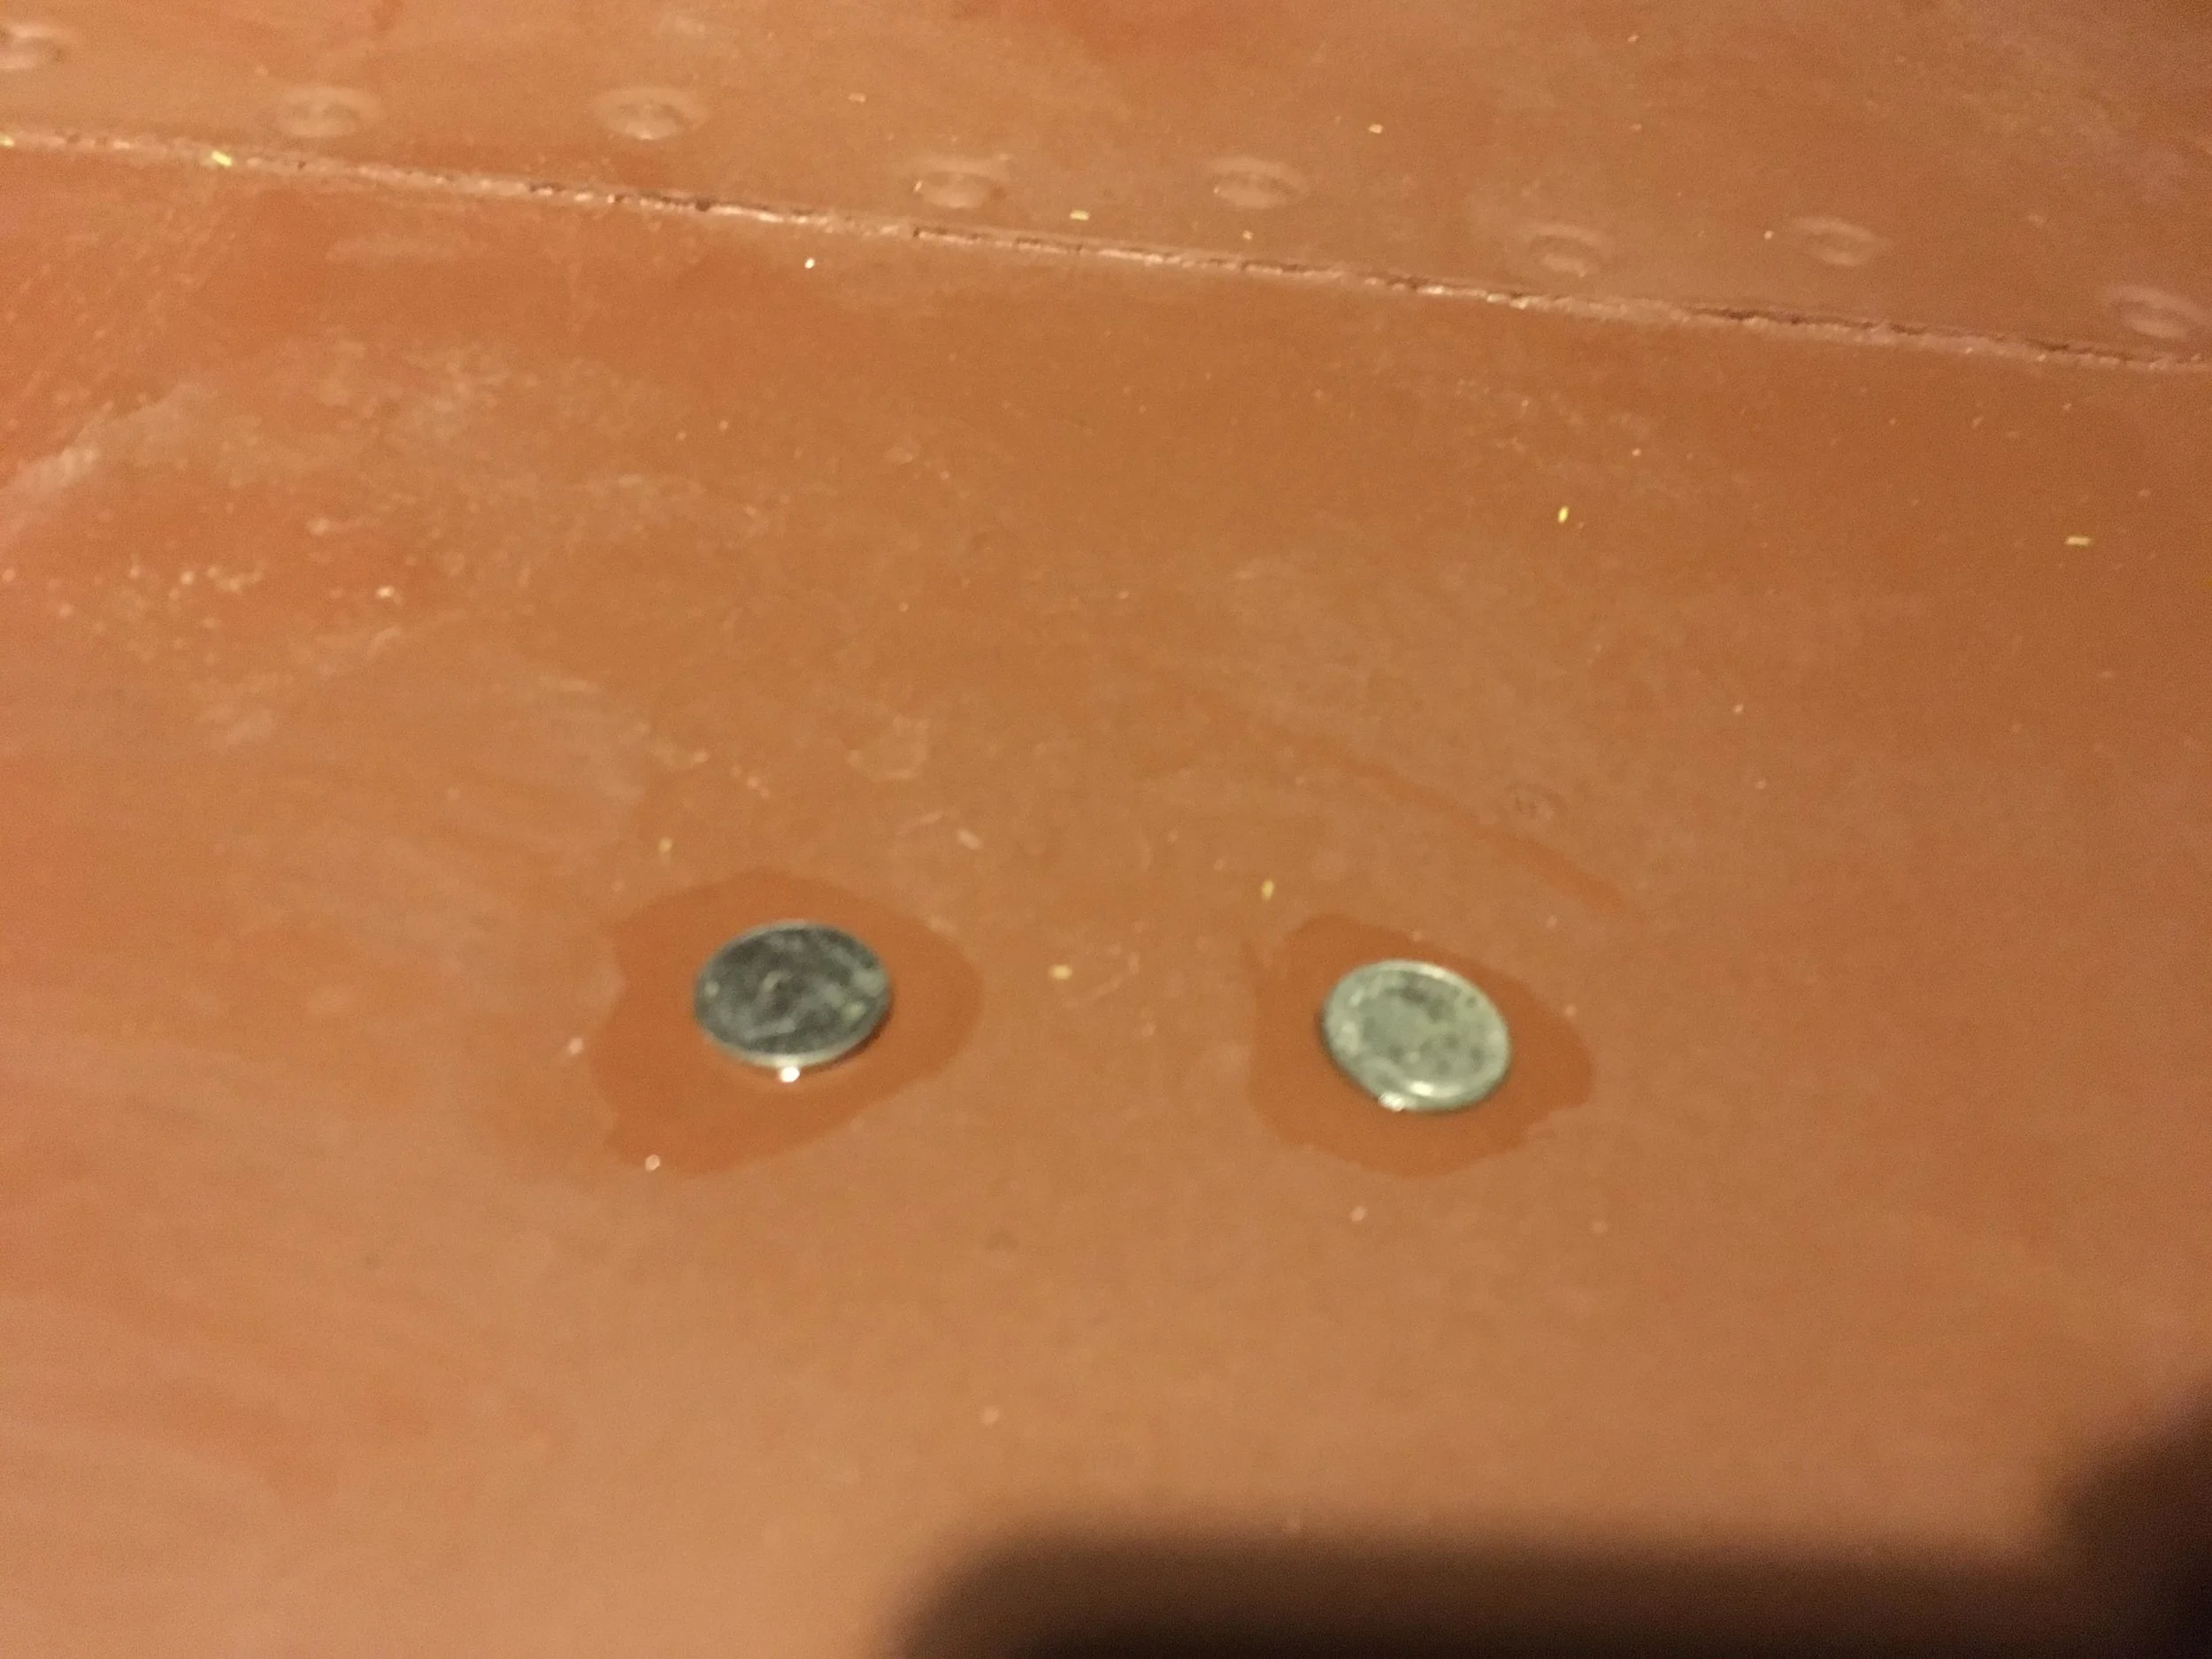
Epoxy and some coins. Talk about a cheap fix to cover the holes. I can totally remove the coins... so it isn't destruction of US currency. ;)
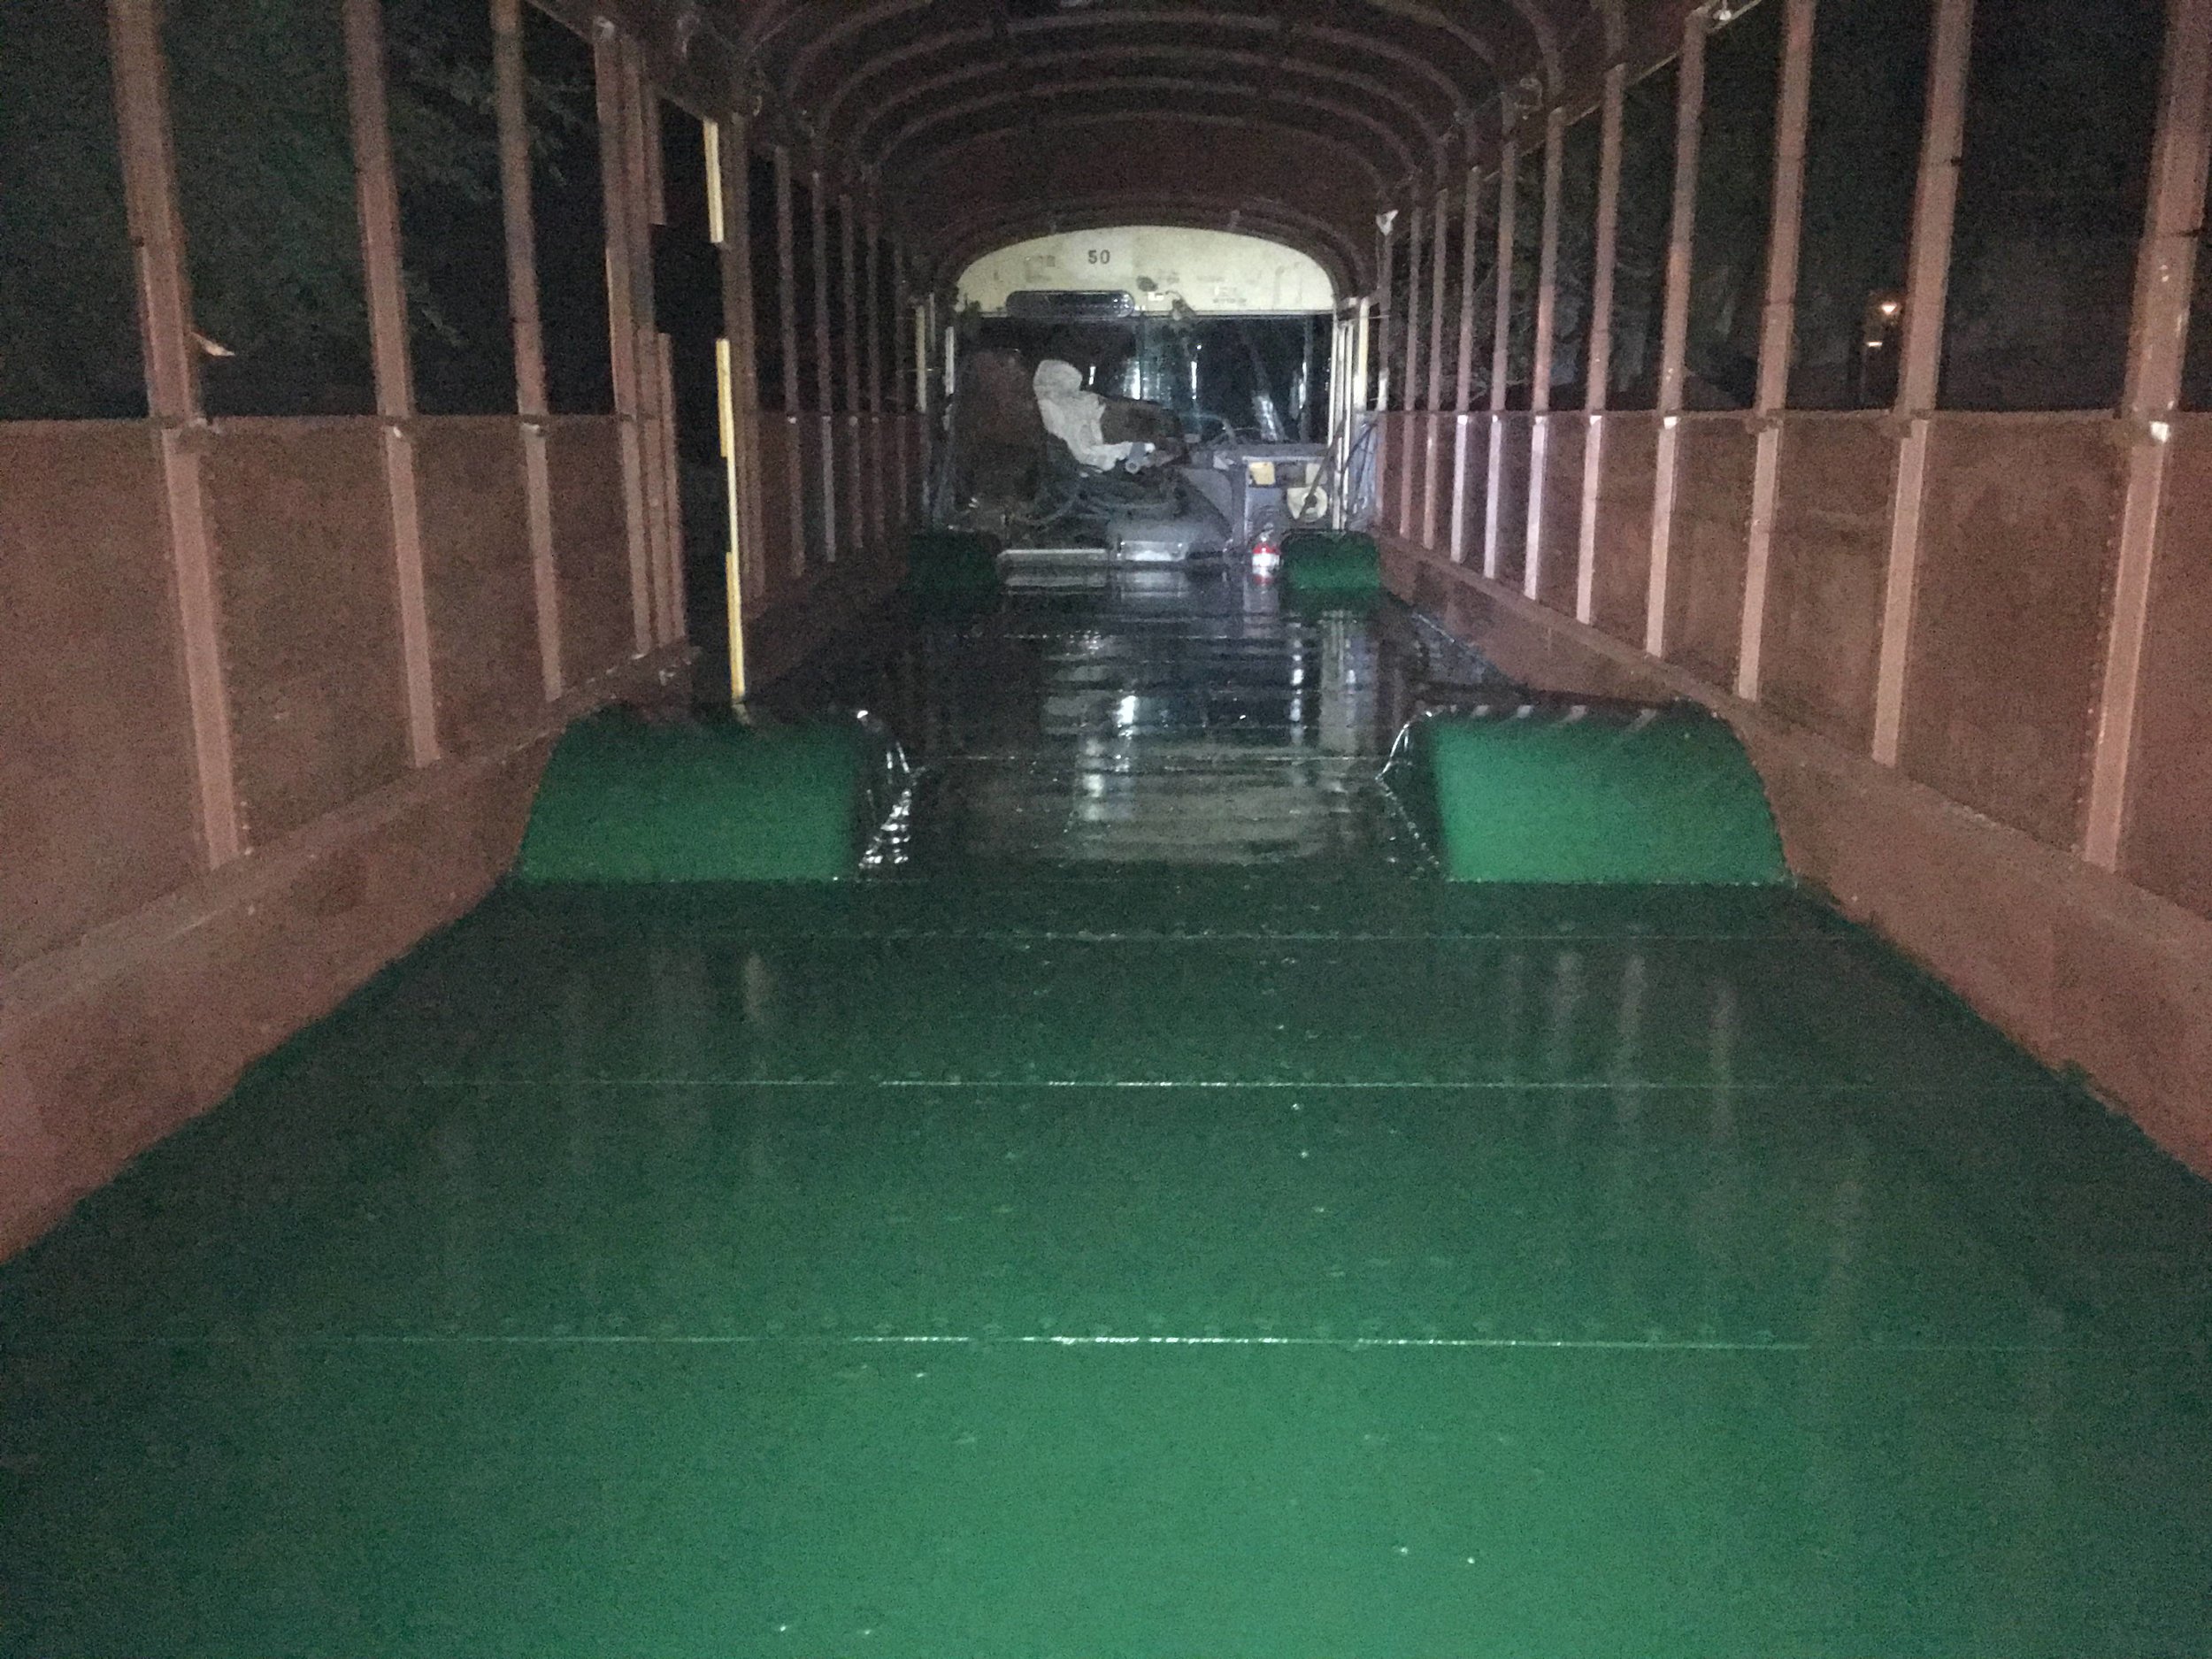
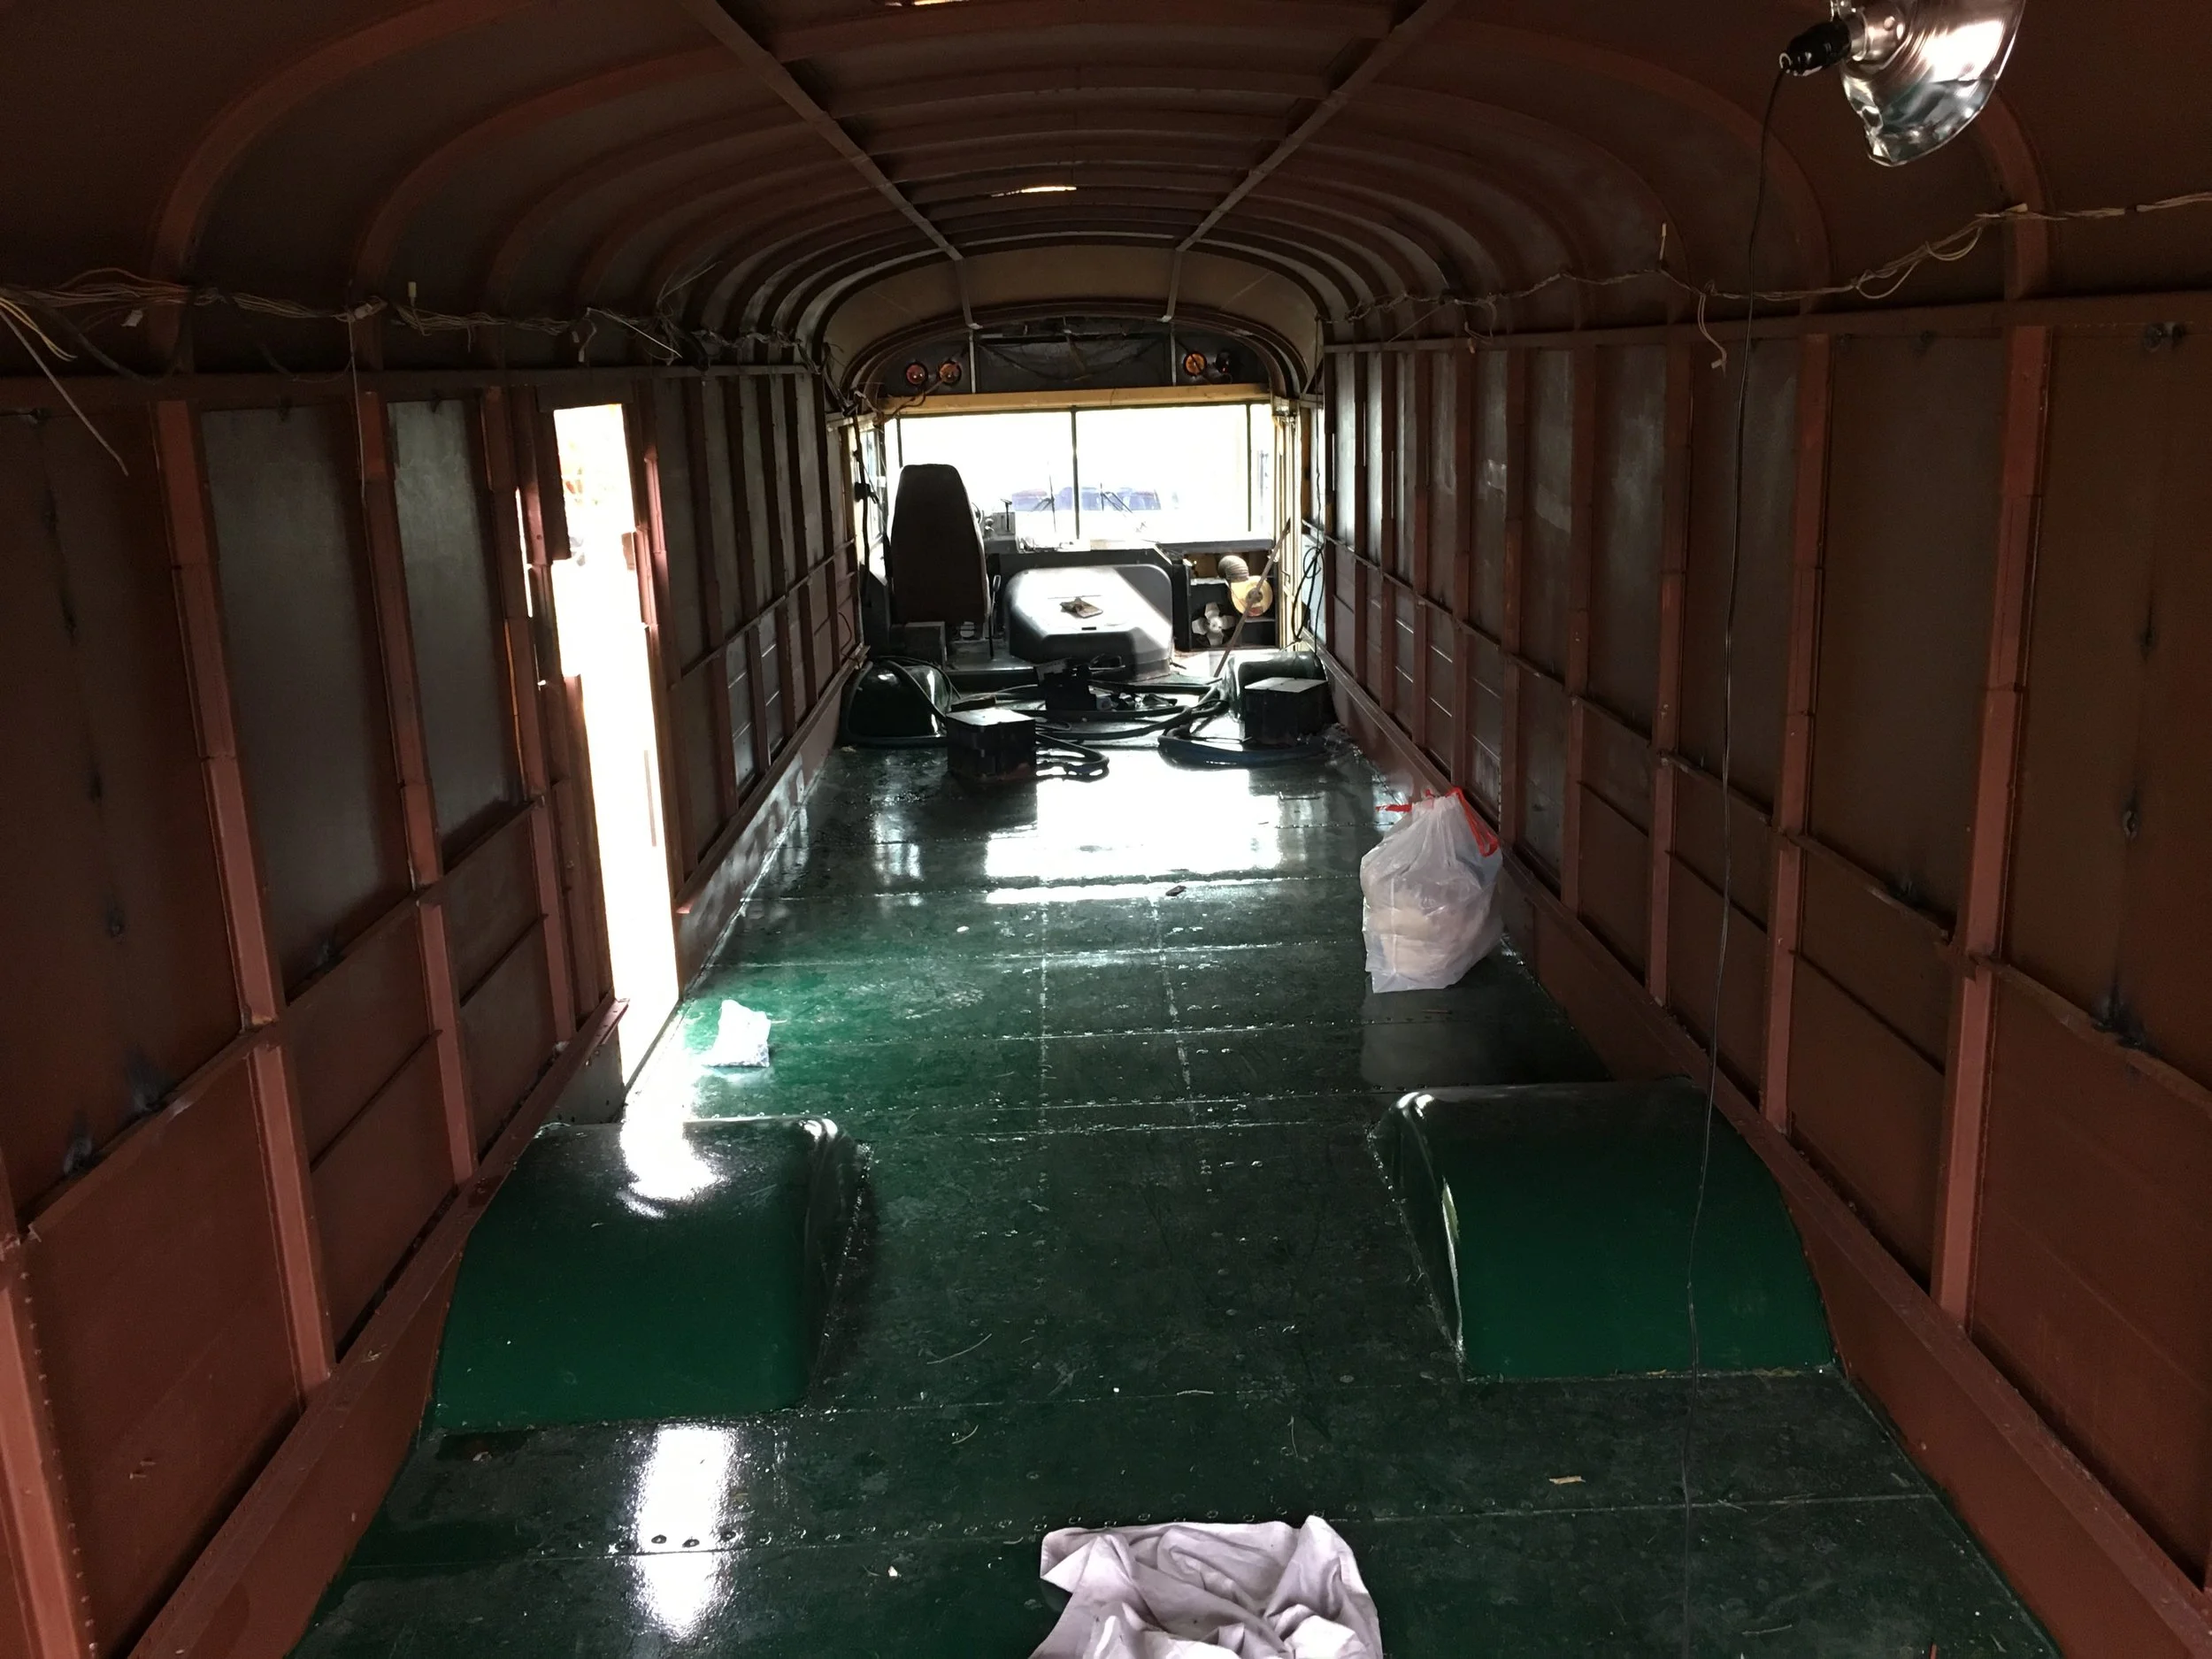
Just put down the acryclic top-coat on top of the 2 layers of Rustoleum Rust Reformer.
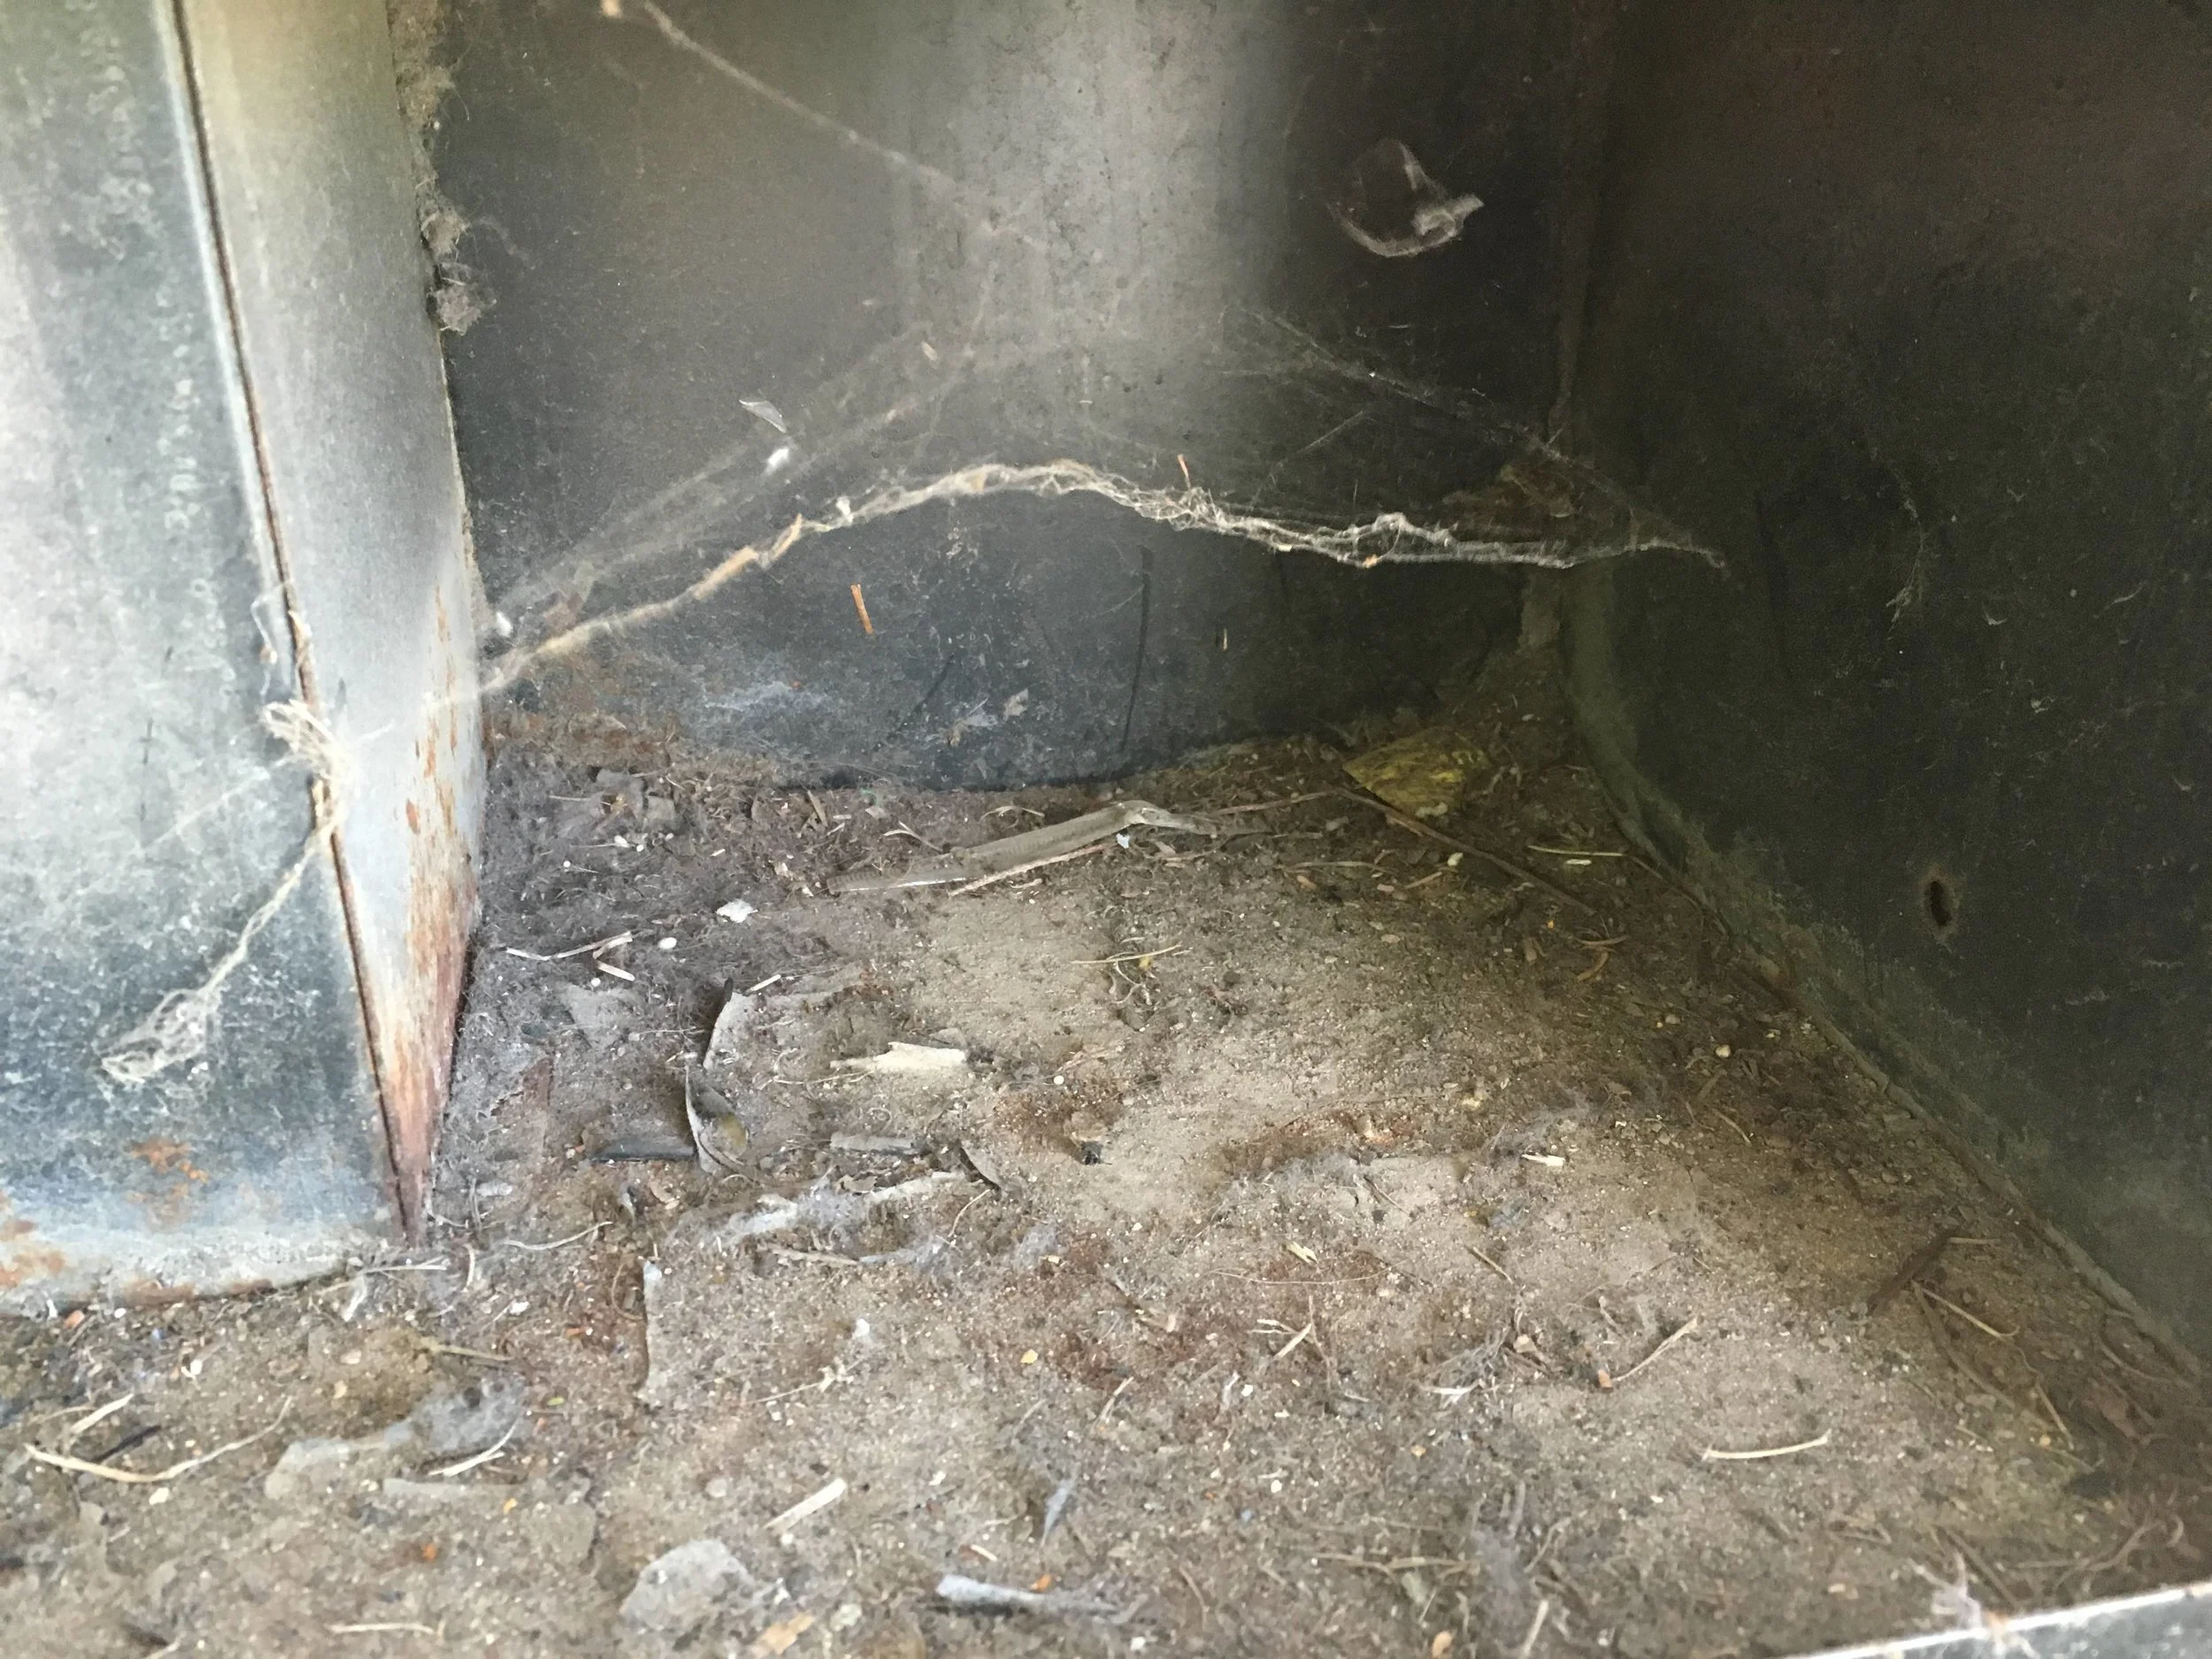
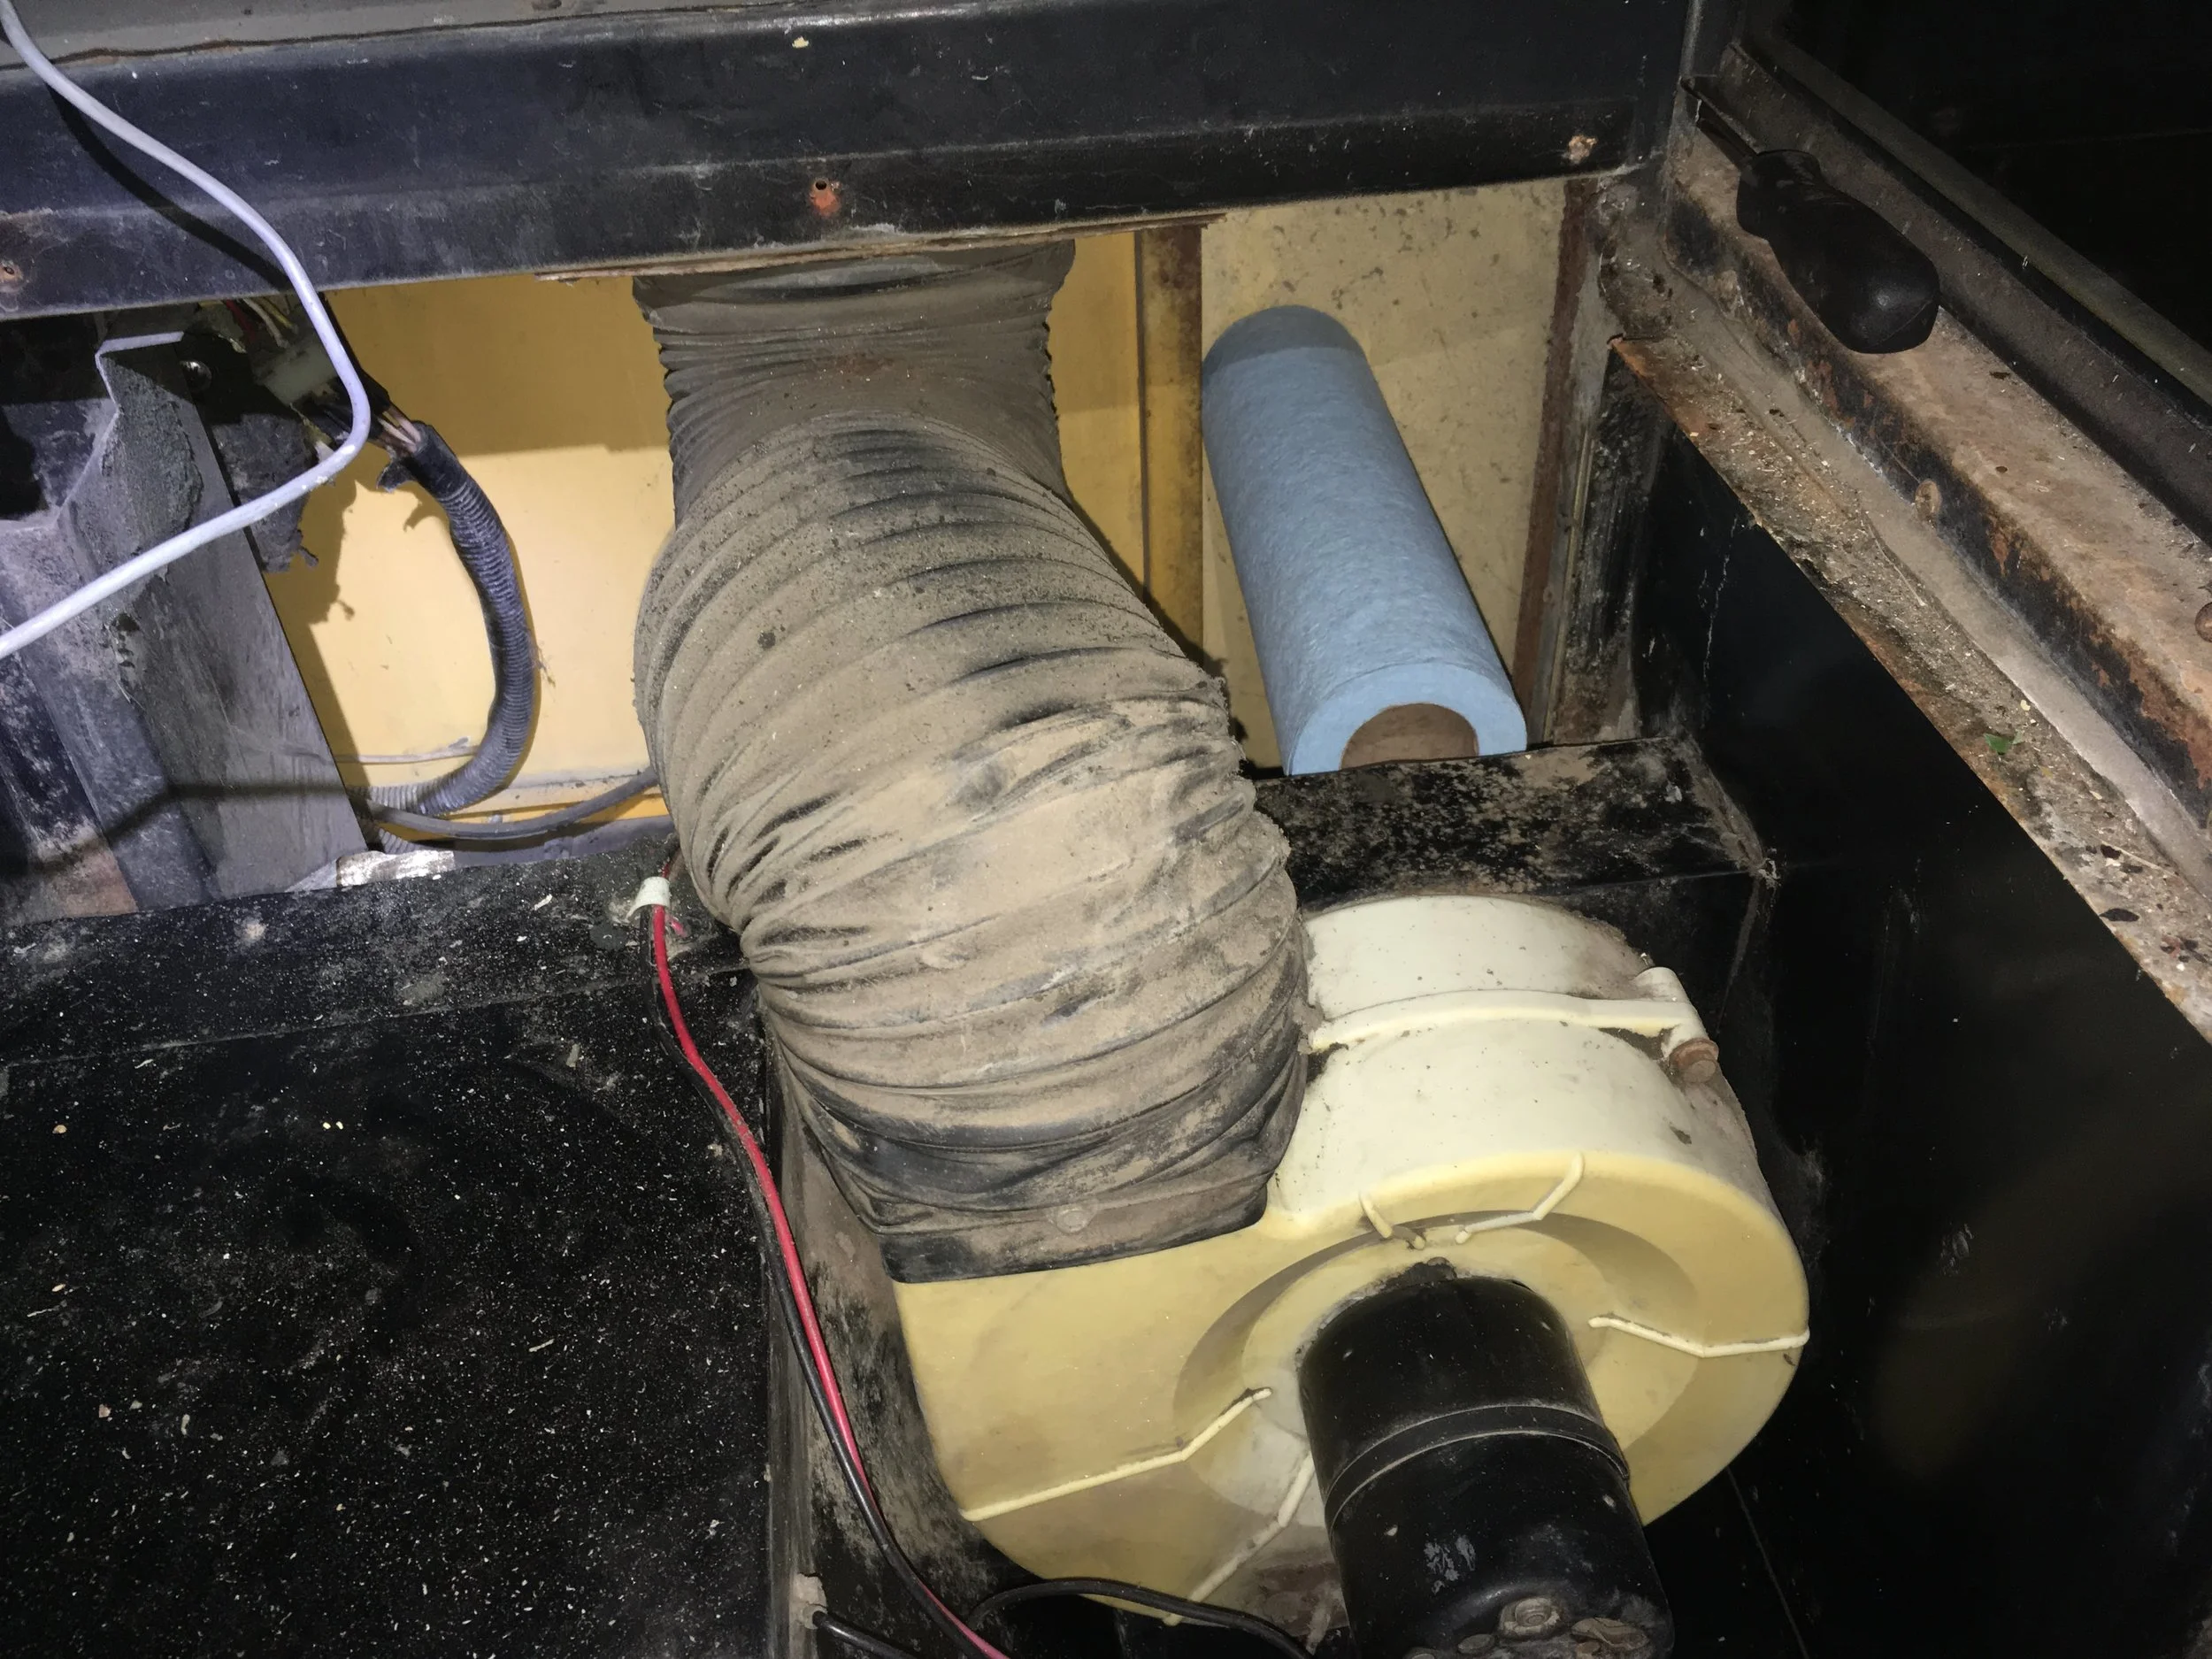
It was pretty dirty in here. 20+ years of snot, boogers, etc... but the wiring still worked.
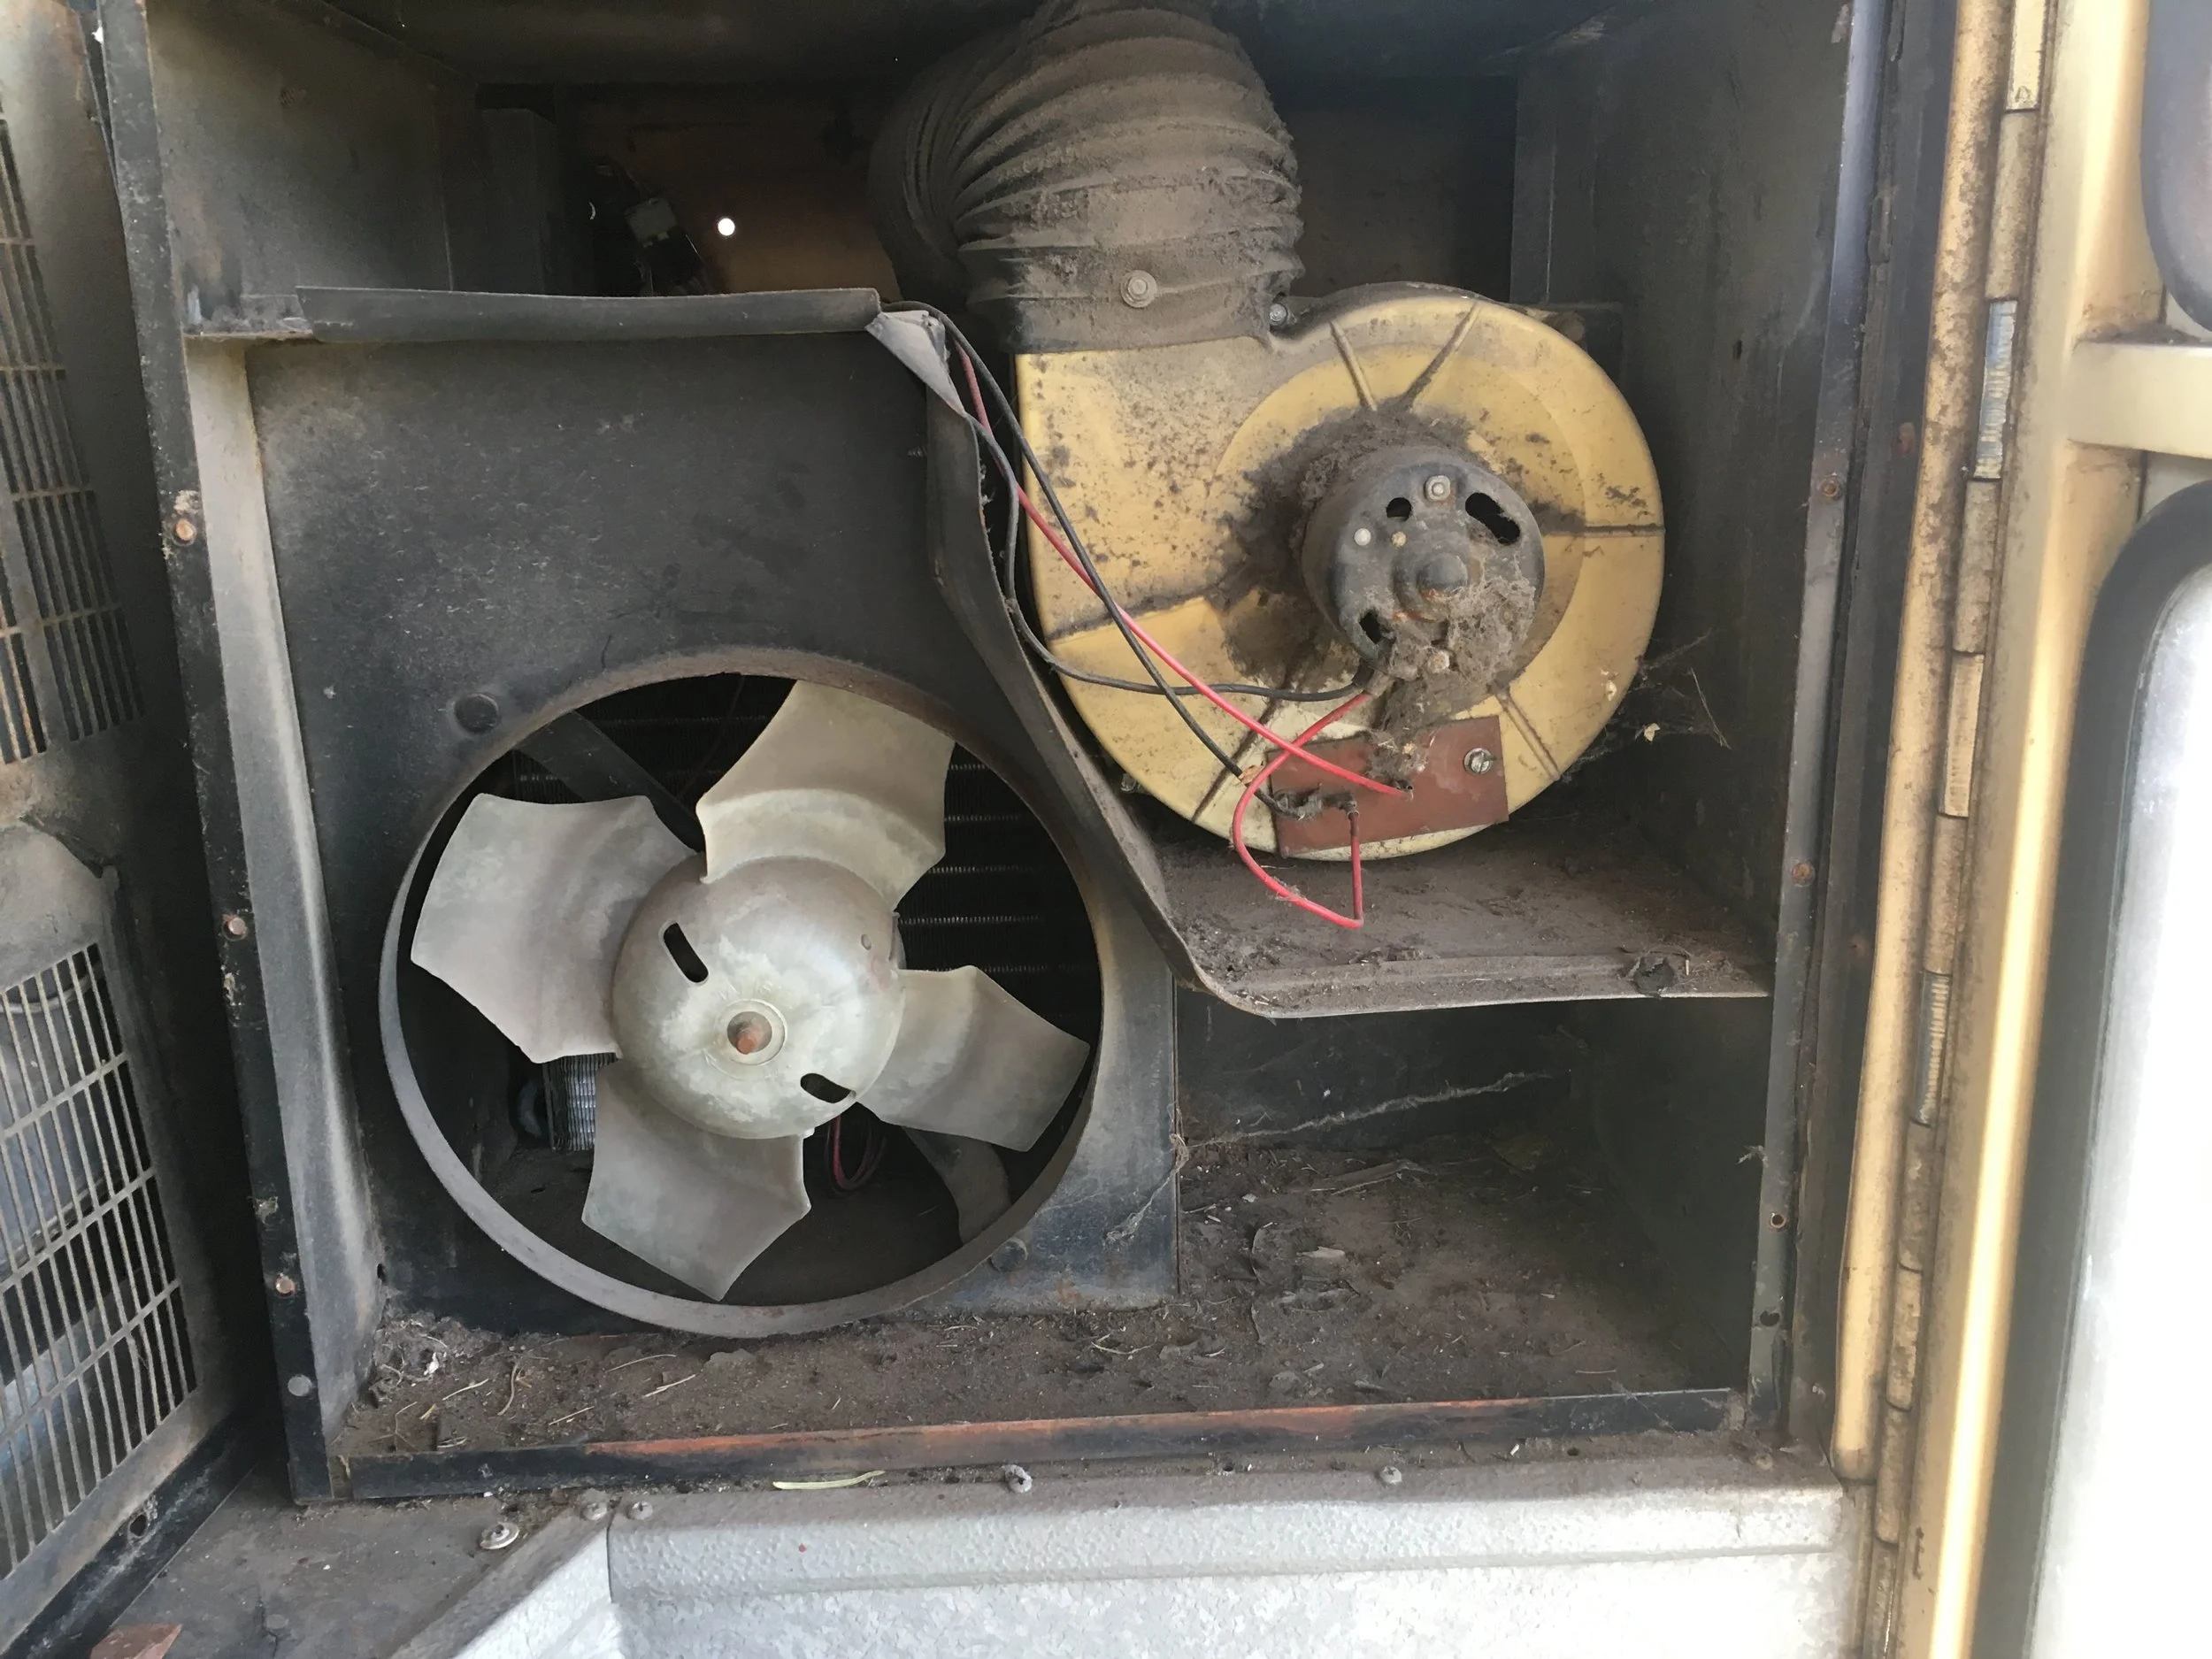
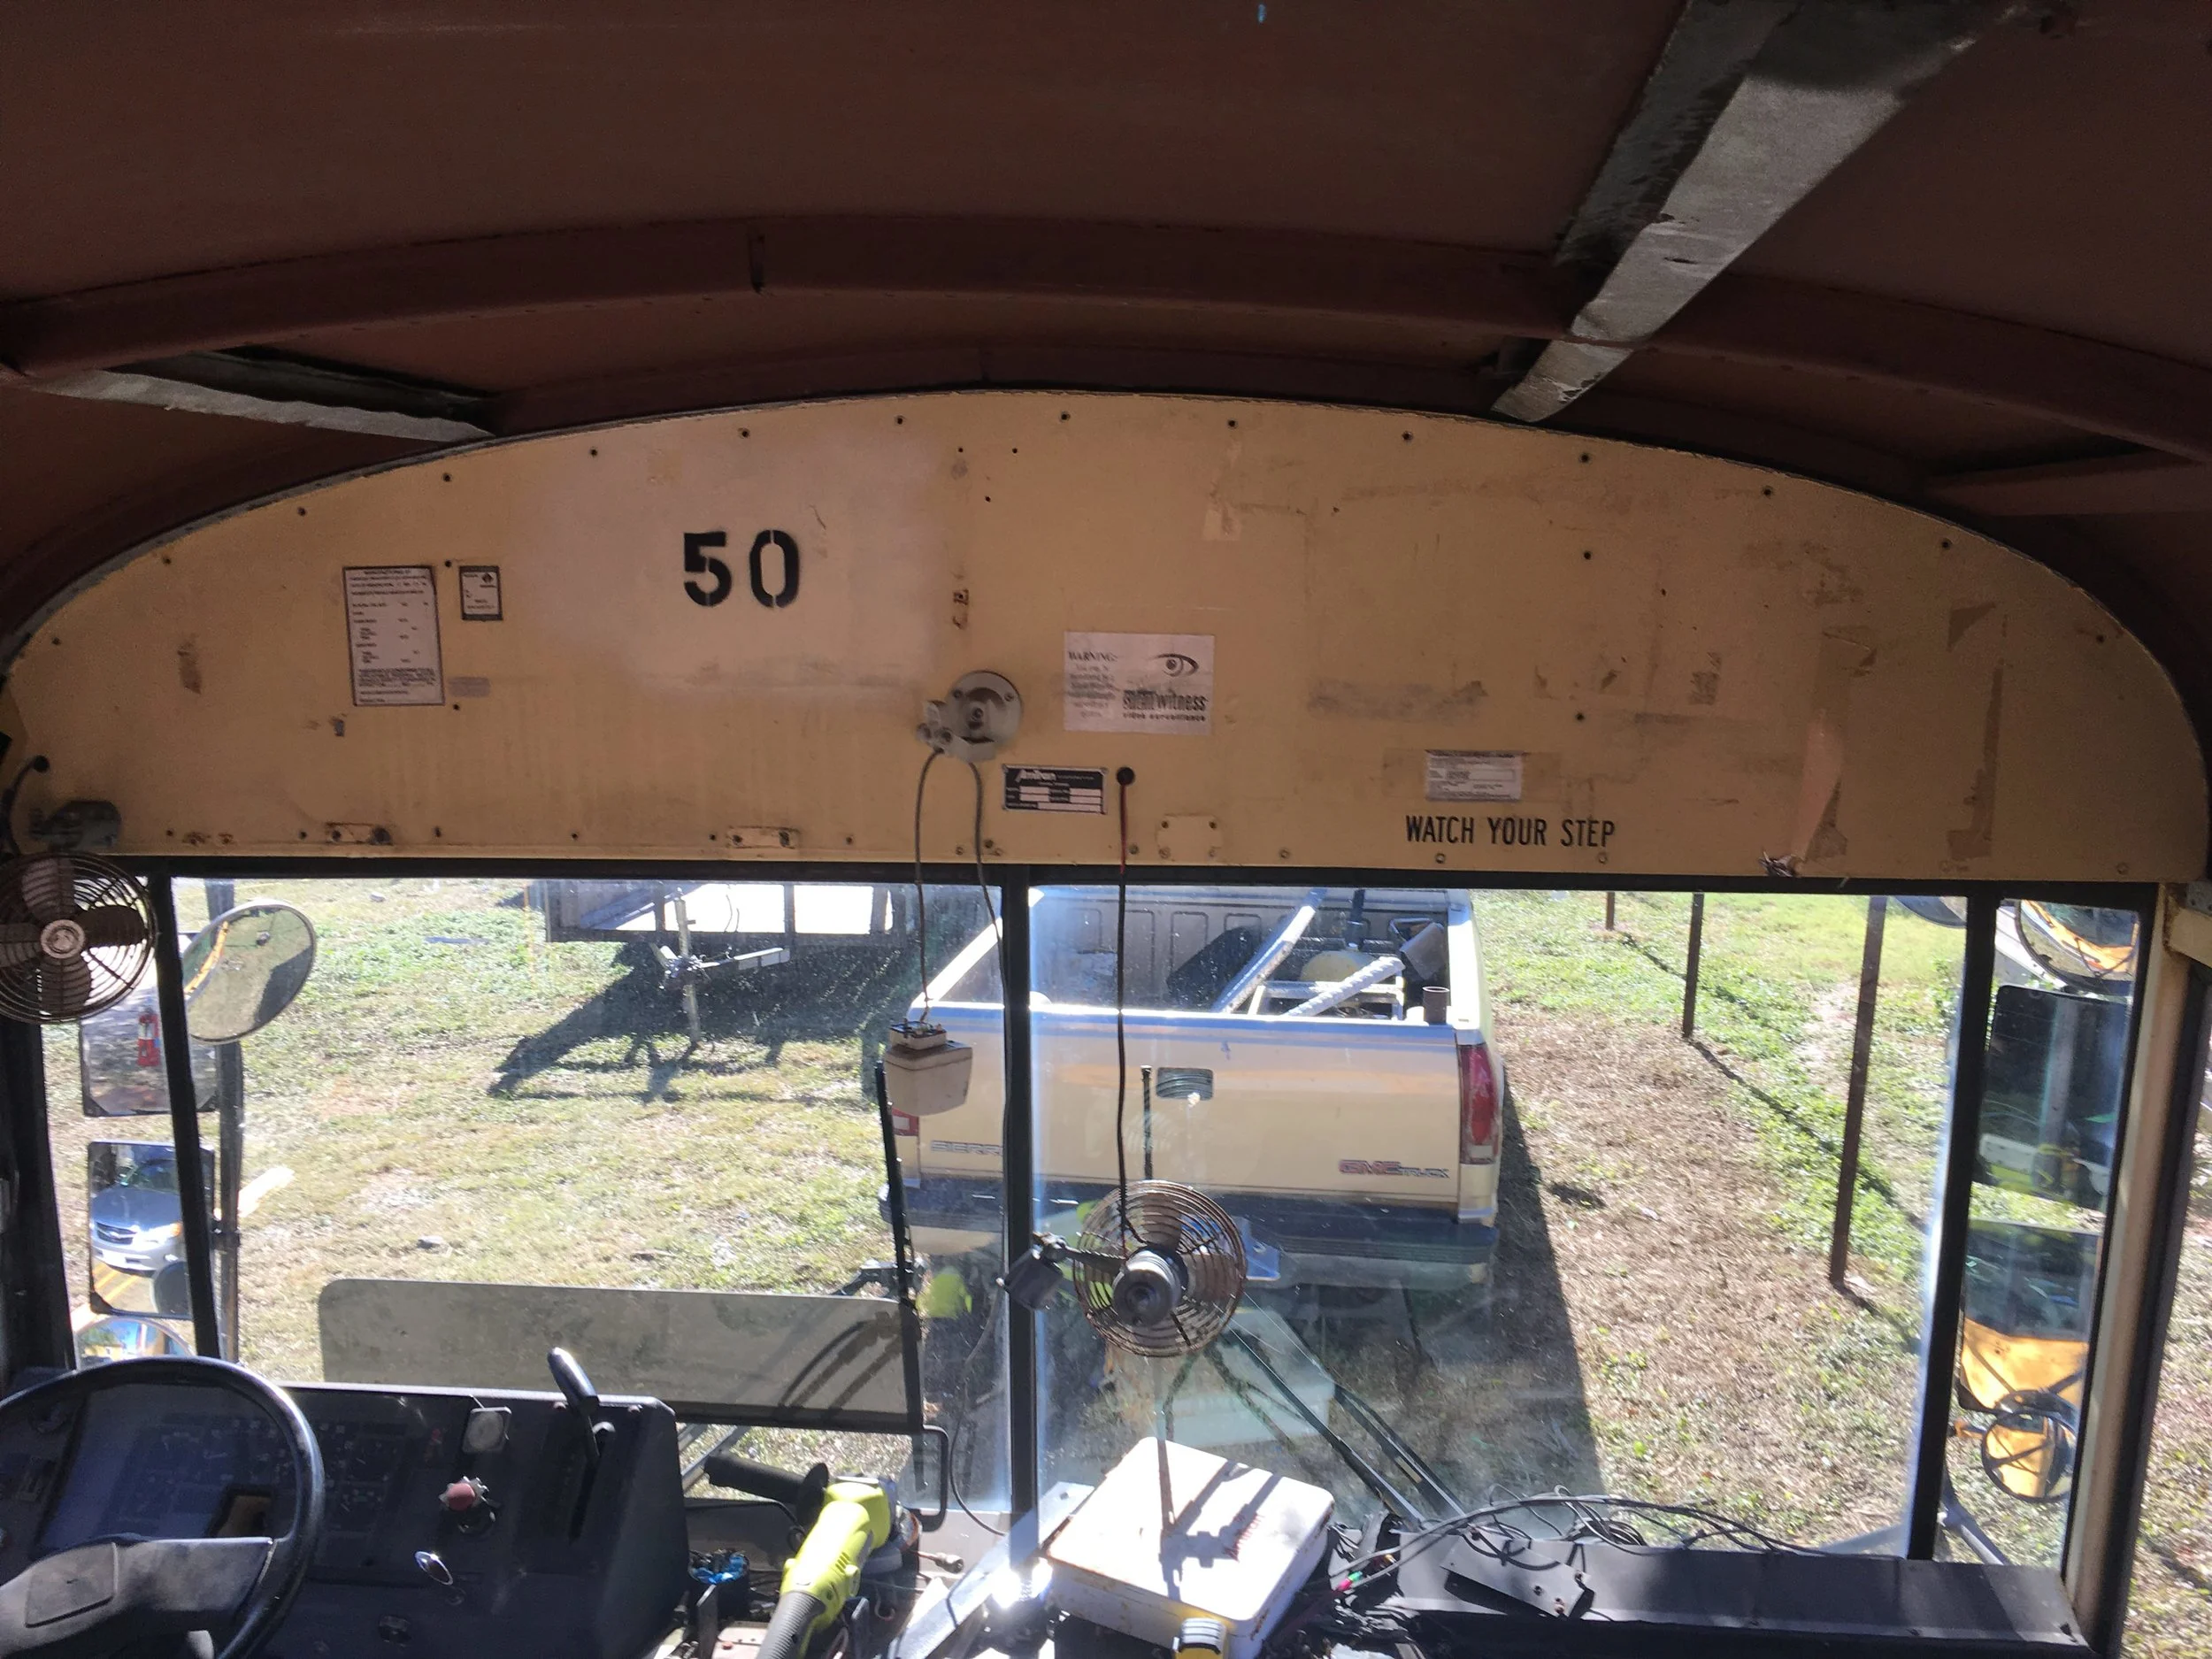
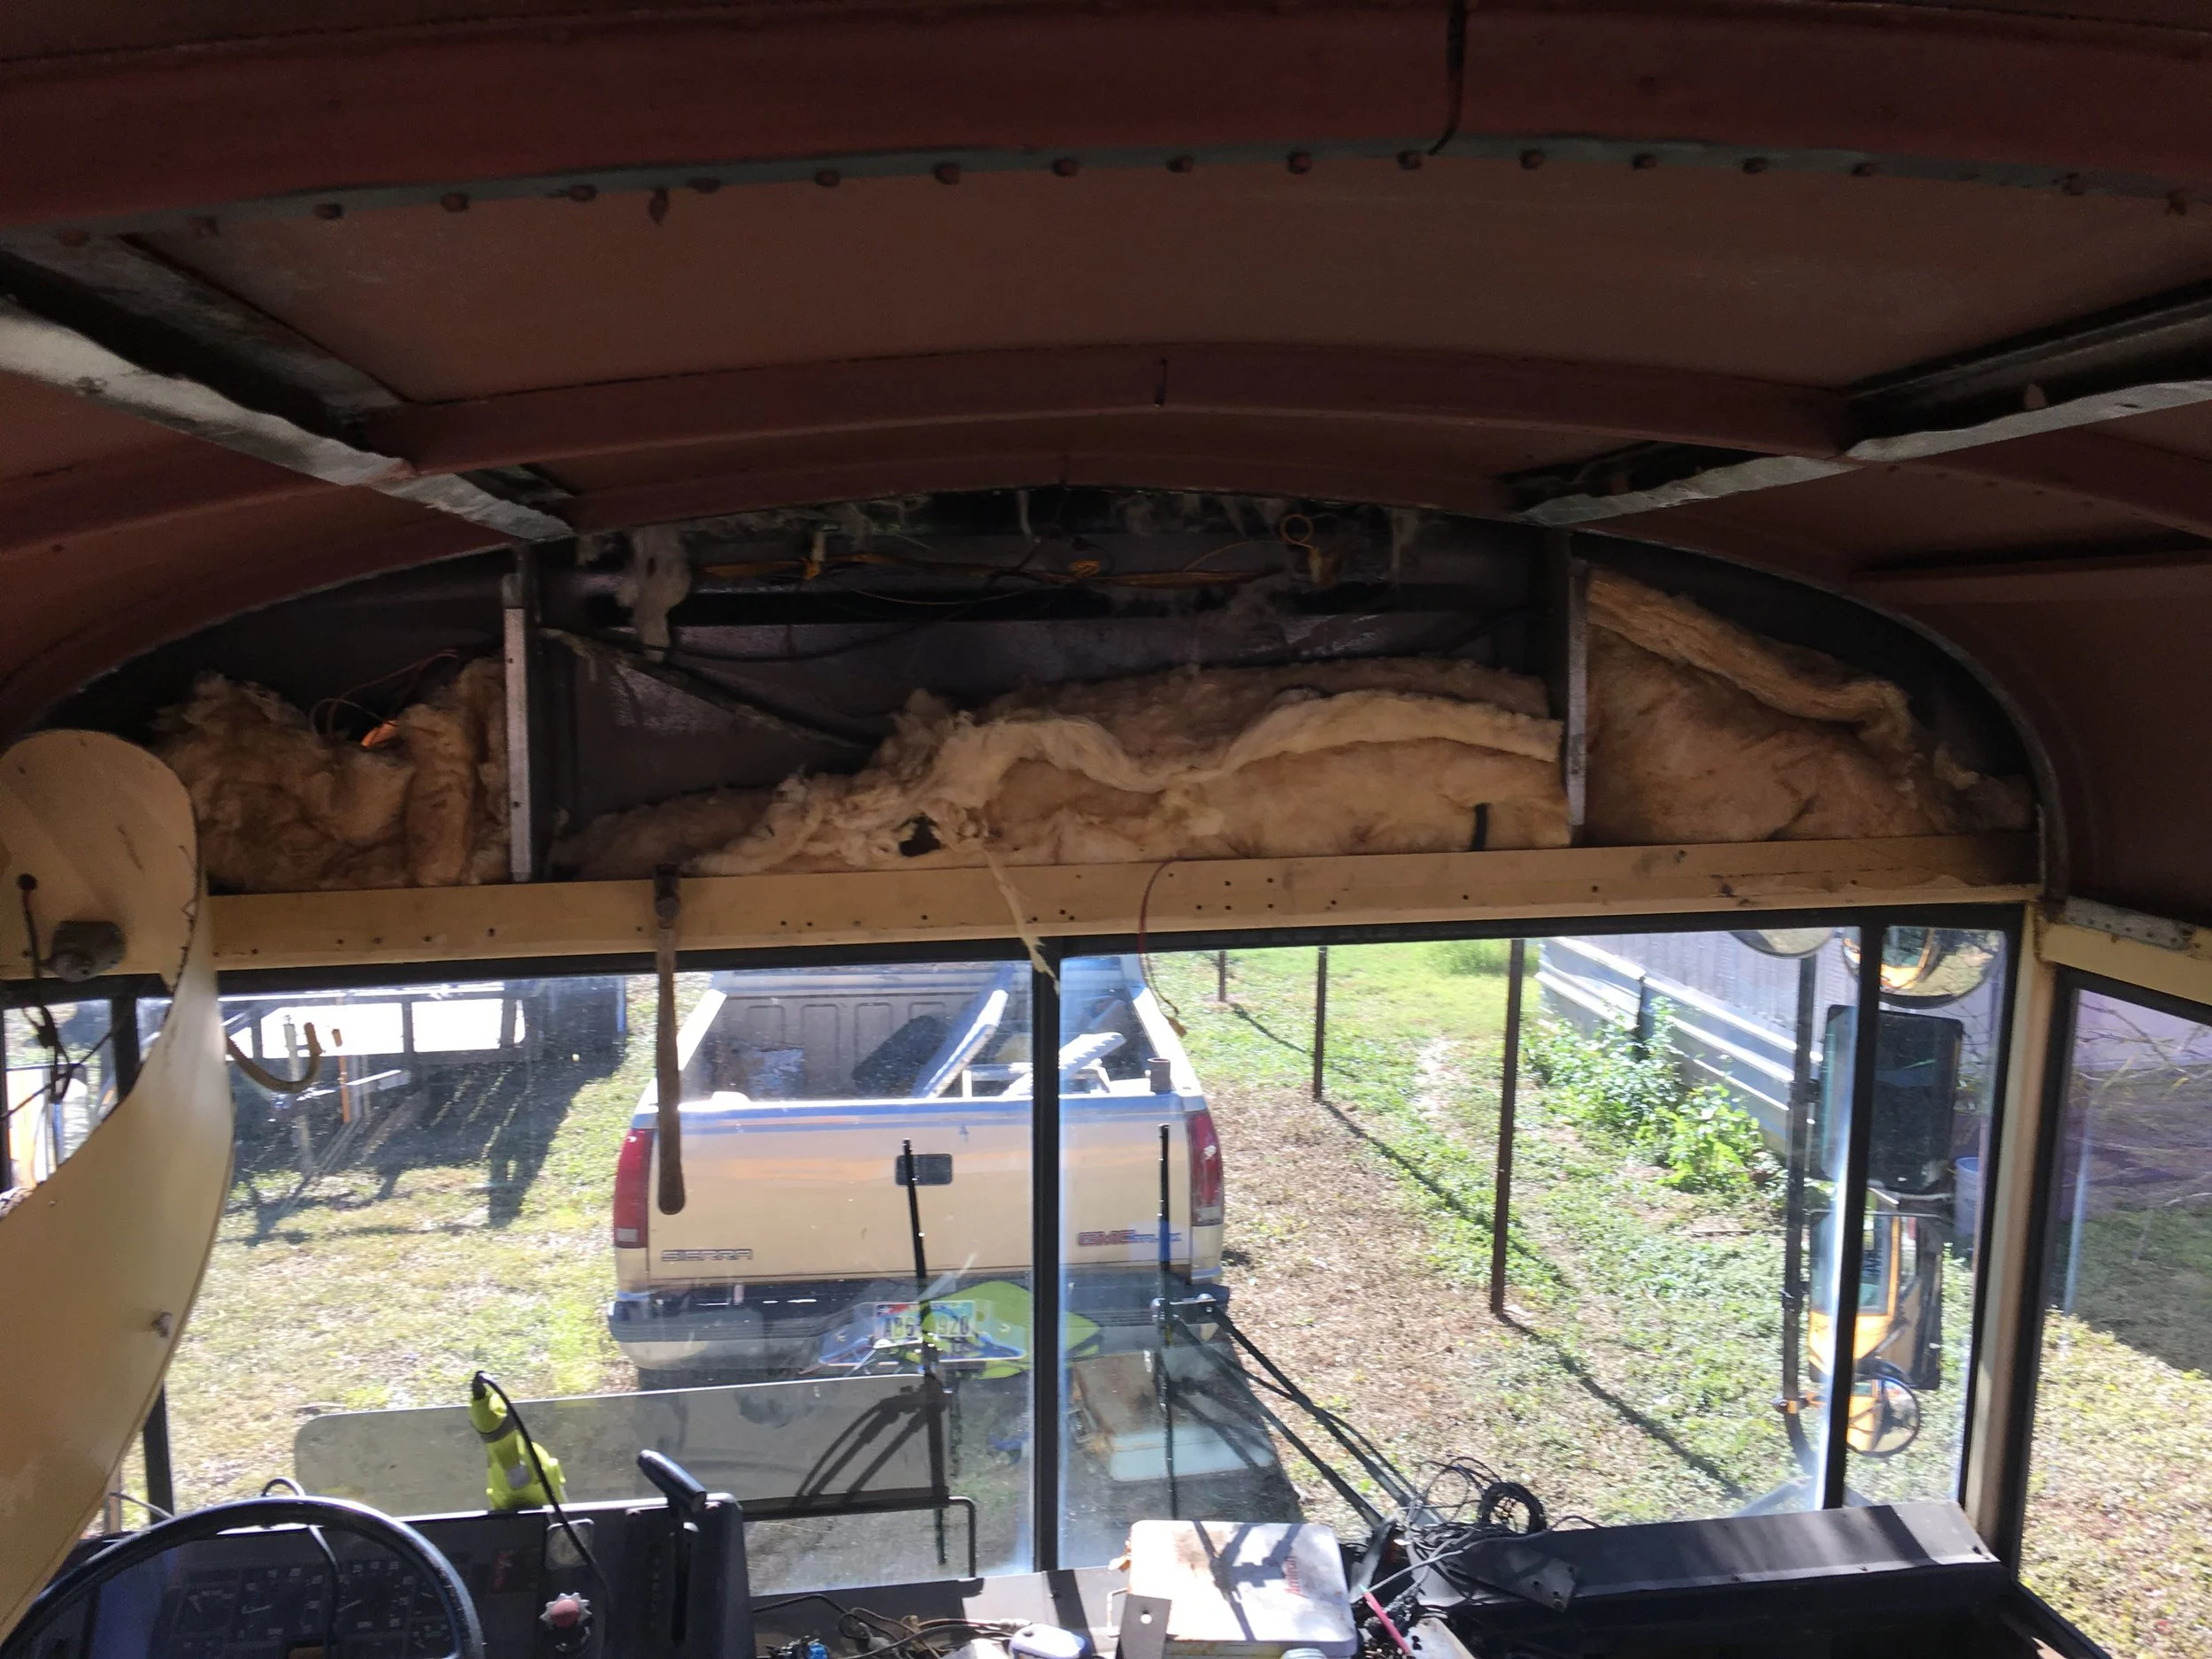
Not only was this heater disgusting, but it was also a huge waste of space. I'm going to have to rework the design of this thing to make it work.
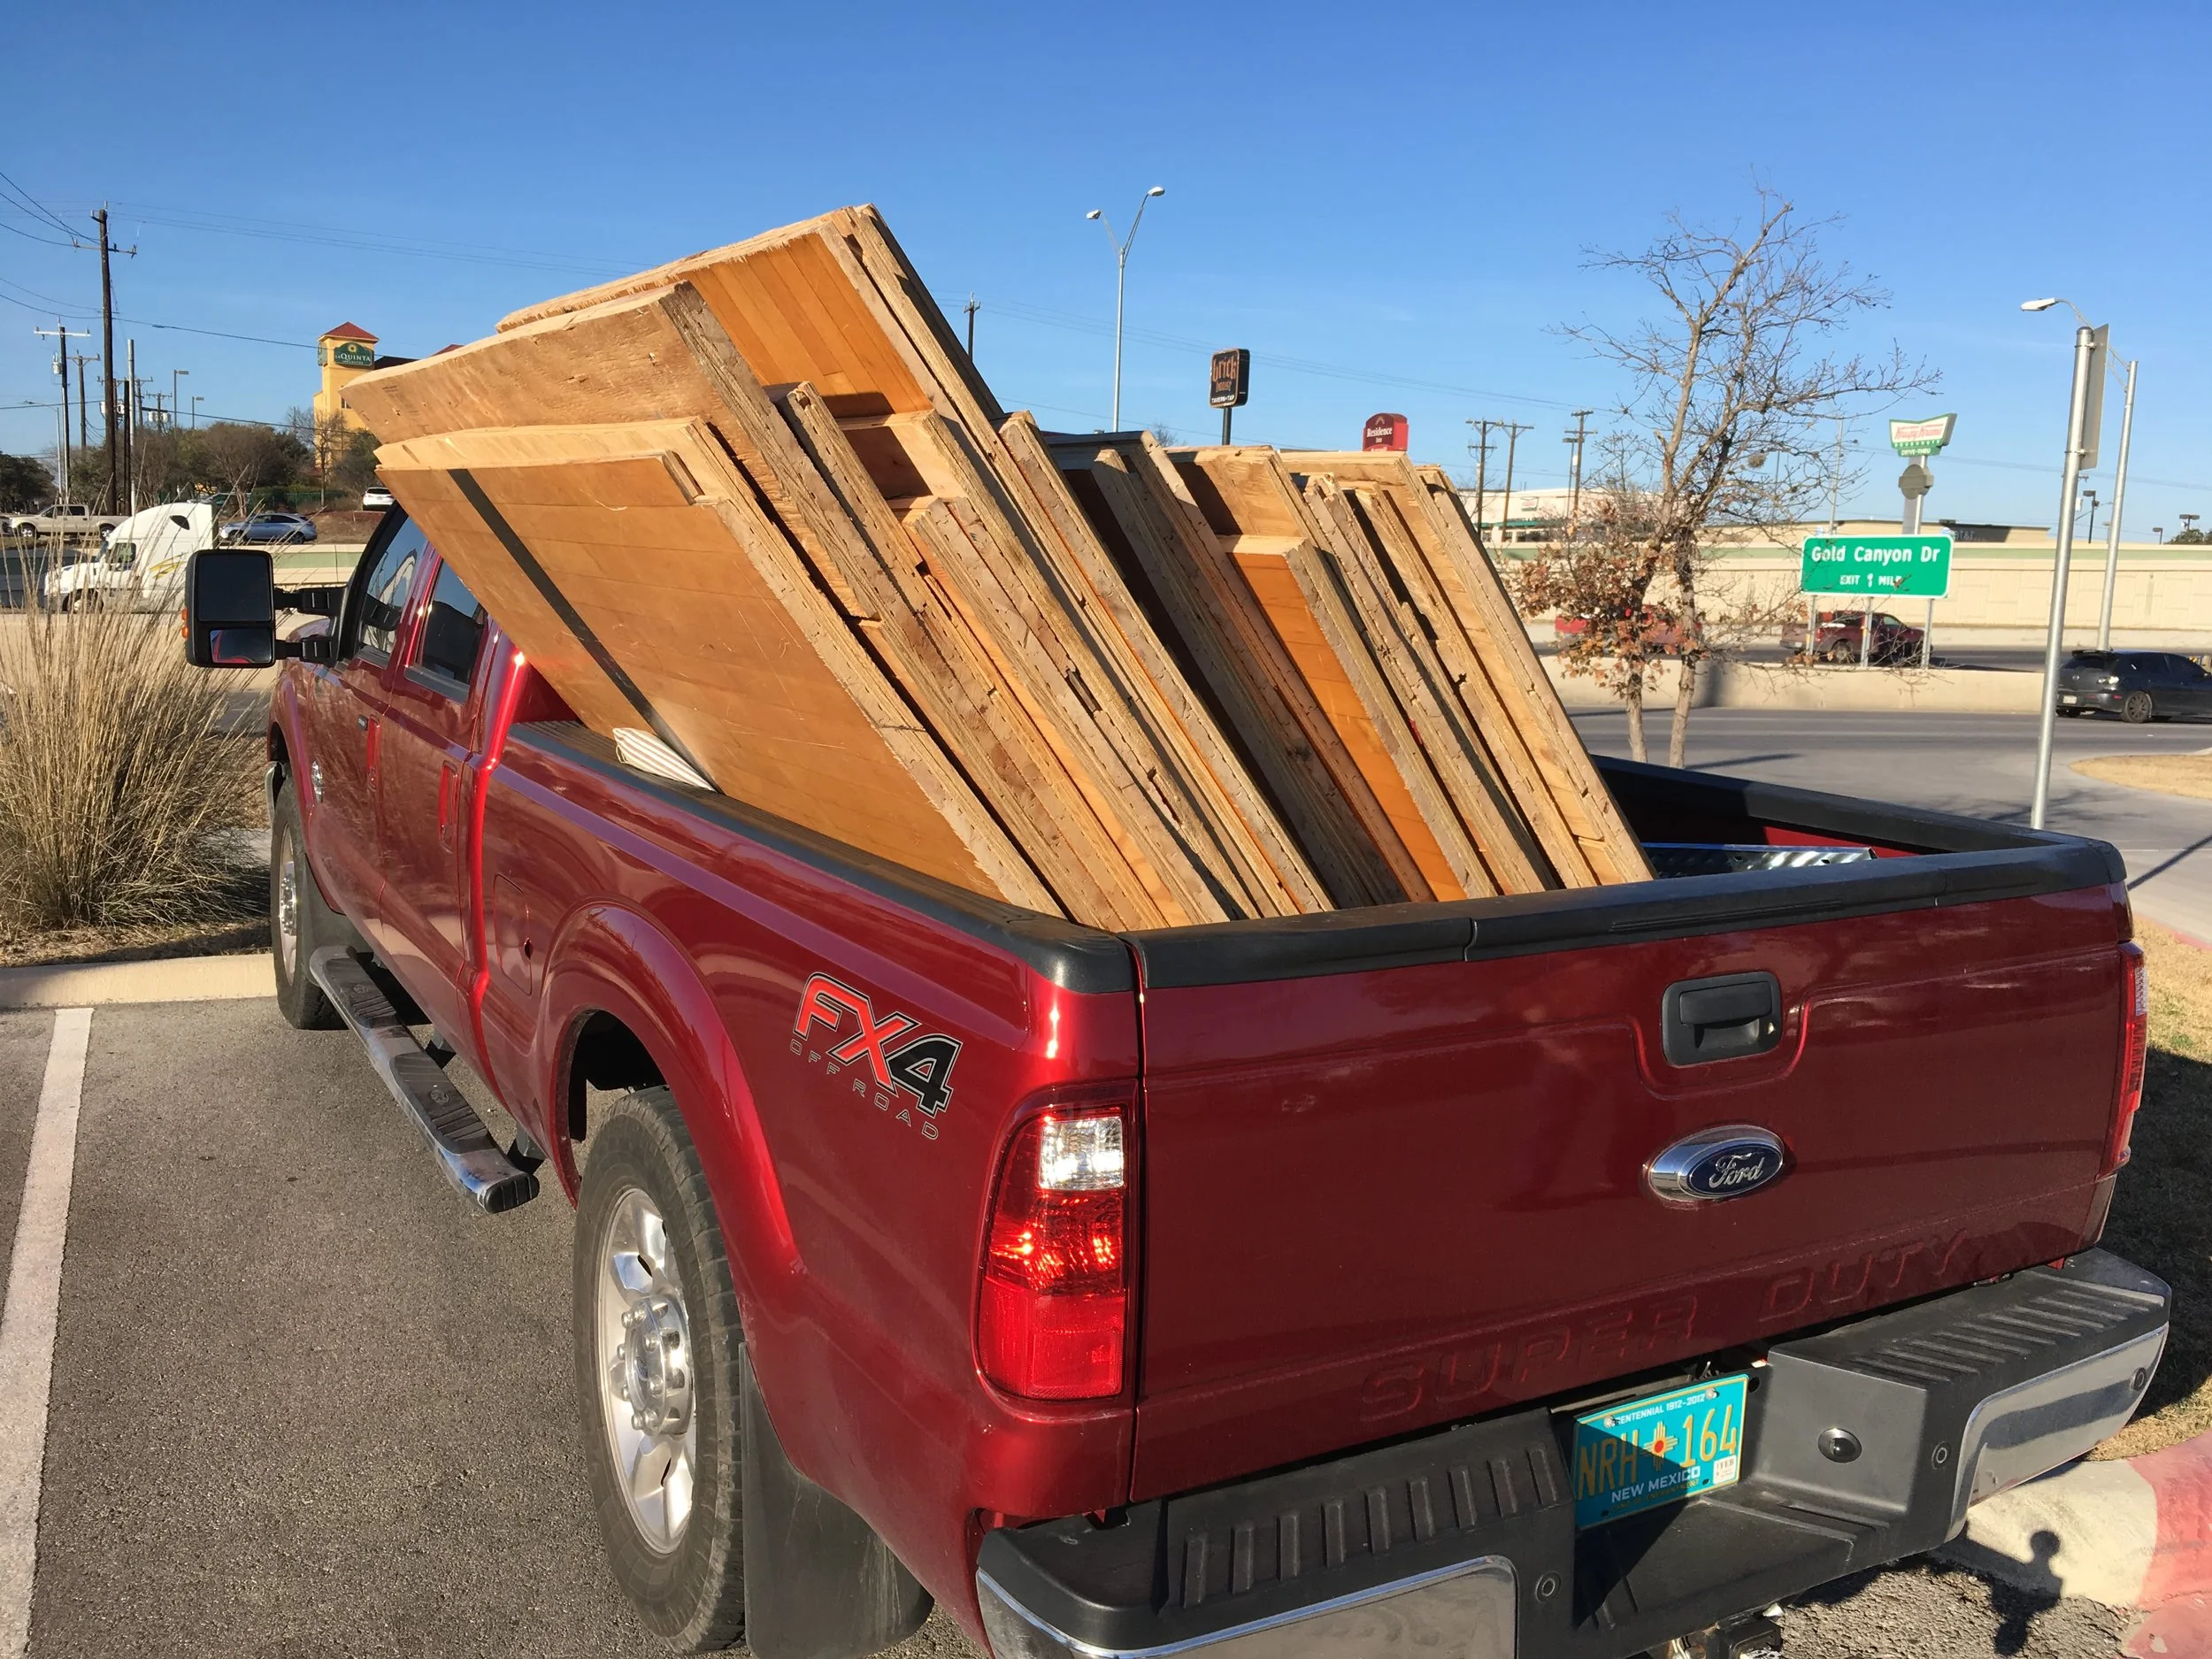
Driving home from the welding supply store with my 9 sheets of cold rolled 12ga steel... and some pallets that I grabbed from next to dumpsters on the way home.
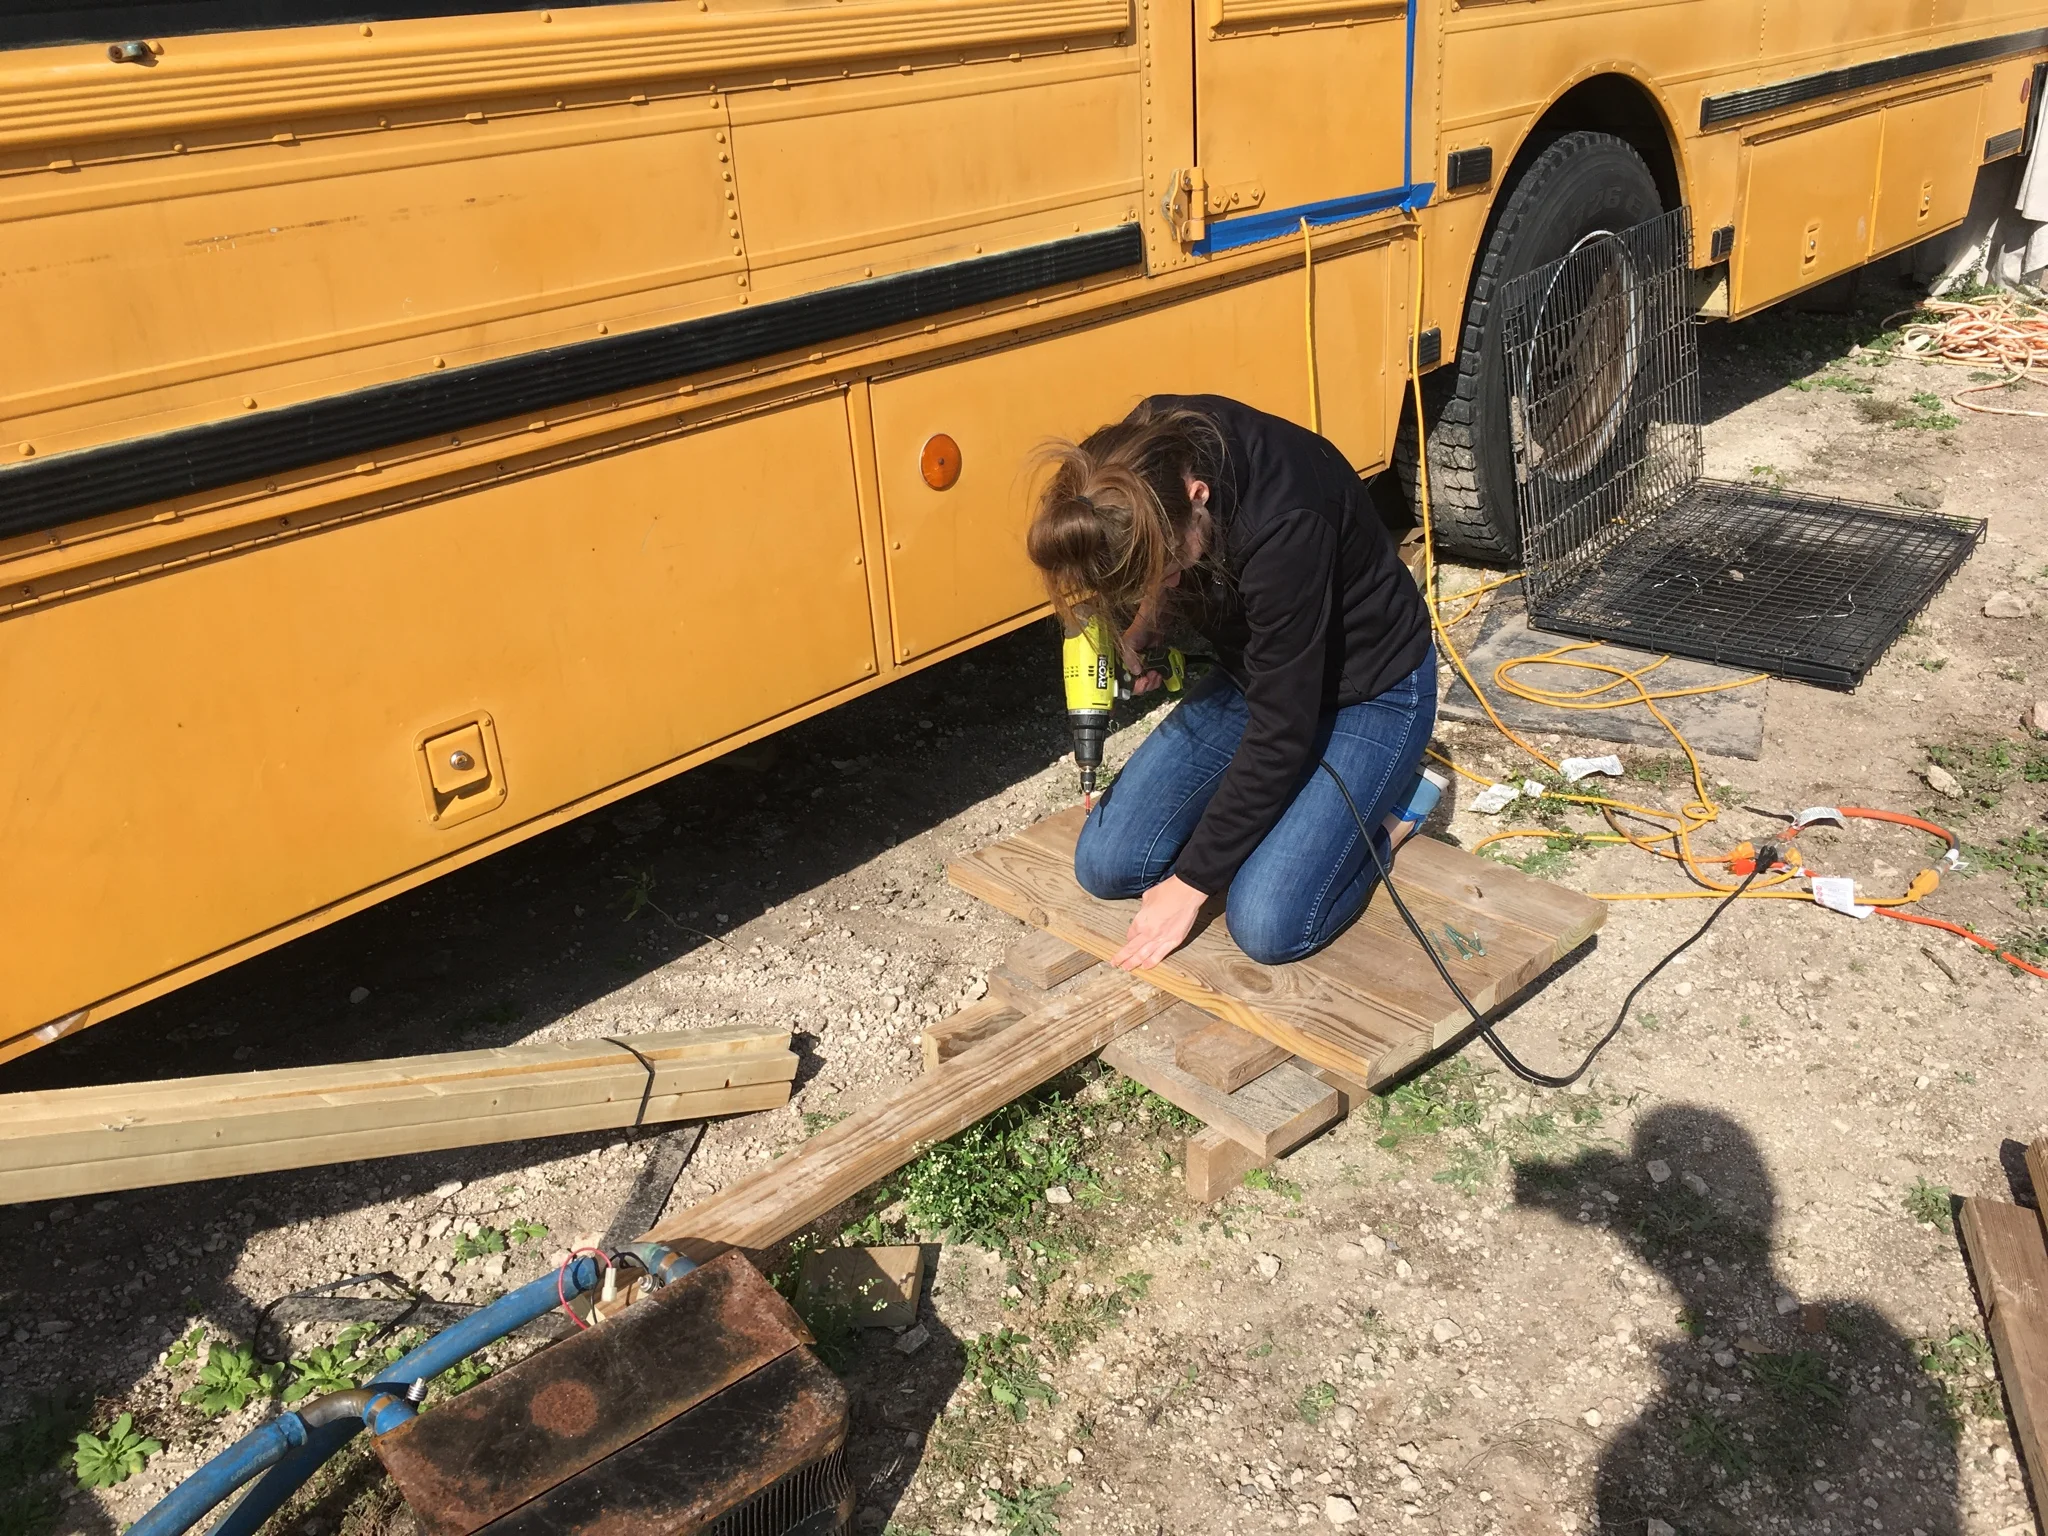
I started drilling holes in the vertical supports. I soon after find a welder who could help me get the sheets of metal welded into position.
The last panel remaining from the ceiling assembly. Unbelievable what still remains after all these years… especially the mold. The original registration and closed circuit TV hookups were still there.
Just remove the damn metal. This is so disgusting. Moldy fiberglass insulation mixed in with broken glass. Sealed in there for years. Dust everywhere. Nasty smells and rotten rubber everywhere.
I've just finished cleaning the steel for eventual painting with Rustoleum Rust Reformer.
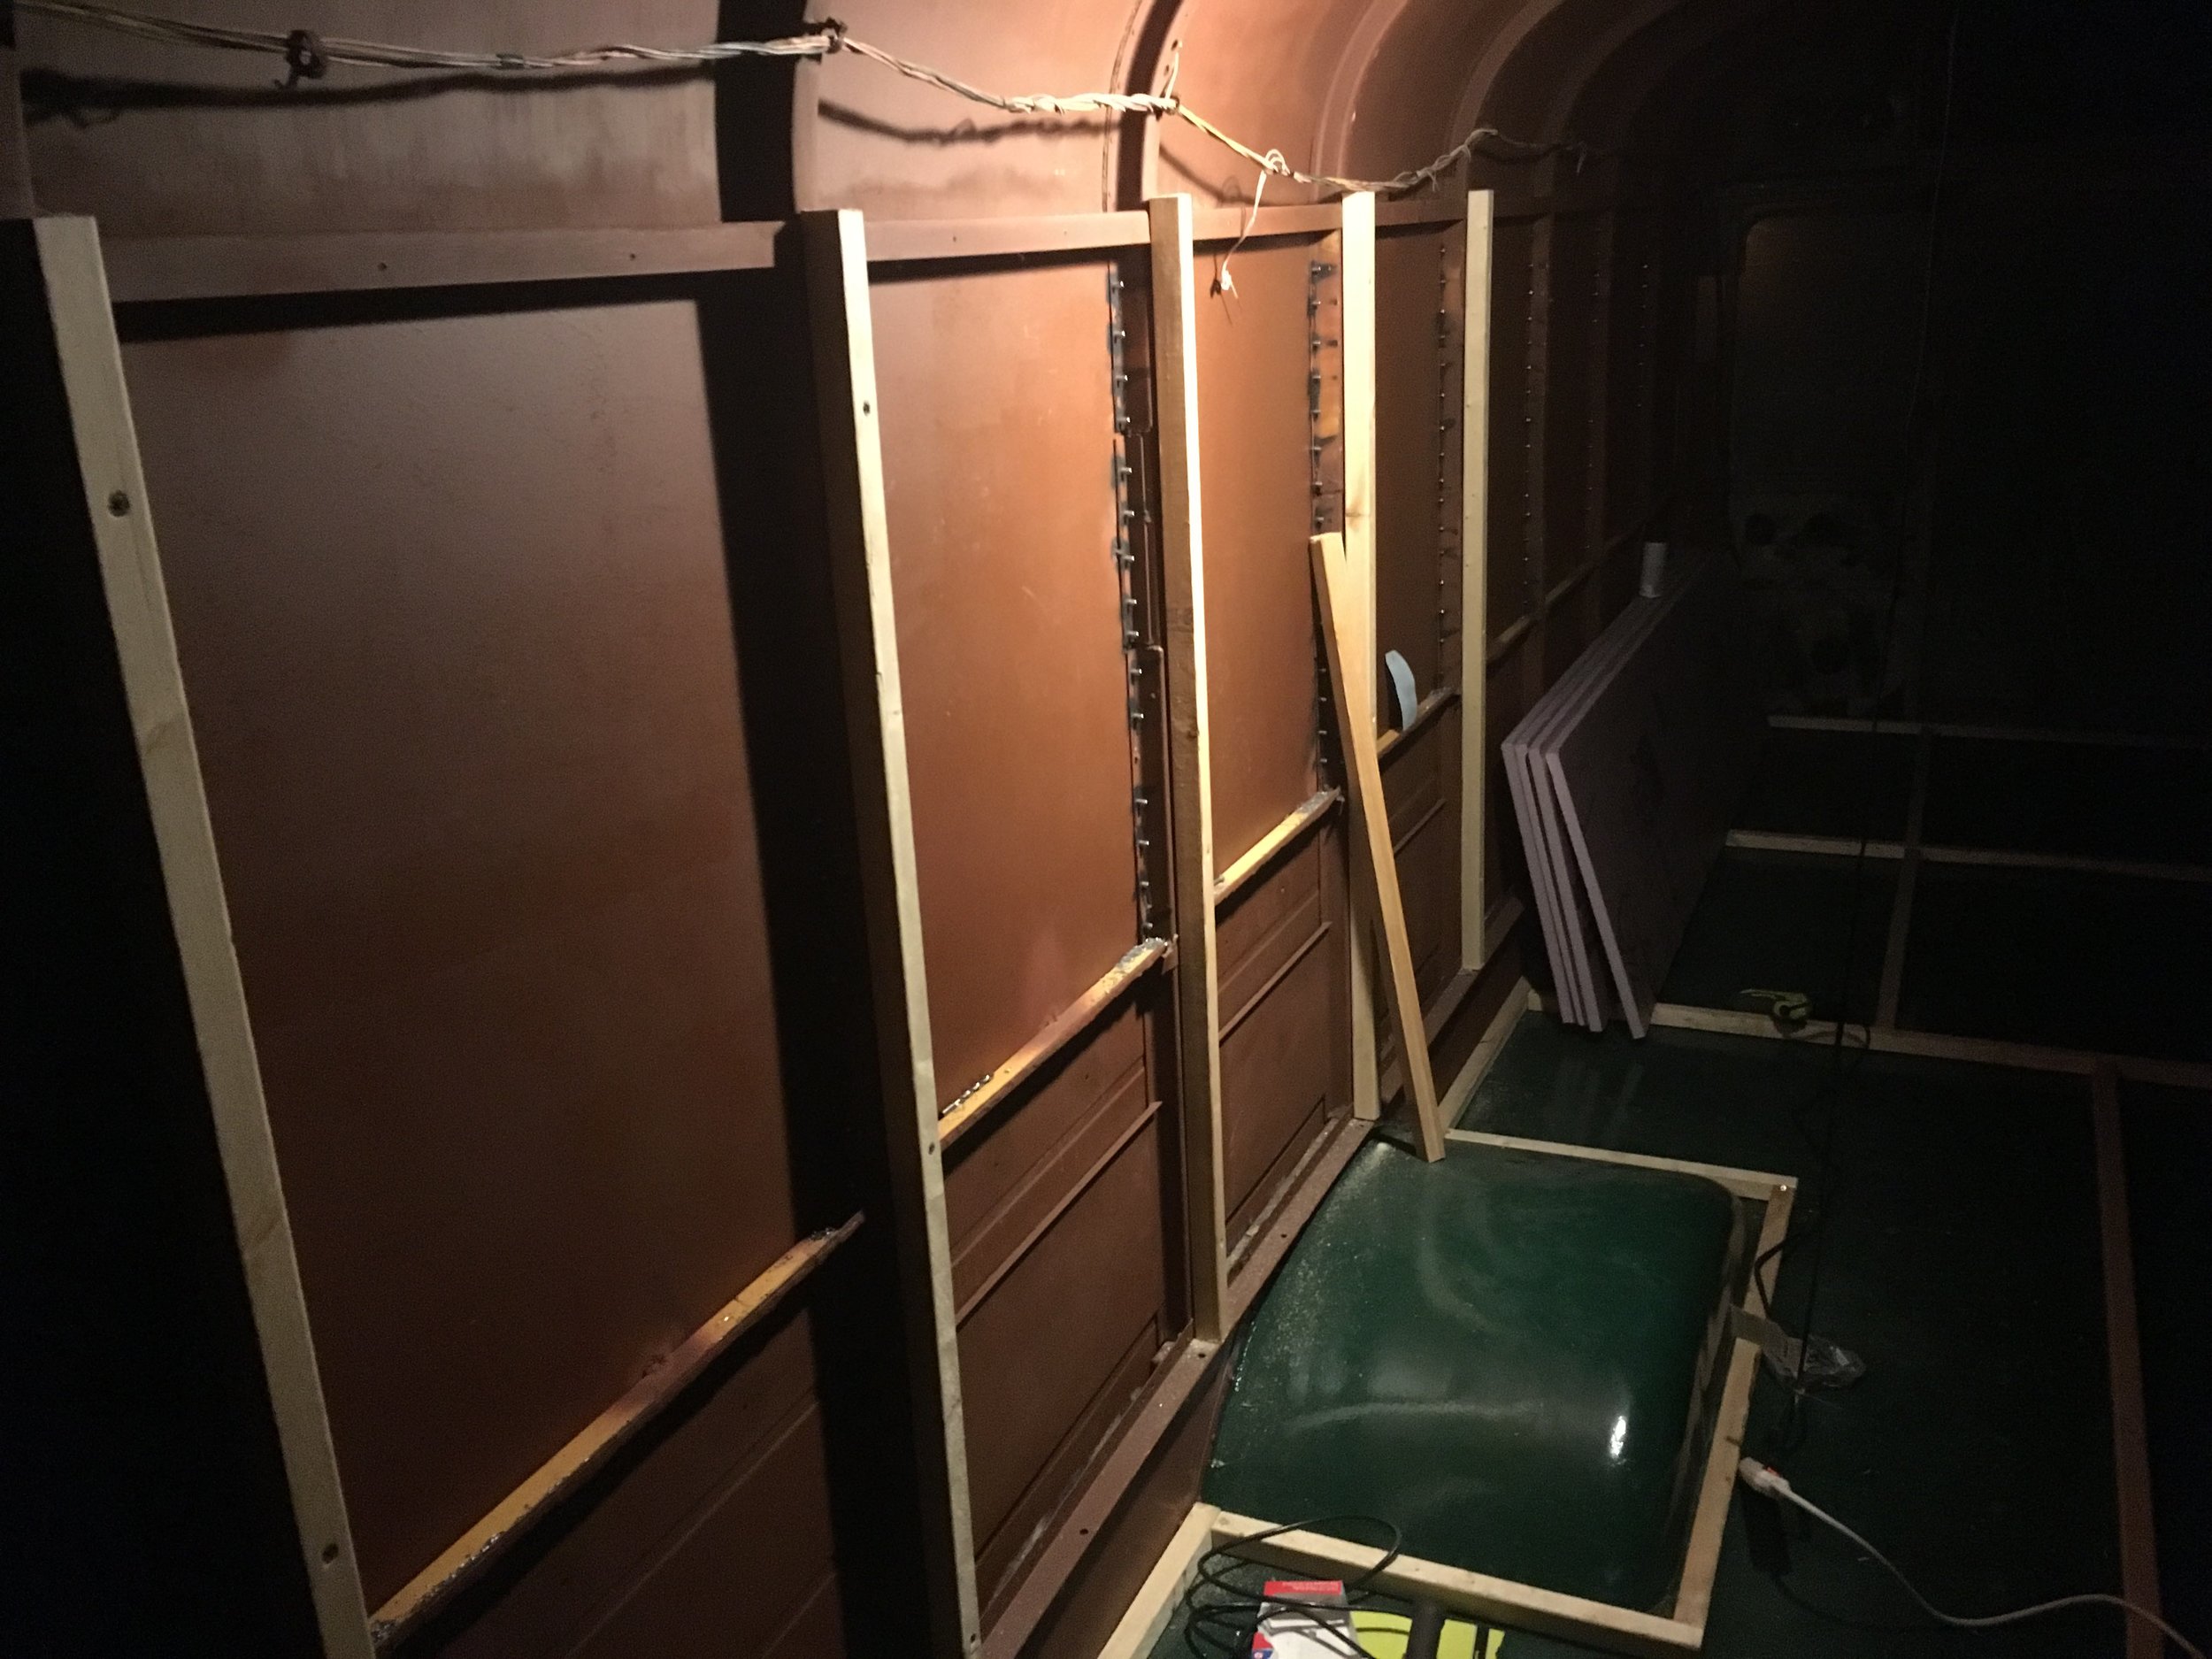
The 12ga steel has been spot-welded into place. 4 sheets per side. Each one was held in place by me and my buddy while my welder took care of getting them in stuck. Port side.
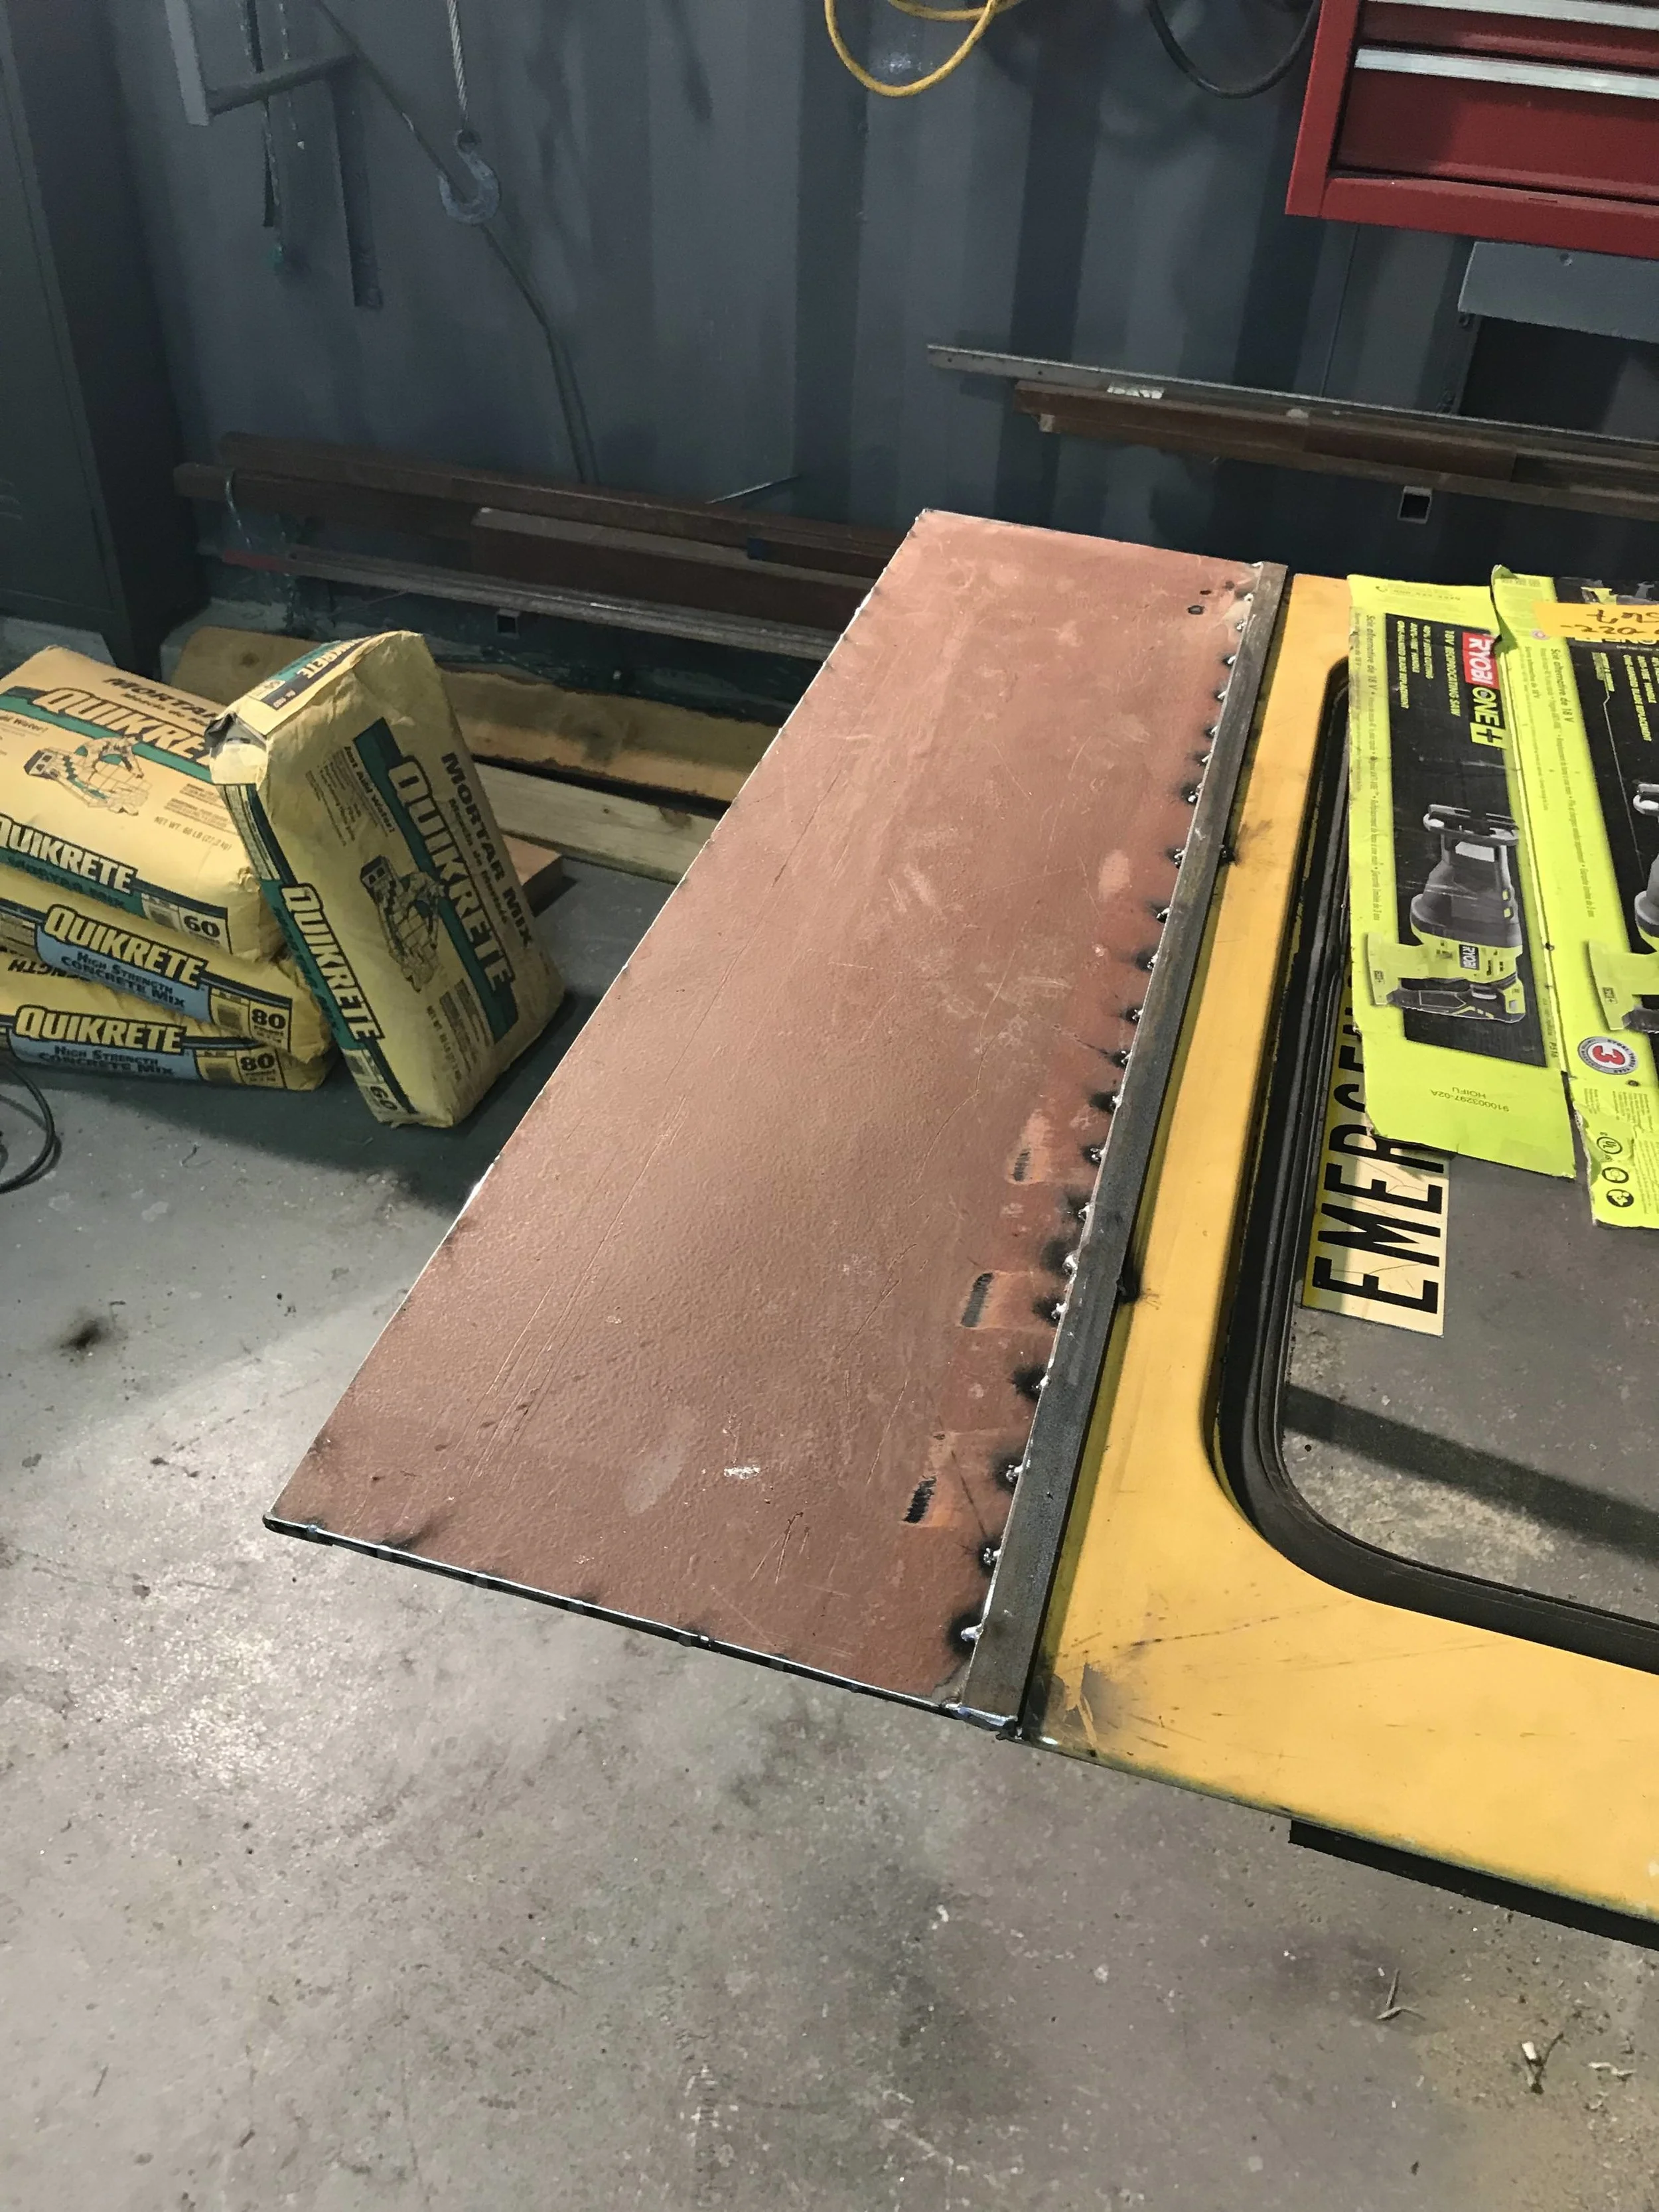
It took just over an hour to tack-weld the sheets in place. Two of us held the metal sheets in place while the welding was done from the inside.
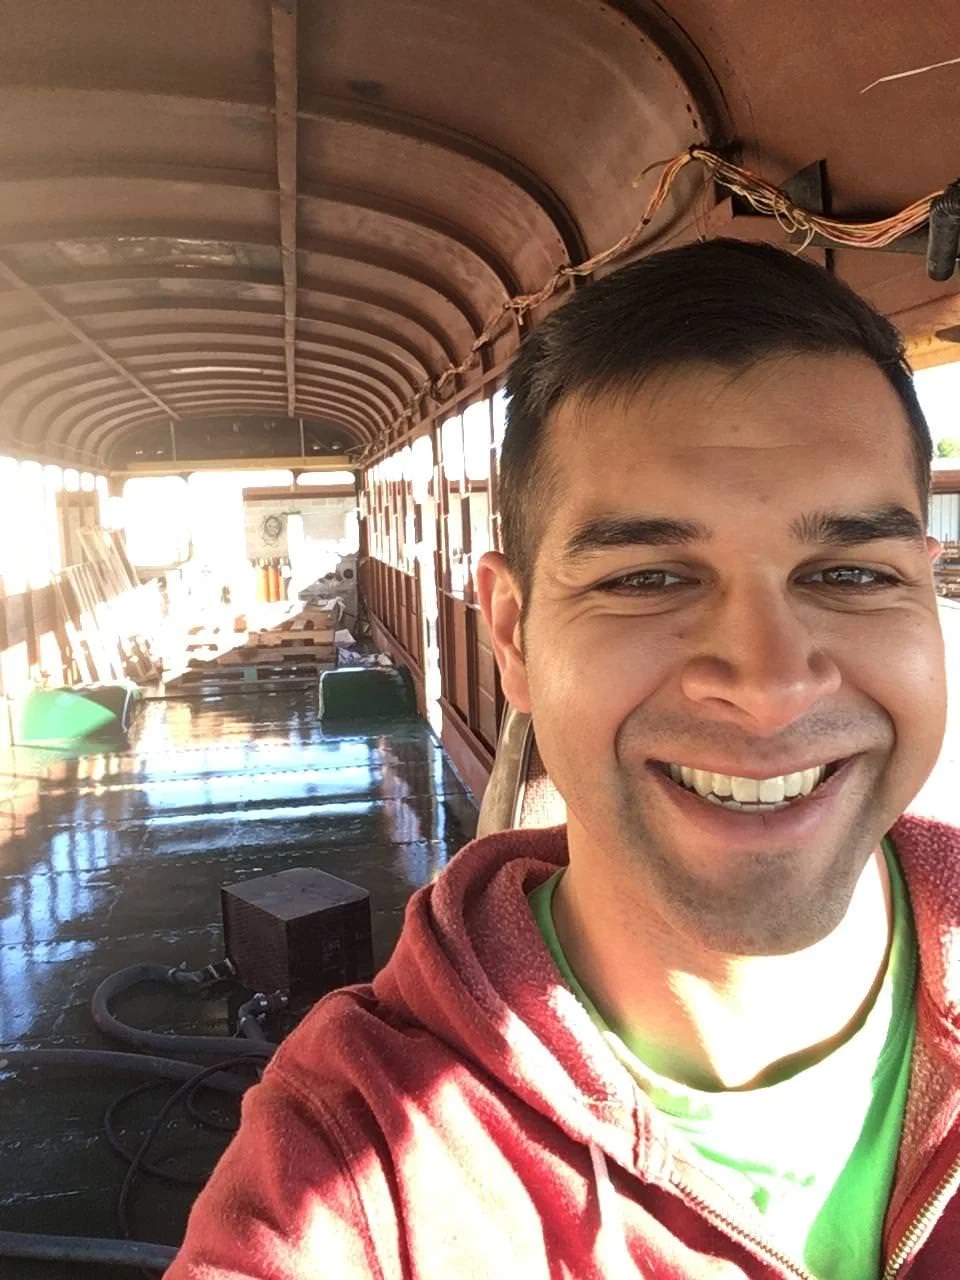
The floor is done. The walls are up. Its just about time to start with the subfloor! If you’re unsure about raising the roof, just do it. It makes such a difference in how much bigger the bus feels when you’re in it.
Cleaned out the heater/defroster unit. This was disgusting from years of never having been cleaned.
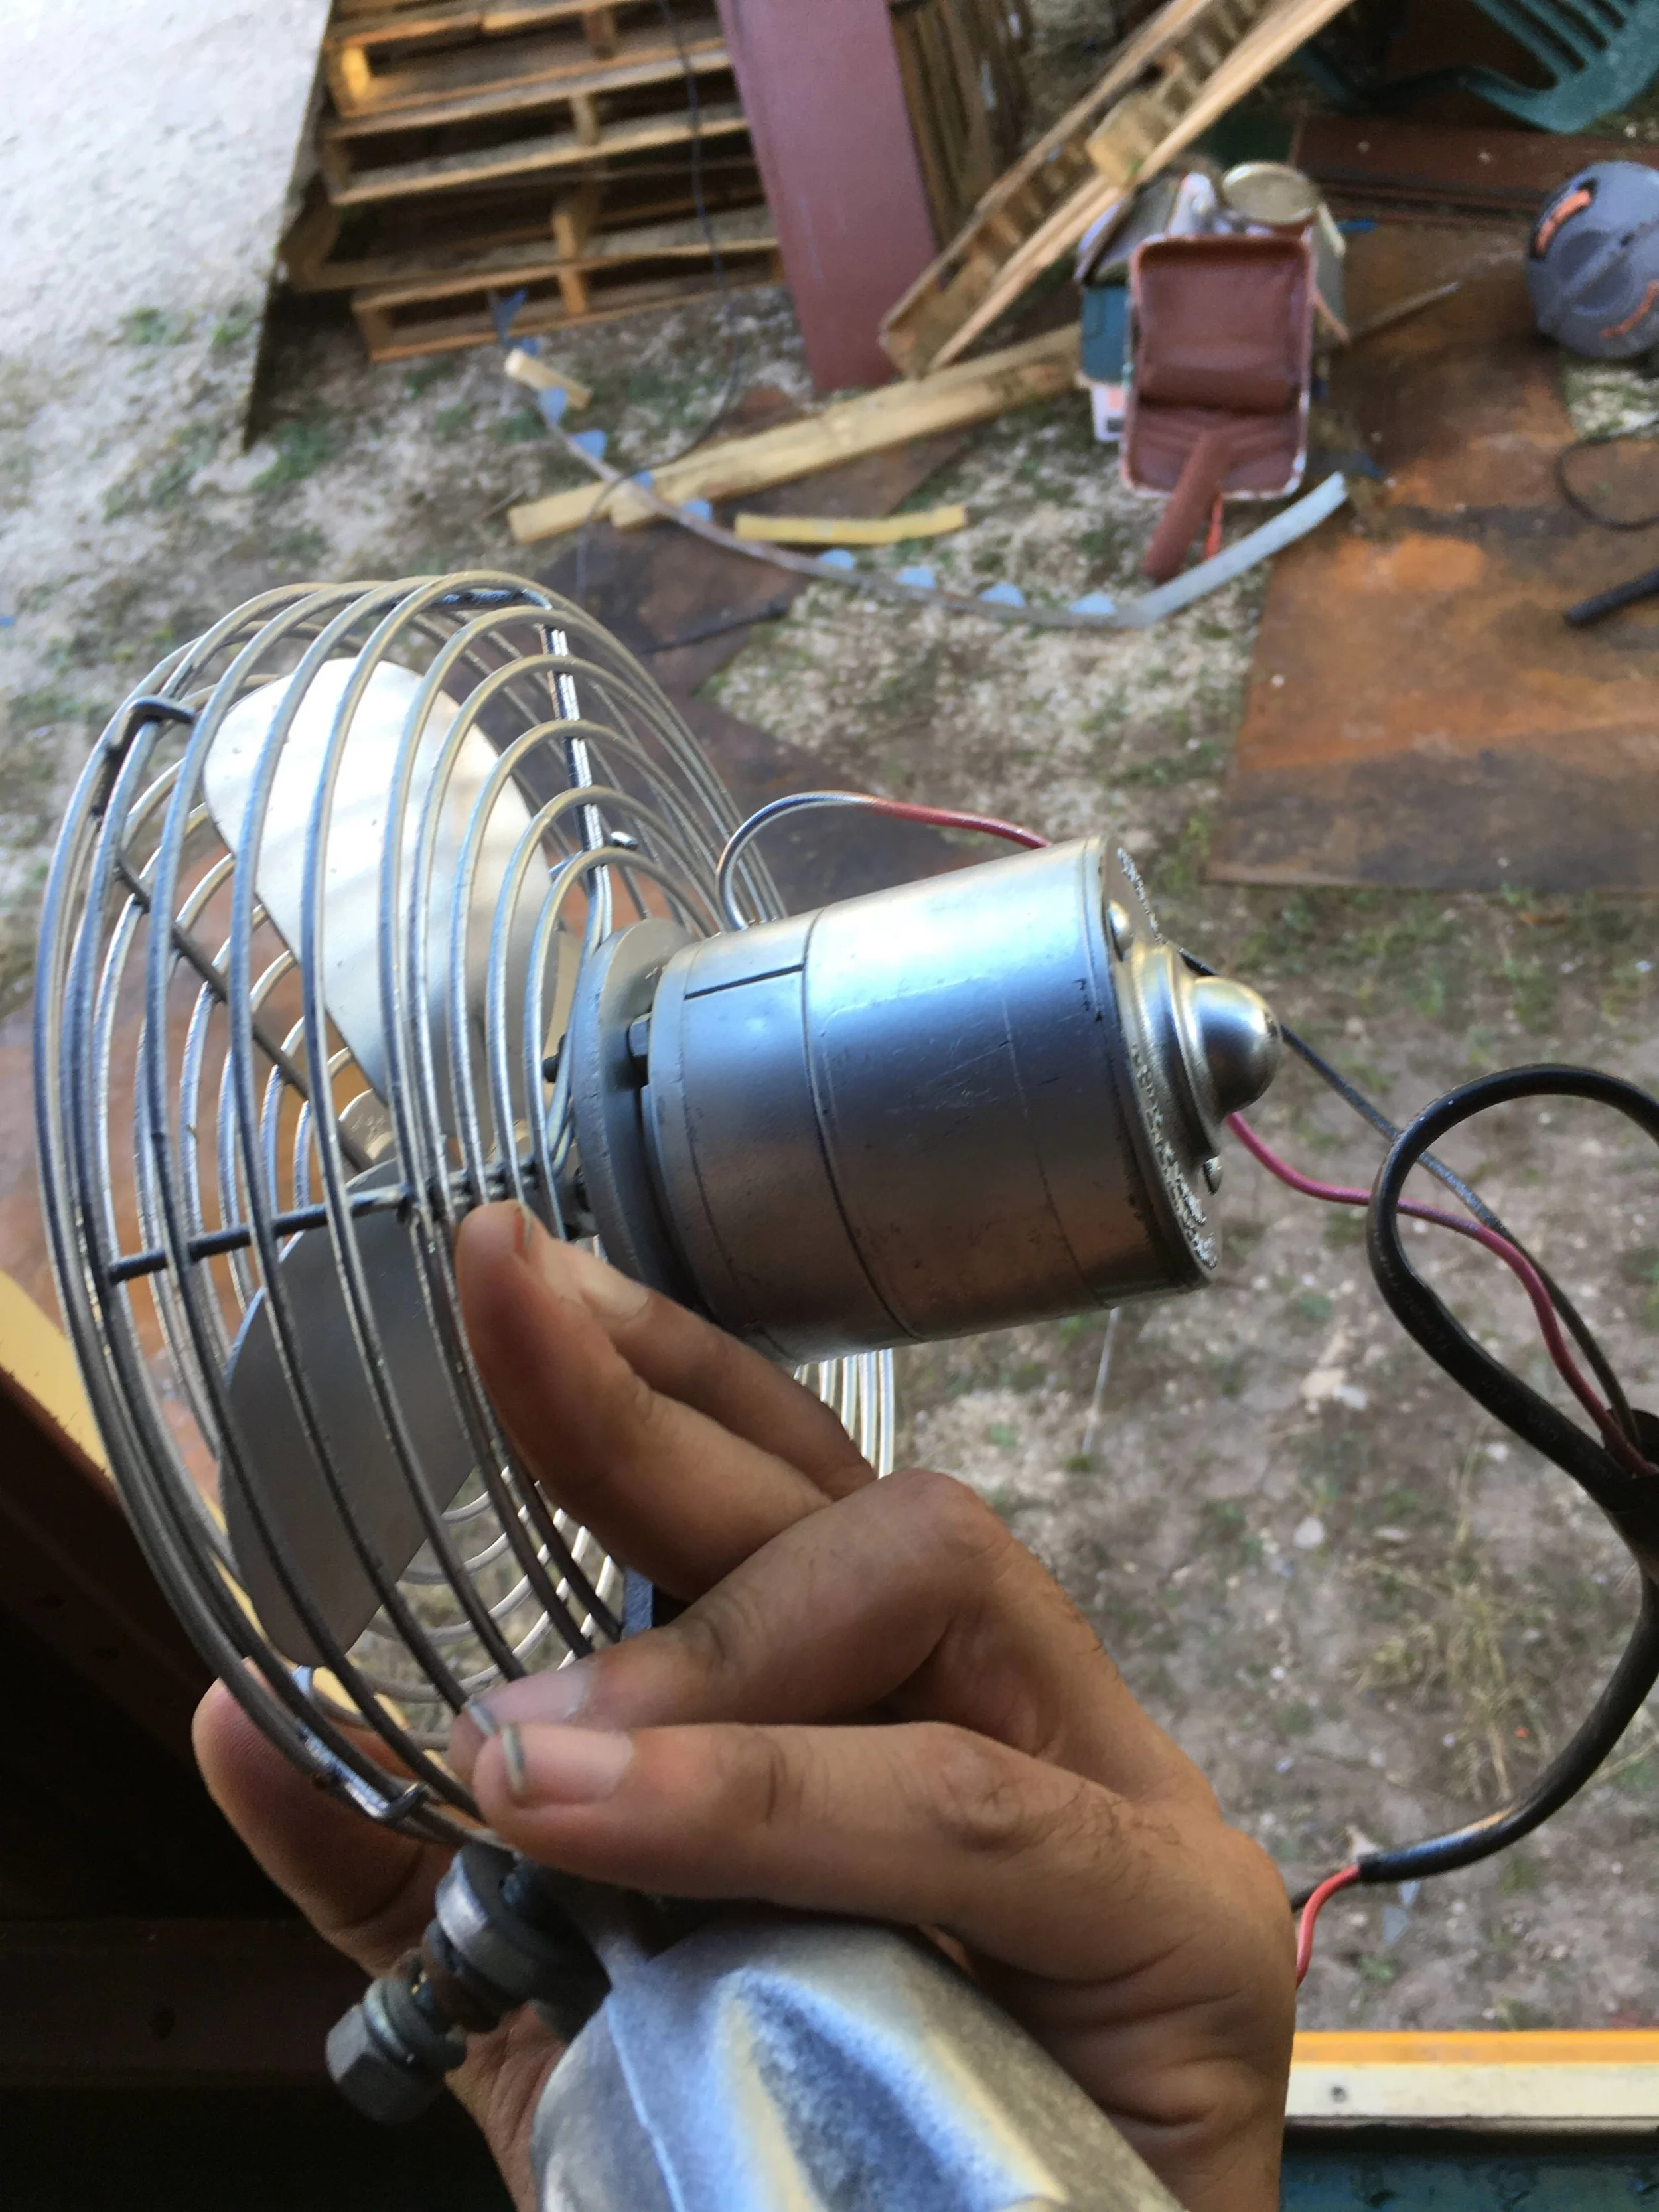
I've repainted the fans that previously blew on the driver or the front window to prevent it from steaming up. Kicking myself for not taking a “before” picture. Trust me, they were super rusty.
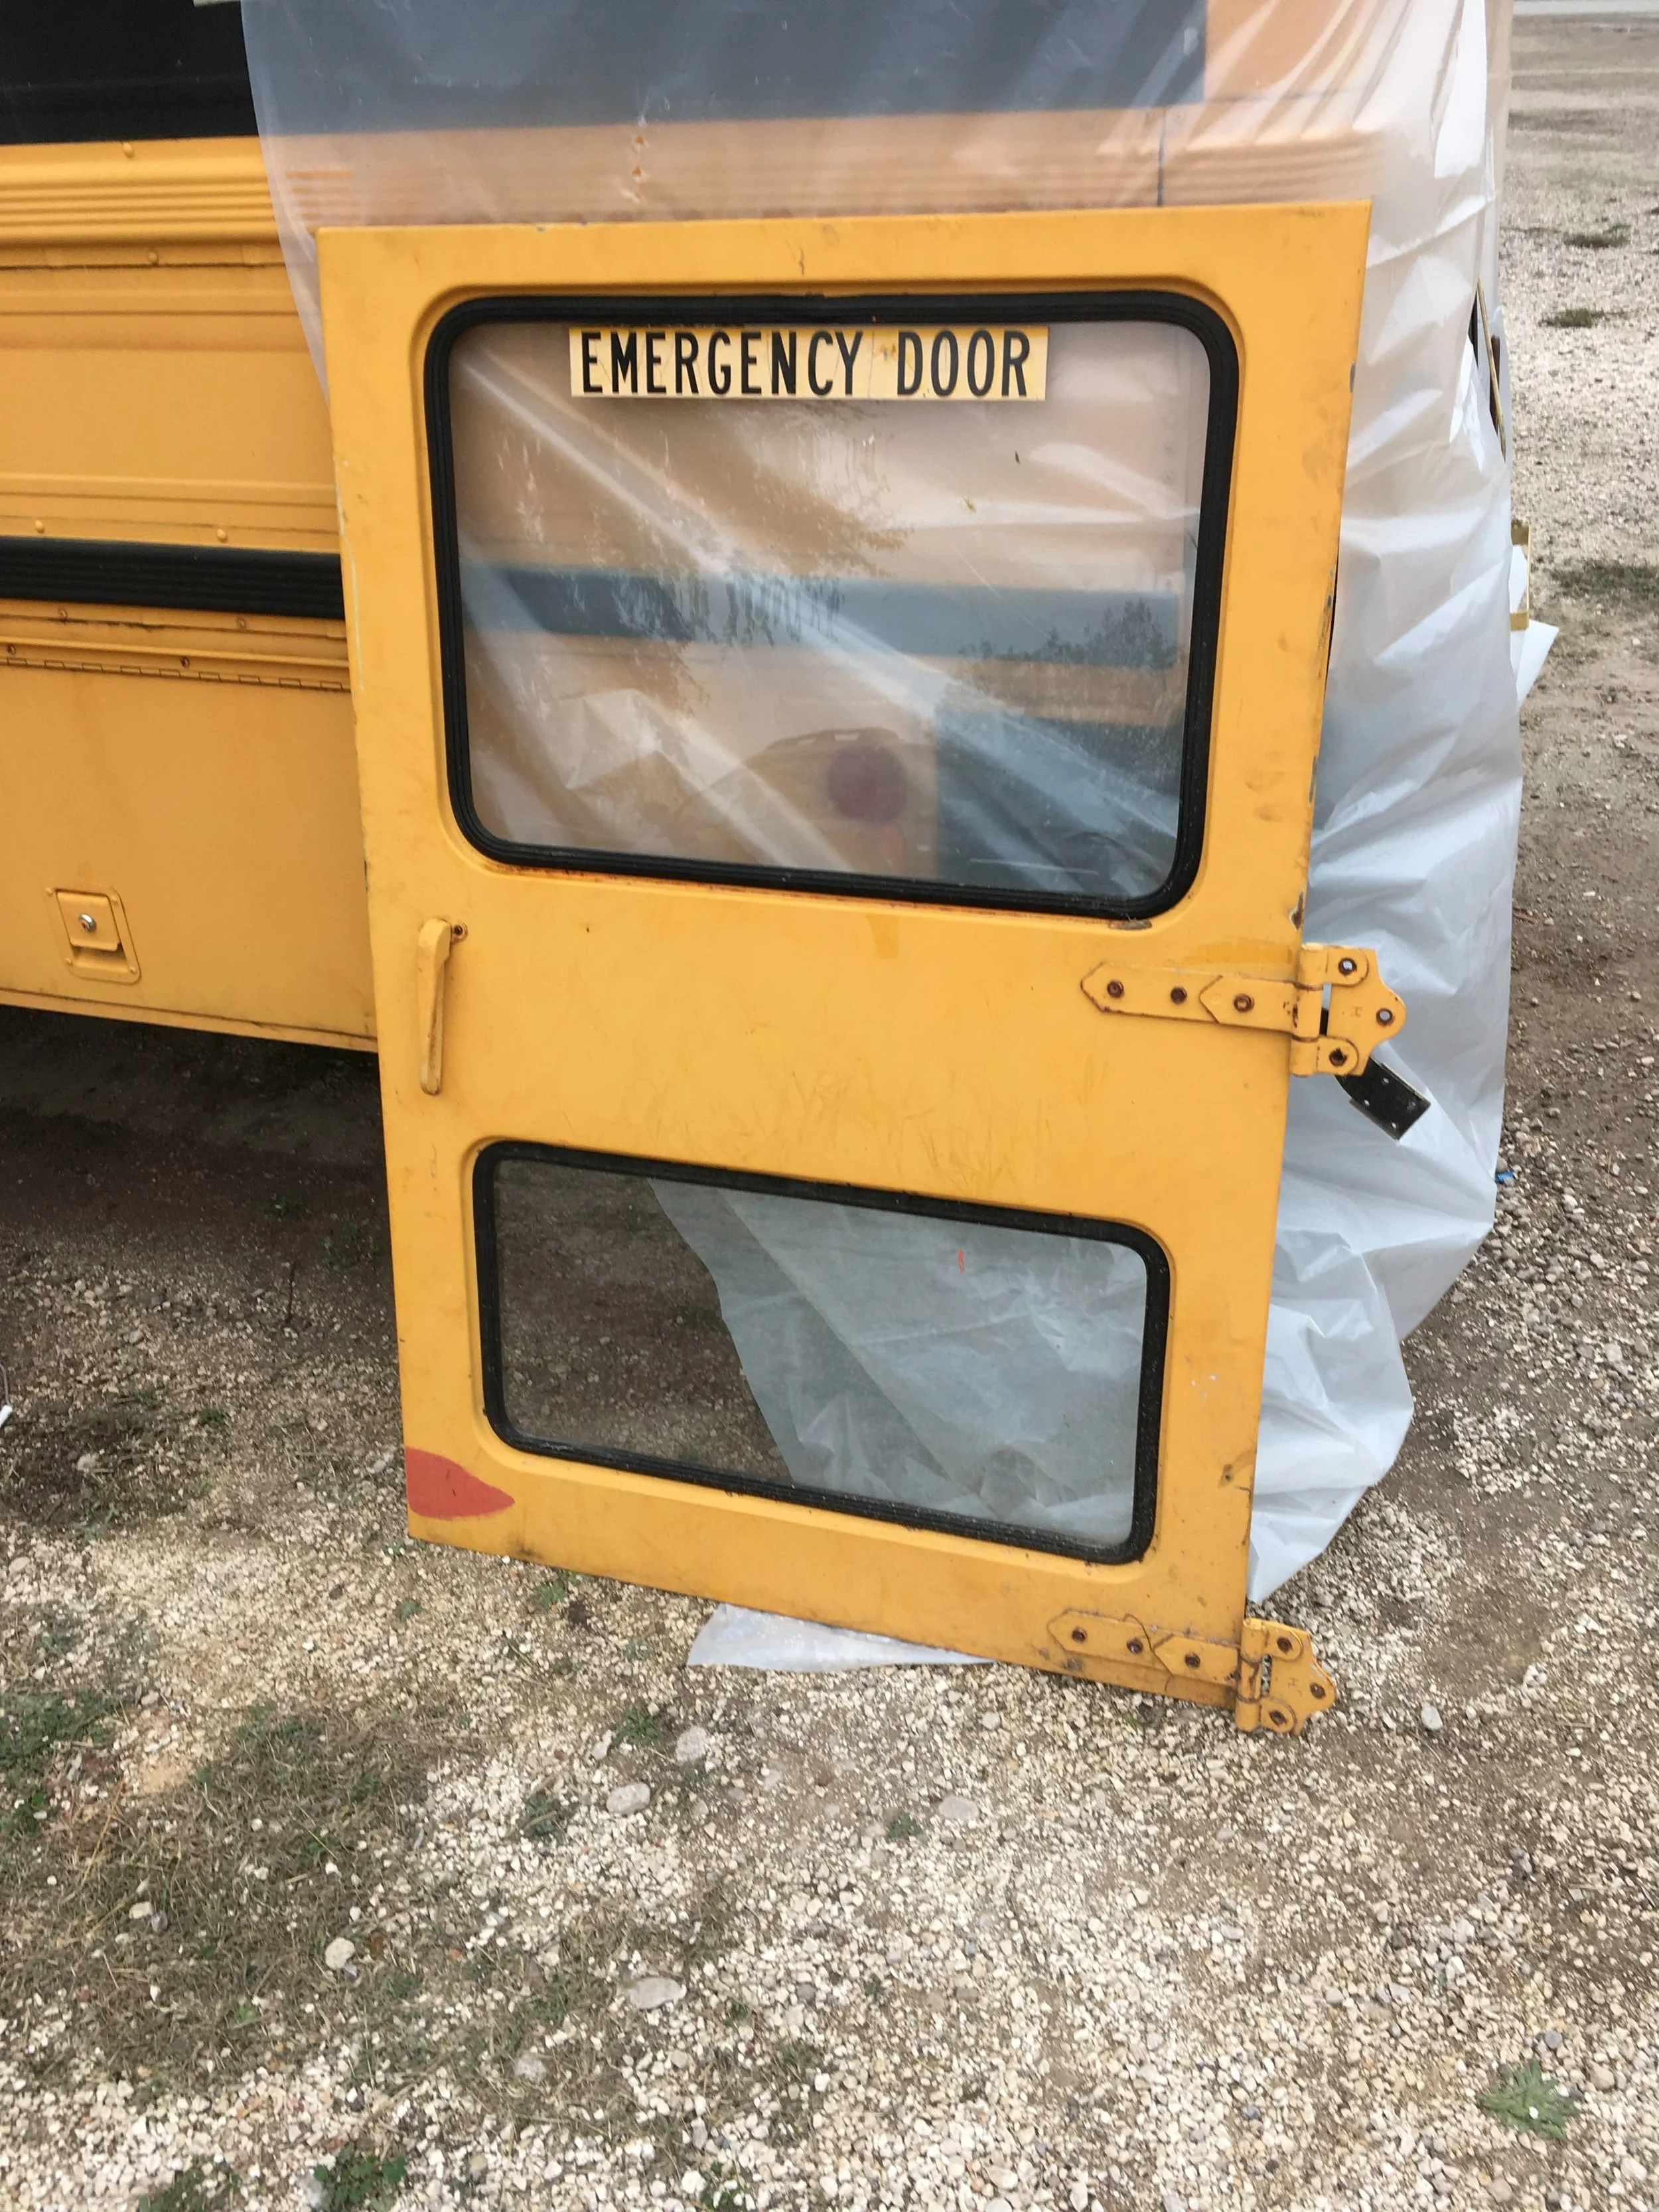
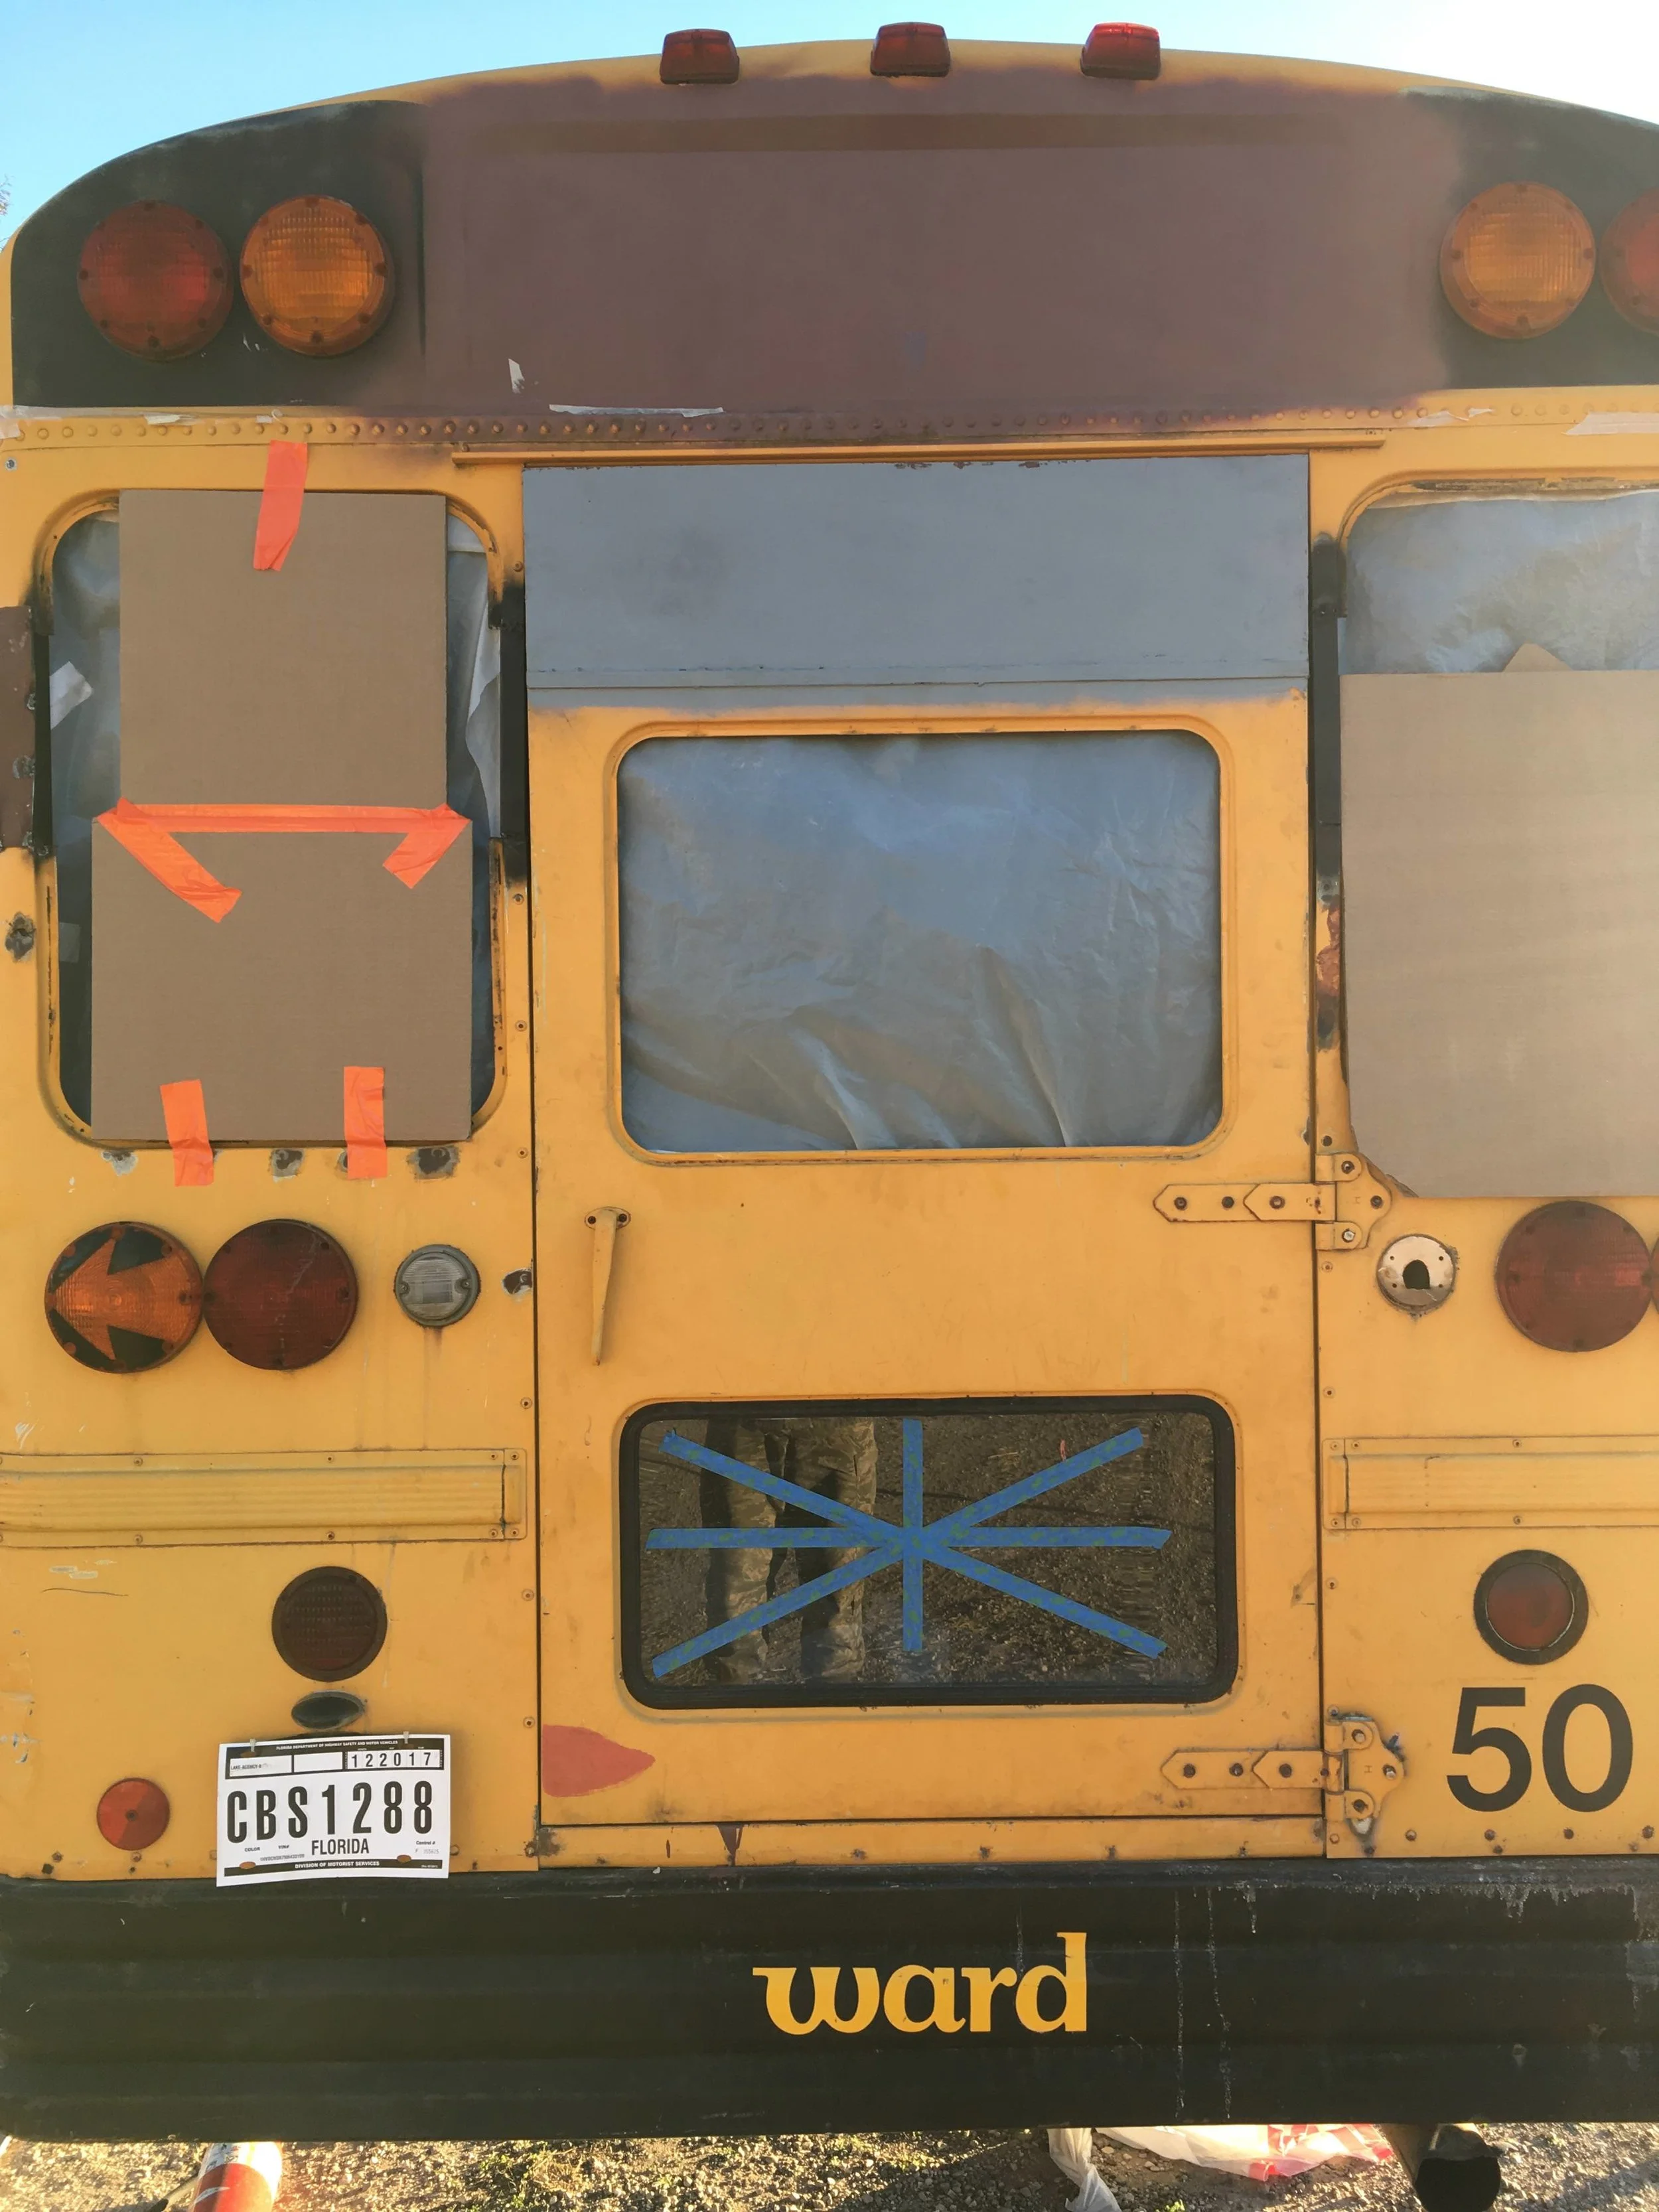
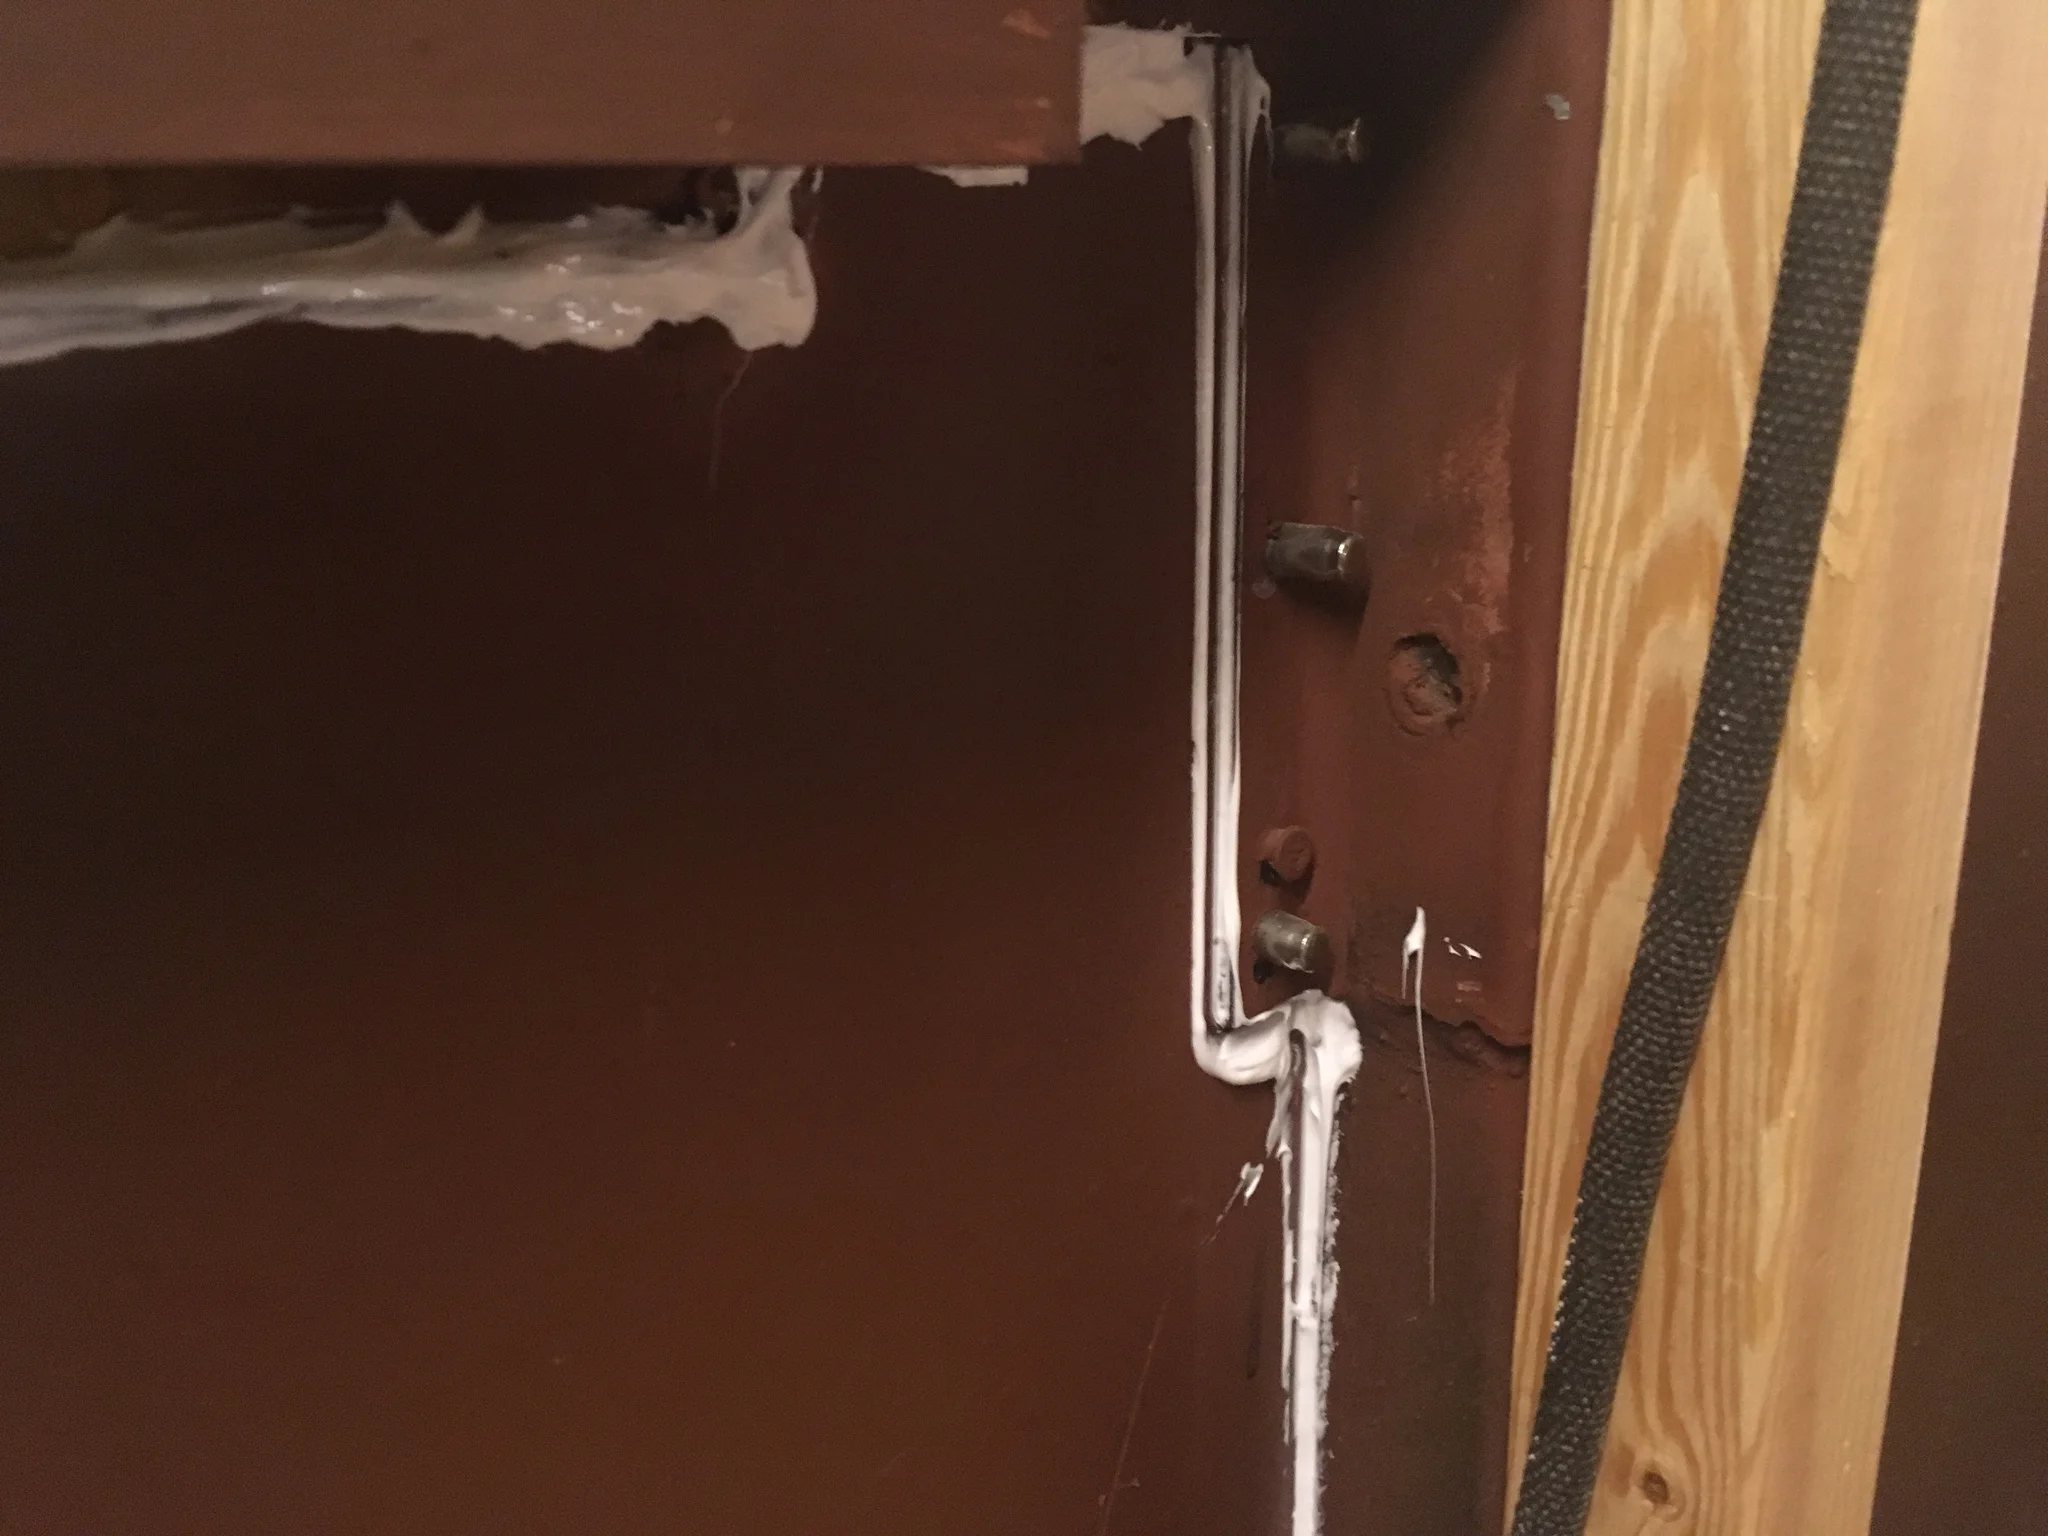
Stock rear door, which obviously won’t fit after the roof raise. The hinges also don't work and will need to be regreased.
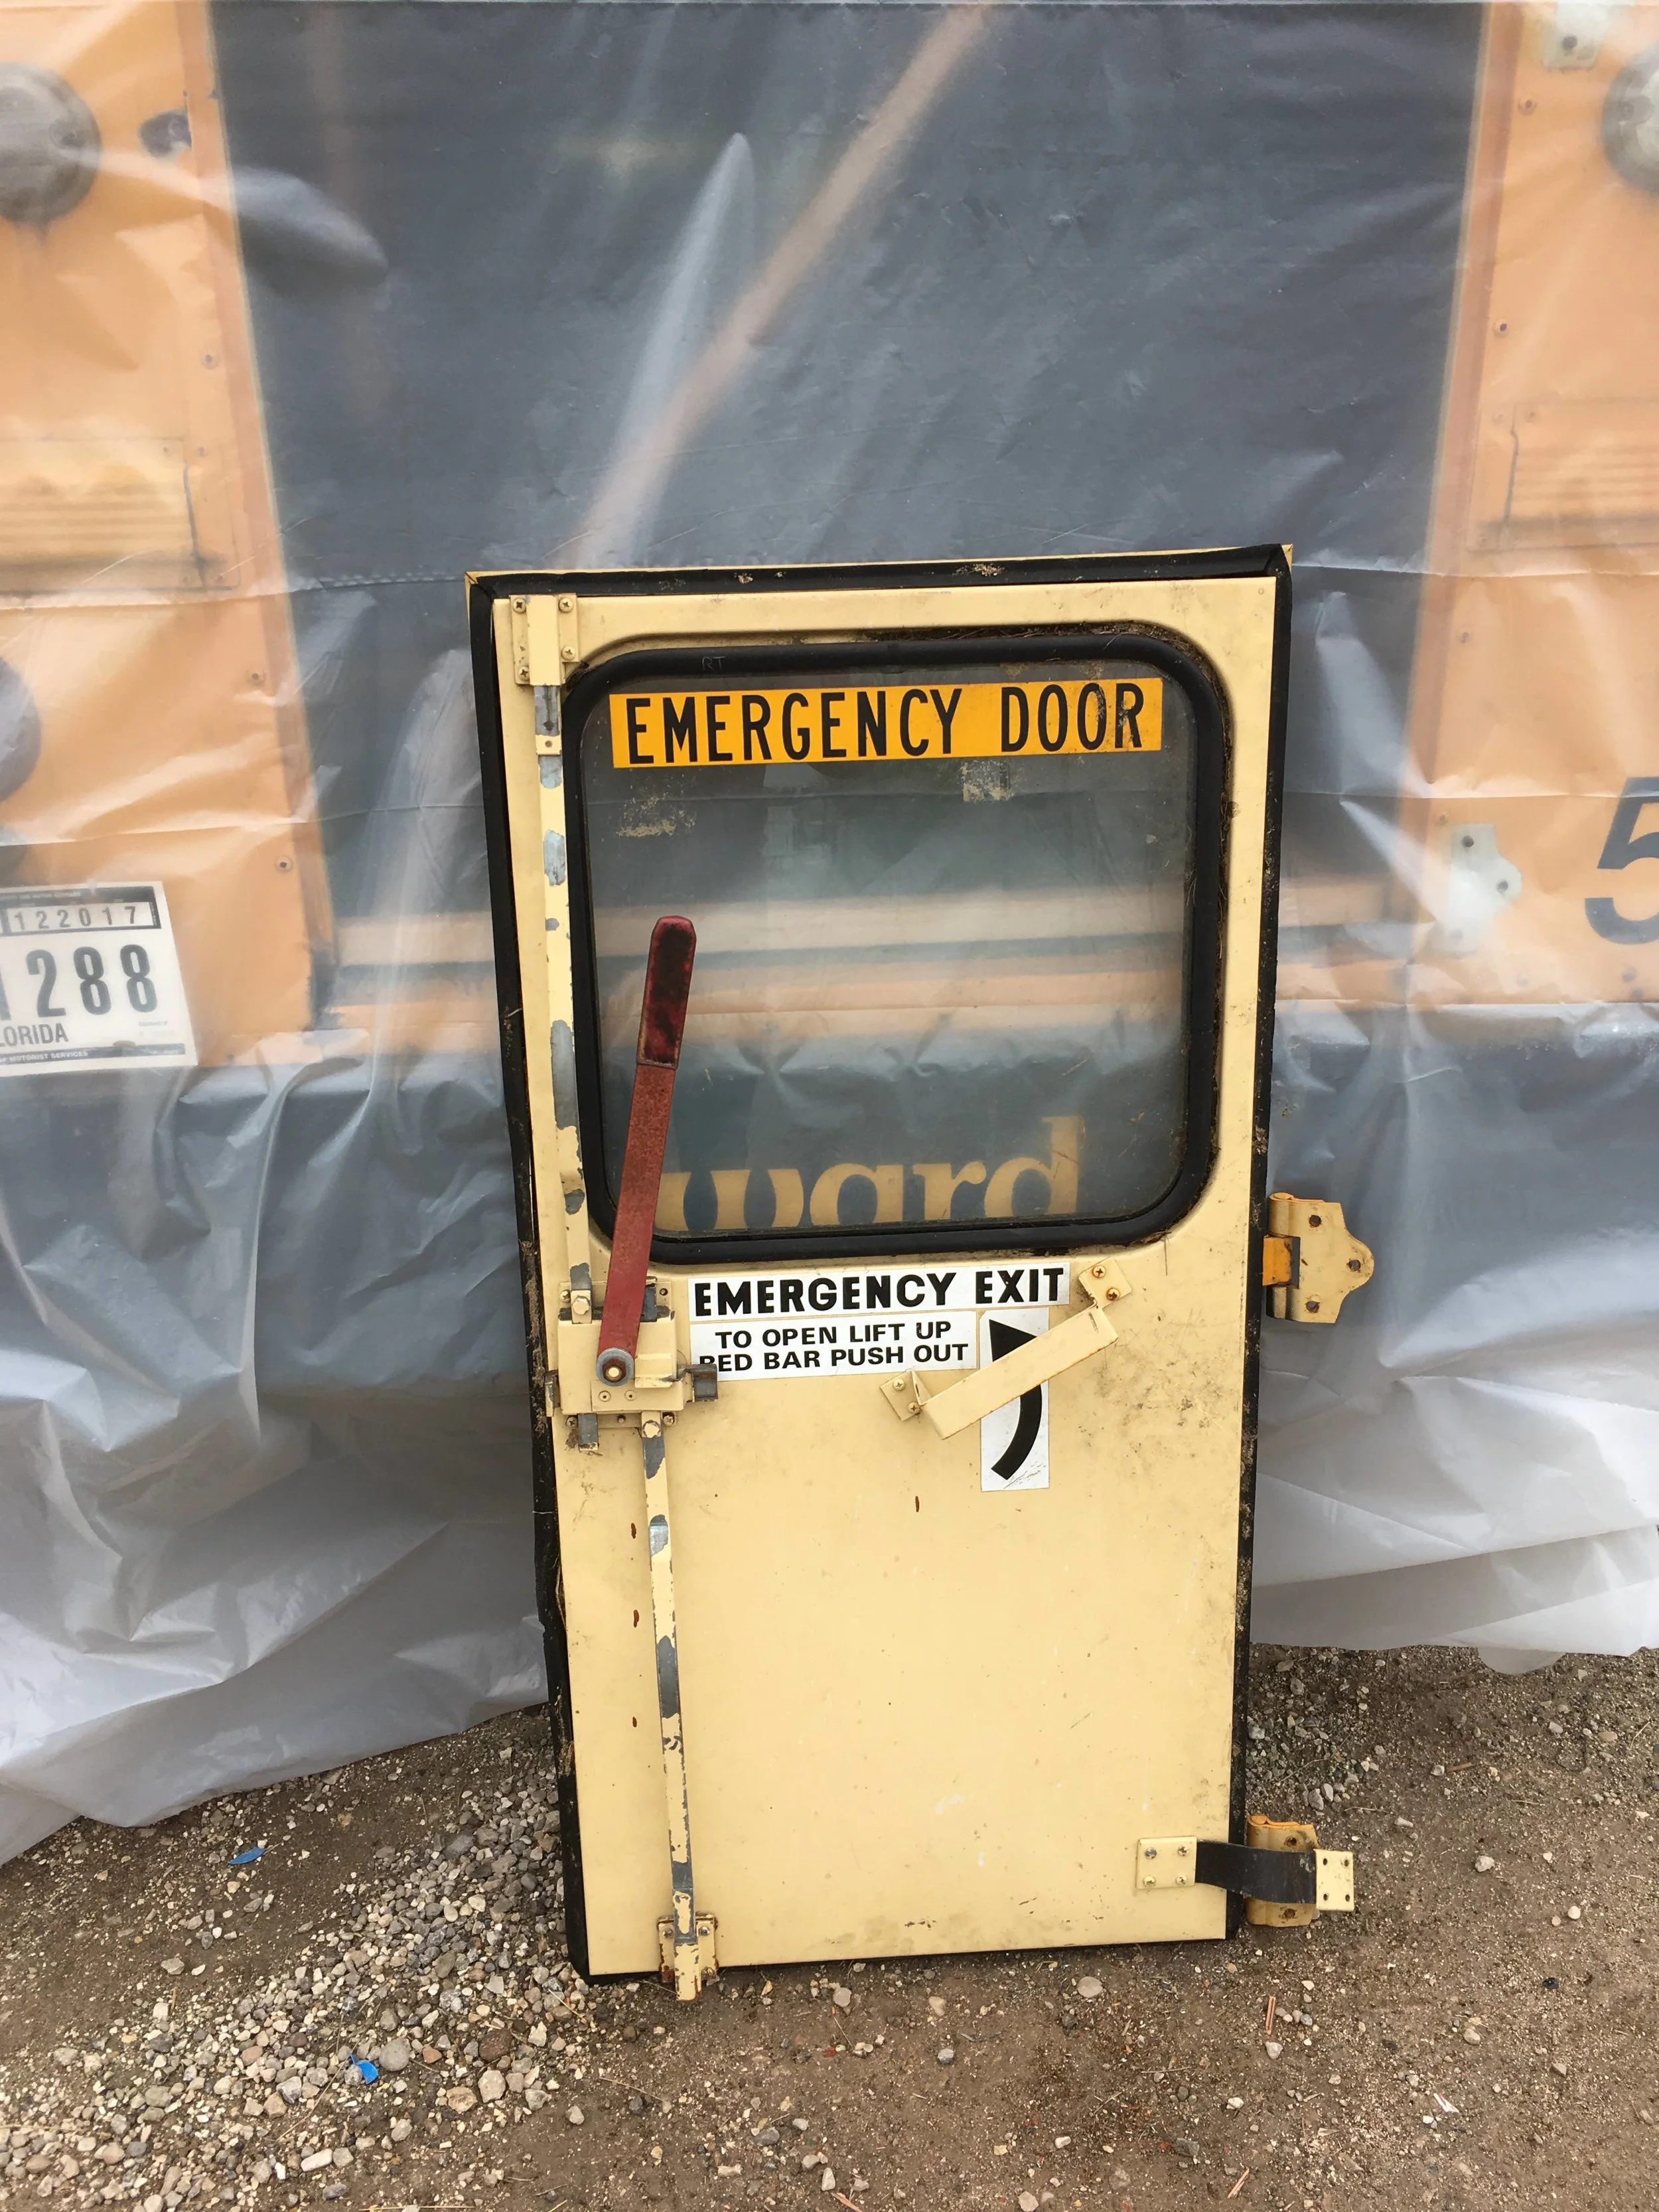
The rear door before the extension. Everything is stock as of now. These hinges also need to be regreased.
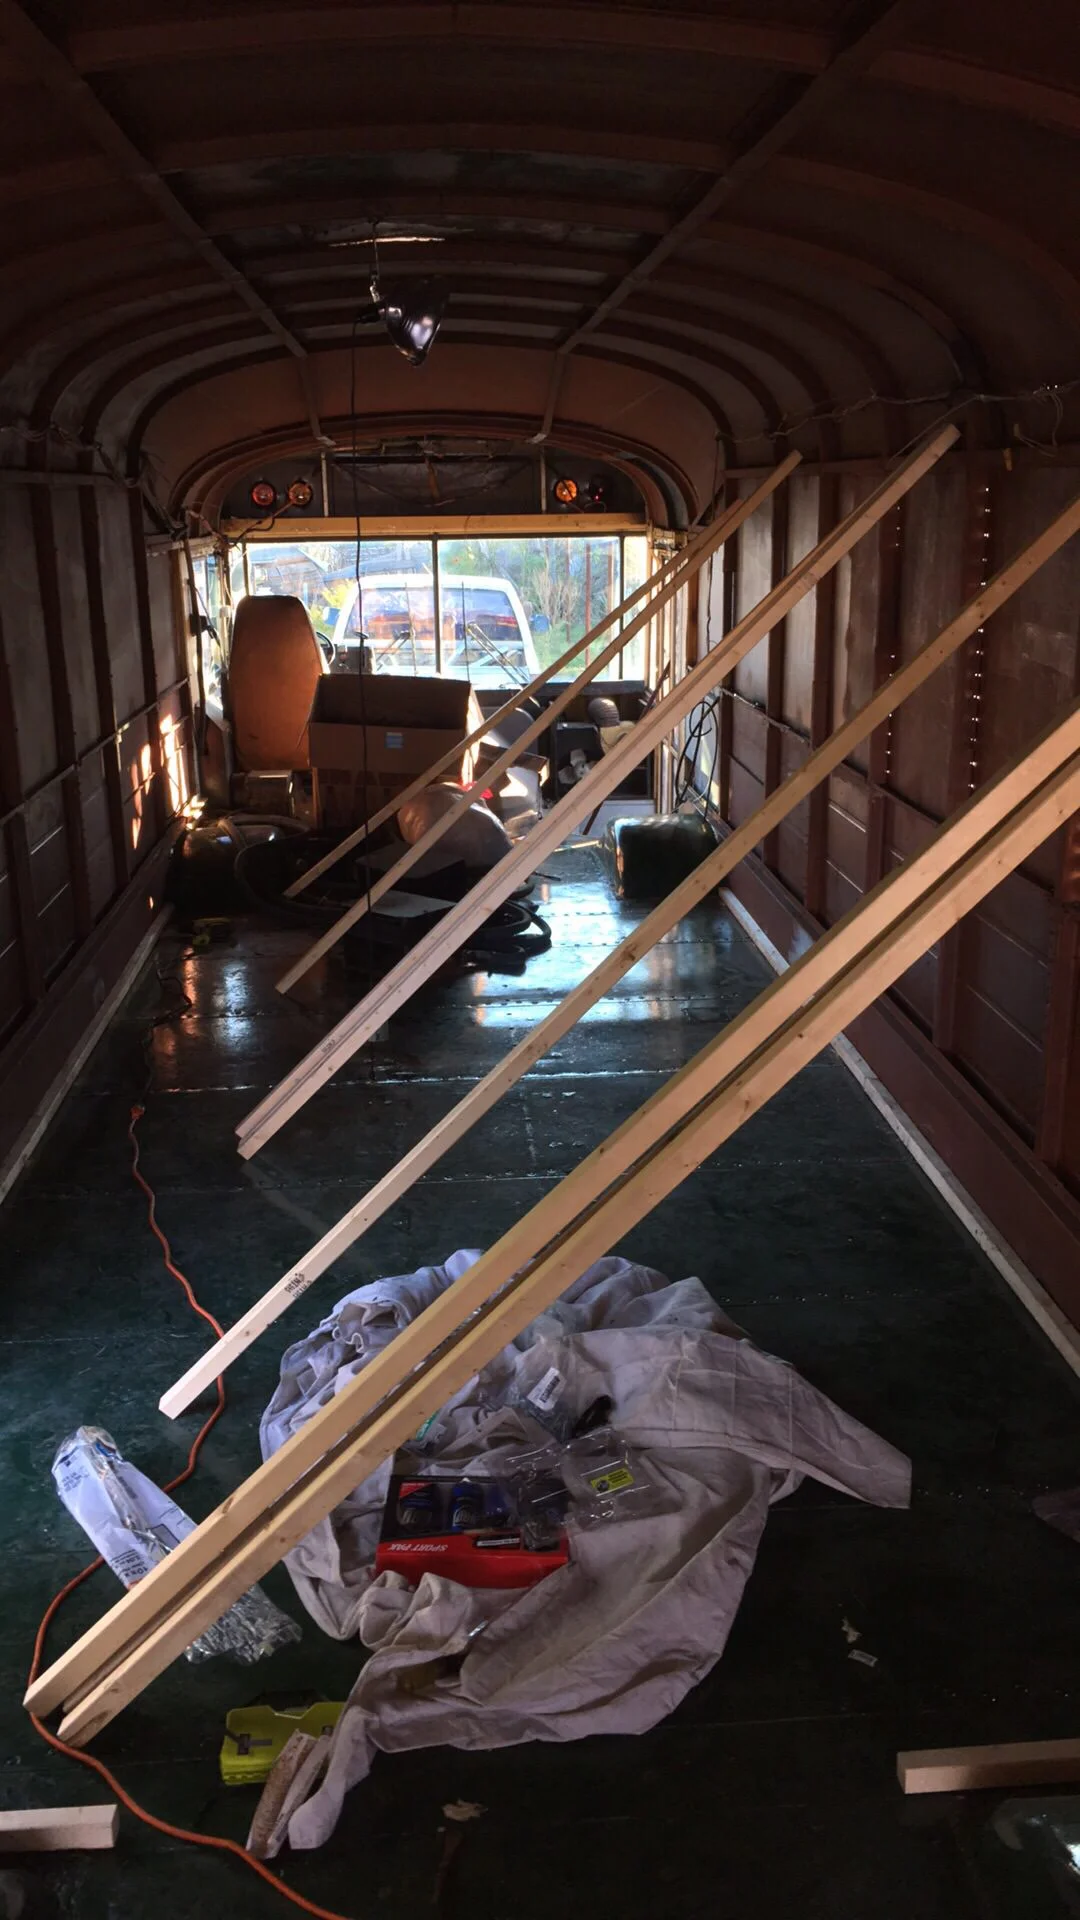
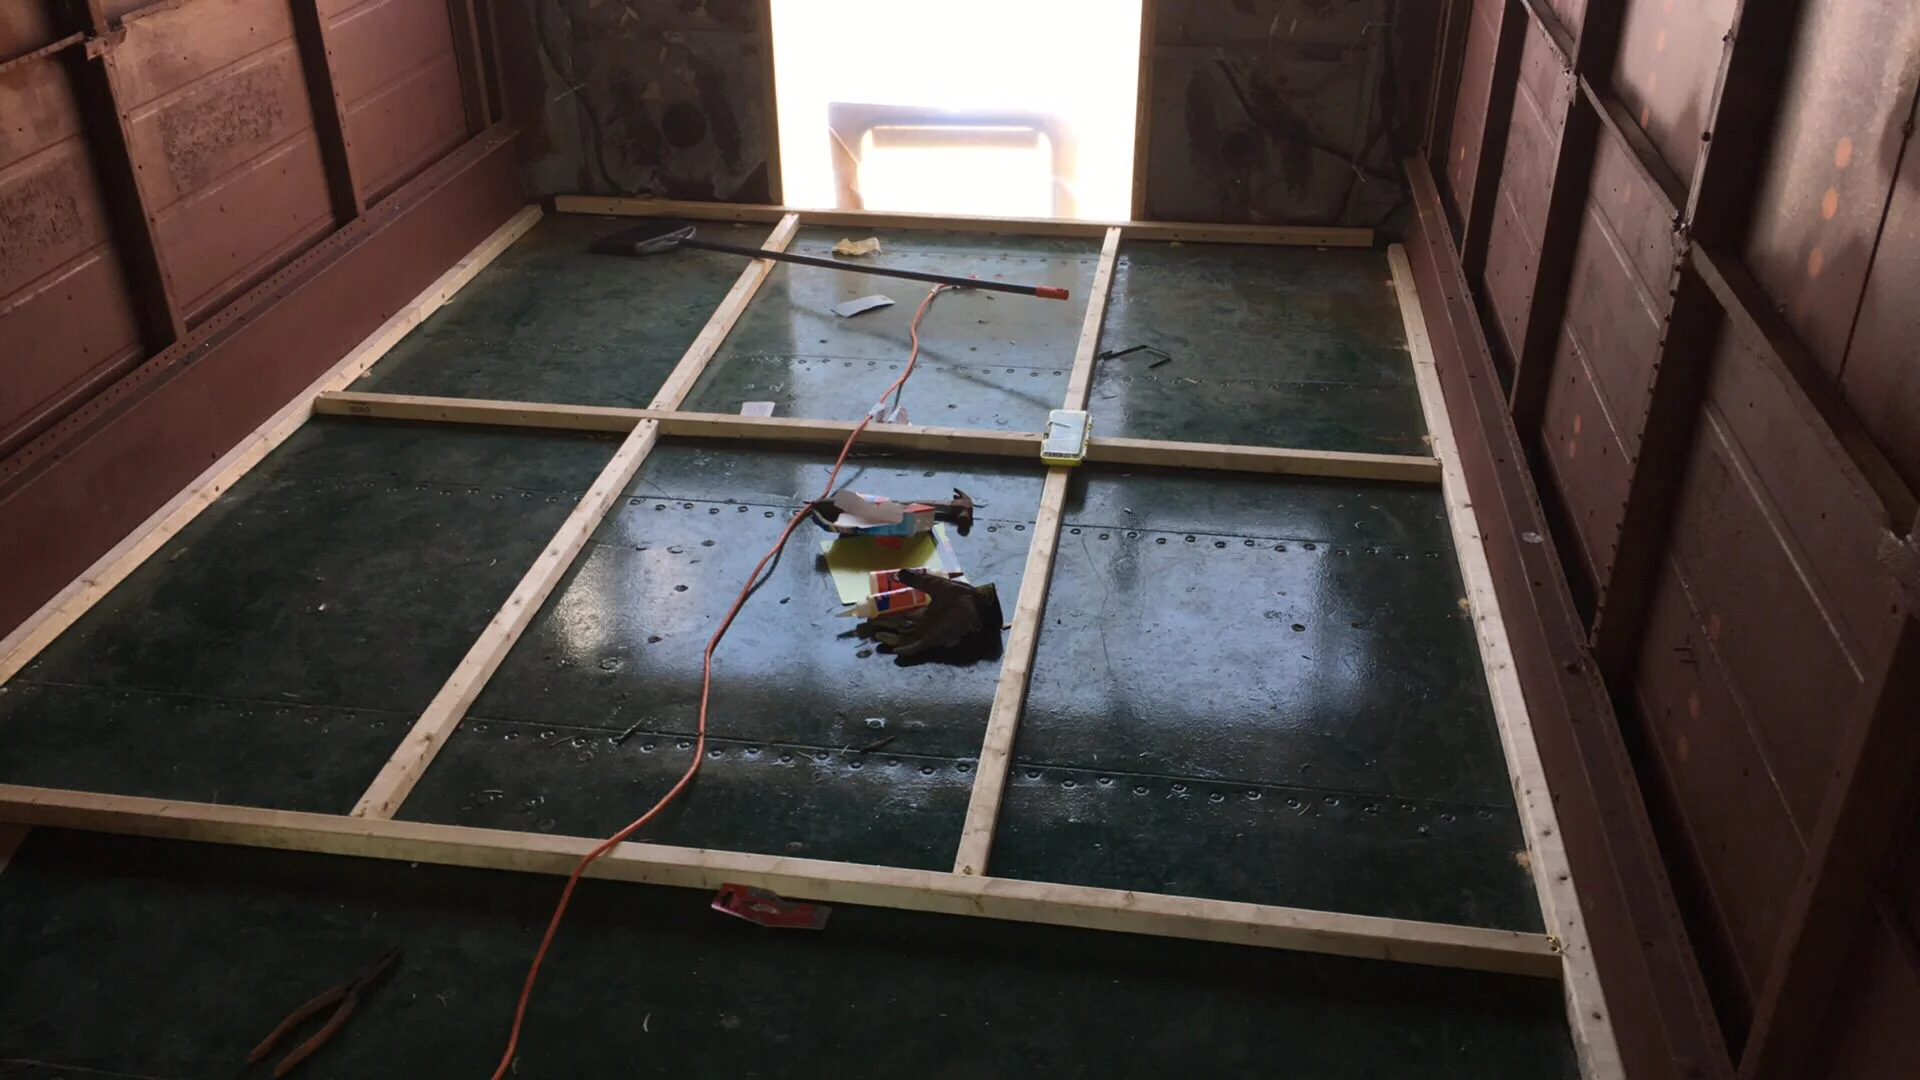
Laying the framework for the flooring in what will eventually be the bedroom. After sealing the floor, I refused to drill holes into it to anchor the floor, so I anchored the edges into the bottom wall, which is directly connected to the chassis. This is the railing to which the seats were originally anchored.
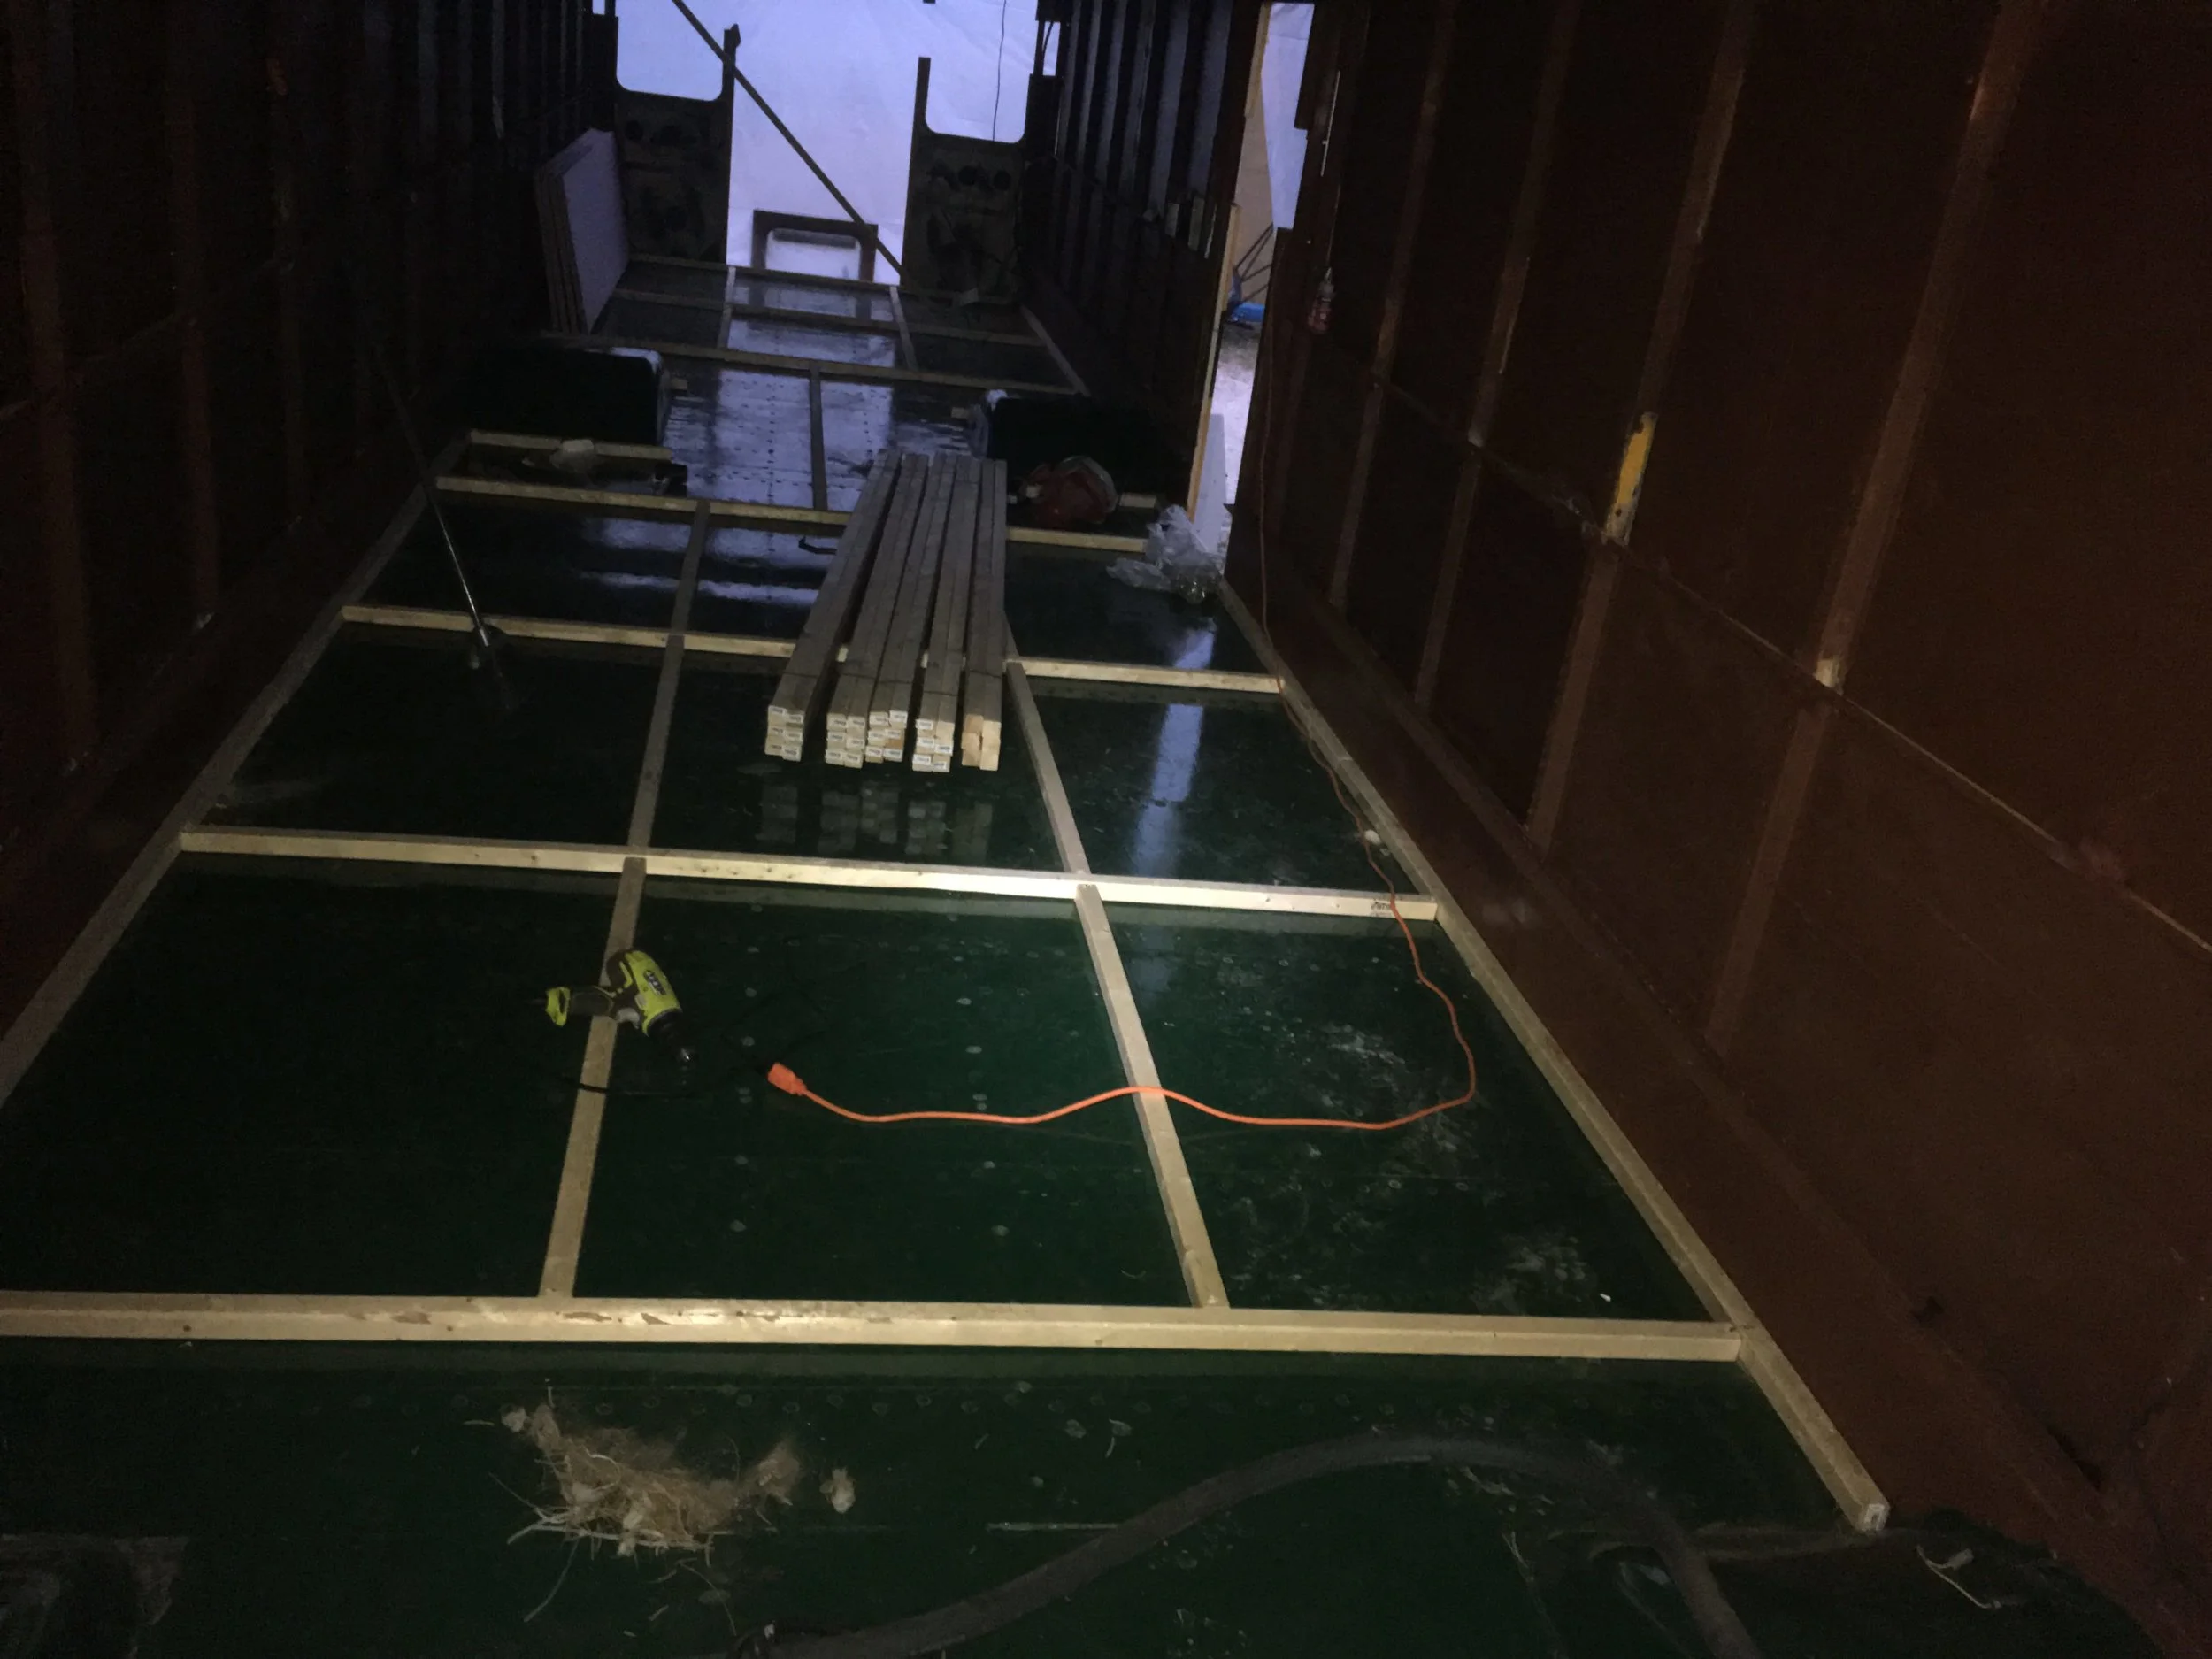
Finished laying the supports for the underfloor. There will be insulation between the supports.
Drilling these holes was a monumental pain in the ass. Each support had about 30 holes that needed to be drilled out. Each one took about 45 minutes to finish. It was very repetitive and took the entirety of my weight to push through the support and then the 12ga steel.
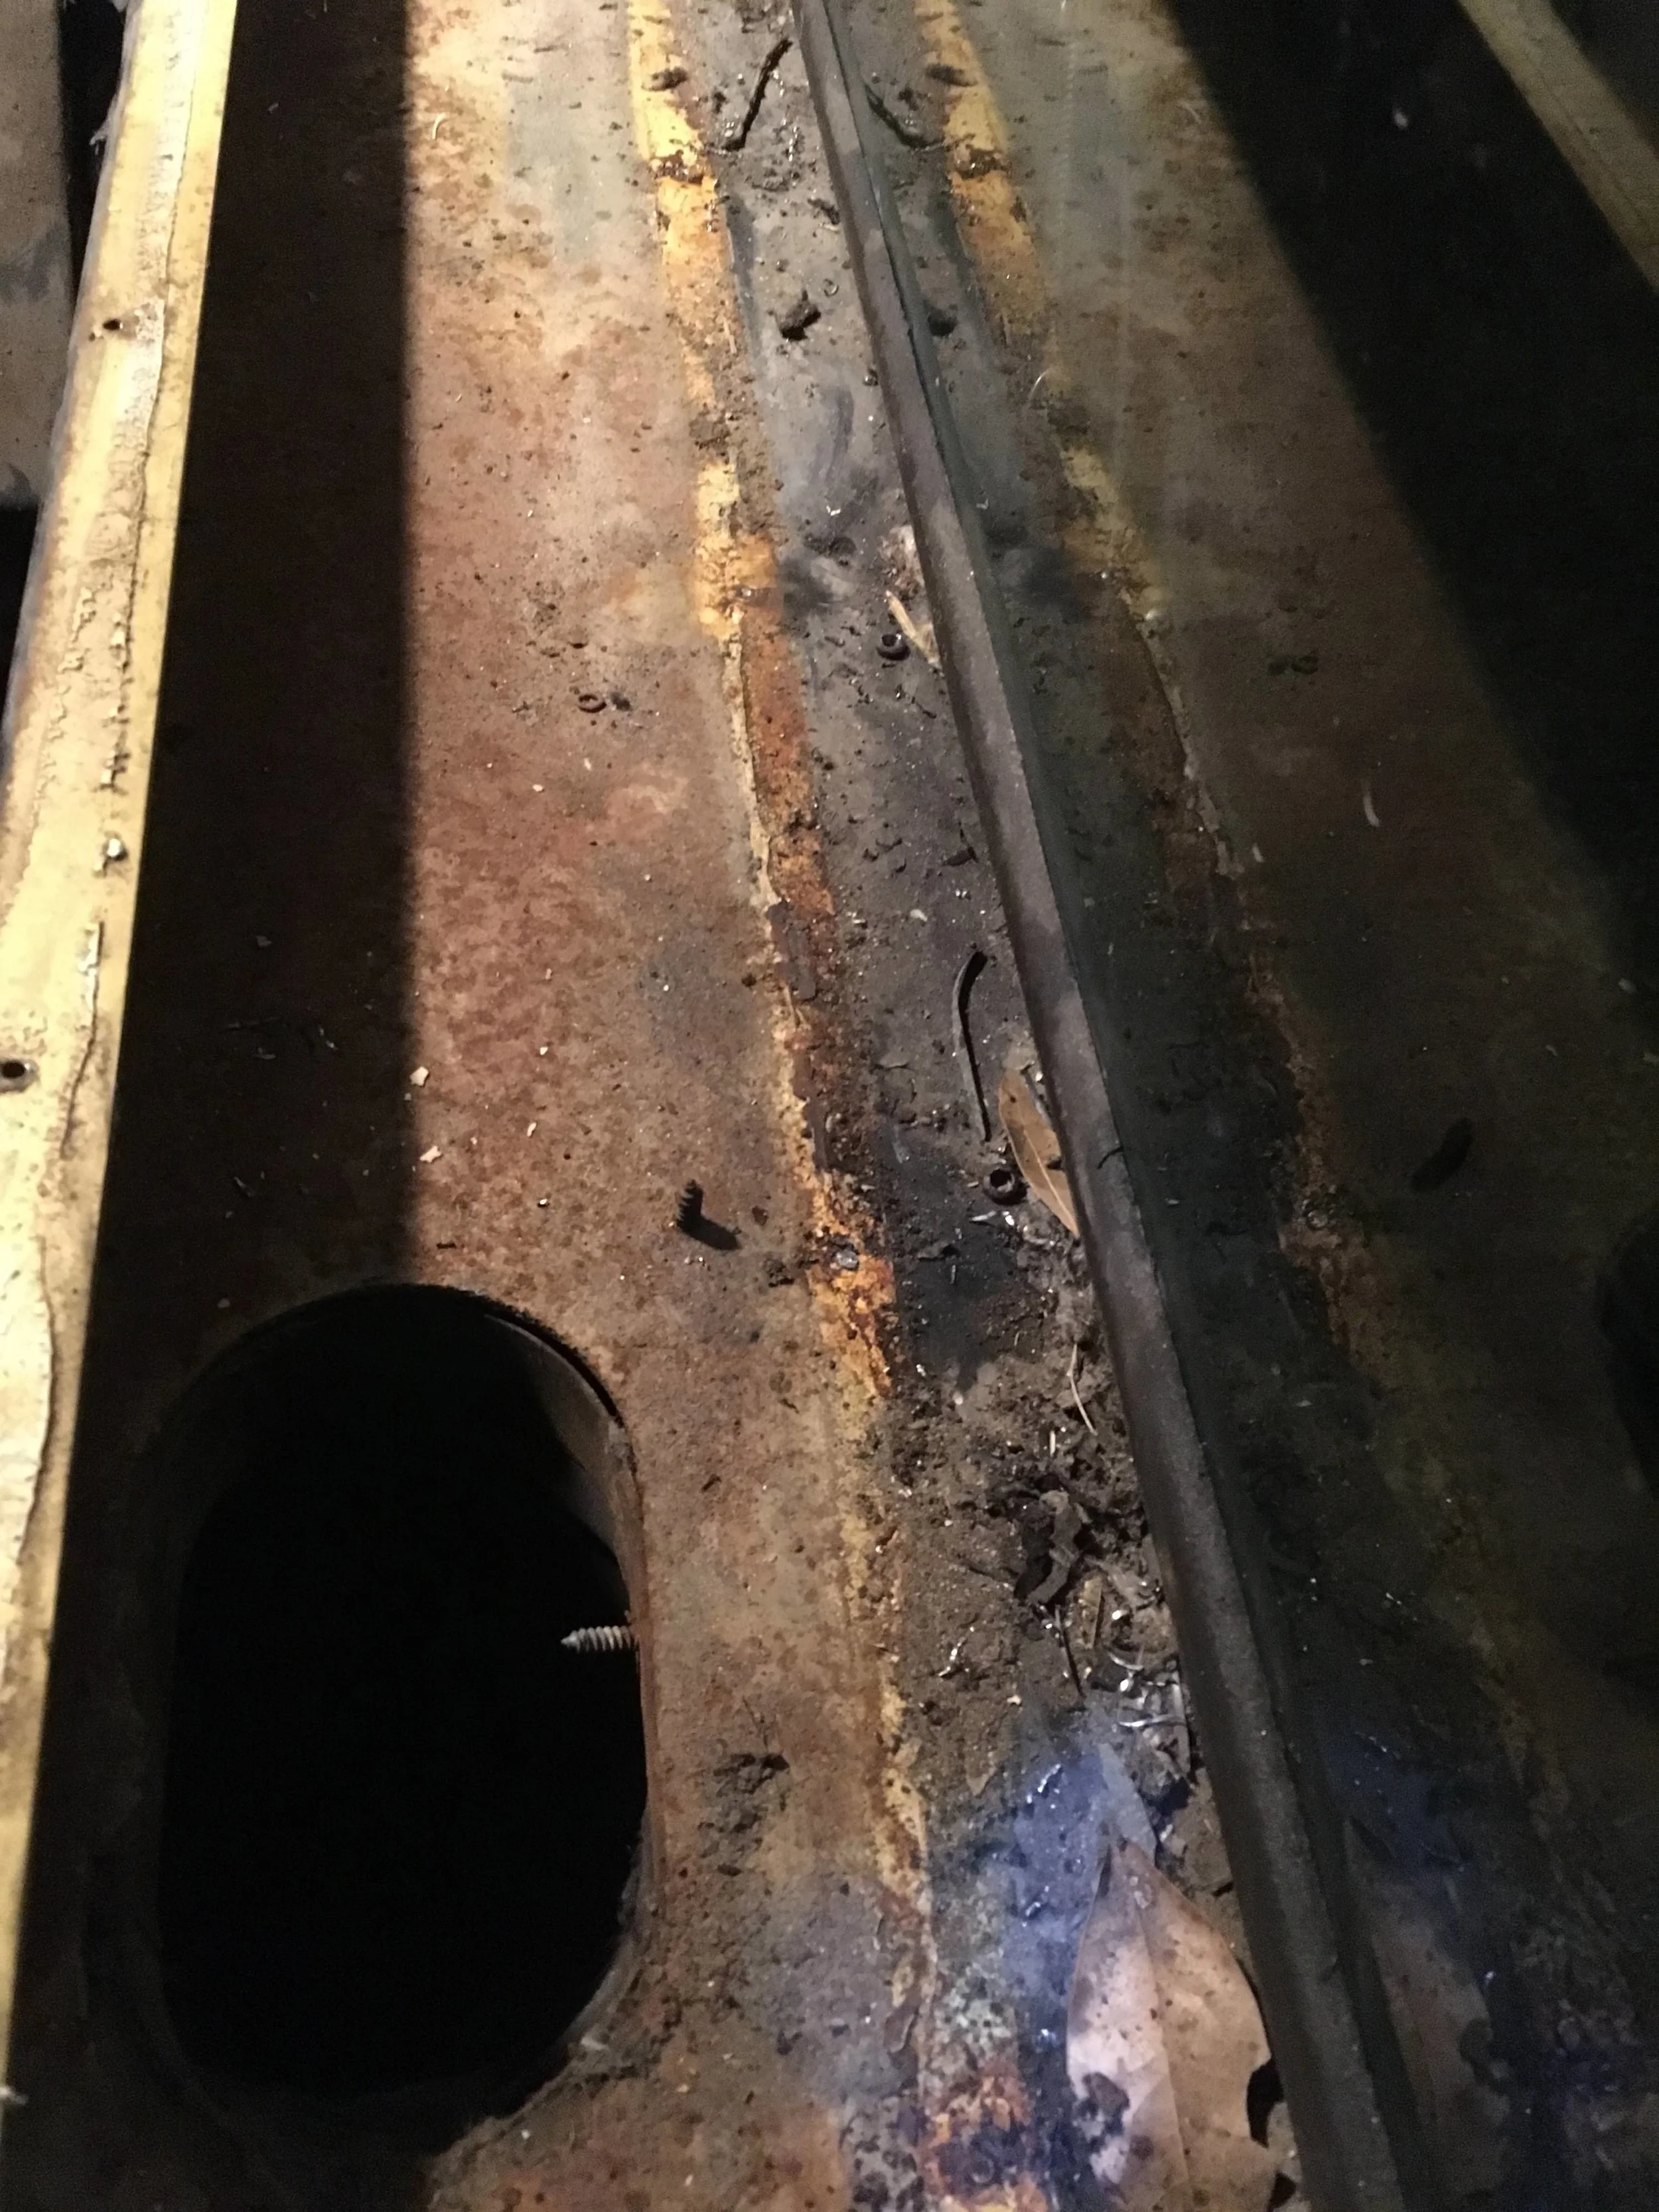
The roof raise left these supports unconnected. We had to weld them into place. Not sure if I have the "after" photo from the weld job.
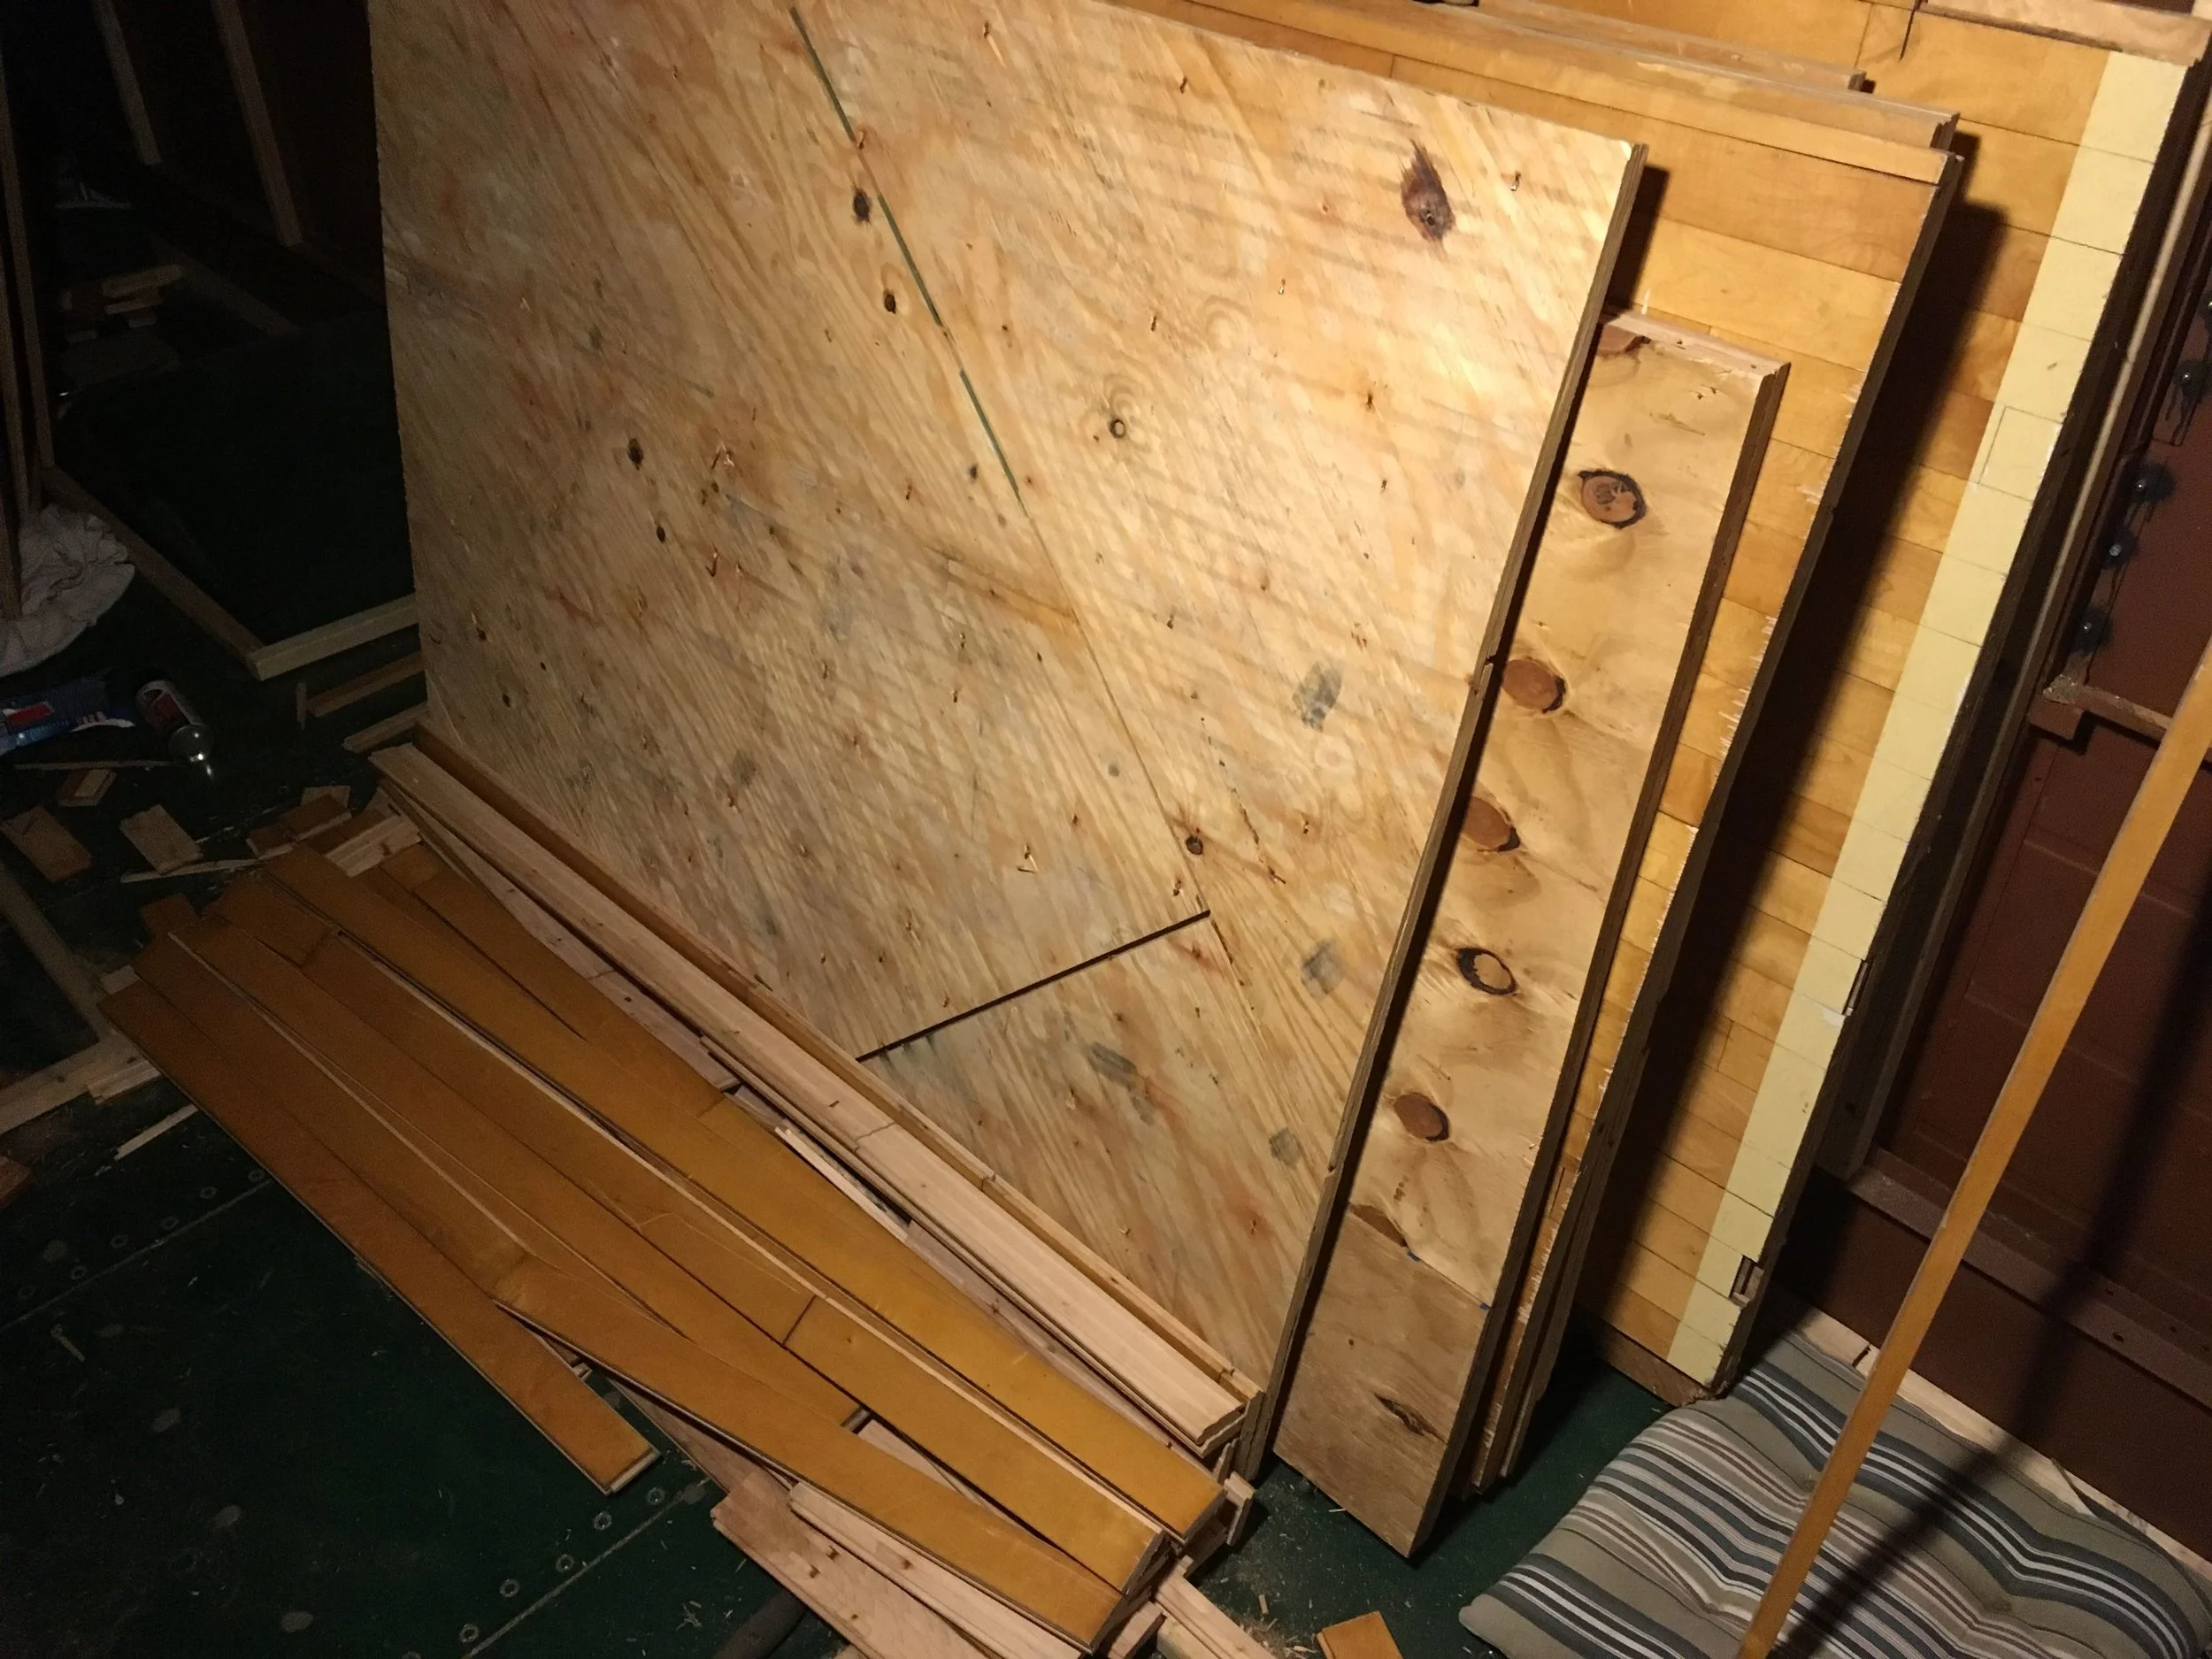
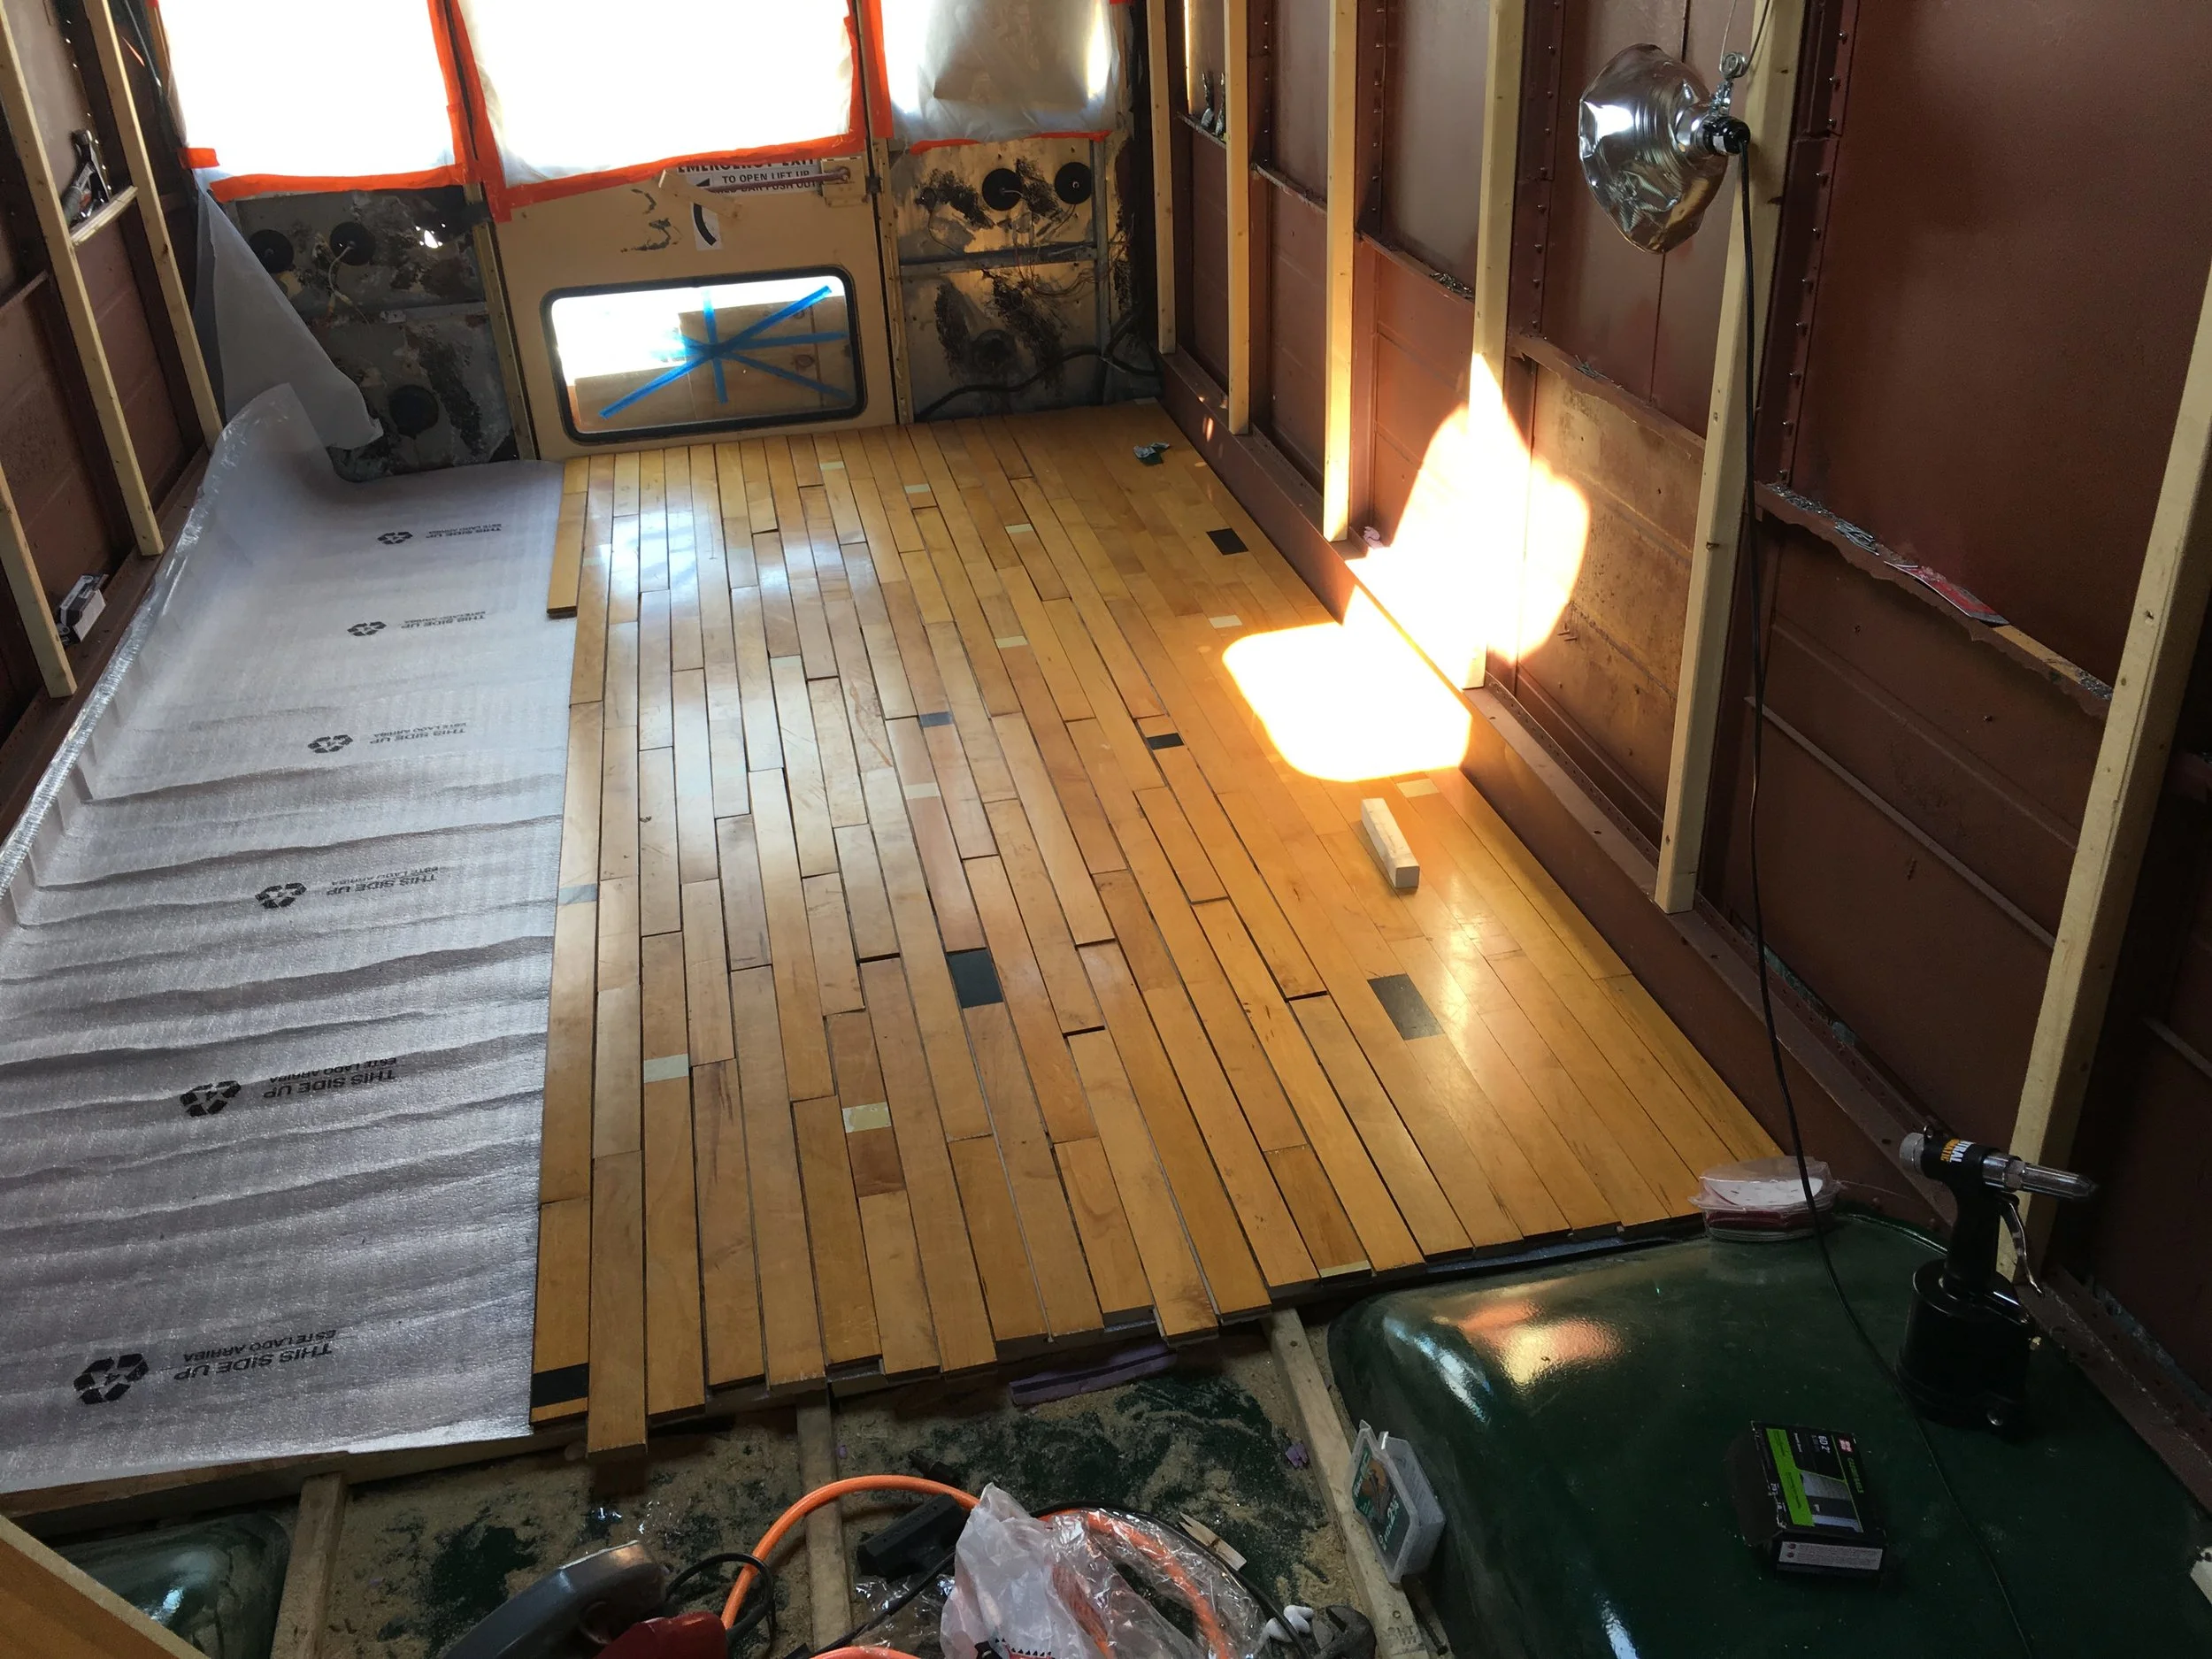
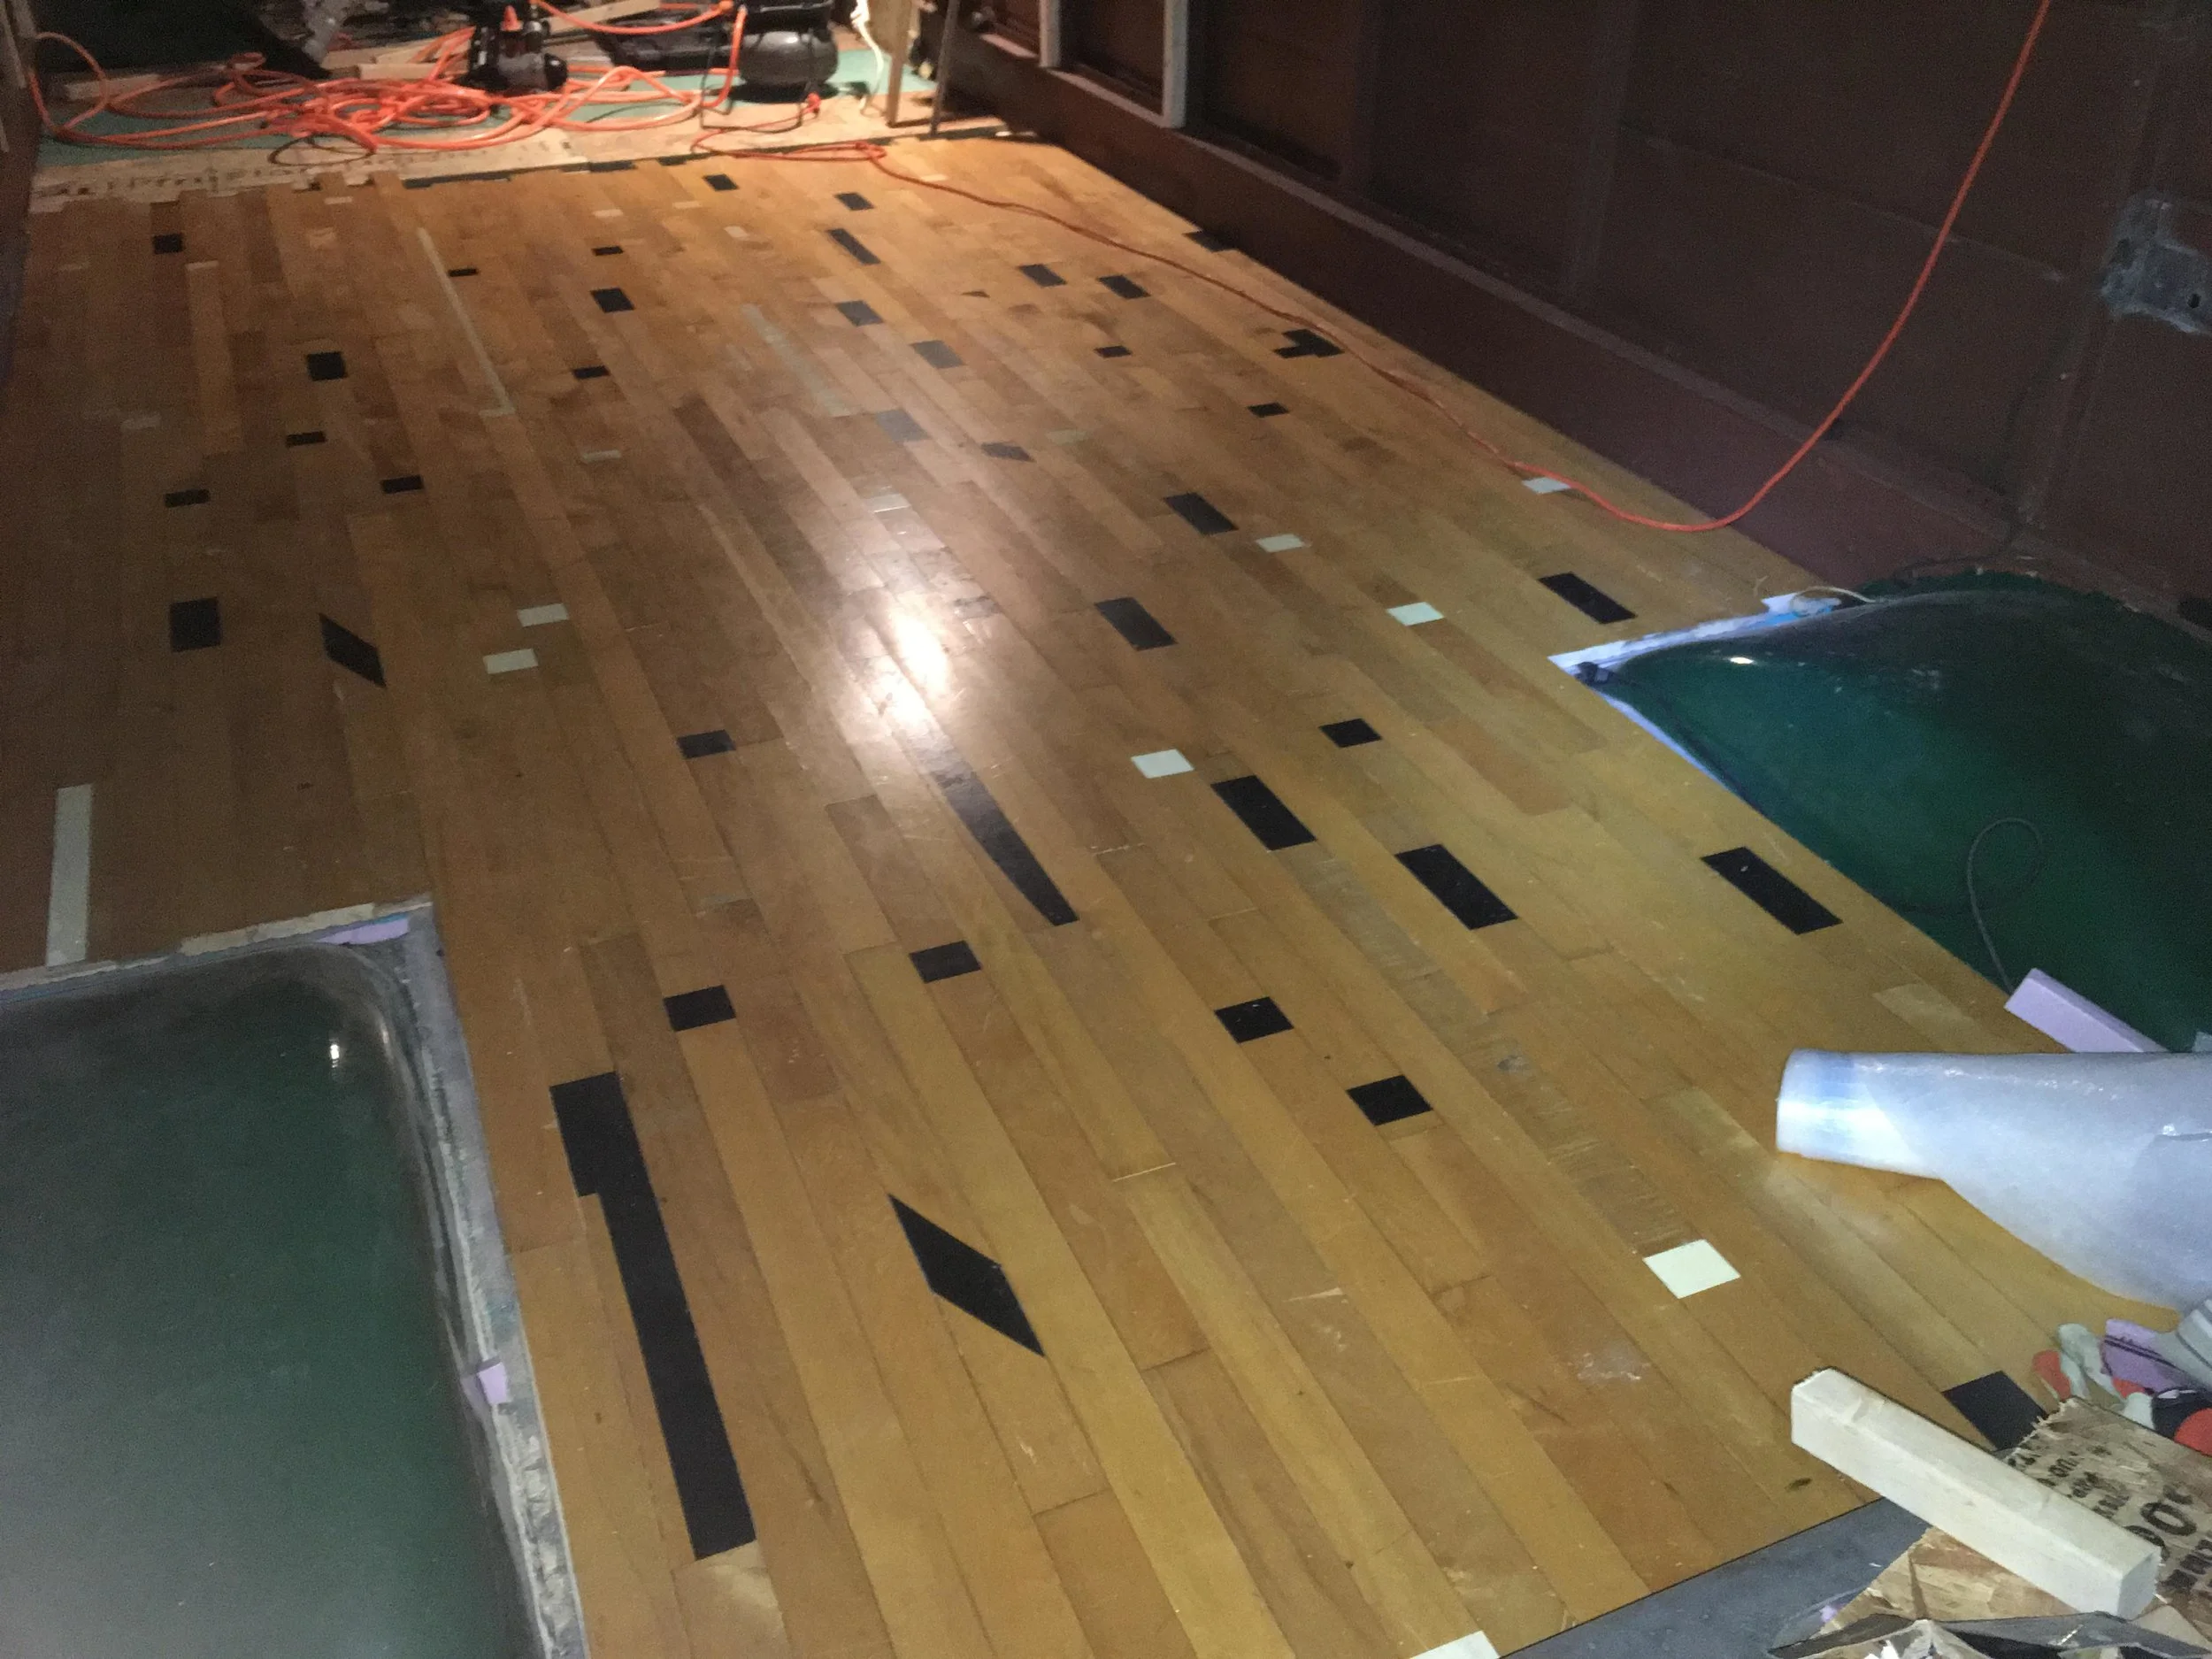
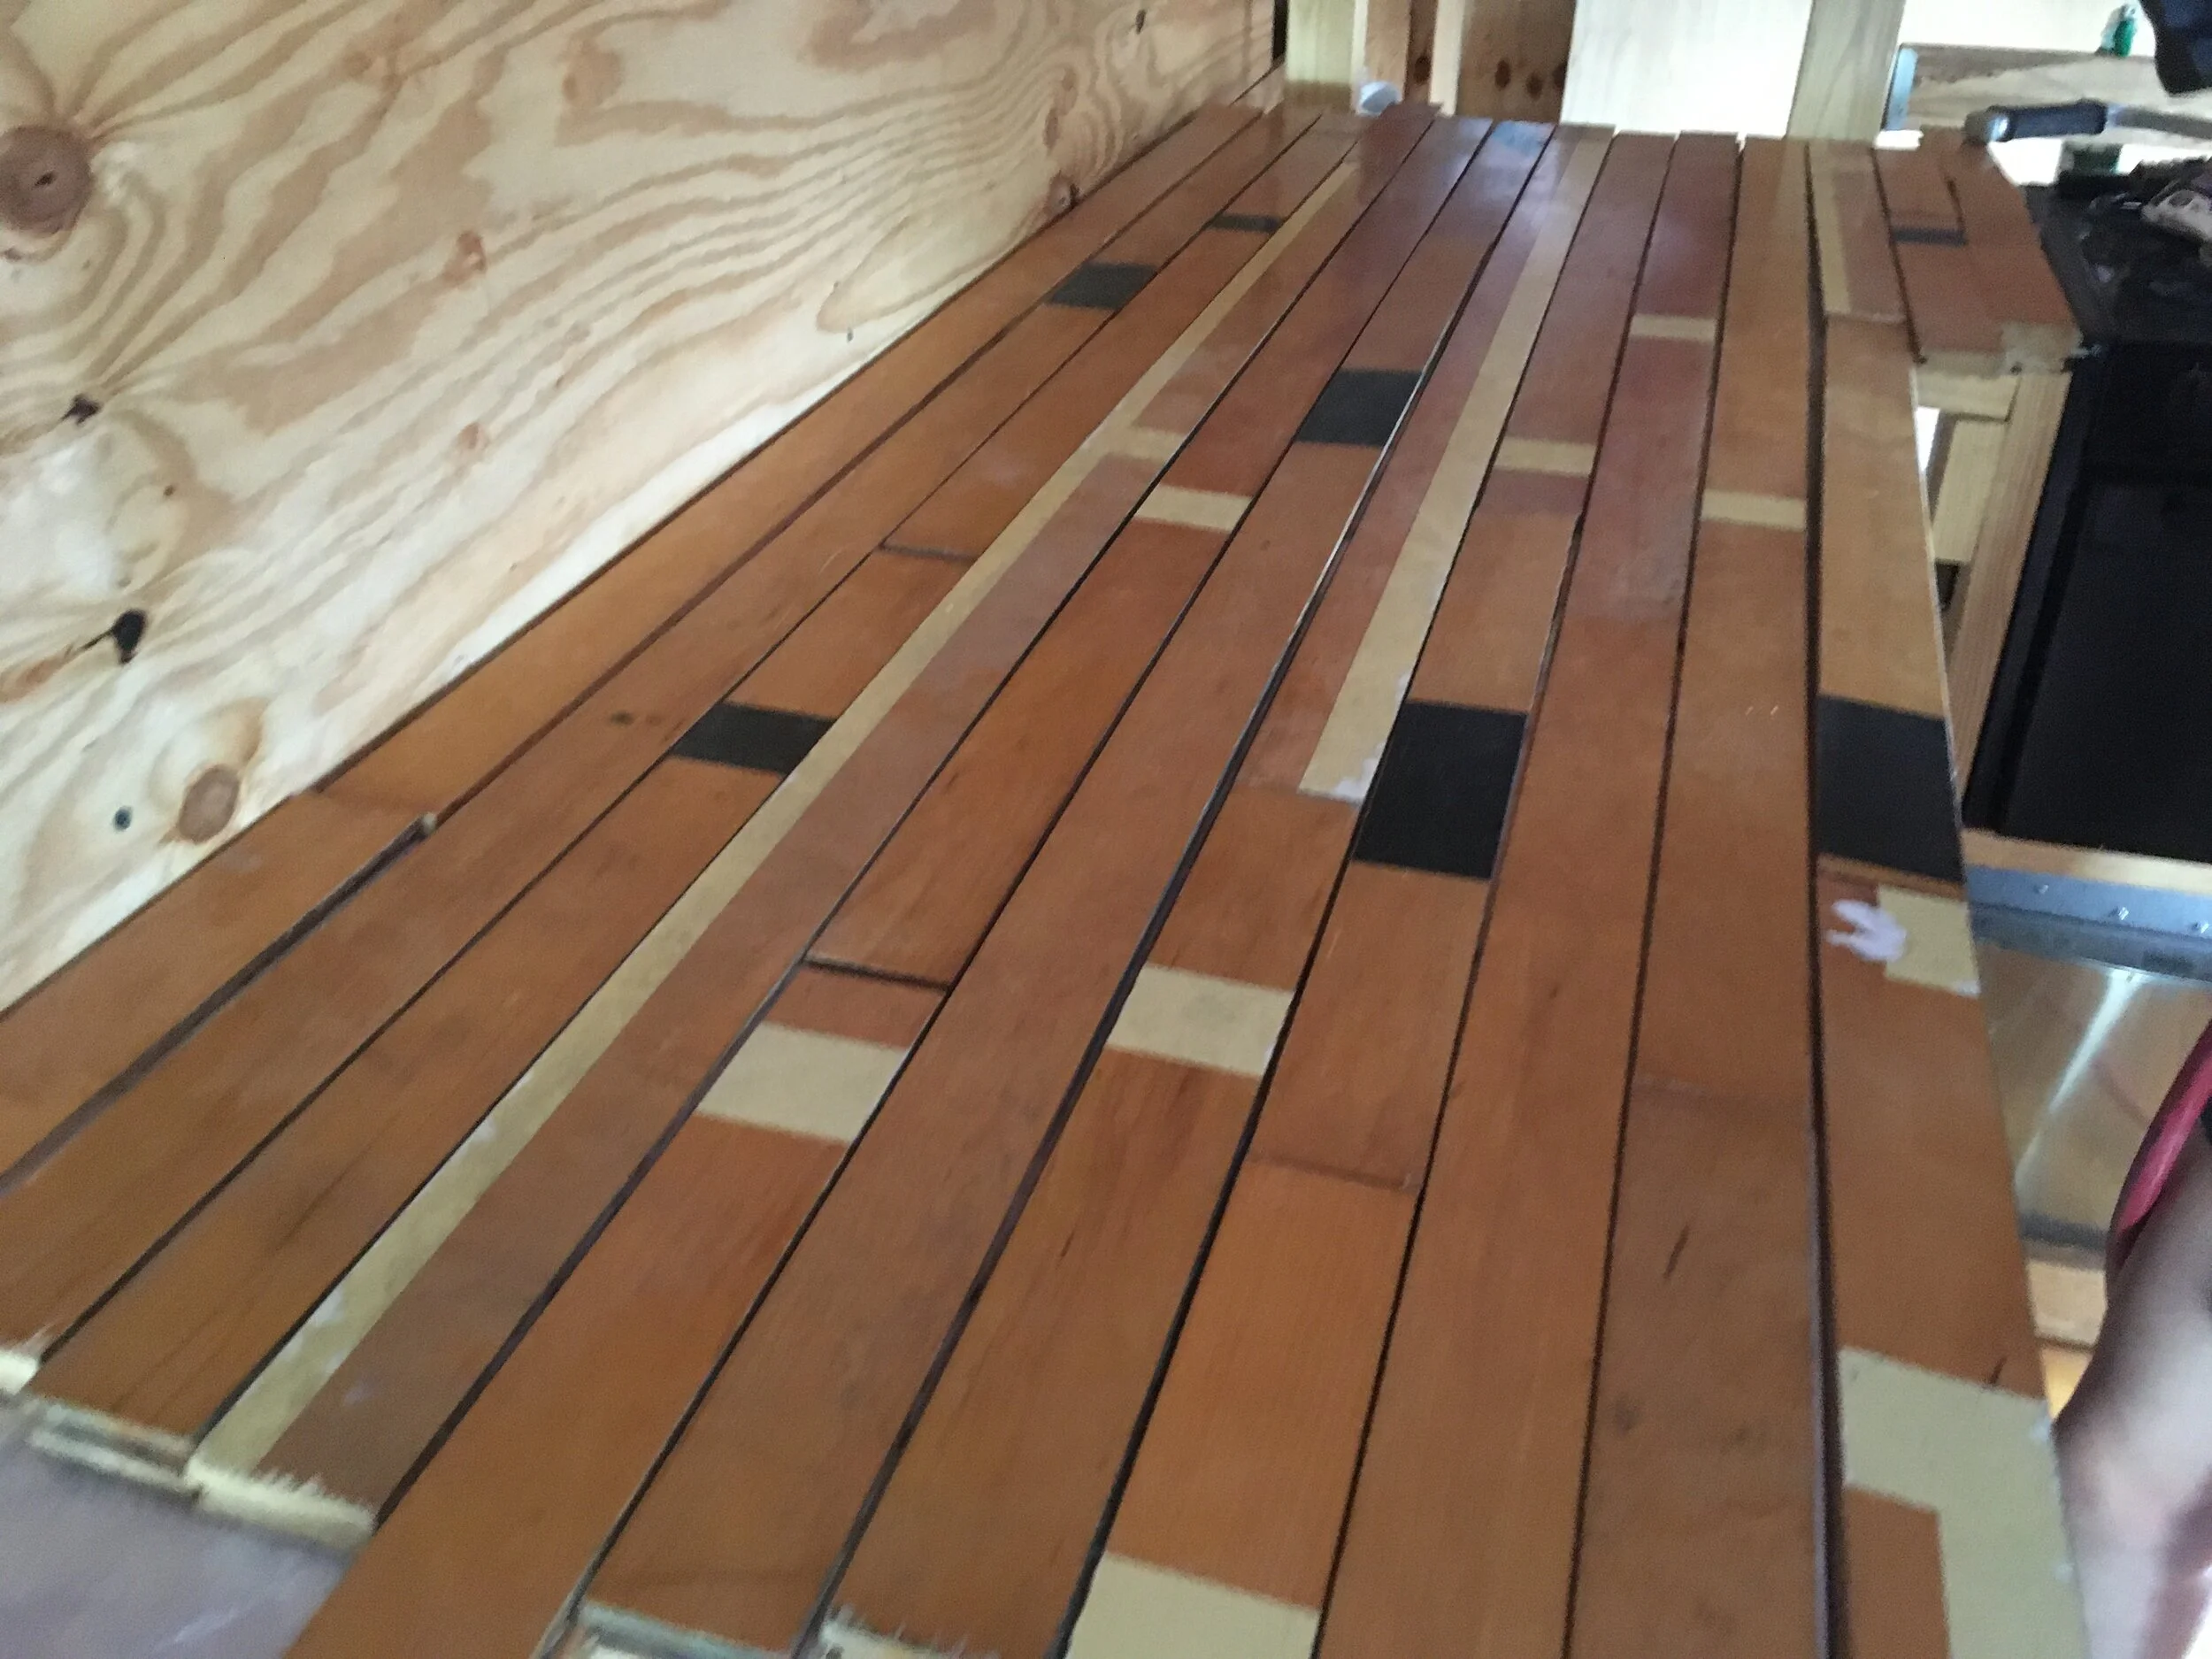
Water damaged gym floor that I found for sale on Craigslist in San Antonio. Amazing find and in great condition. There's no better feeling than recycling and repurposing things. Little did I know how much work lay ahead of me.
Started laying the foundation for the walls/floor. Each gap between vertical supports will have an RV window.
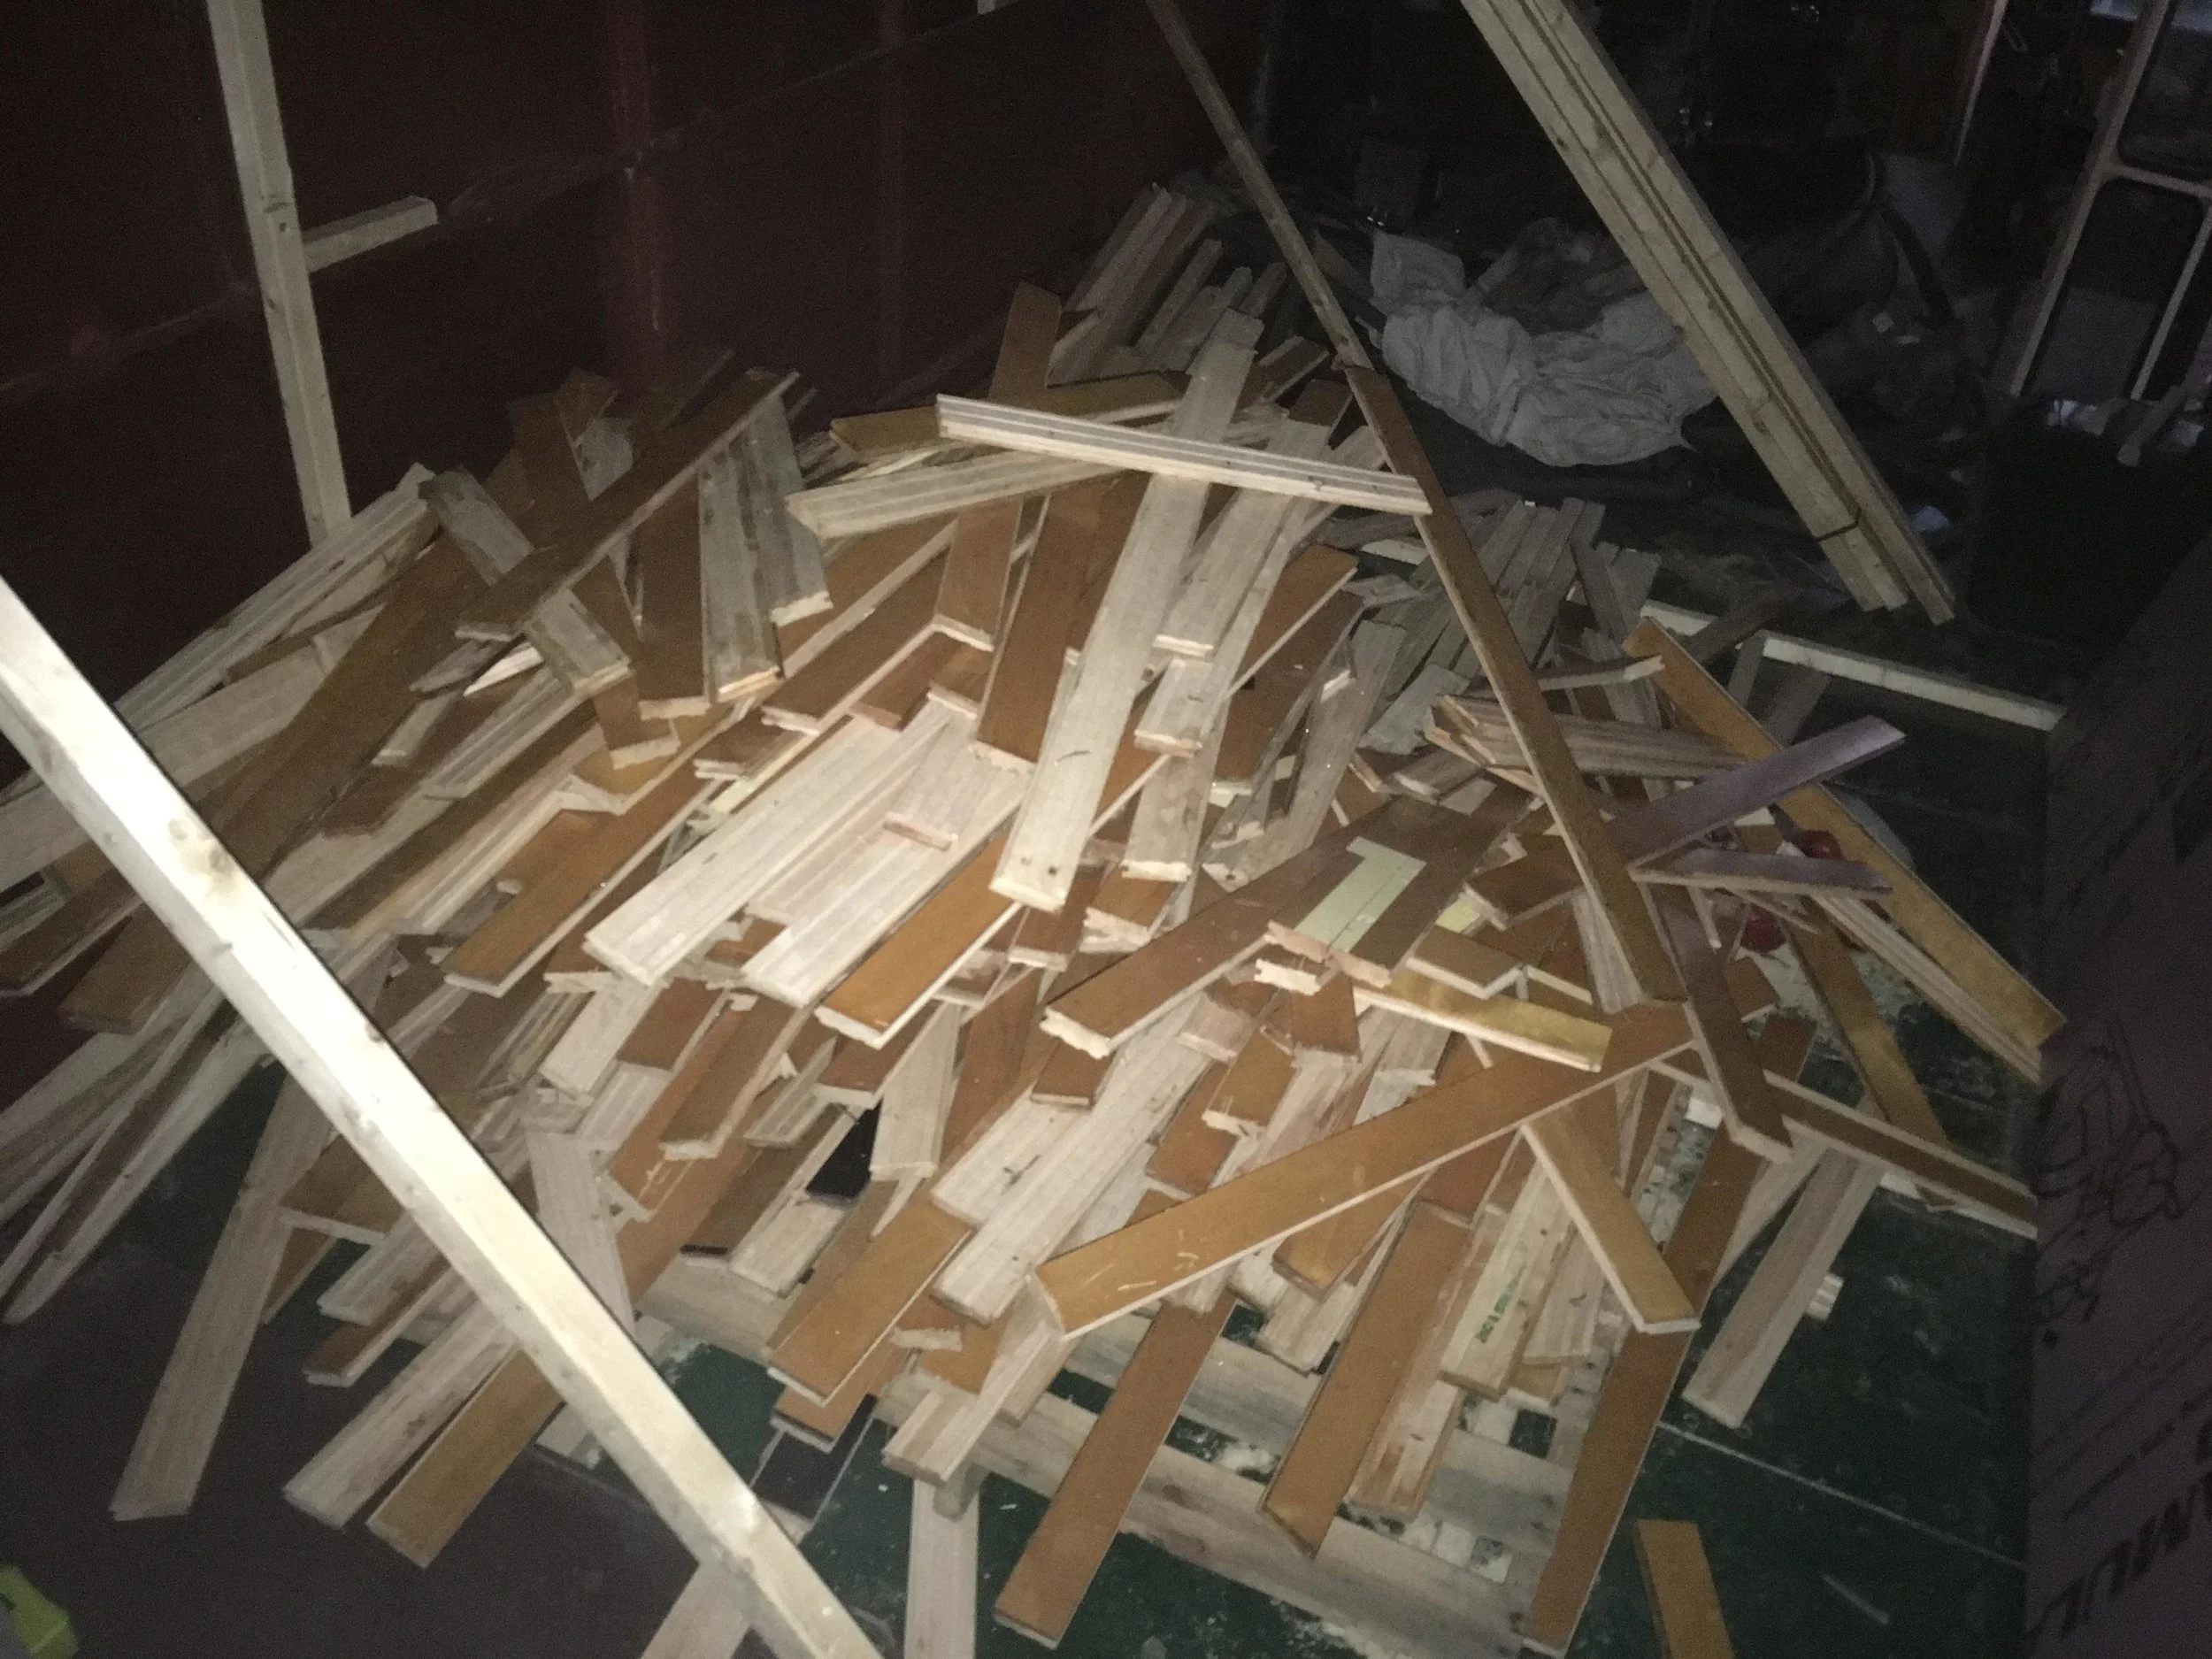
As I stripped boards from the planks, I really wasn't concerned about the arrangement of the boards. I can take care of all that later.
The last of my solar panels as I unload them from the rear of my Subaru Outback. I bought them as leftovers from a company in Austin that sells/installs to large corporations. They had some leftovers and I was able to buy them at a good price. 5 solar panels at 325W each. 1.6kW in total. These will go on the roof of the bus on a roof rack. I'll eventually wire it into a battery bank.
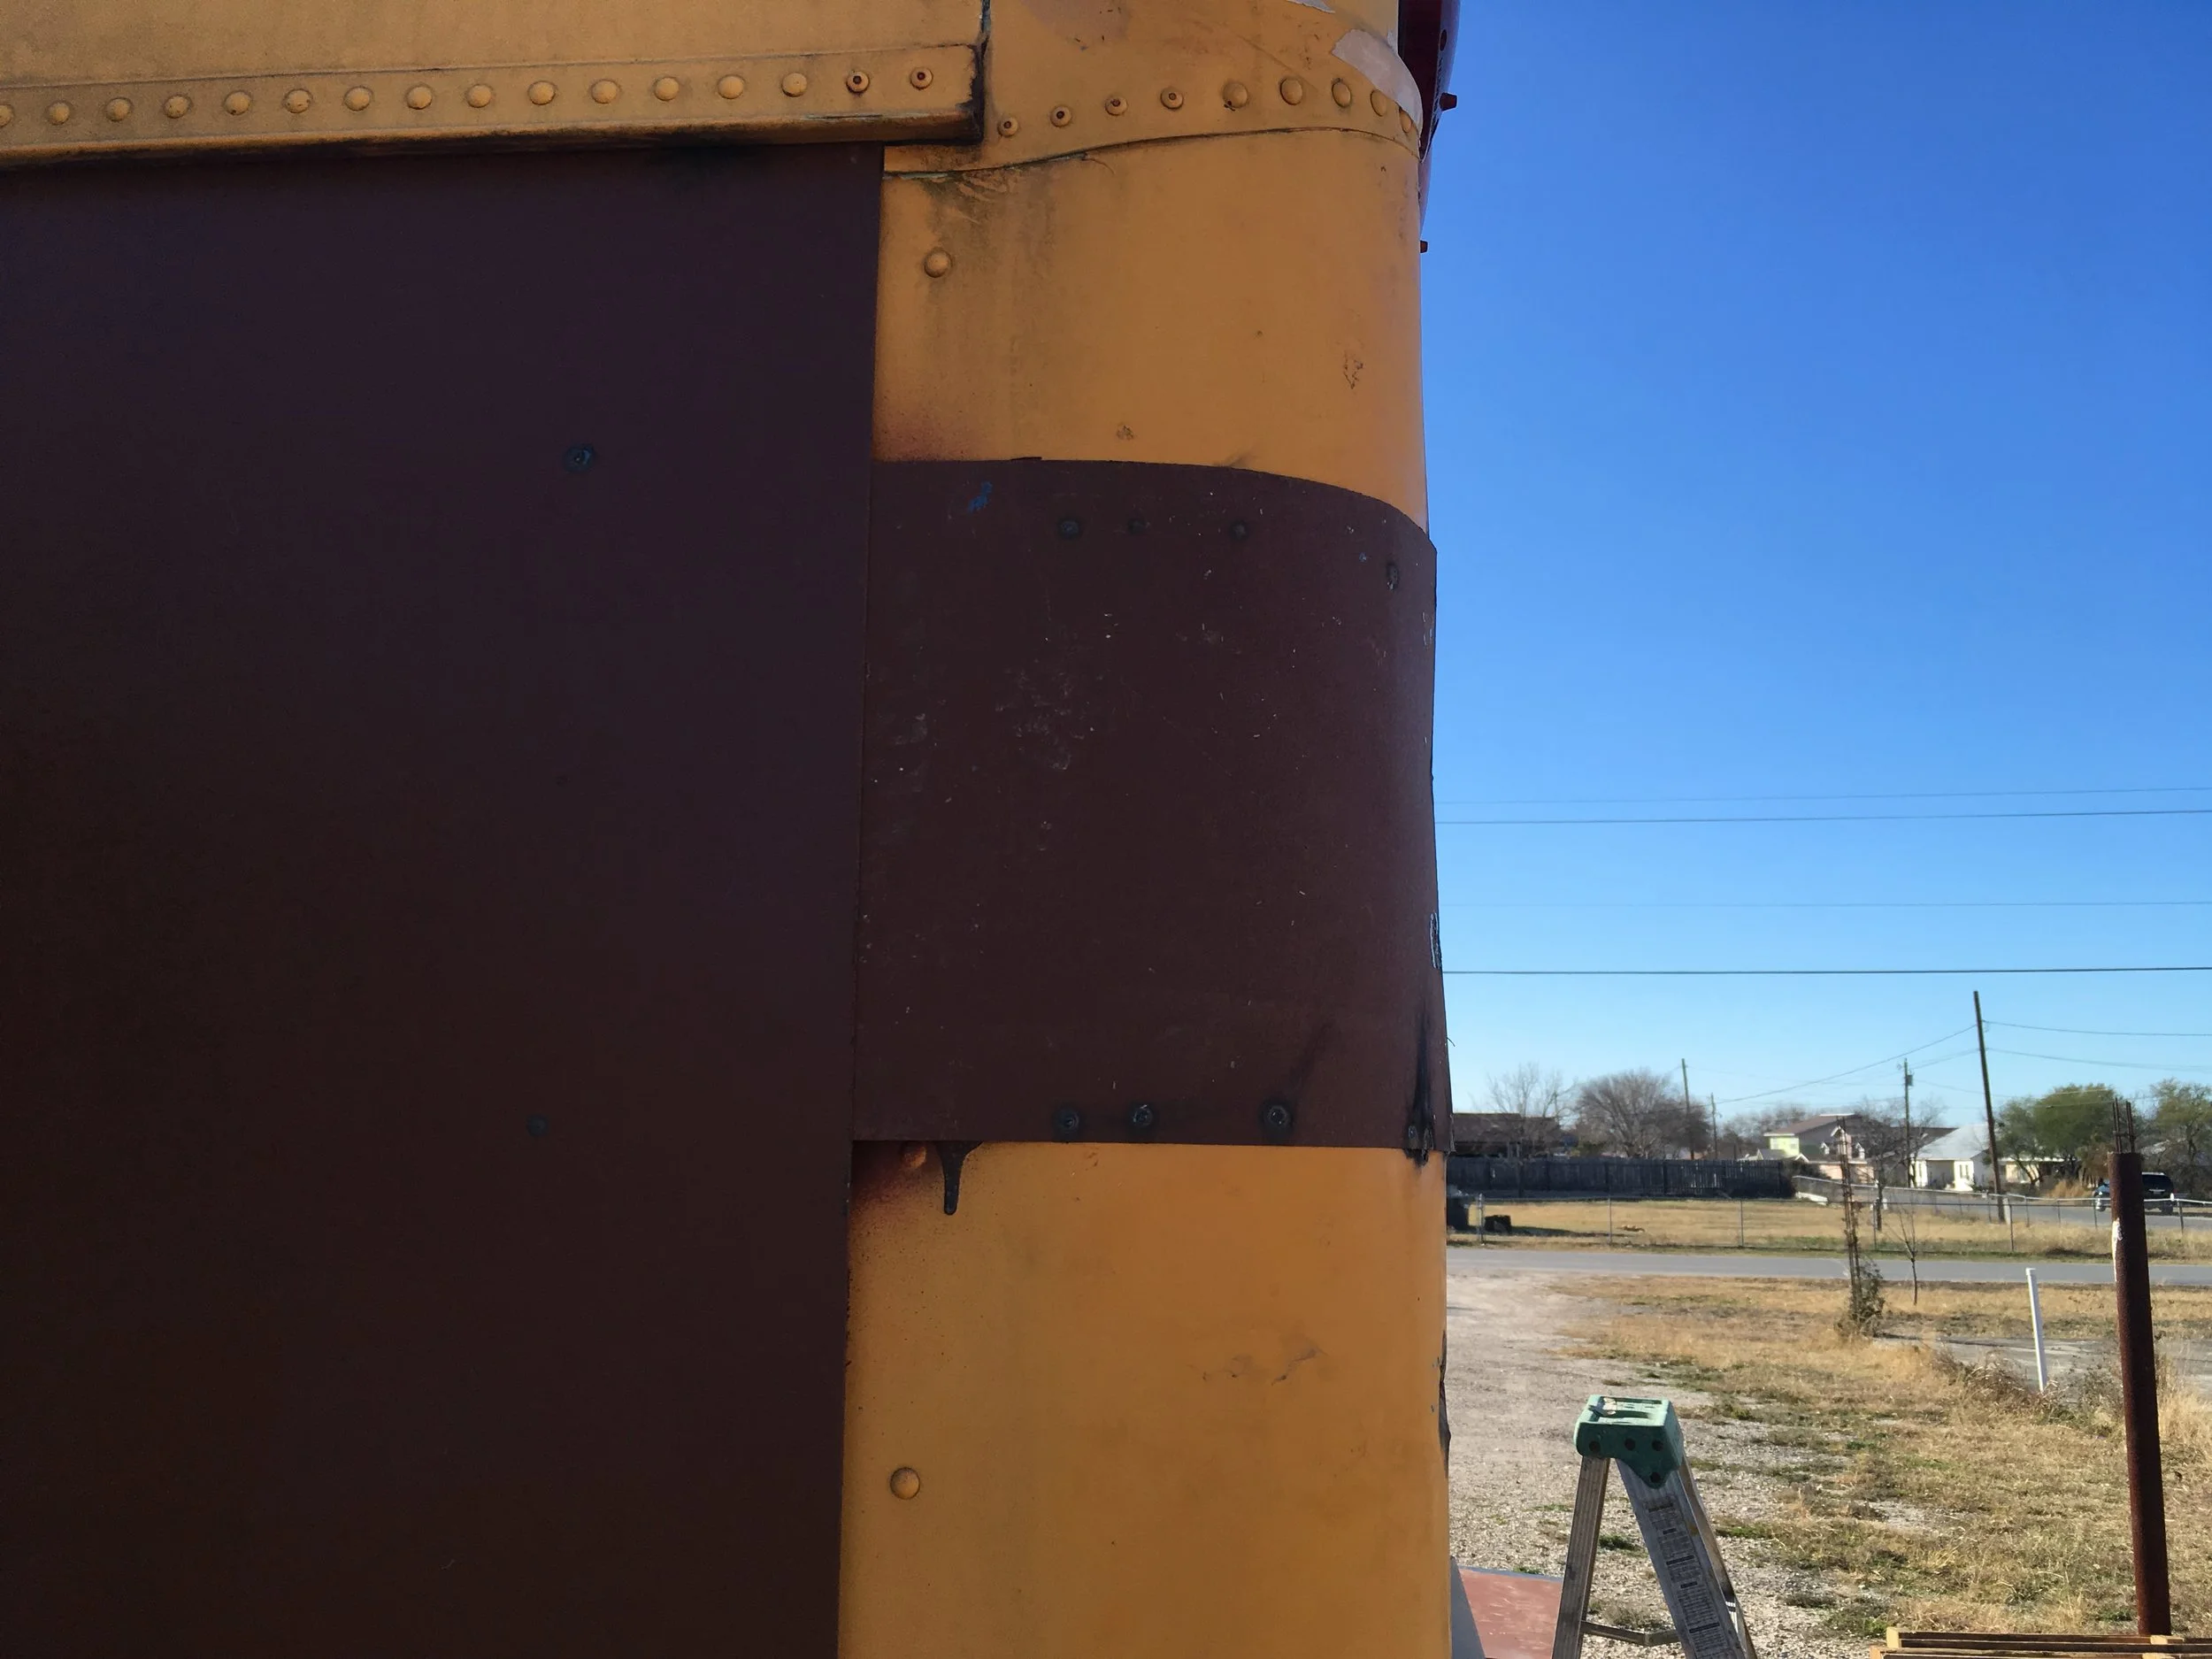
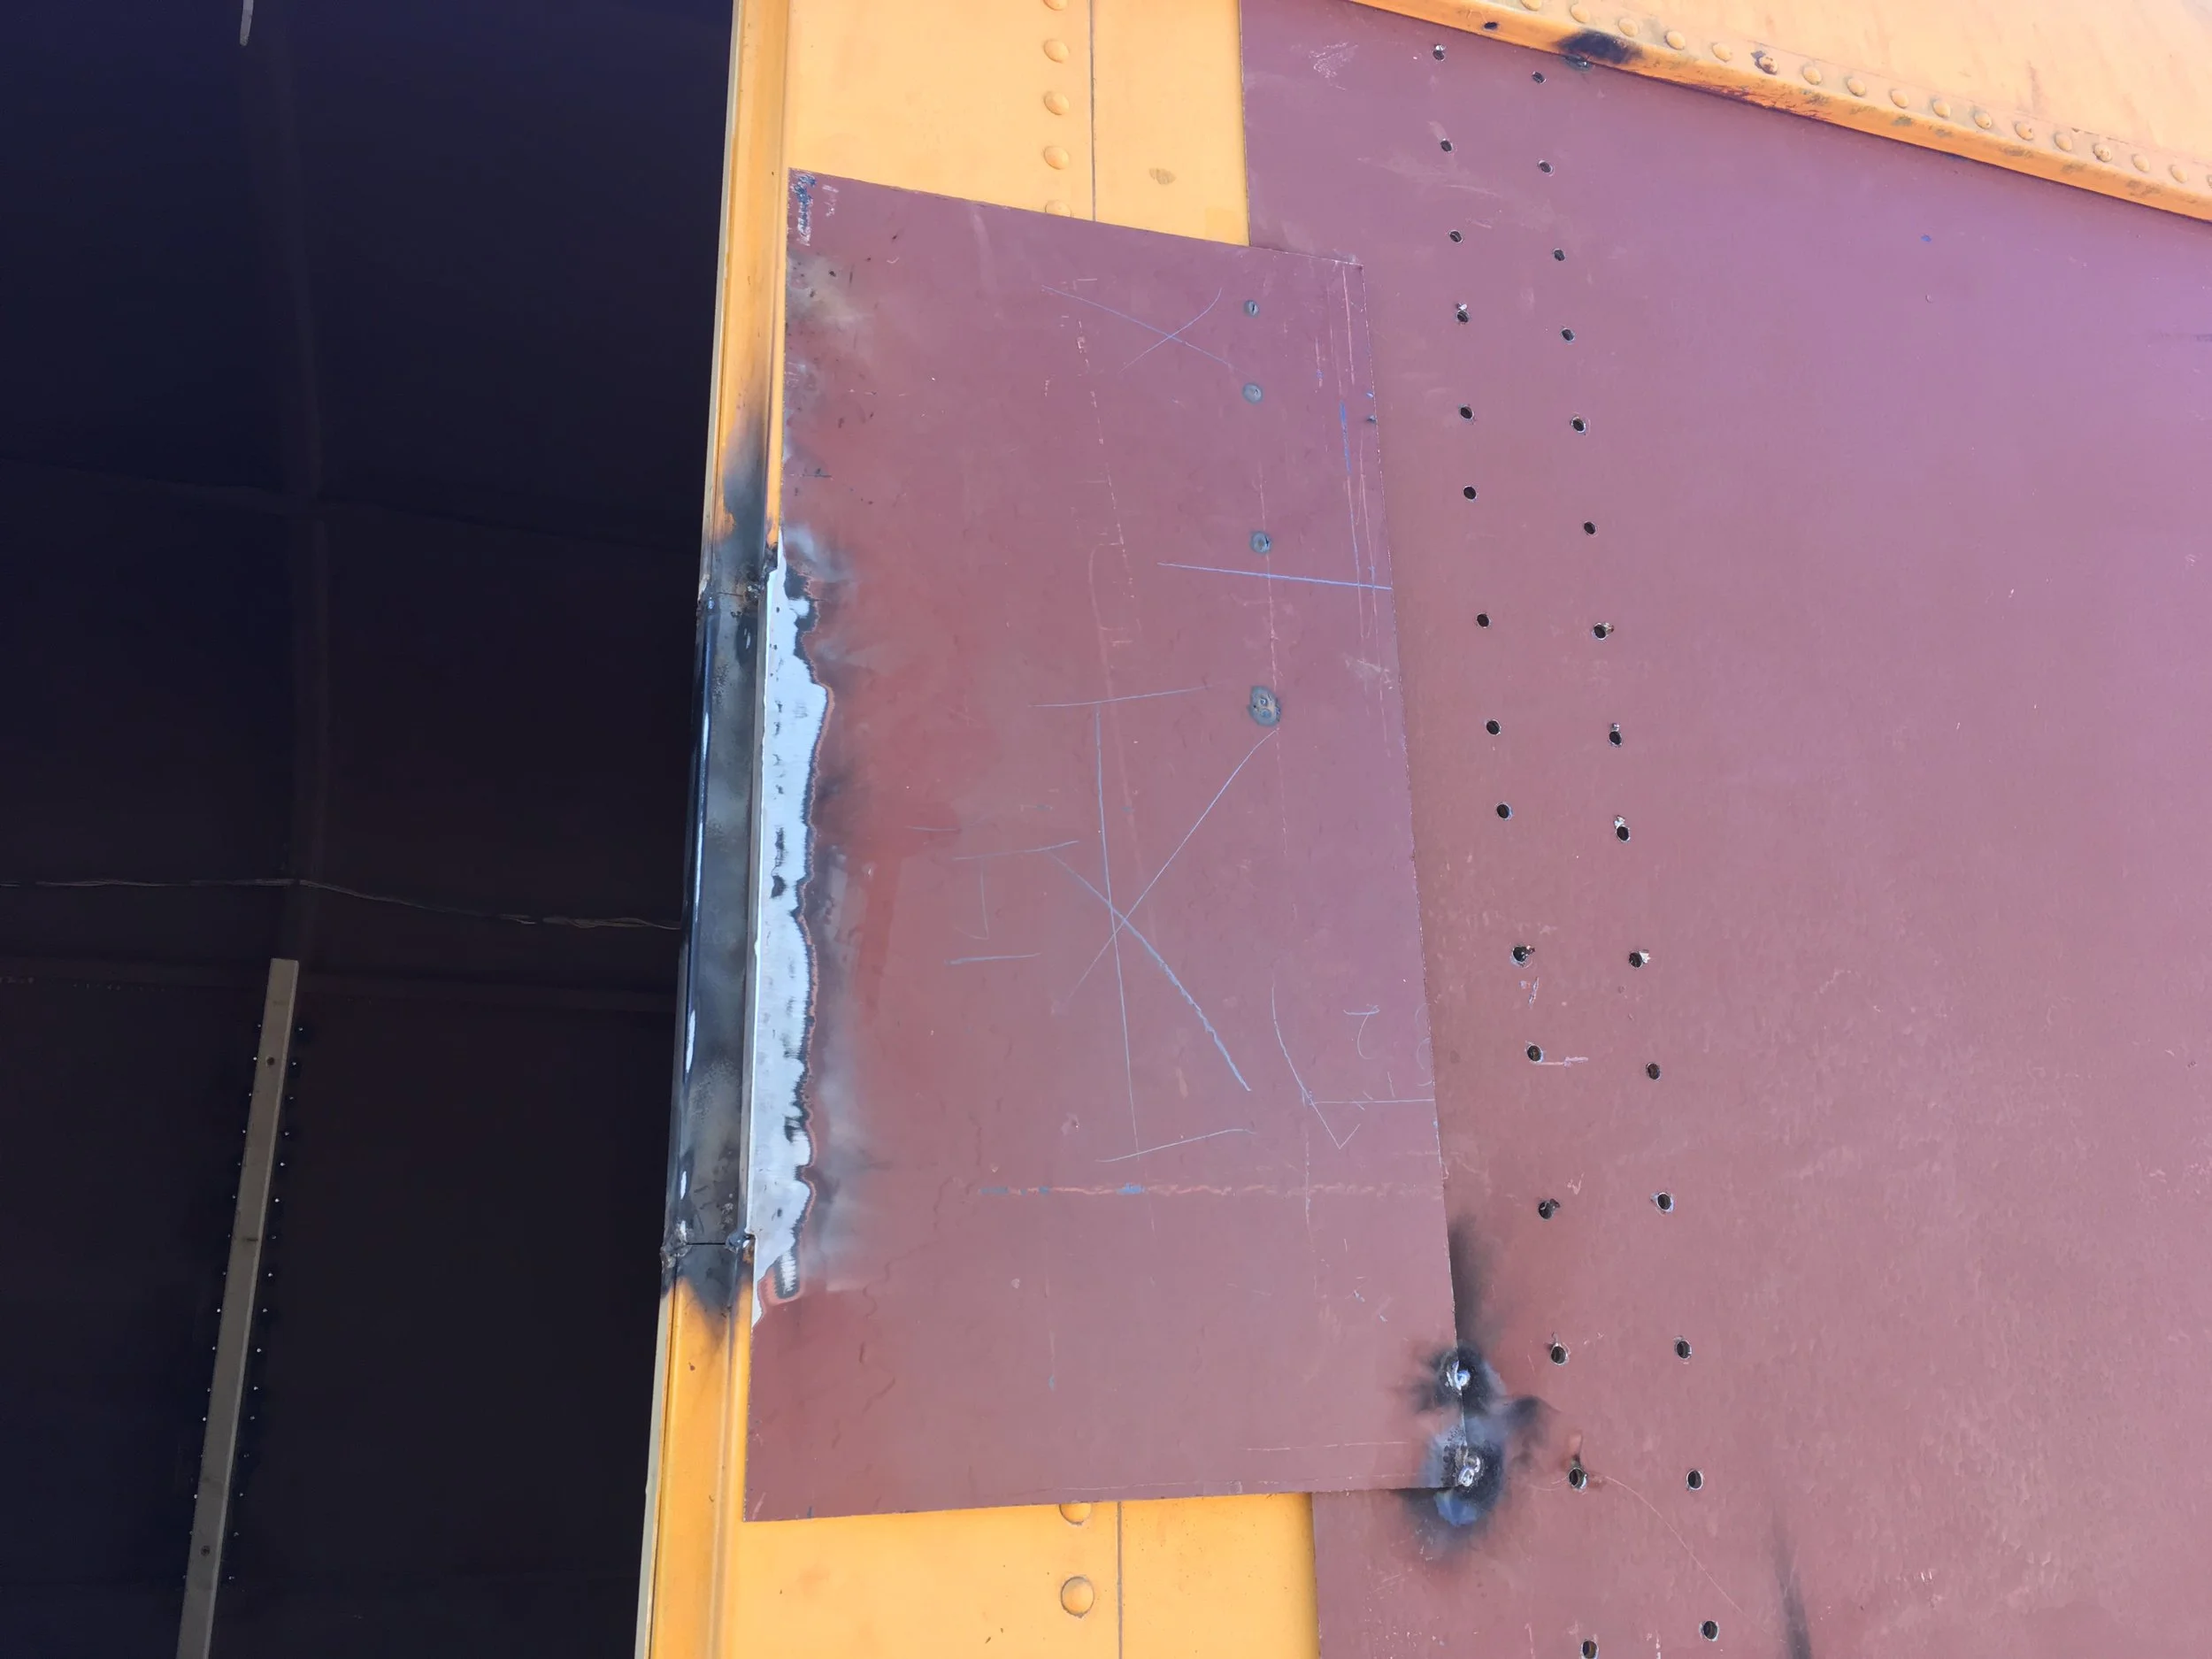
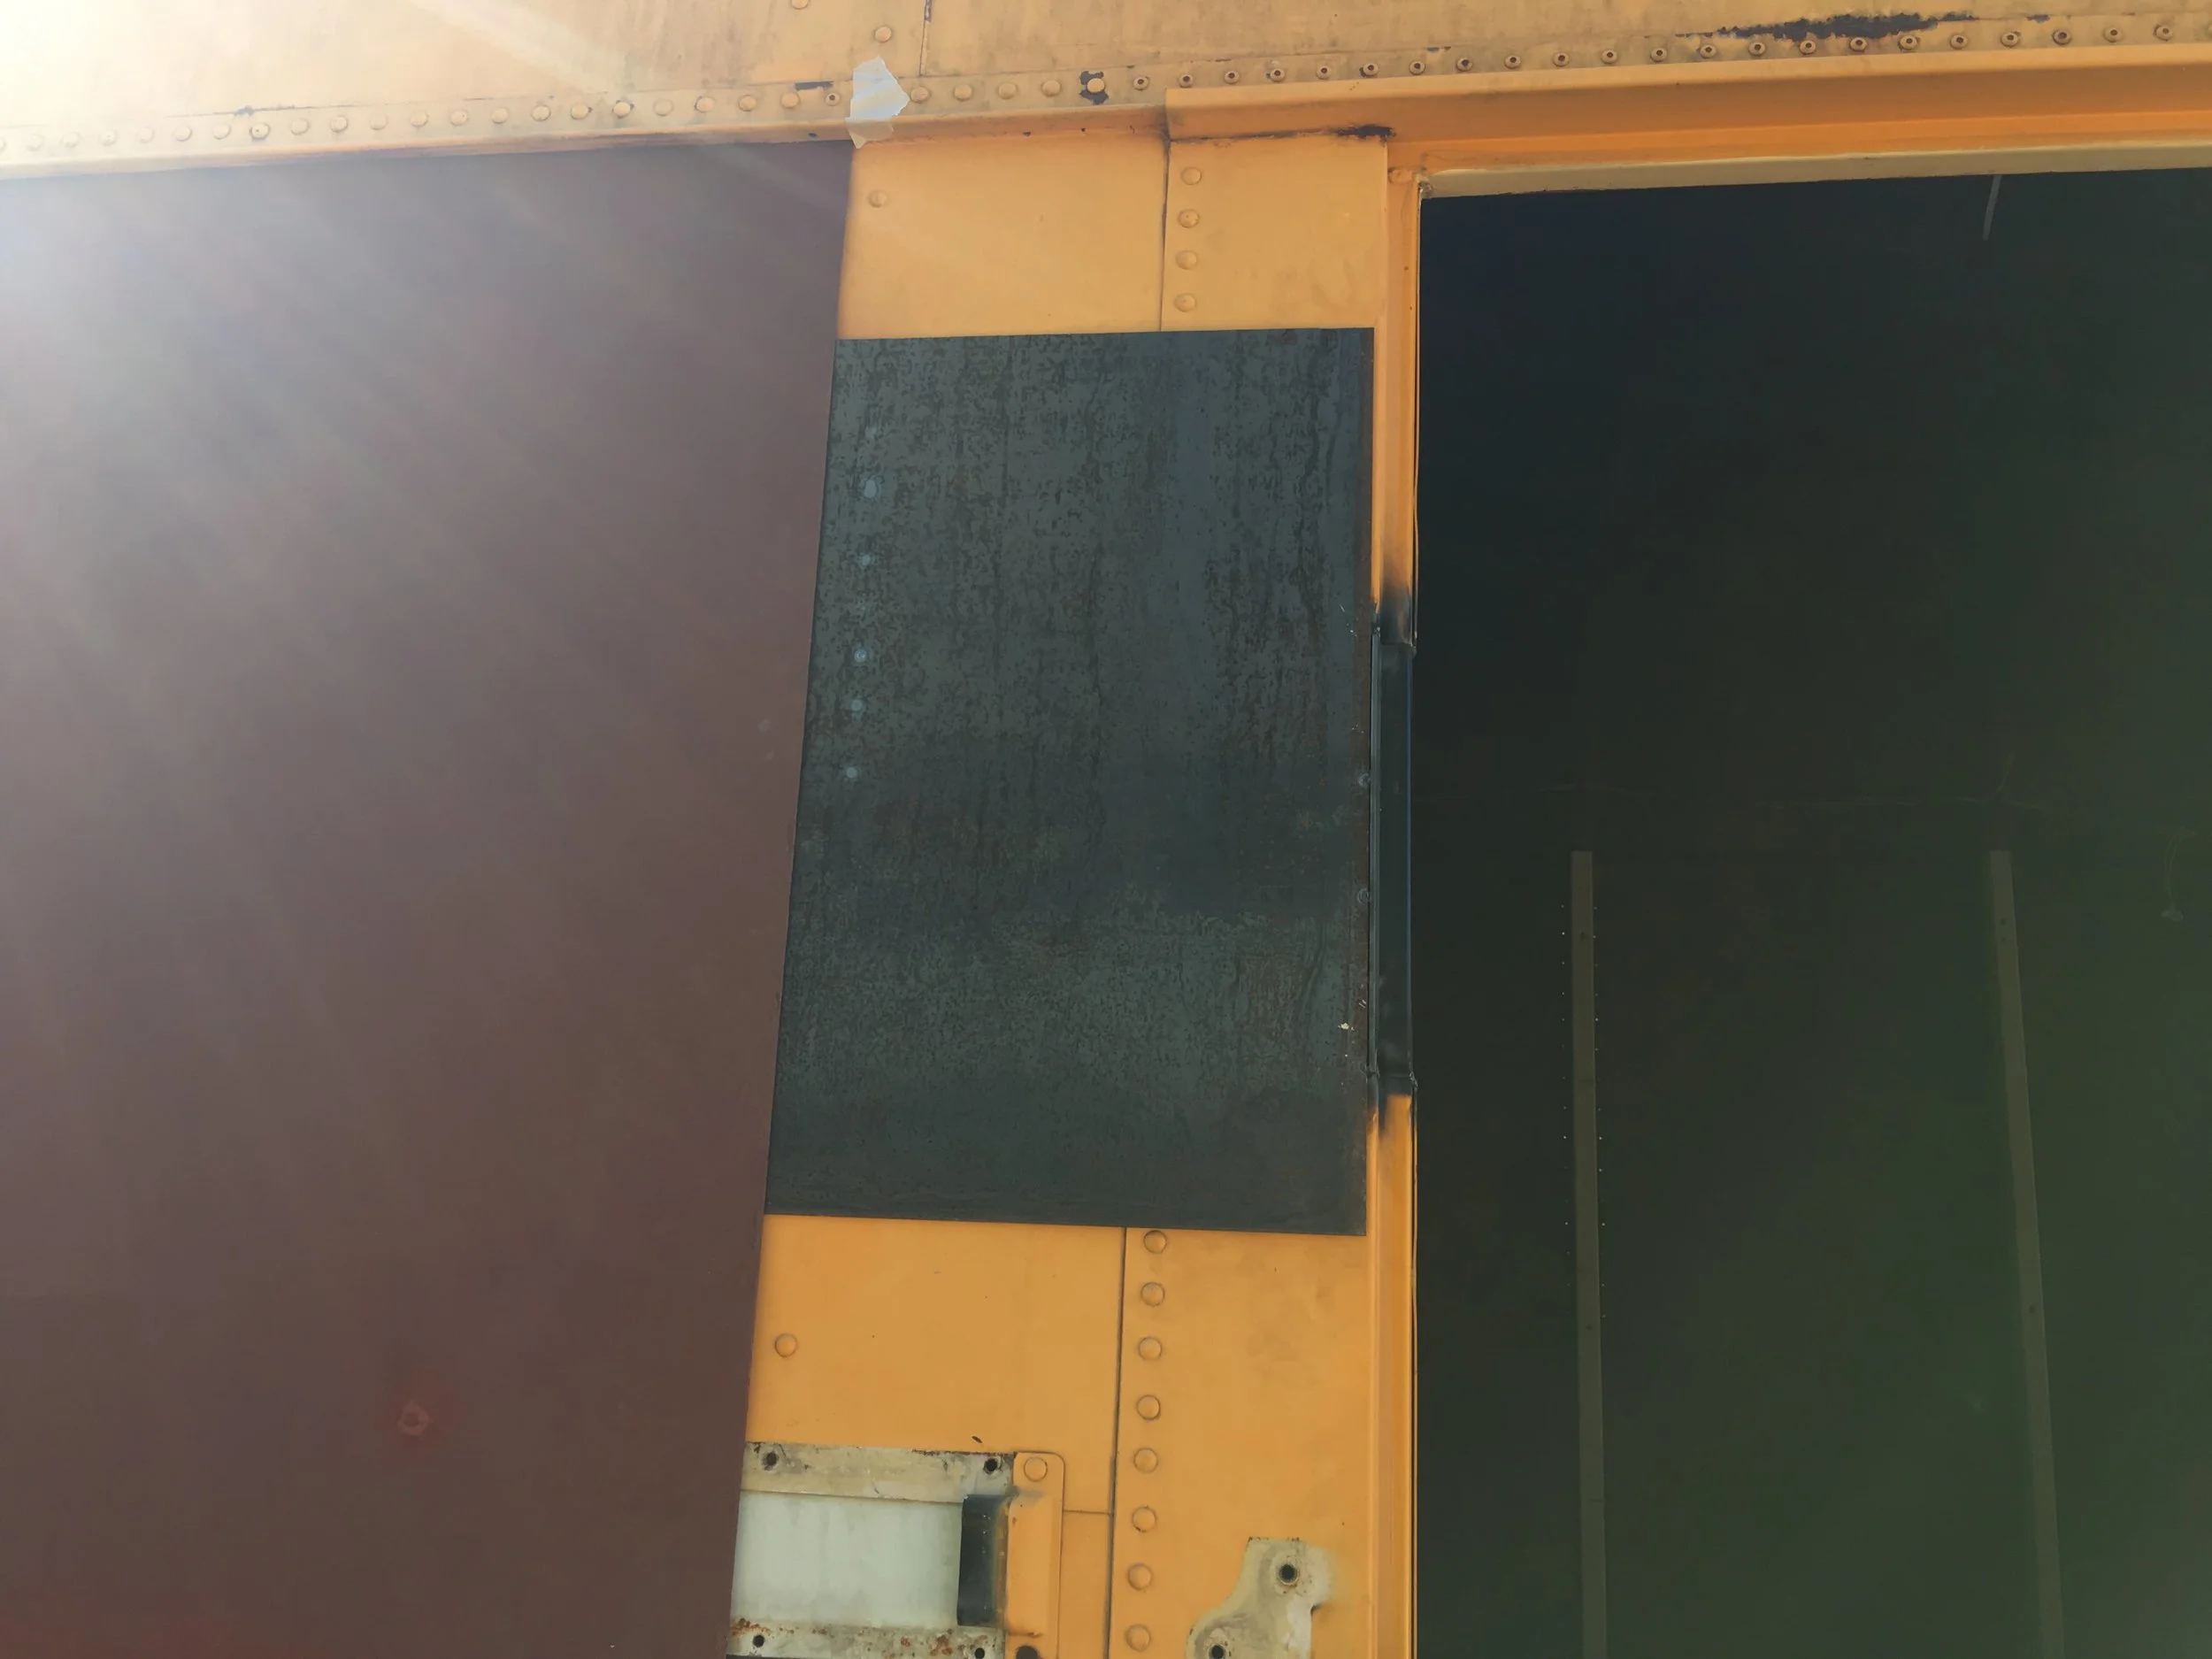
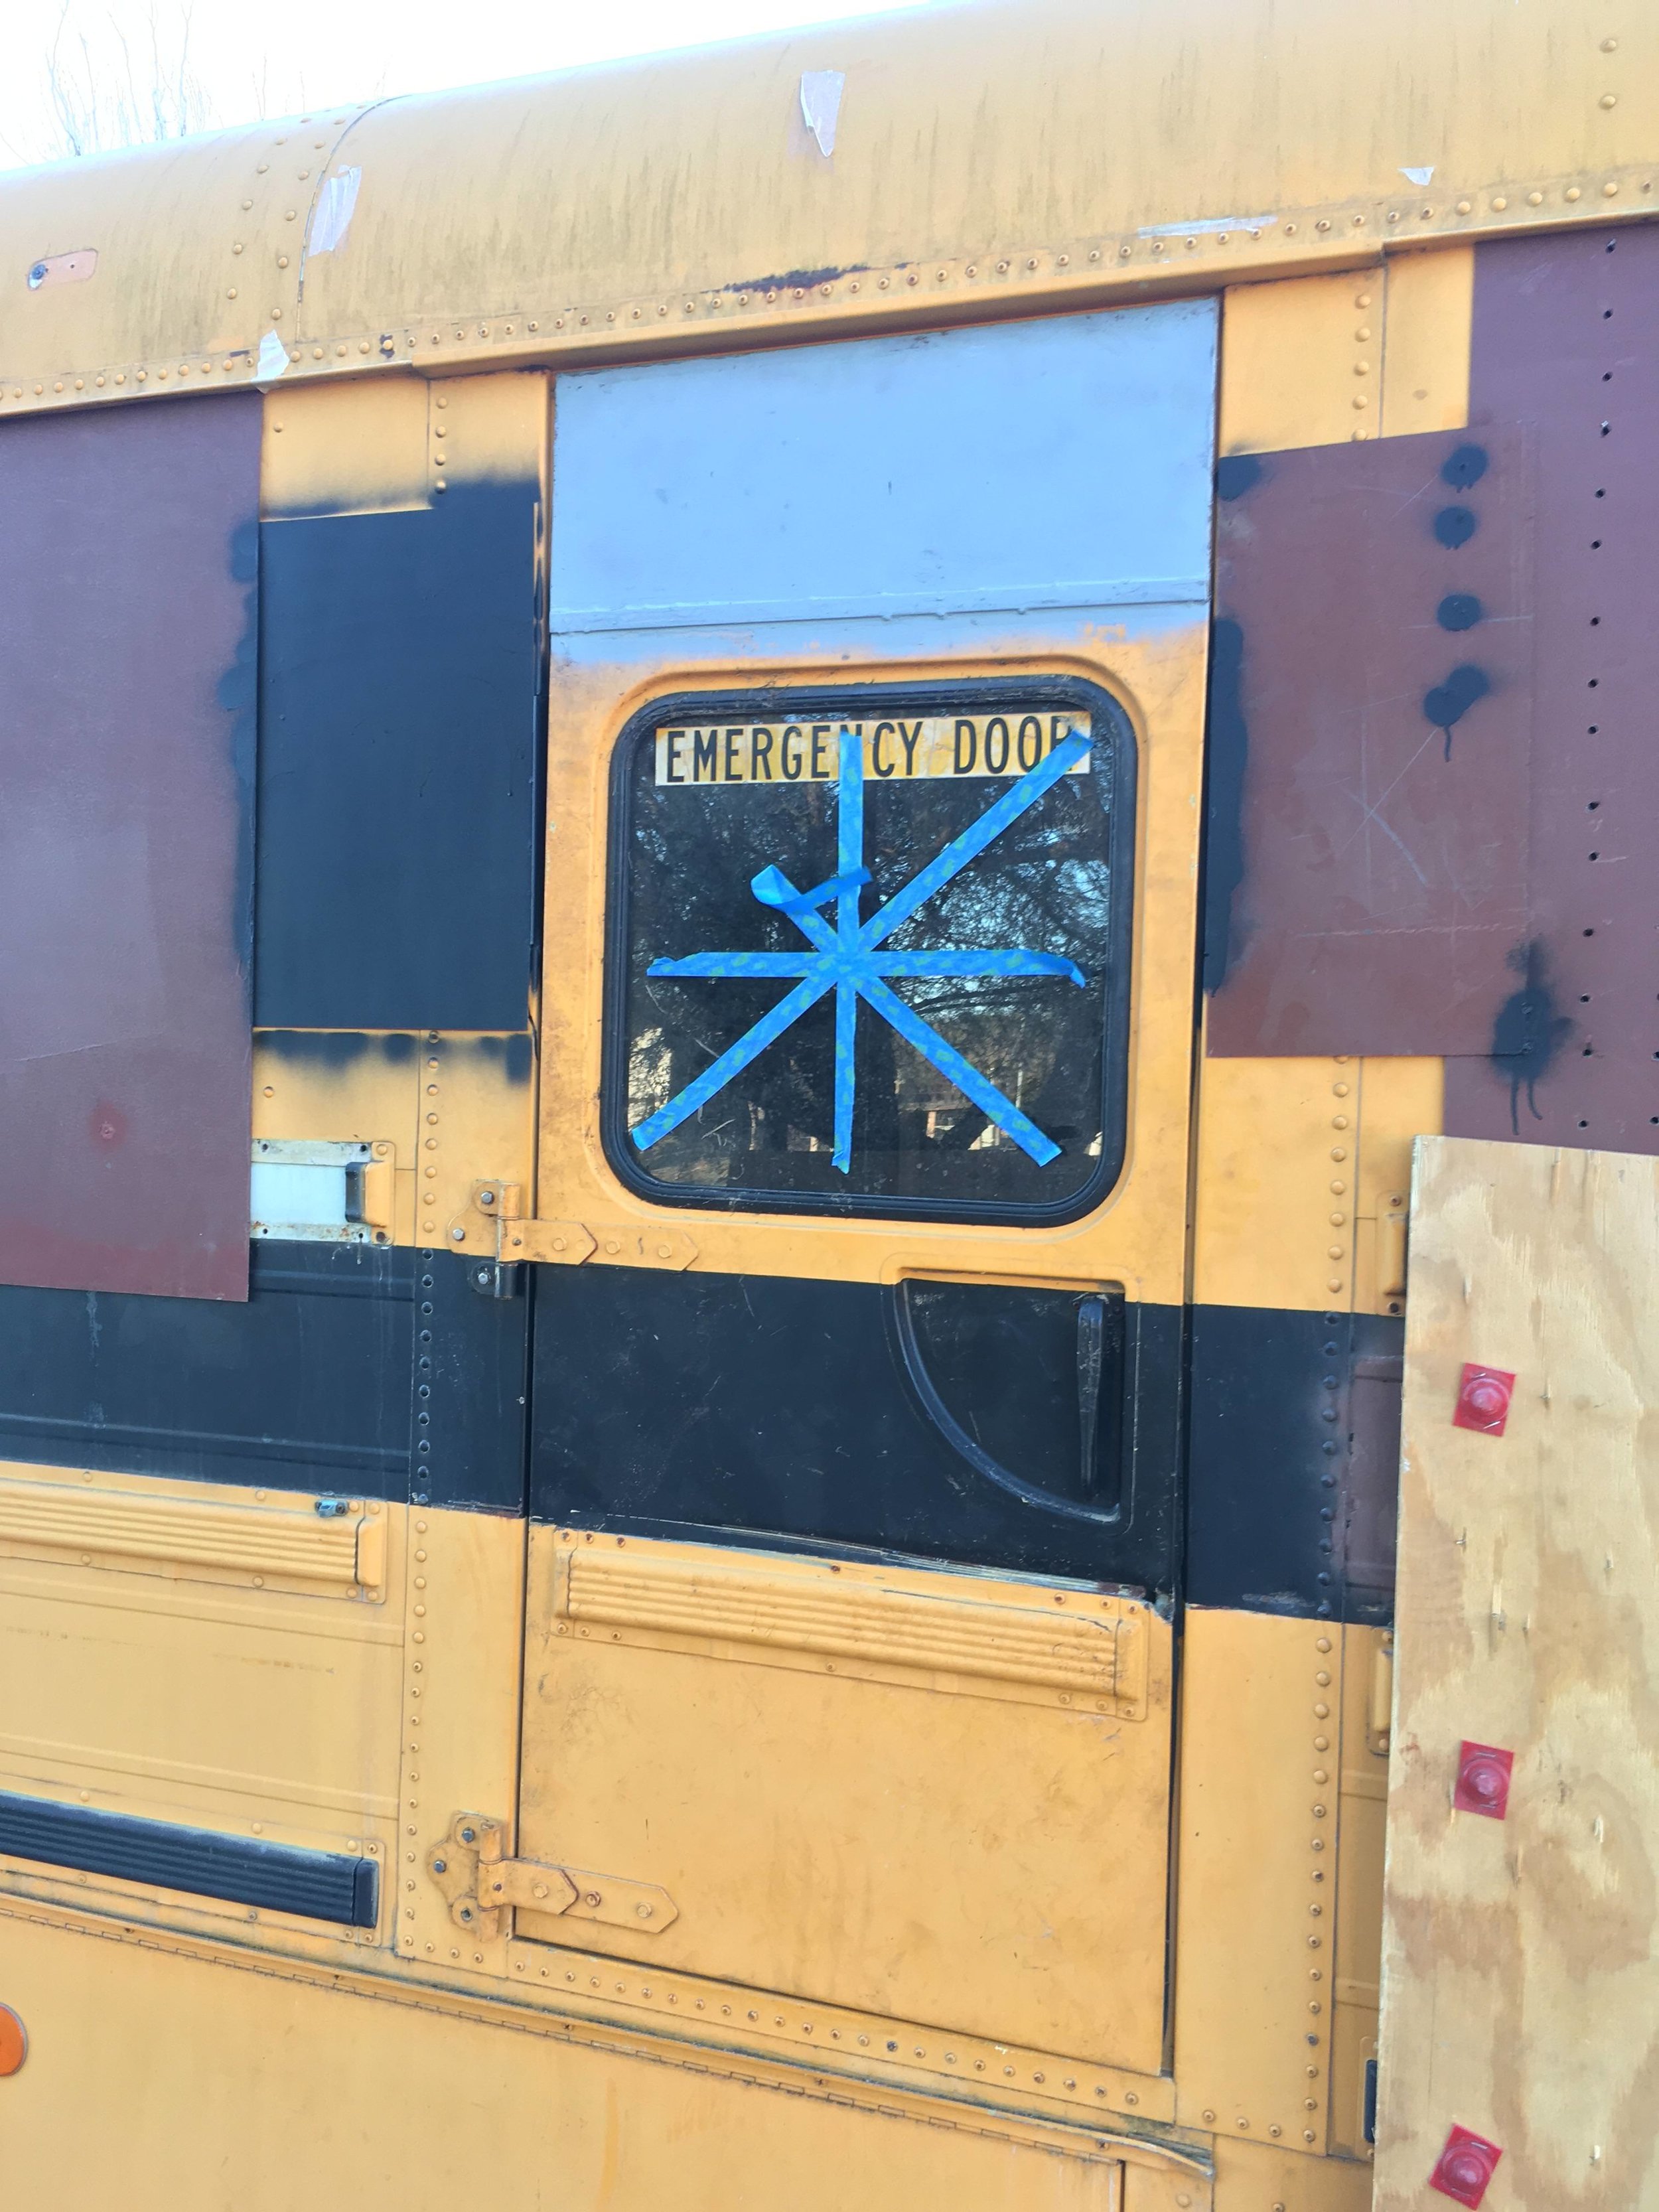
My welder friend helped me extend the doors 10" to accomodate the 10" roof raise. Side door view.
My welder friend helped me extend the doors 10" to accomodate the 10" roof raise. Rear door view. The process sadly broke the top window. Shouldn't be too pricy to replace it at least.
Just an exterior shot to document some of the progression. I've covered the tires so that the sun doesn't damage the rubber. The solar damage to the previous tires was really bad.
I feel like the repetitive nature of the removal of the maple planks is lost on most who will see this picture. It was unbelievably long and repetitive. It took around 12 hours to do it so that I didn't damage the wood. The plywood was what was warped and nearly all of the boards were in great condition.
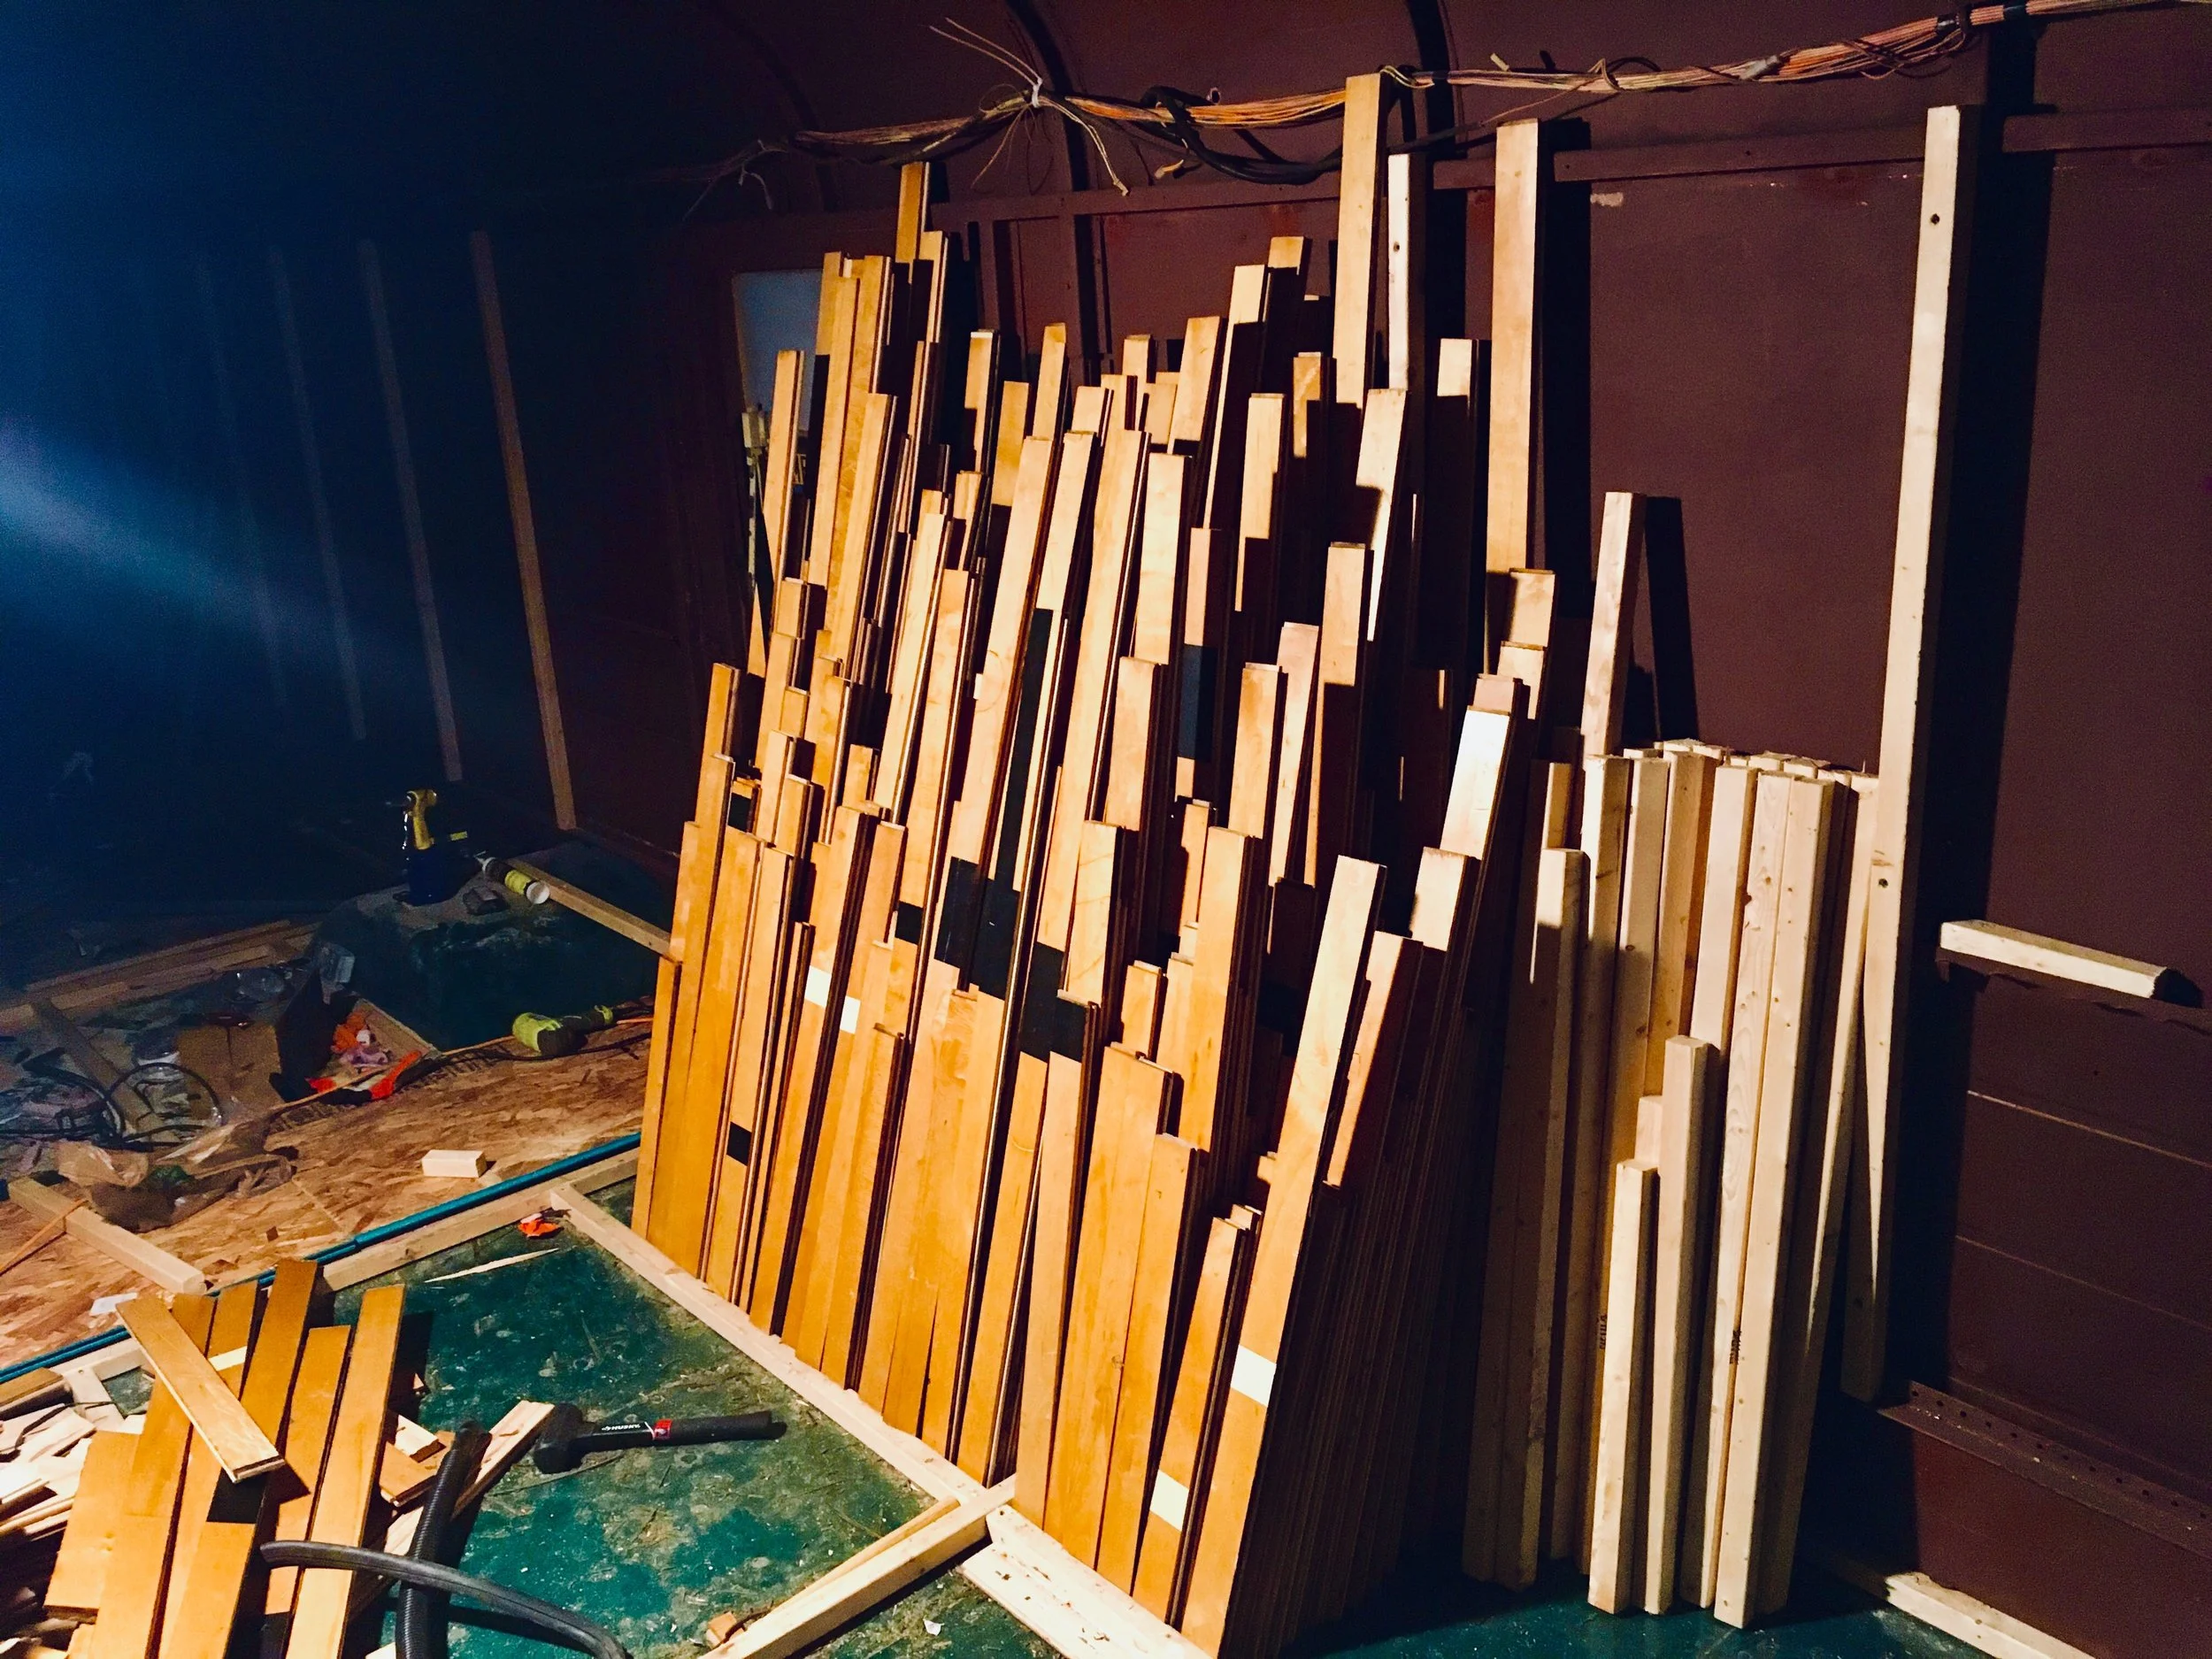
I organized my gigantic mess of a pile of wood and in the process, cleaned each piece and removed about 1000 nails from all of these pieces of wood. It took about 4 hours.
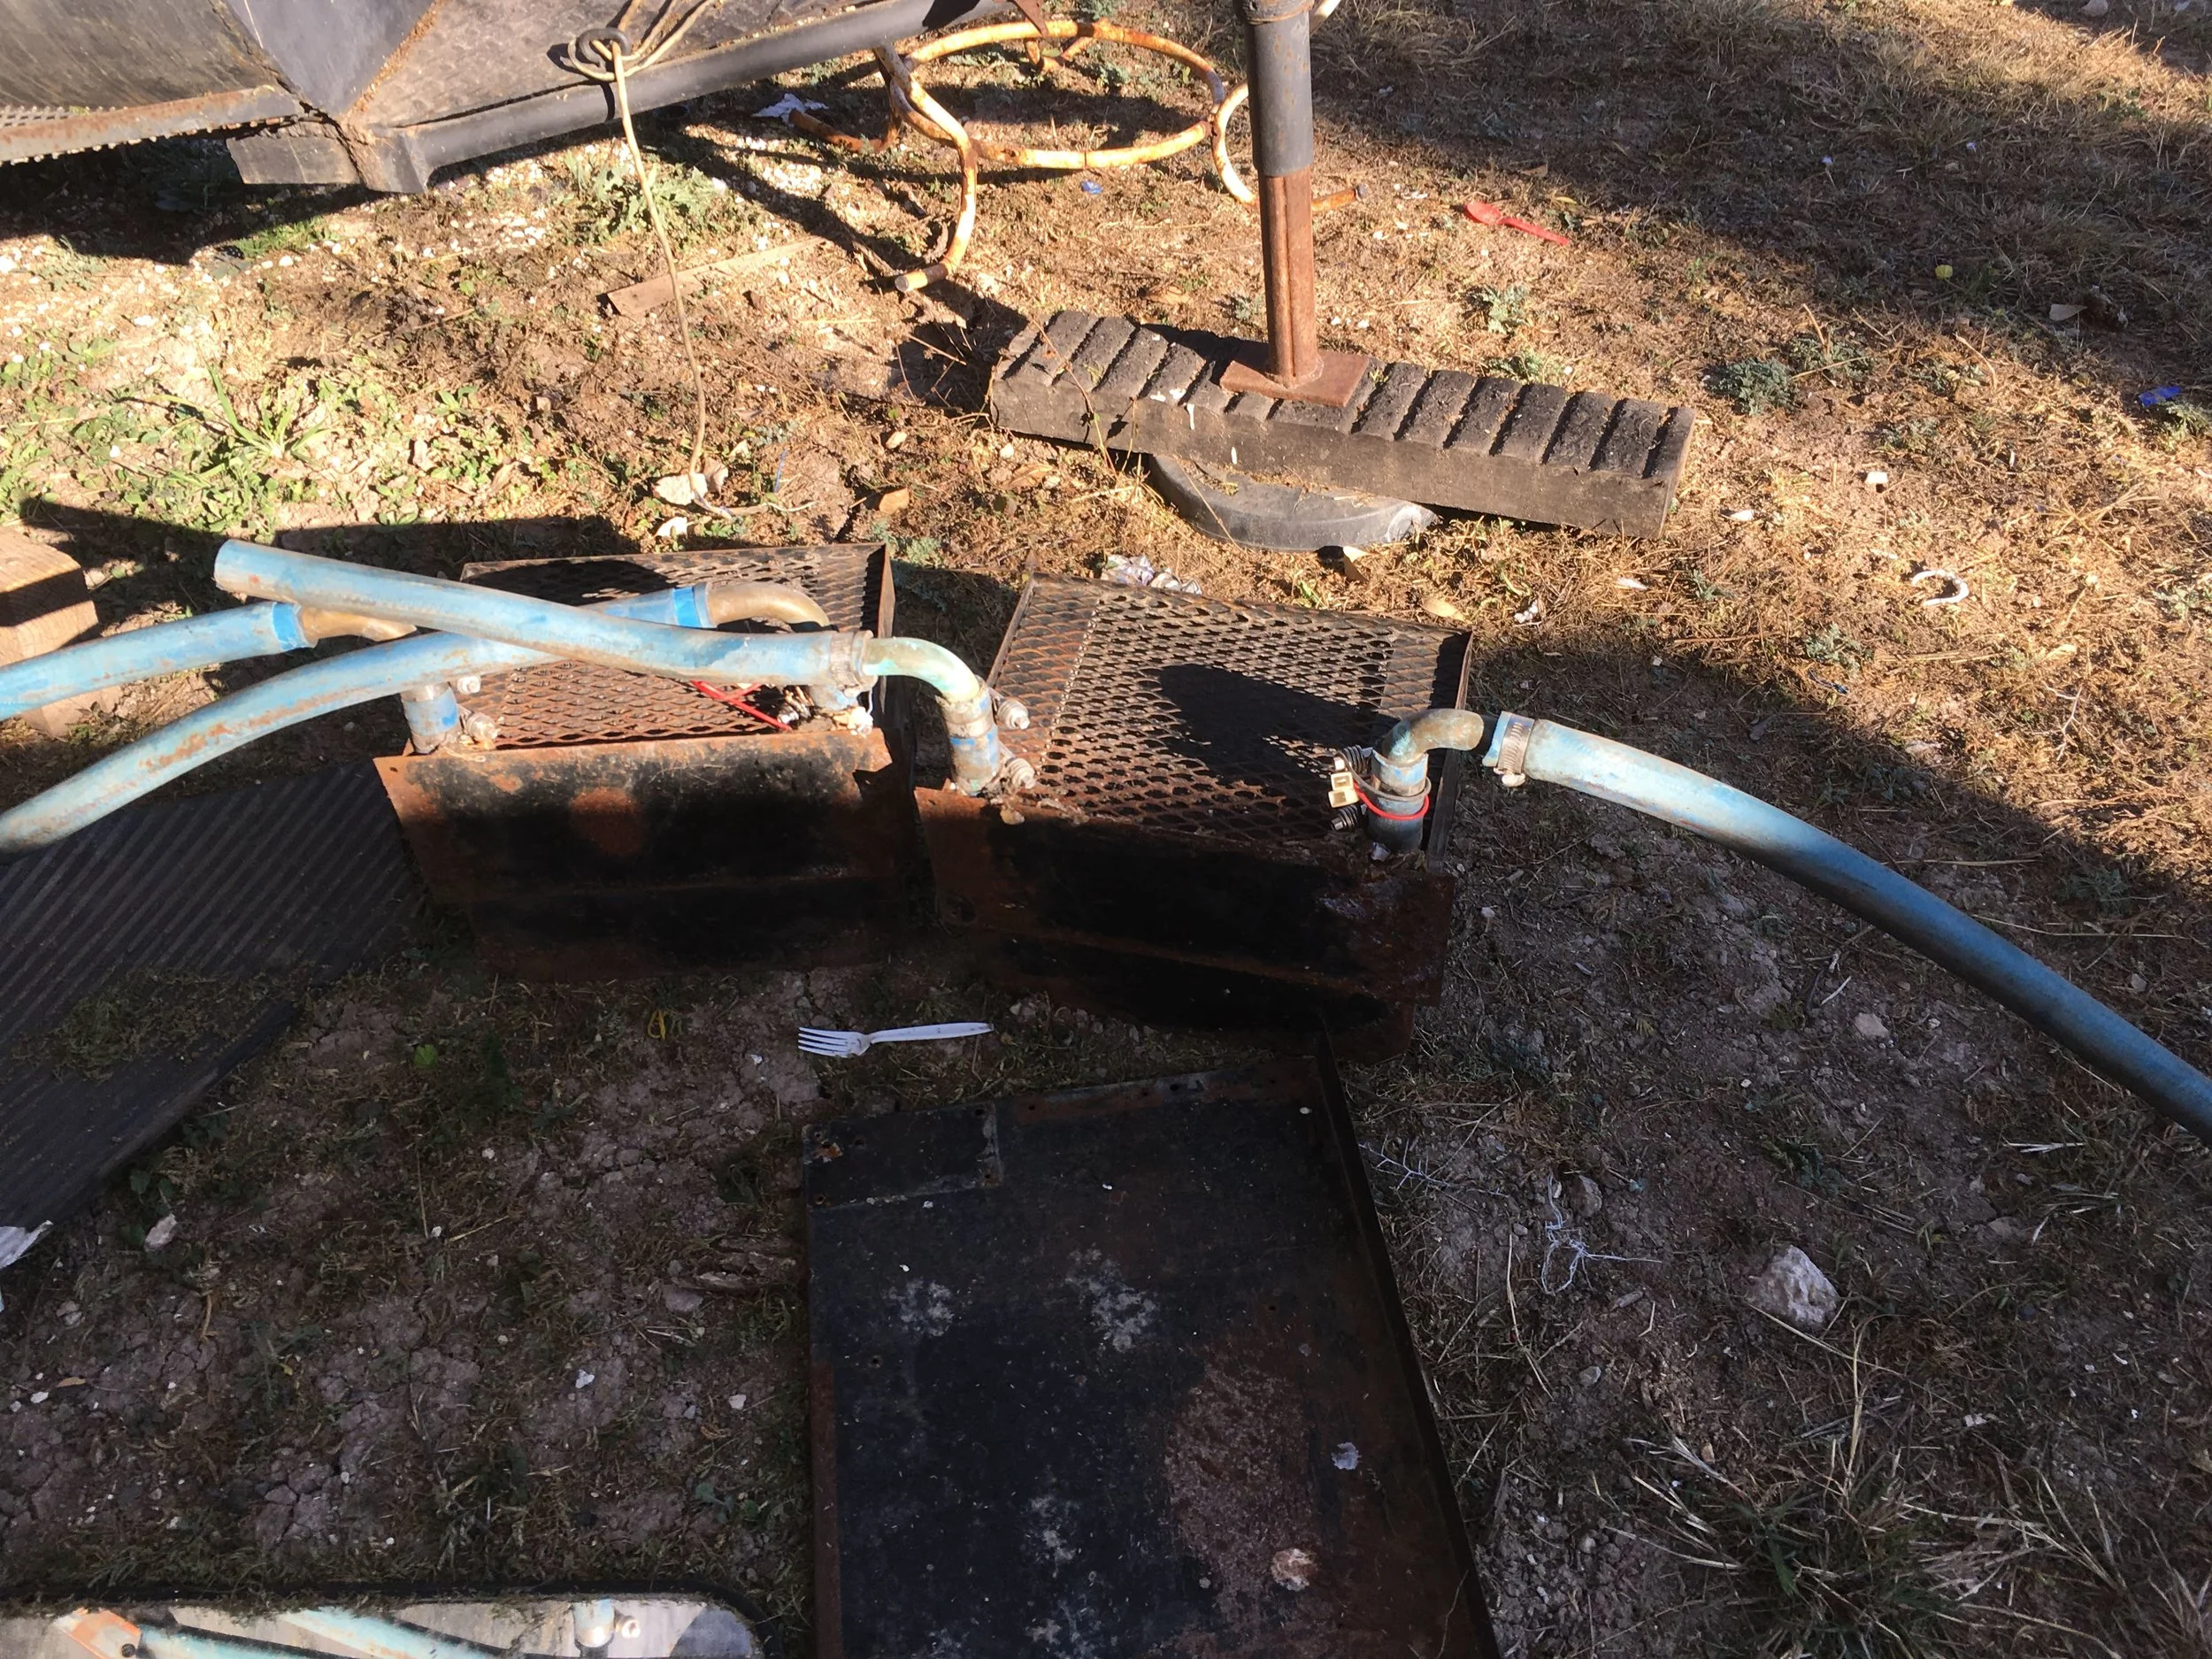
These are the Webasto heaters that came stock with the bus. 80' of 1" hosing ran all the way to the back of the bus and back to the engine to circulate engine coolant which would then would be pushed out by a fan. These suckers were heavy and took up a lot of space. It's a sacrifice to get rid of them though at 25k BTUs... but then again, only when the bus is running.
The Webasto heaters contained over 4 gallons of diesel engine coolant. I have to wonder when was the last time the system was purged. There was a lot of sediment in the fluid that also made it cloudy when stirred. Something to put in the back pocket for later work.
Ready to install the pipes that I bought at Home Depot to install at the entrance into the cabin.
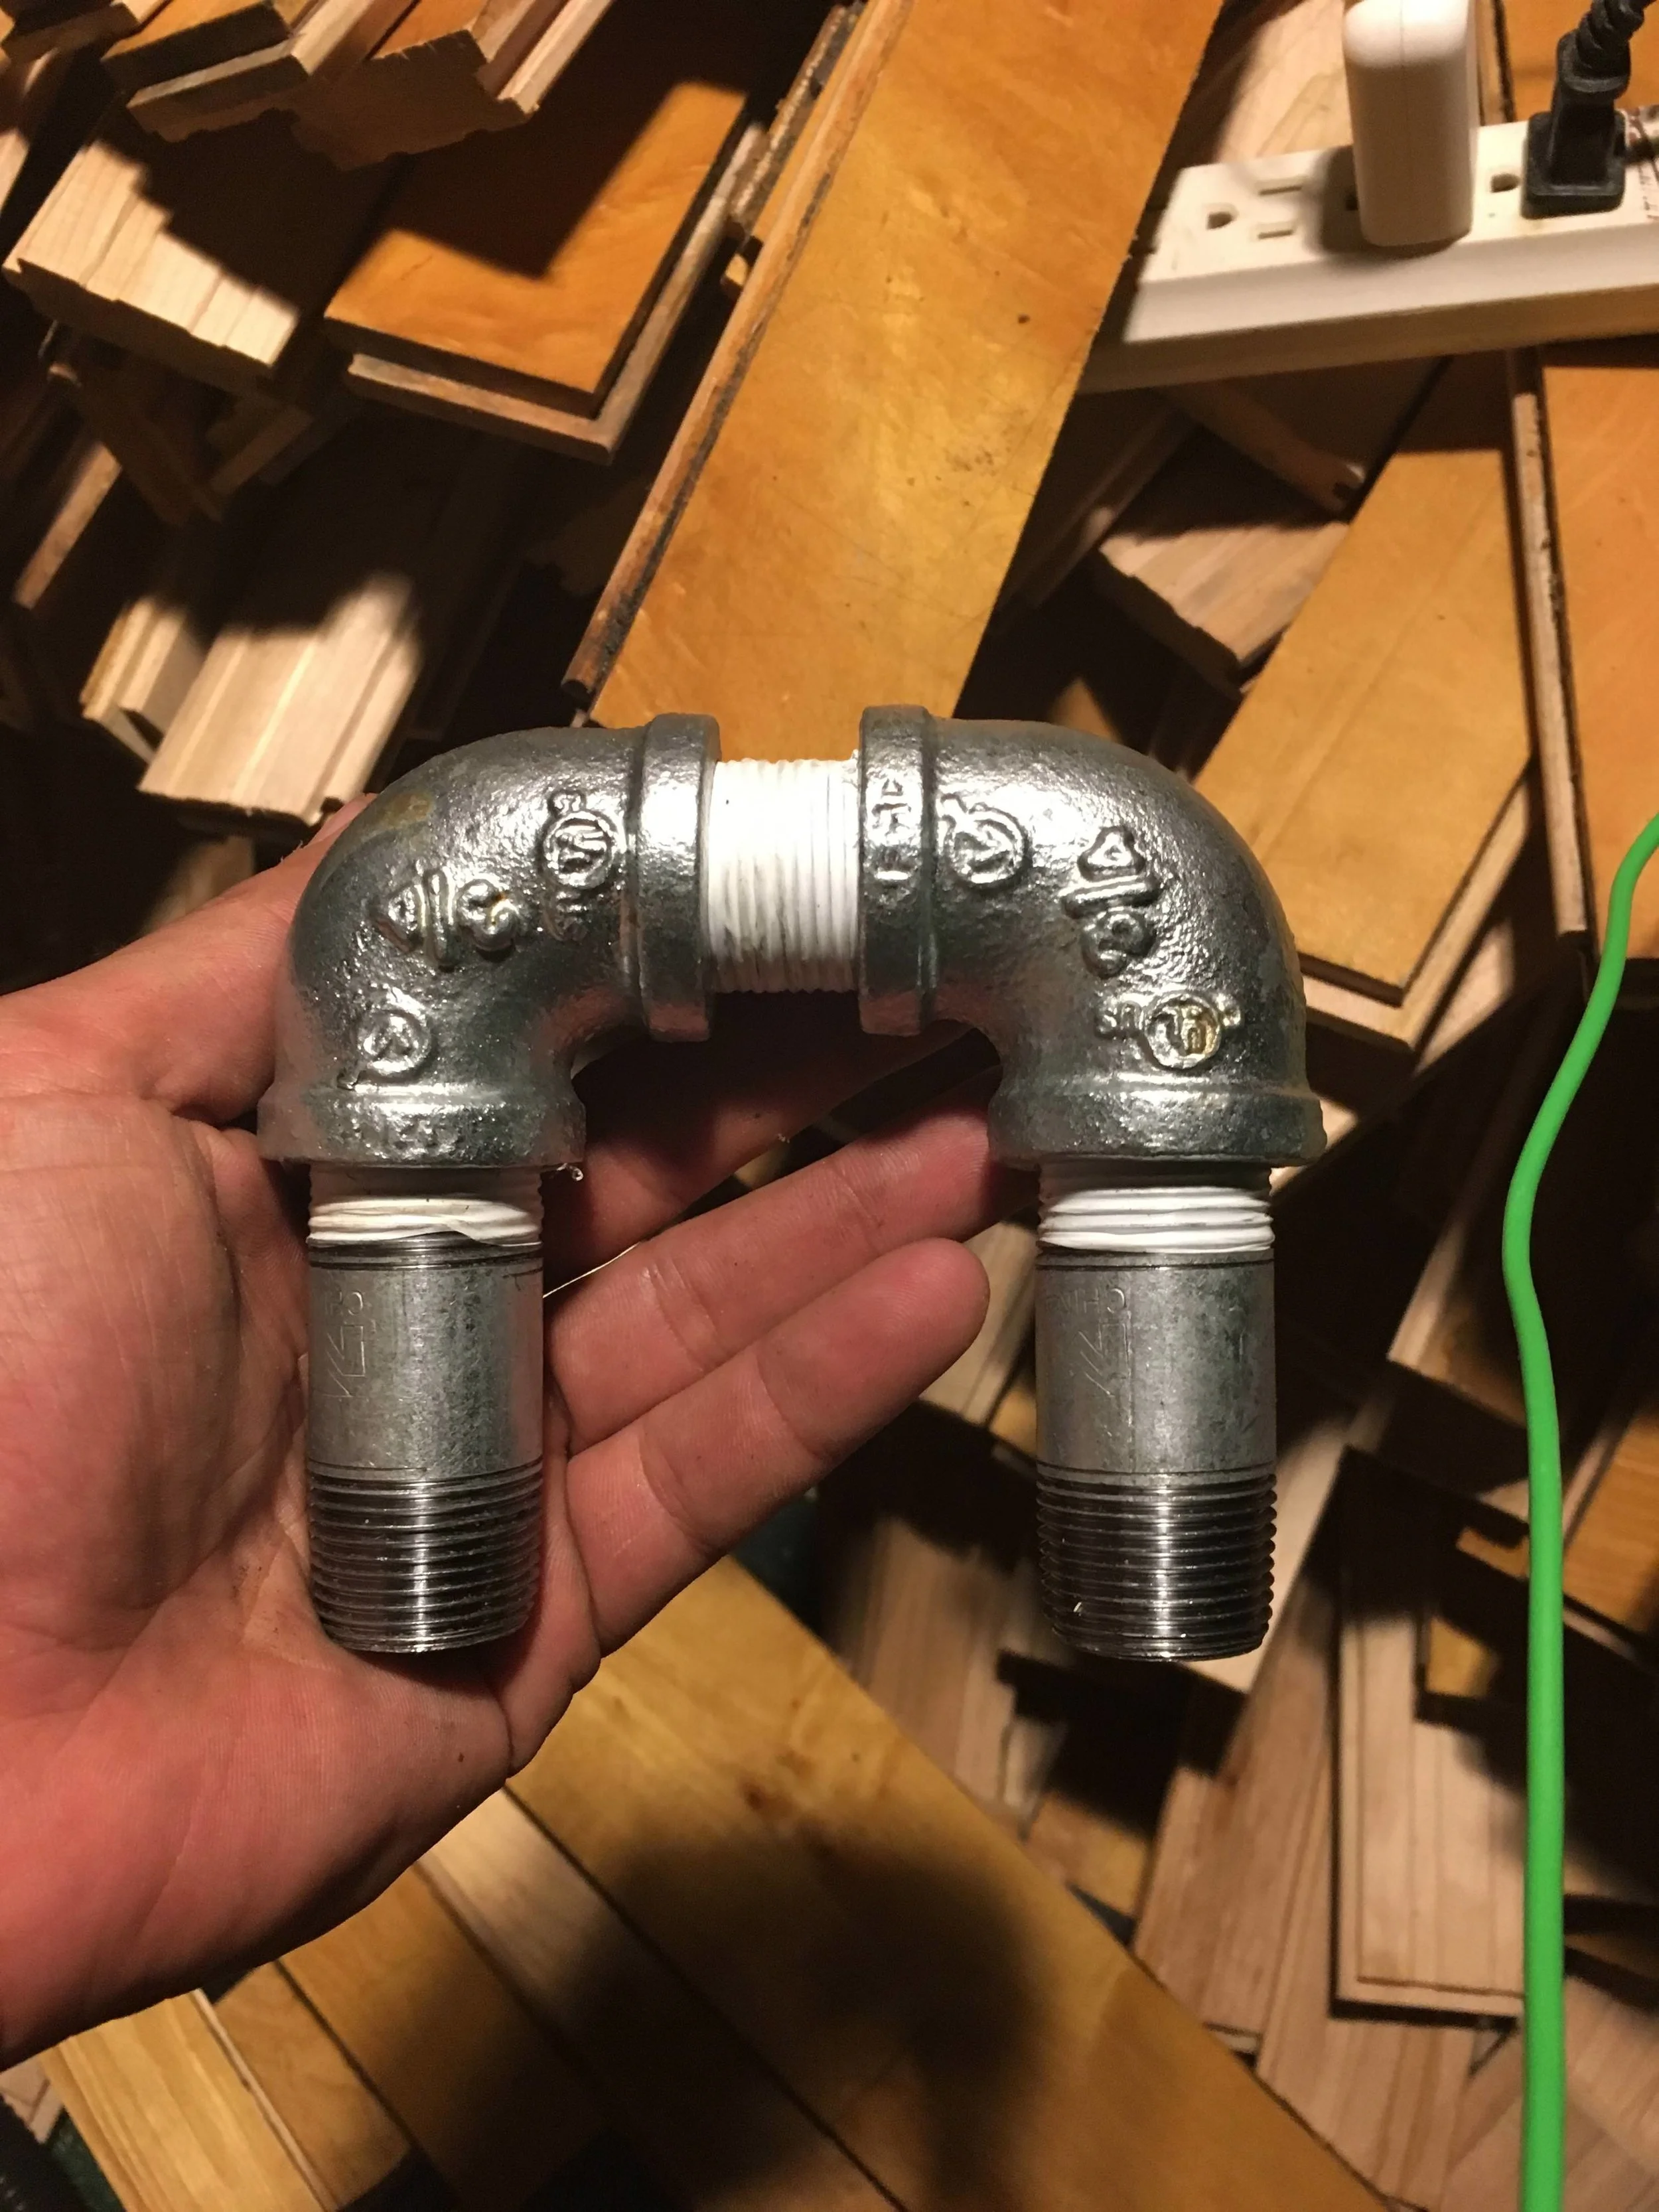
The bus' heater system with over 80' of piping has been reduced to just this "c-joint" that I created for less than $10. This area will be cleaned and then covered up.
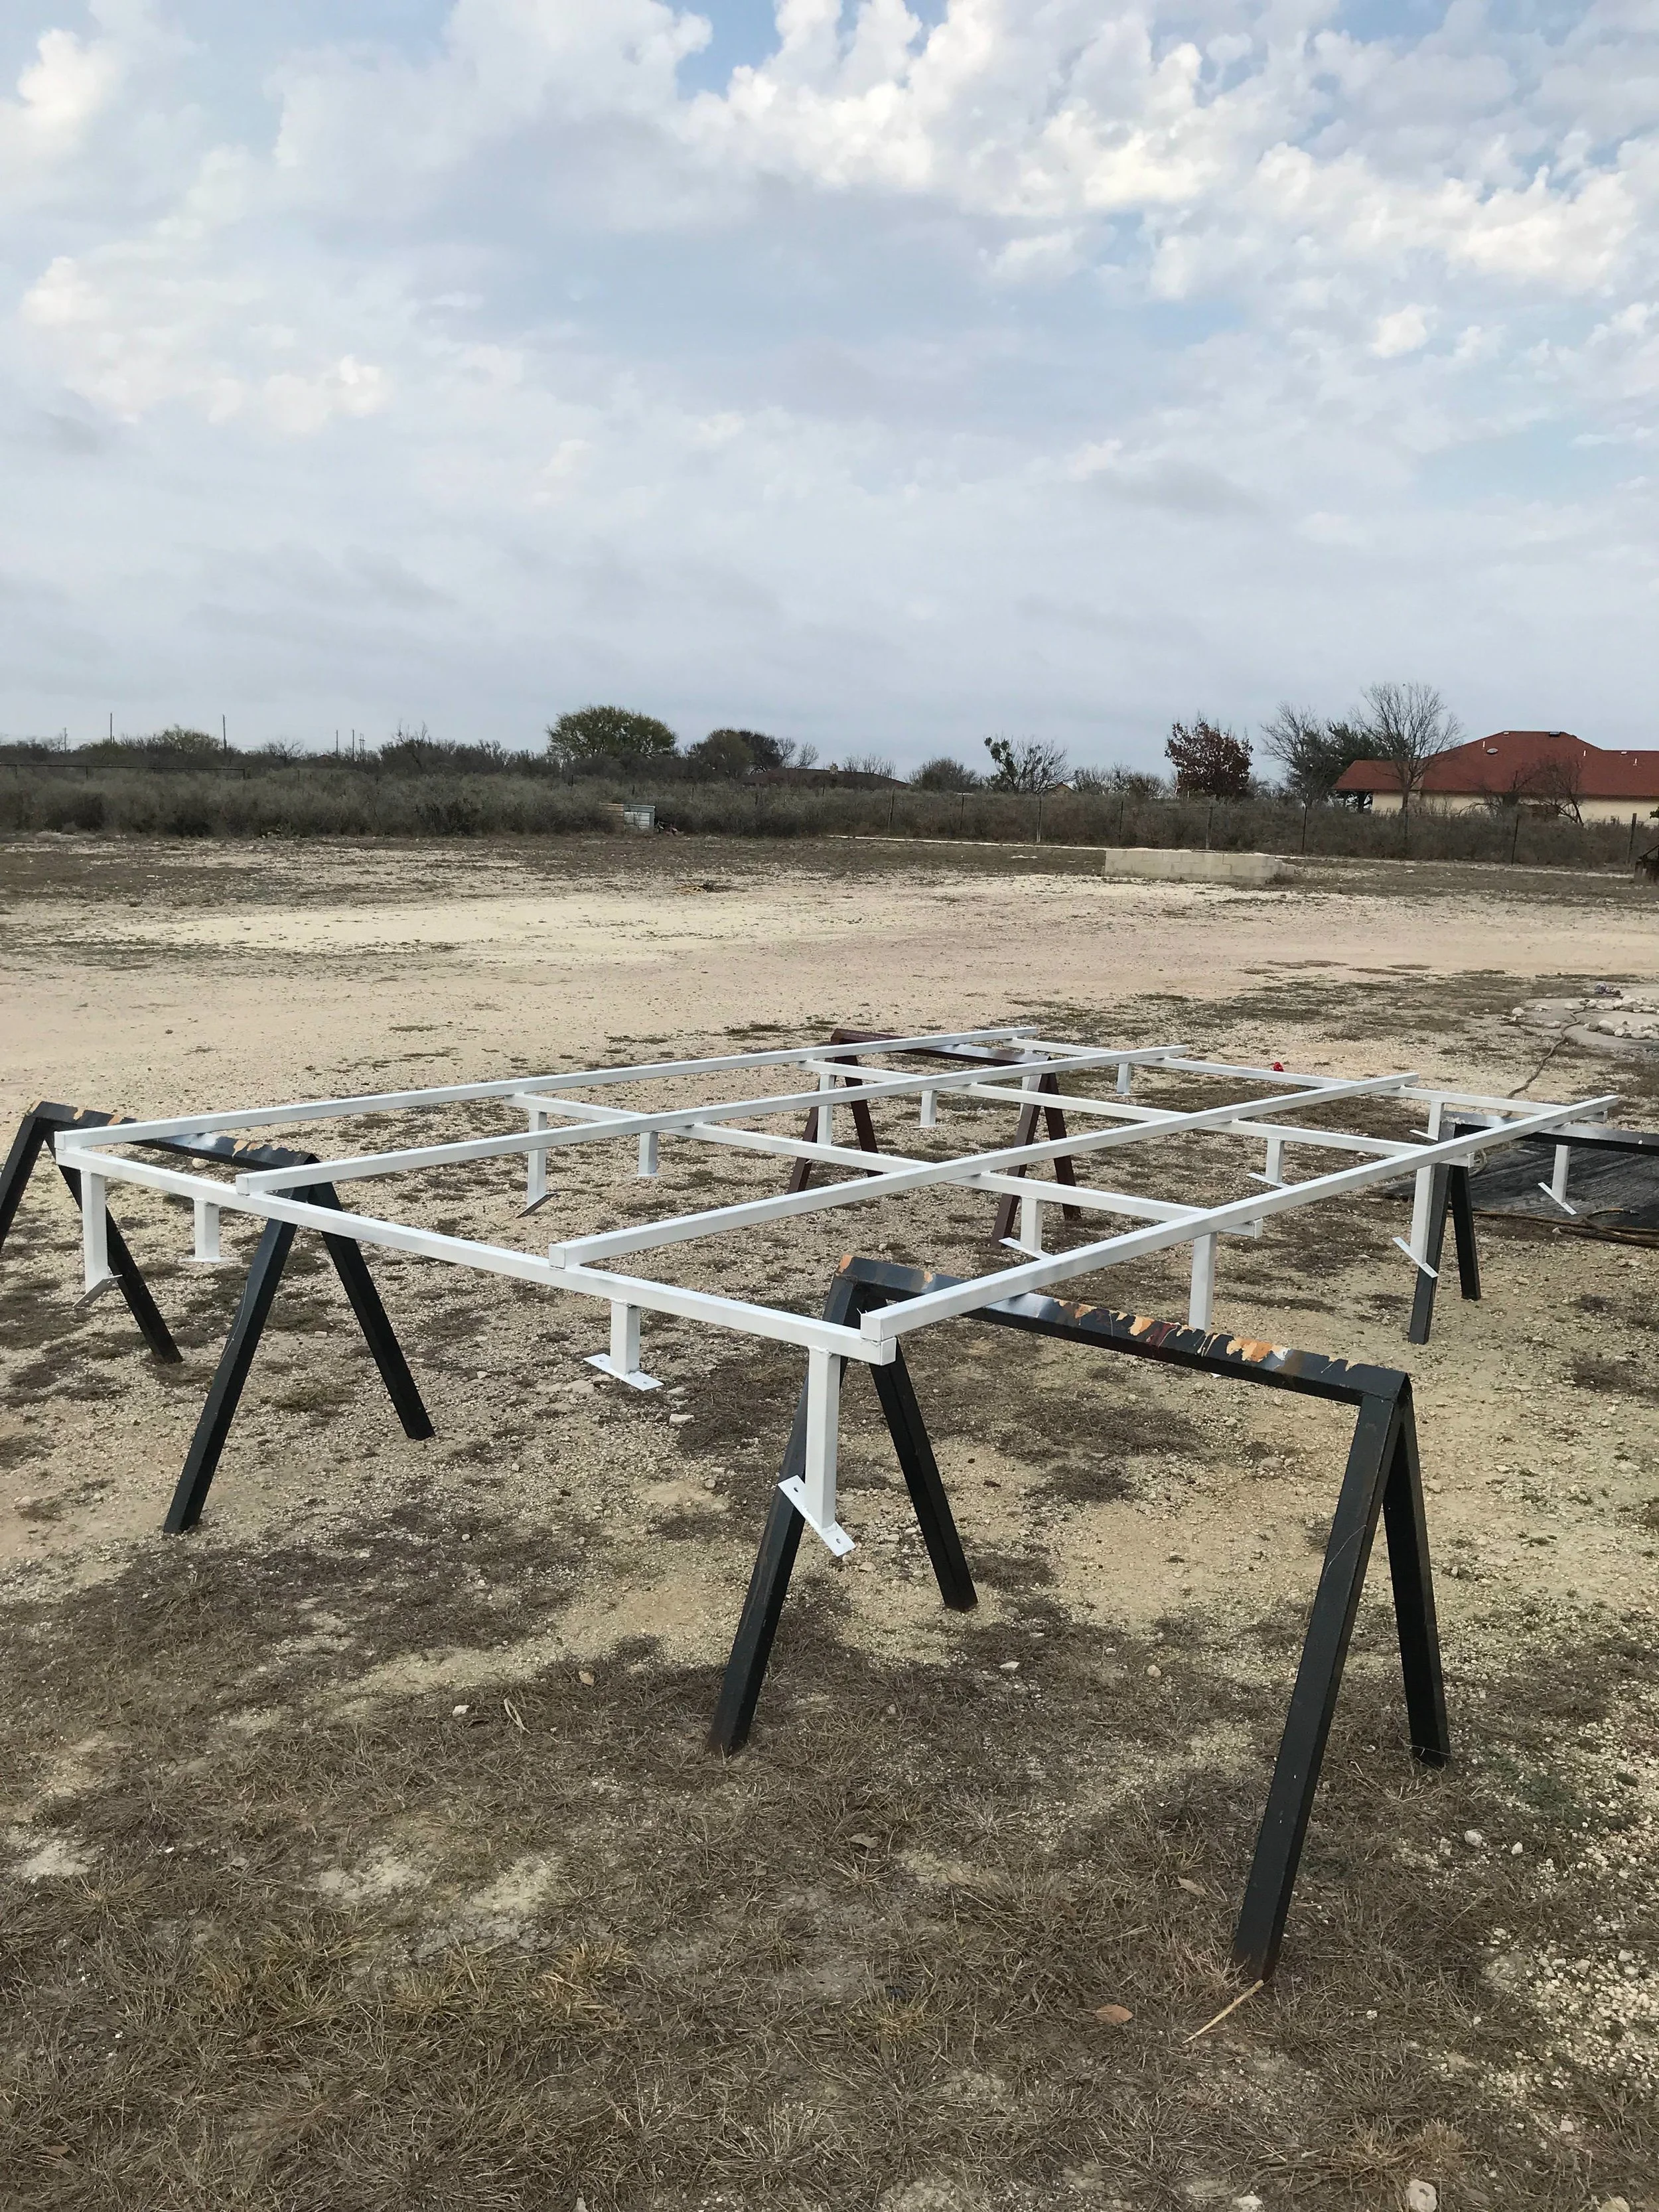
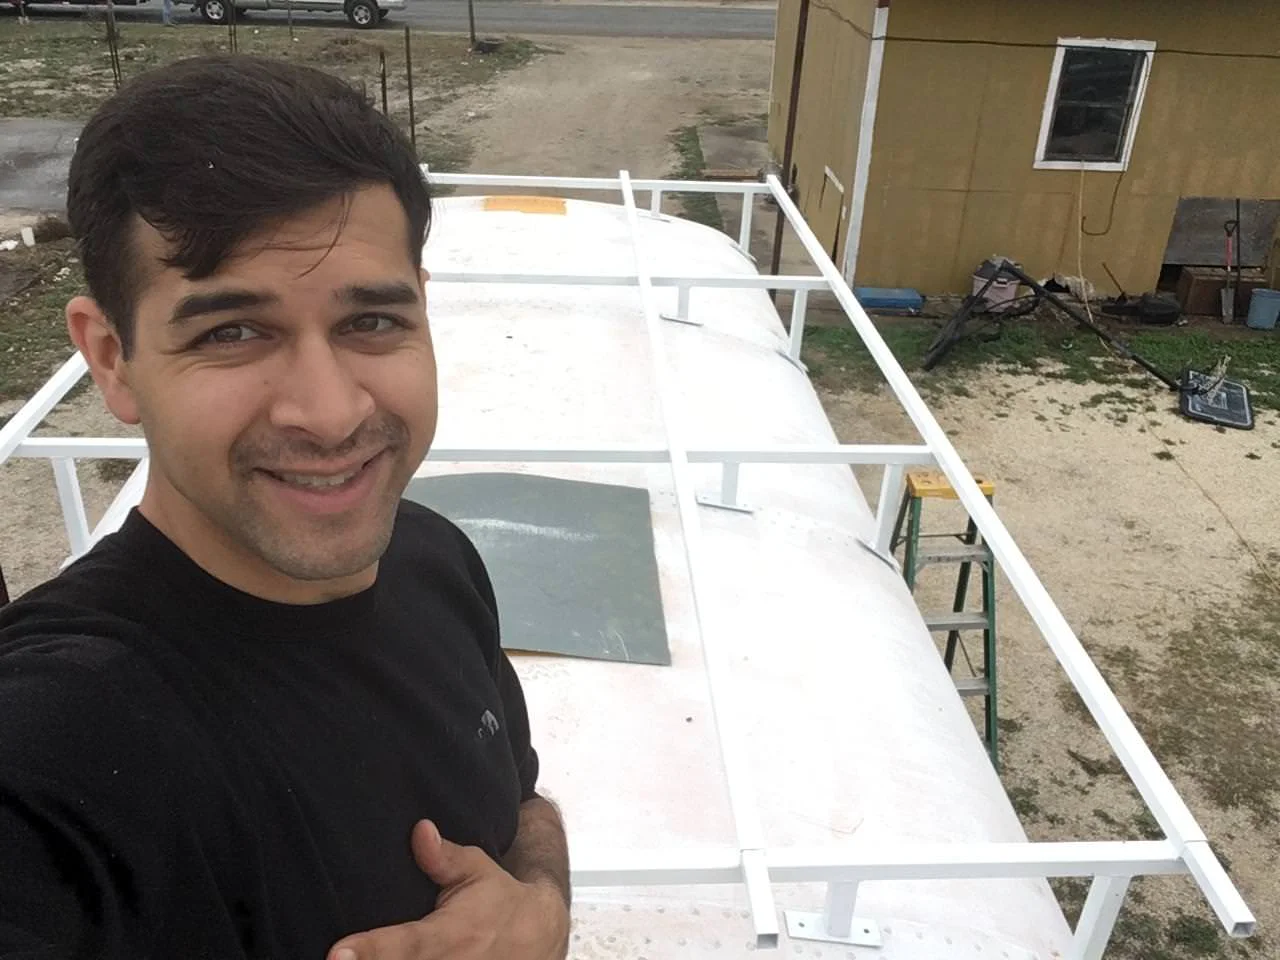
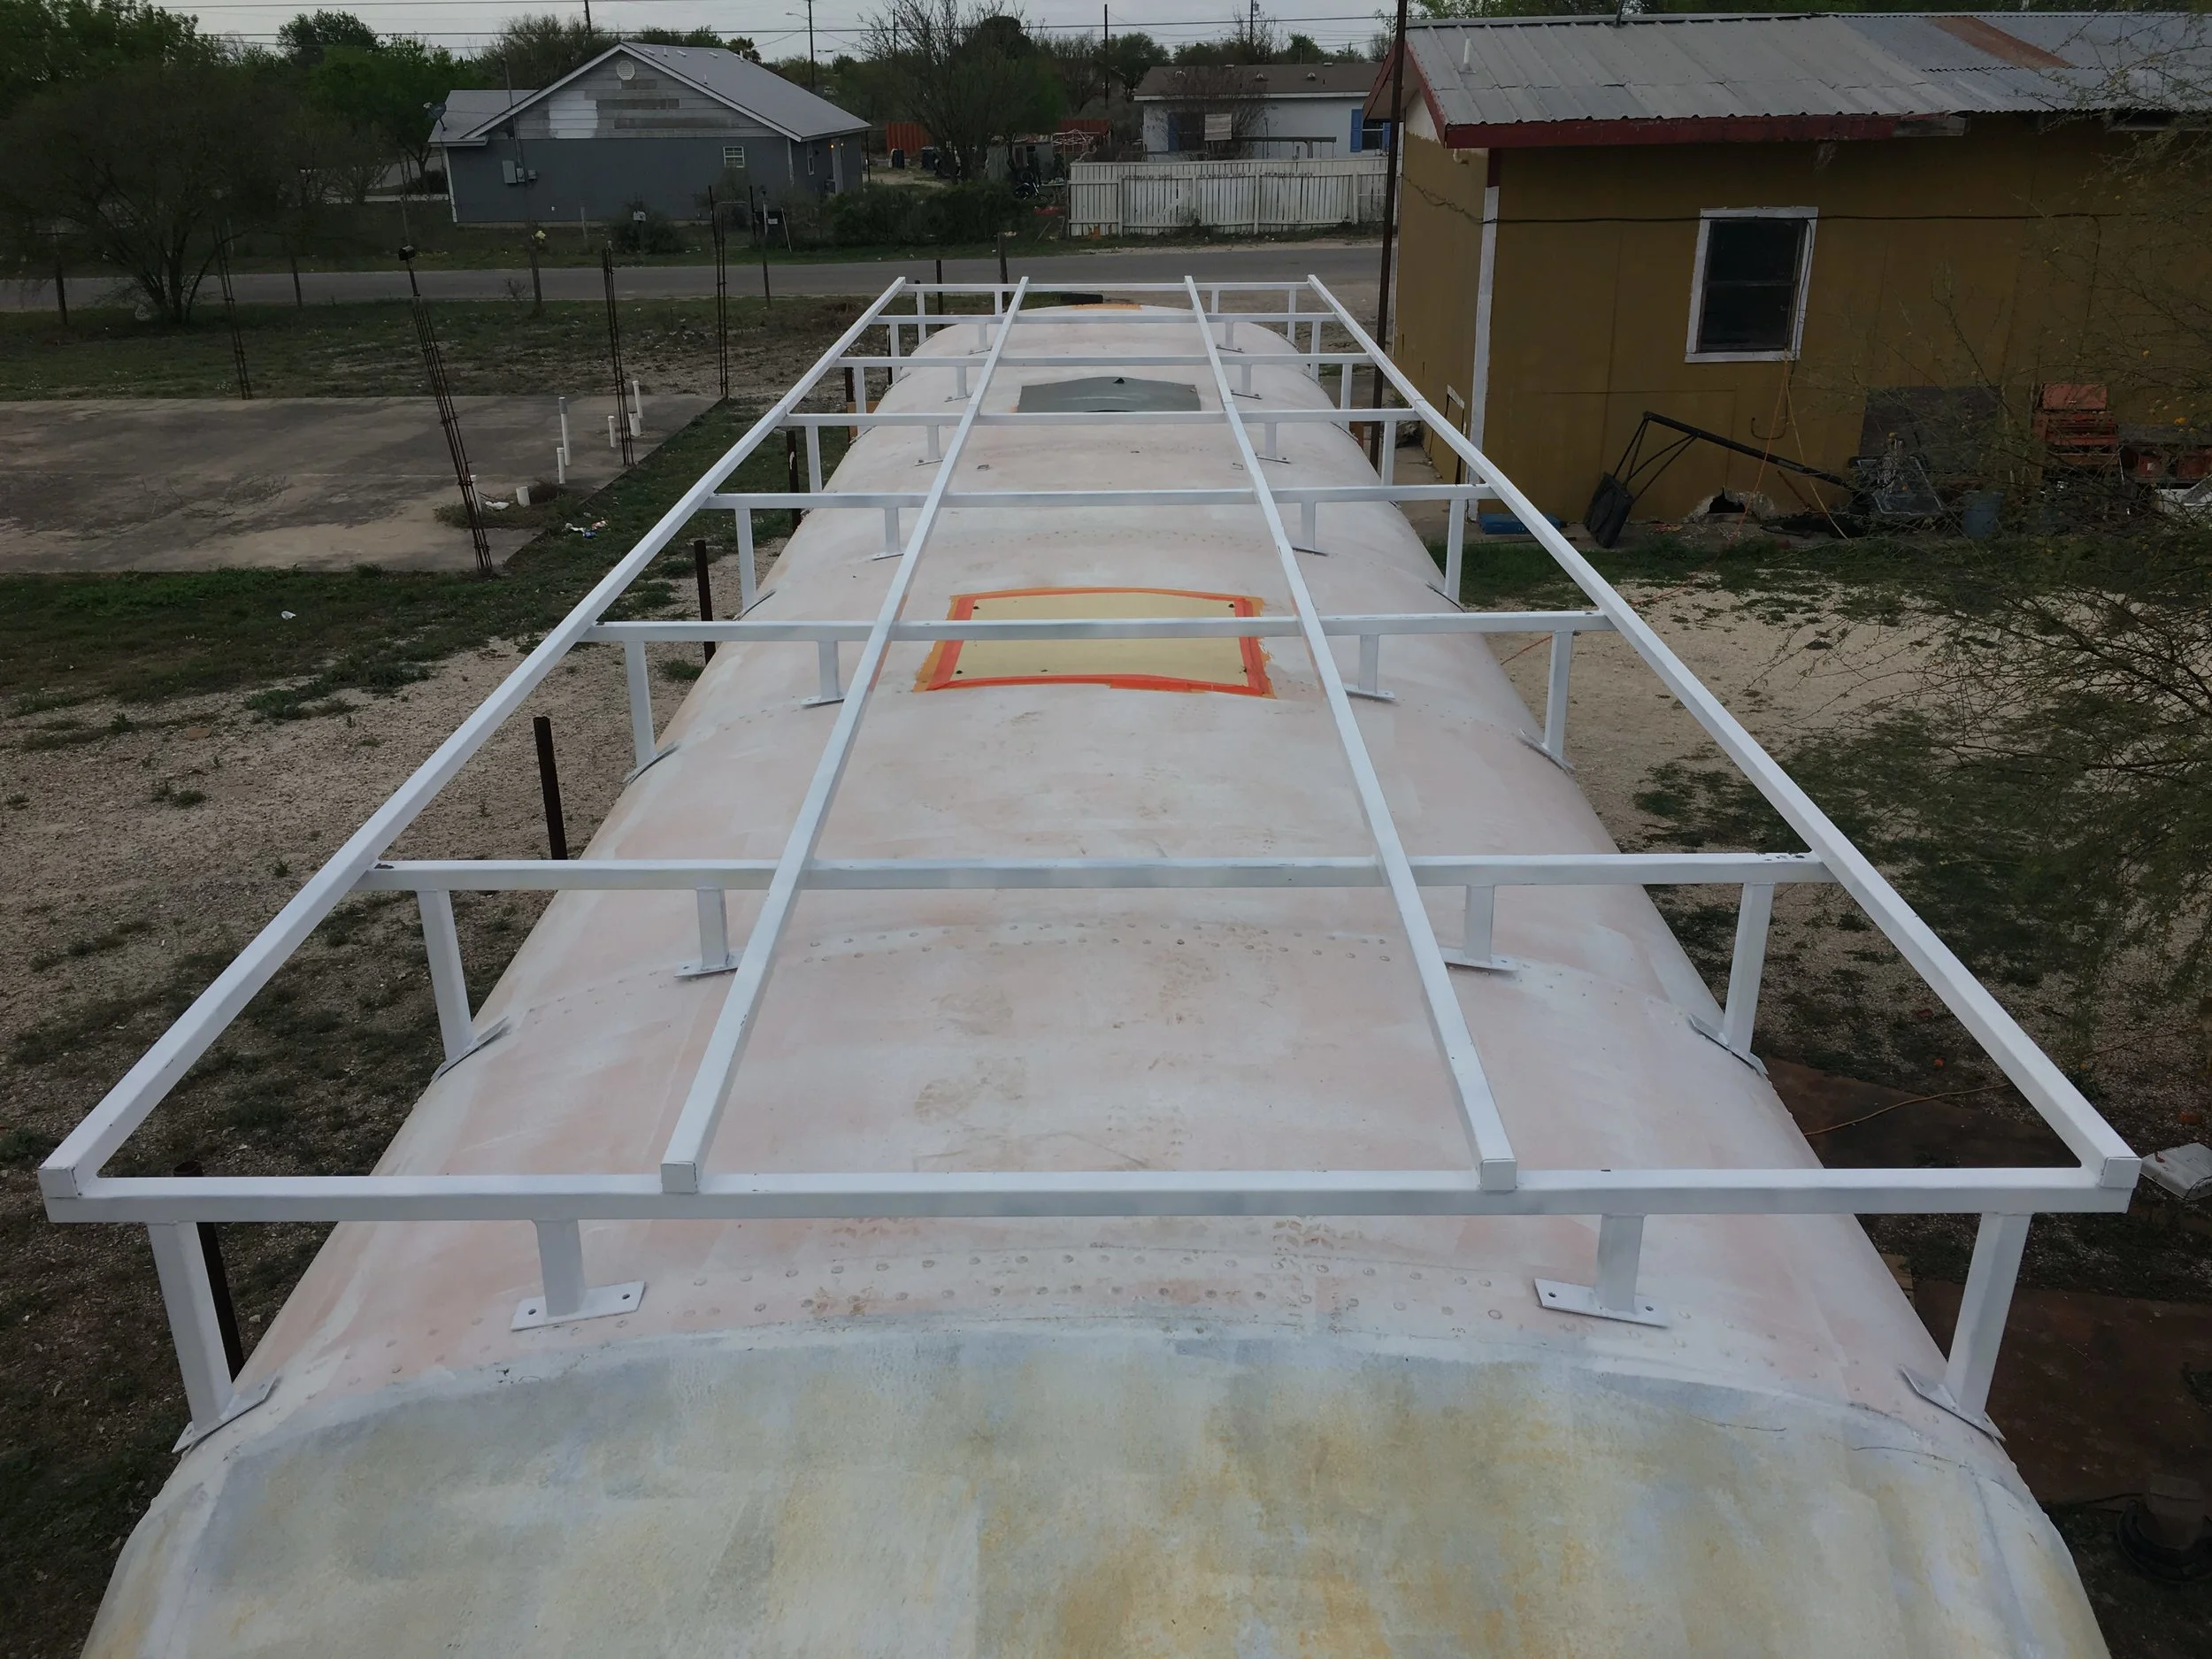
Roof rack placed on the roof! Though a bit ungainly, with correct planning and setting up, it only took two of us to get it on the roof.
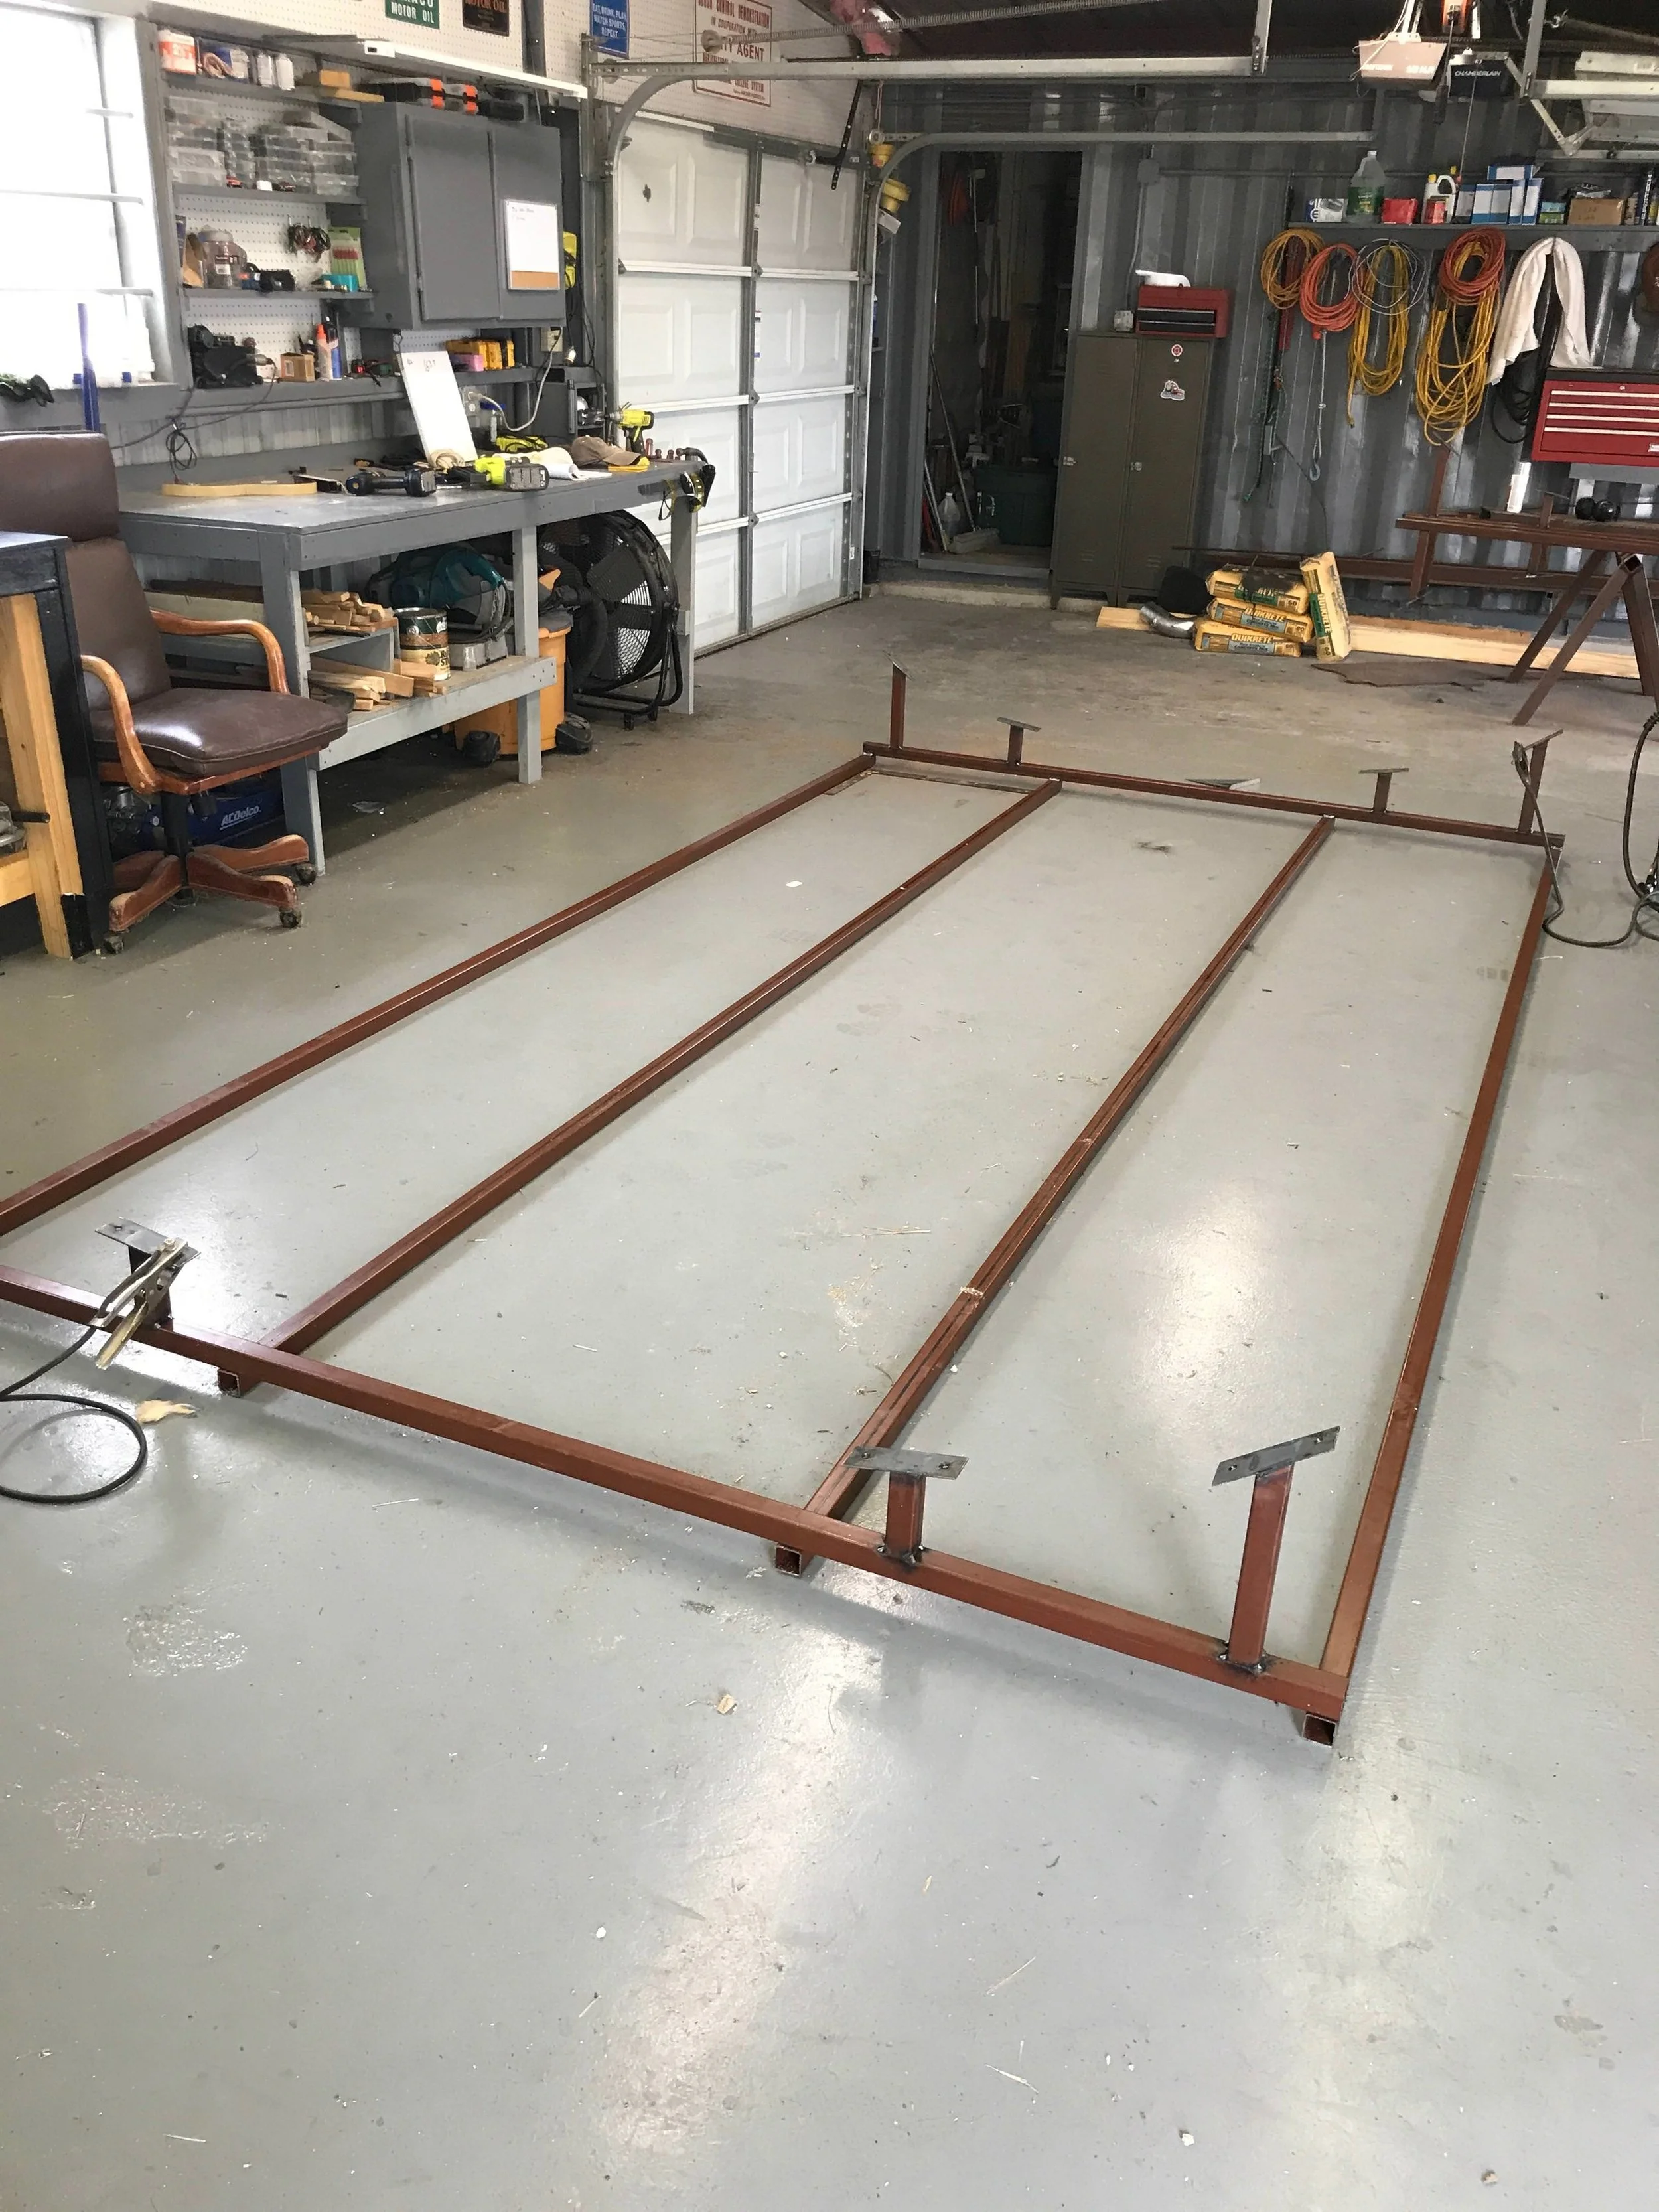
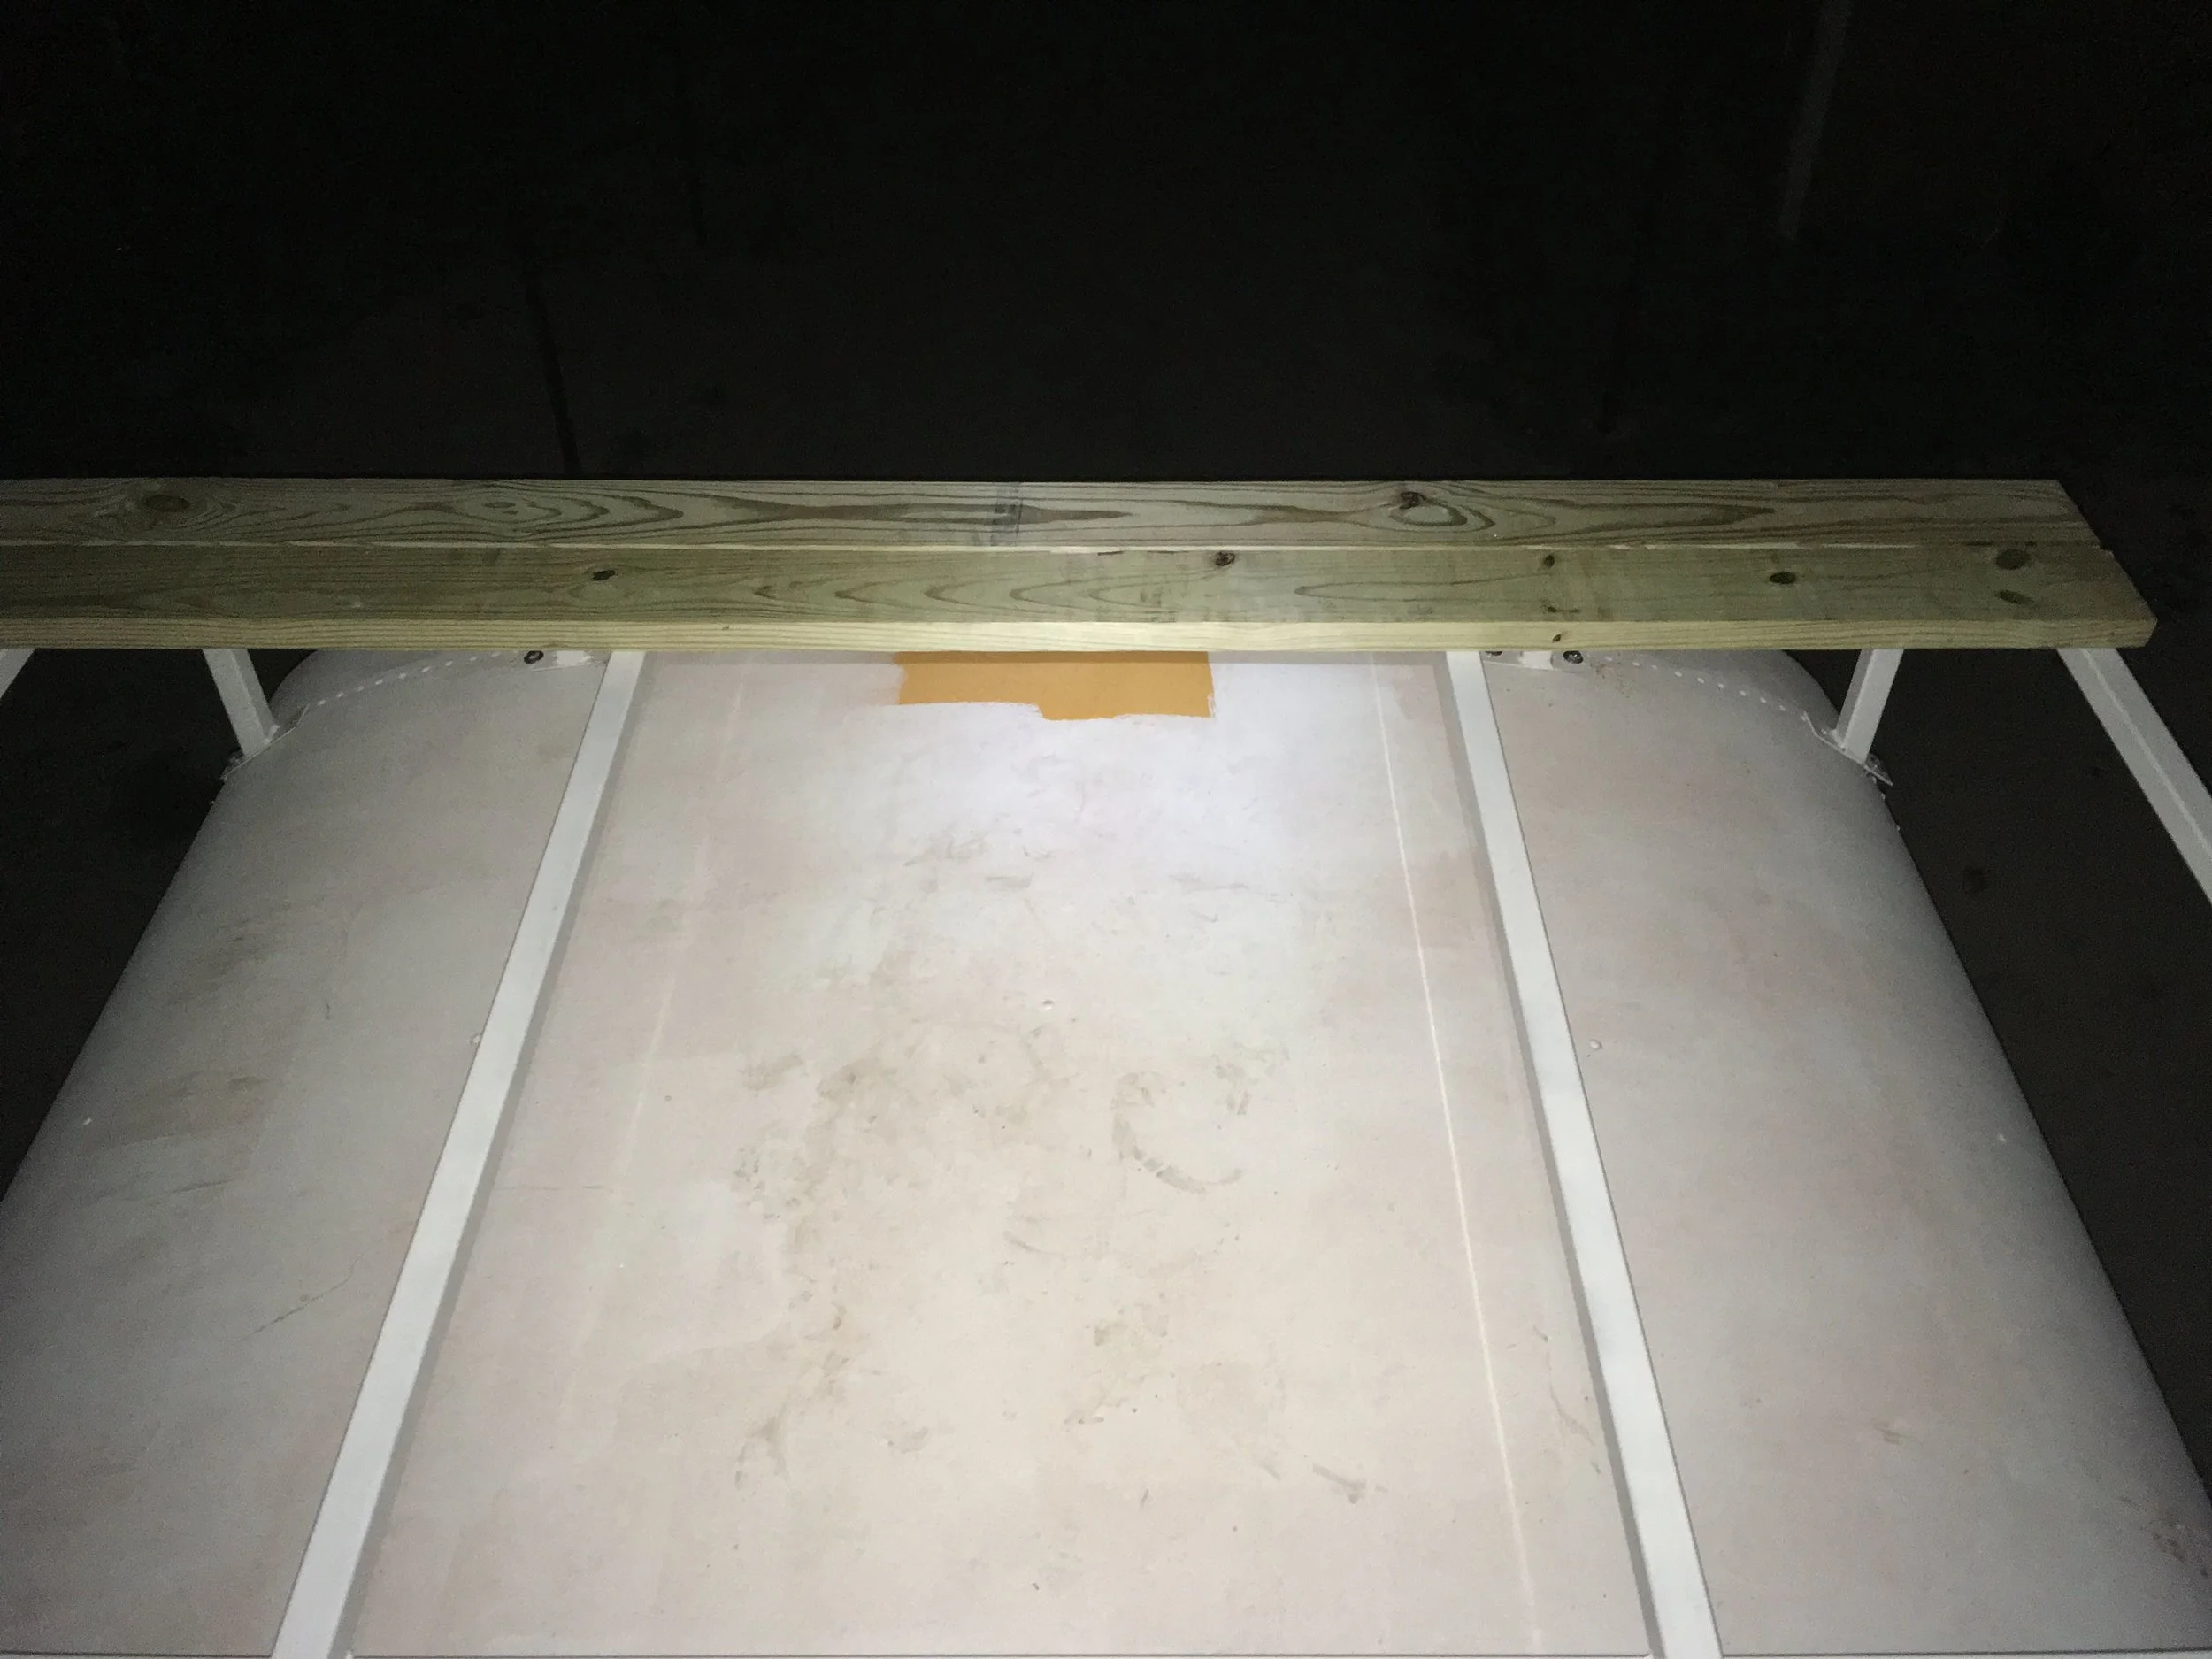
Me with the roof rack. Ready to drill and bolt it down. Let's talk design: I couldn't have the sides of the rack be any wider than the bus itself. I also needed to make sure that the rack was at least 4" from the roof of the bus in order to make sure that it would be able to have an insulative layer of air underneath the rooftop patio that's going to be on top of the rear portion. I'll be placing my solar panels on the fore portion. More to come later.
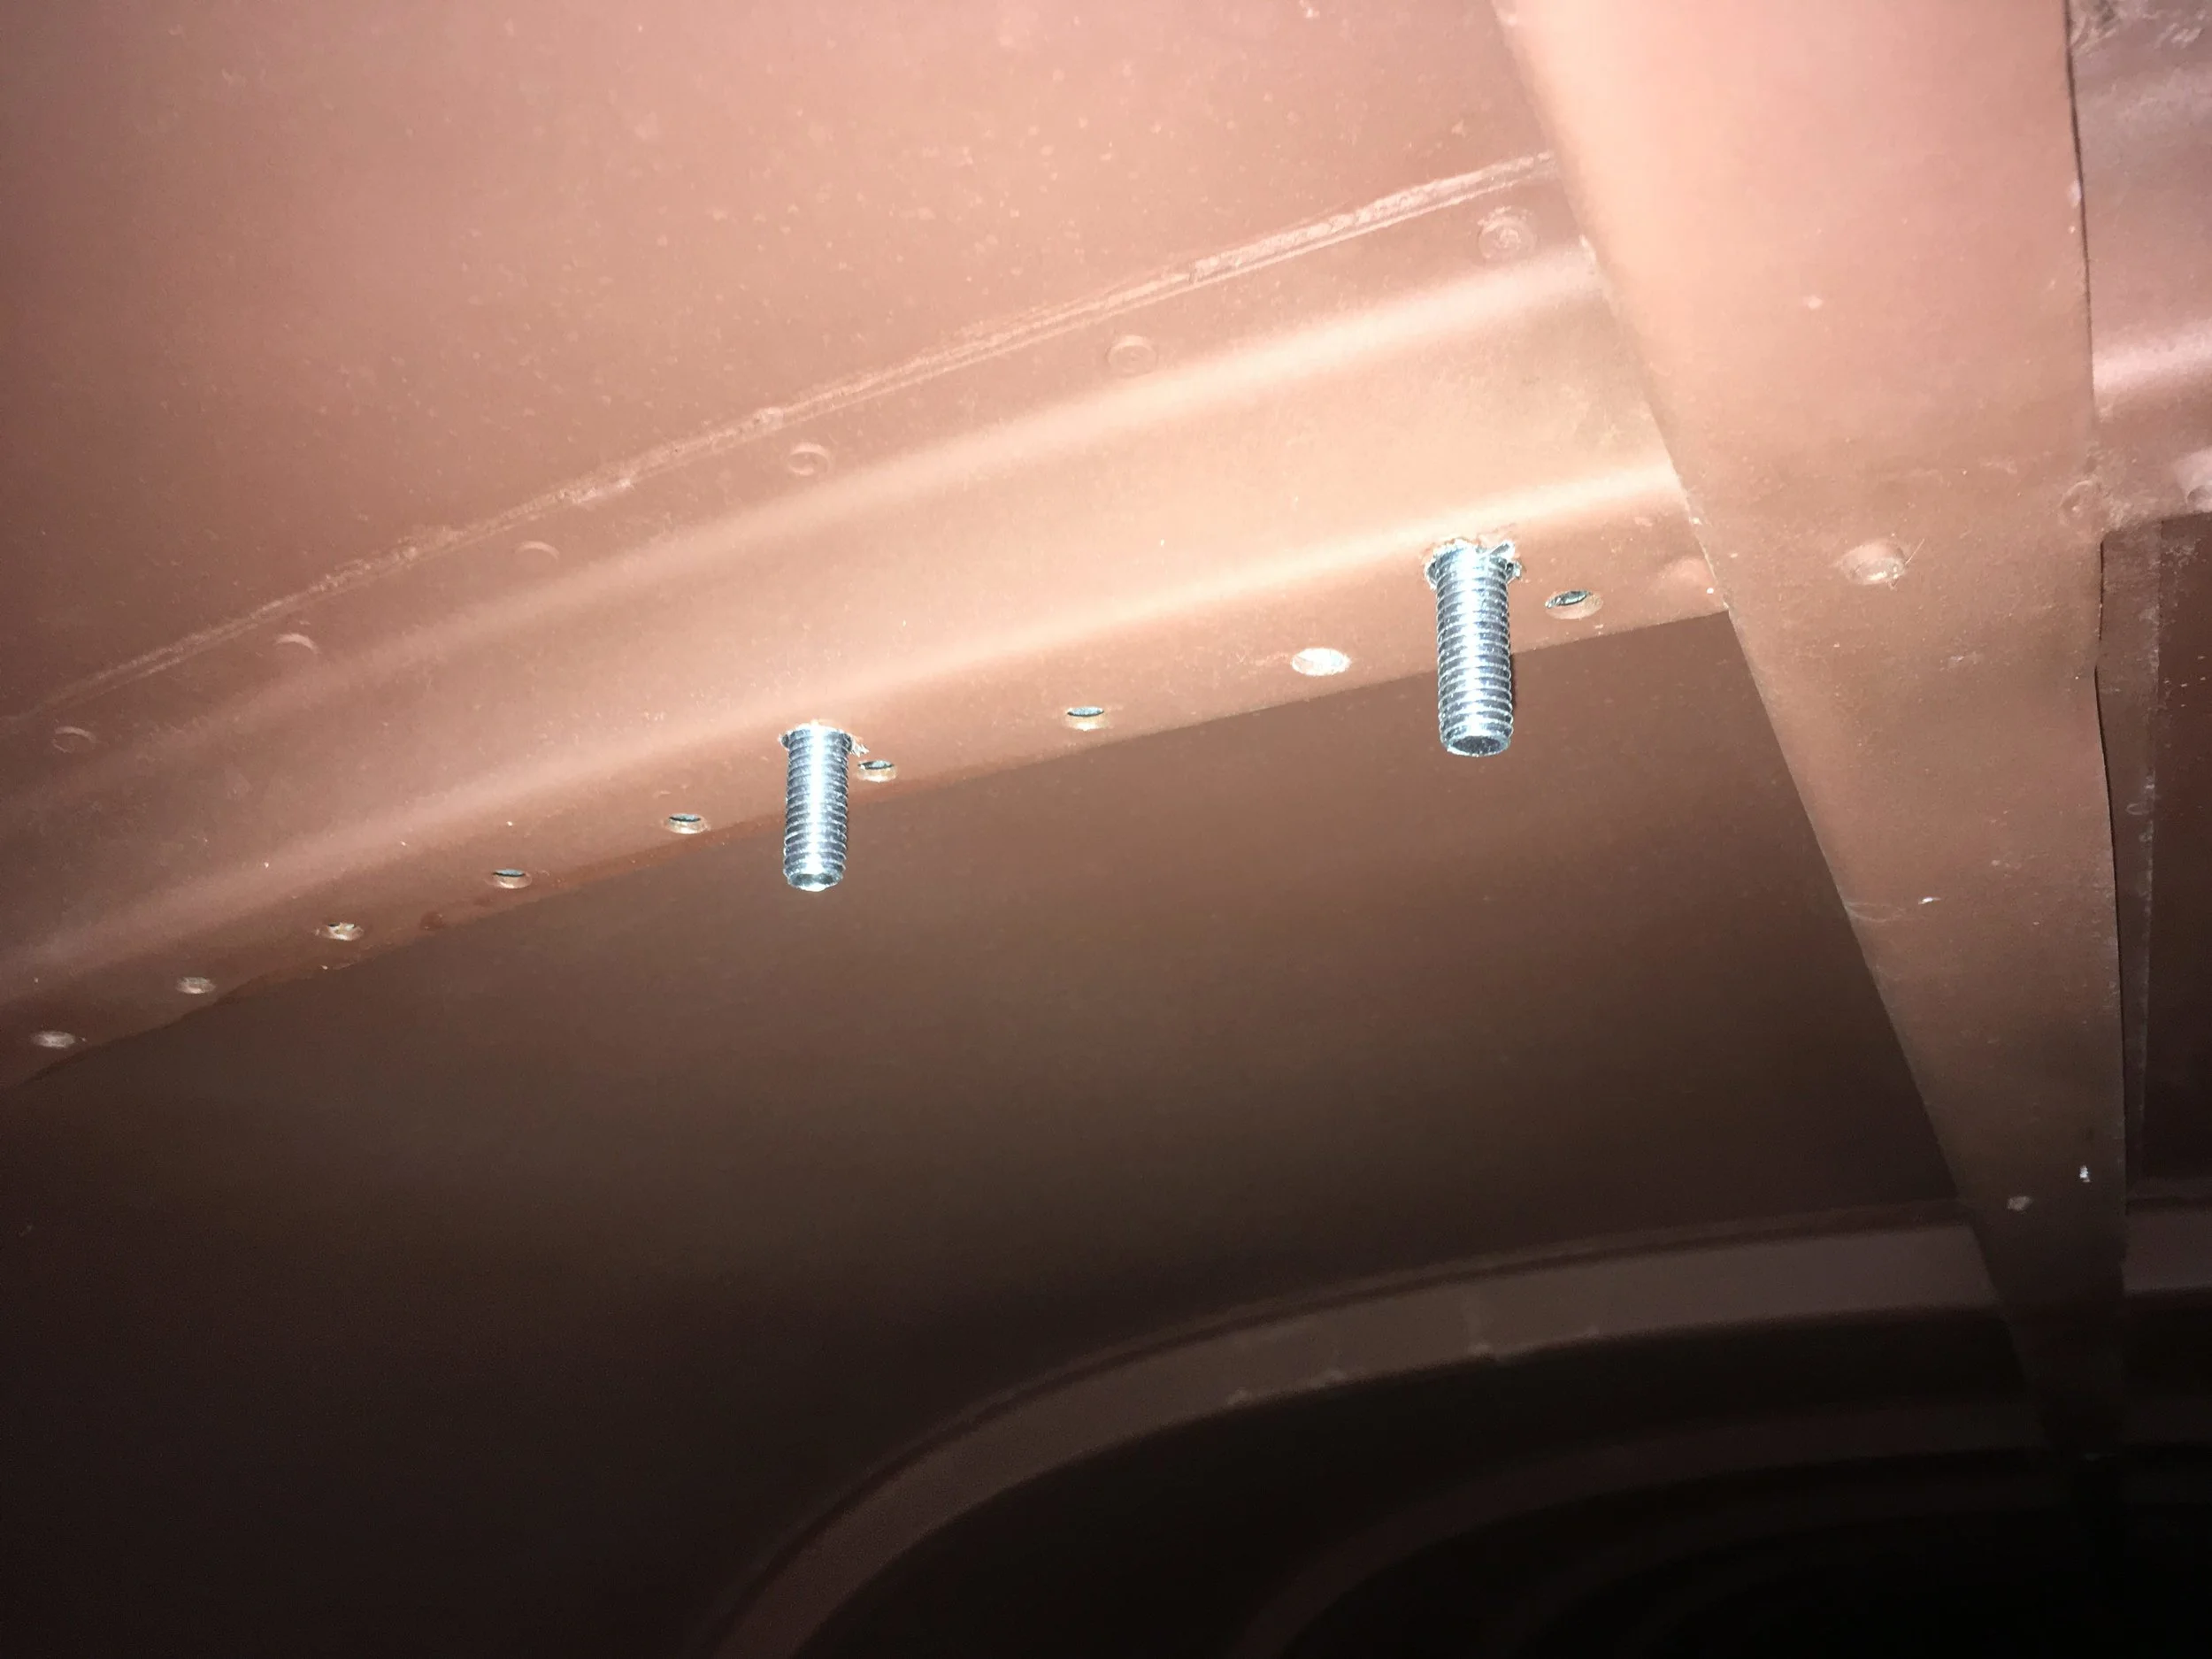
These are the bolts for the roof rack sticking through the ceiling. They're going to stay in place until I determine which ones will be replaced with eyelets for hammock hanging. Whichever ones remain will be cut with an angle grinder so that I can put the ceiling in. Bolts have the potential to shear, which welds do not, and that’s why I used them.
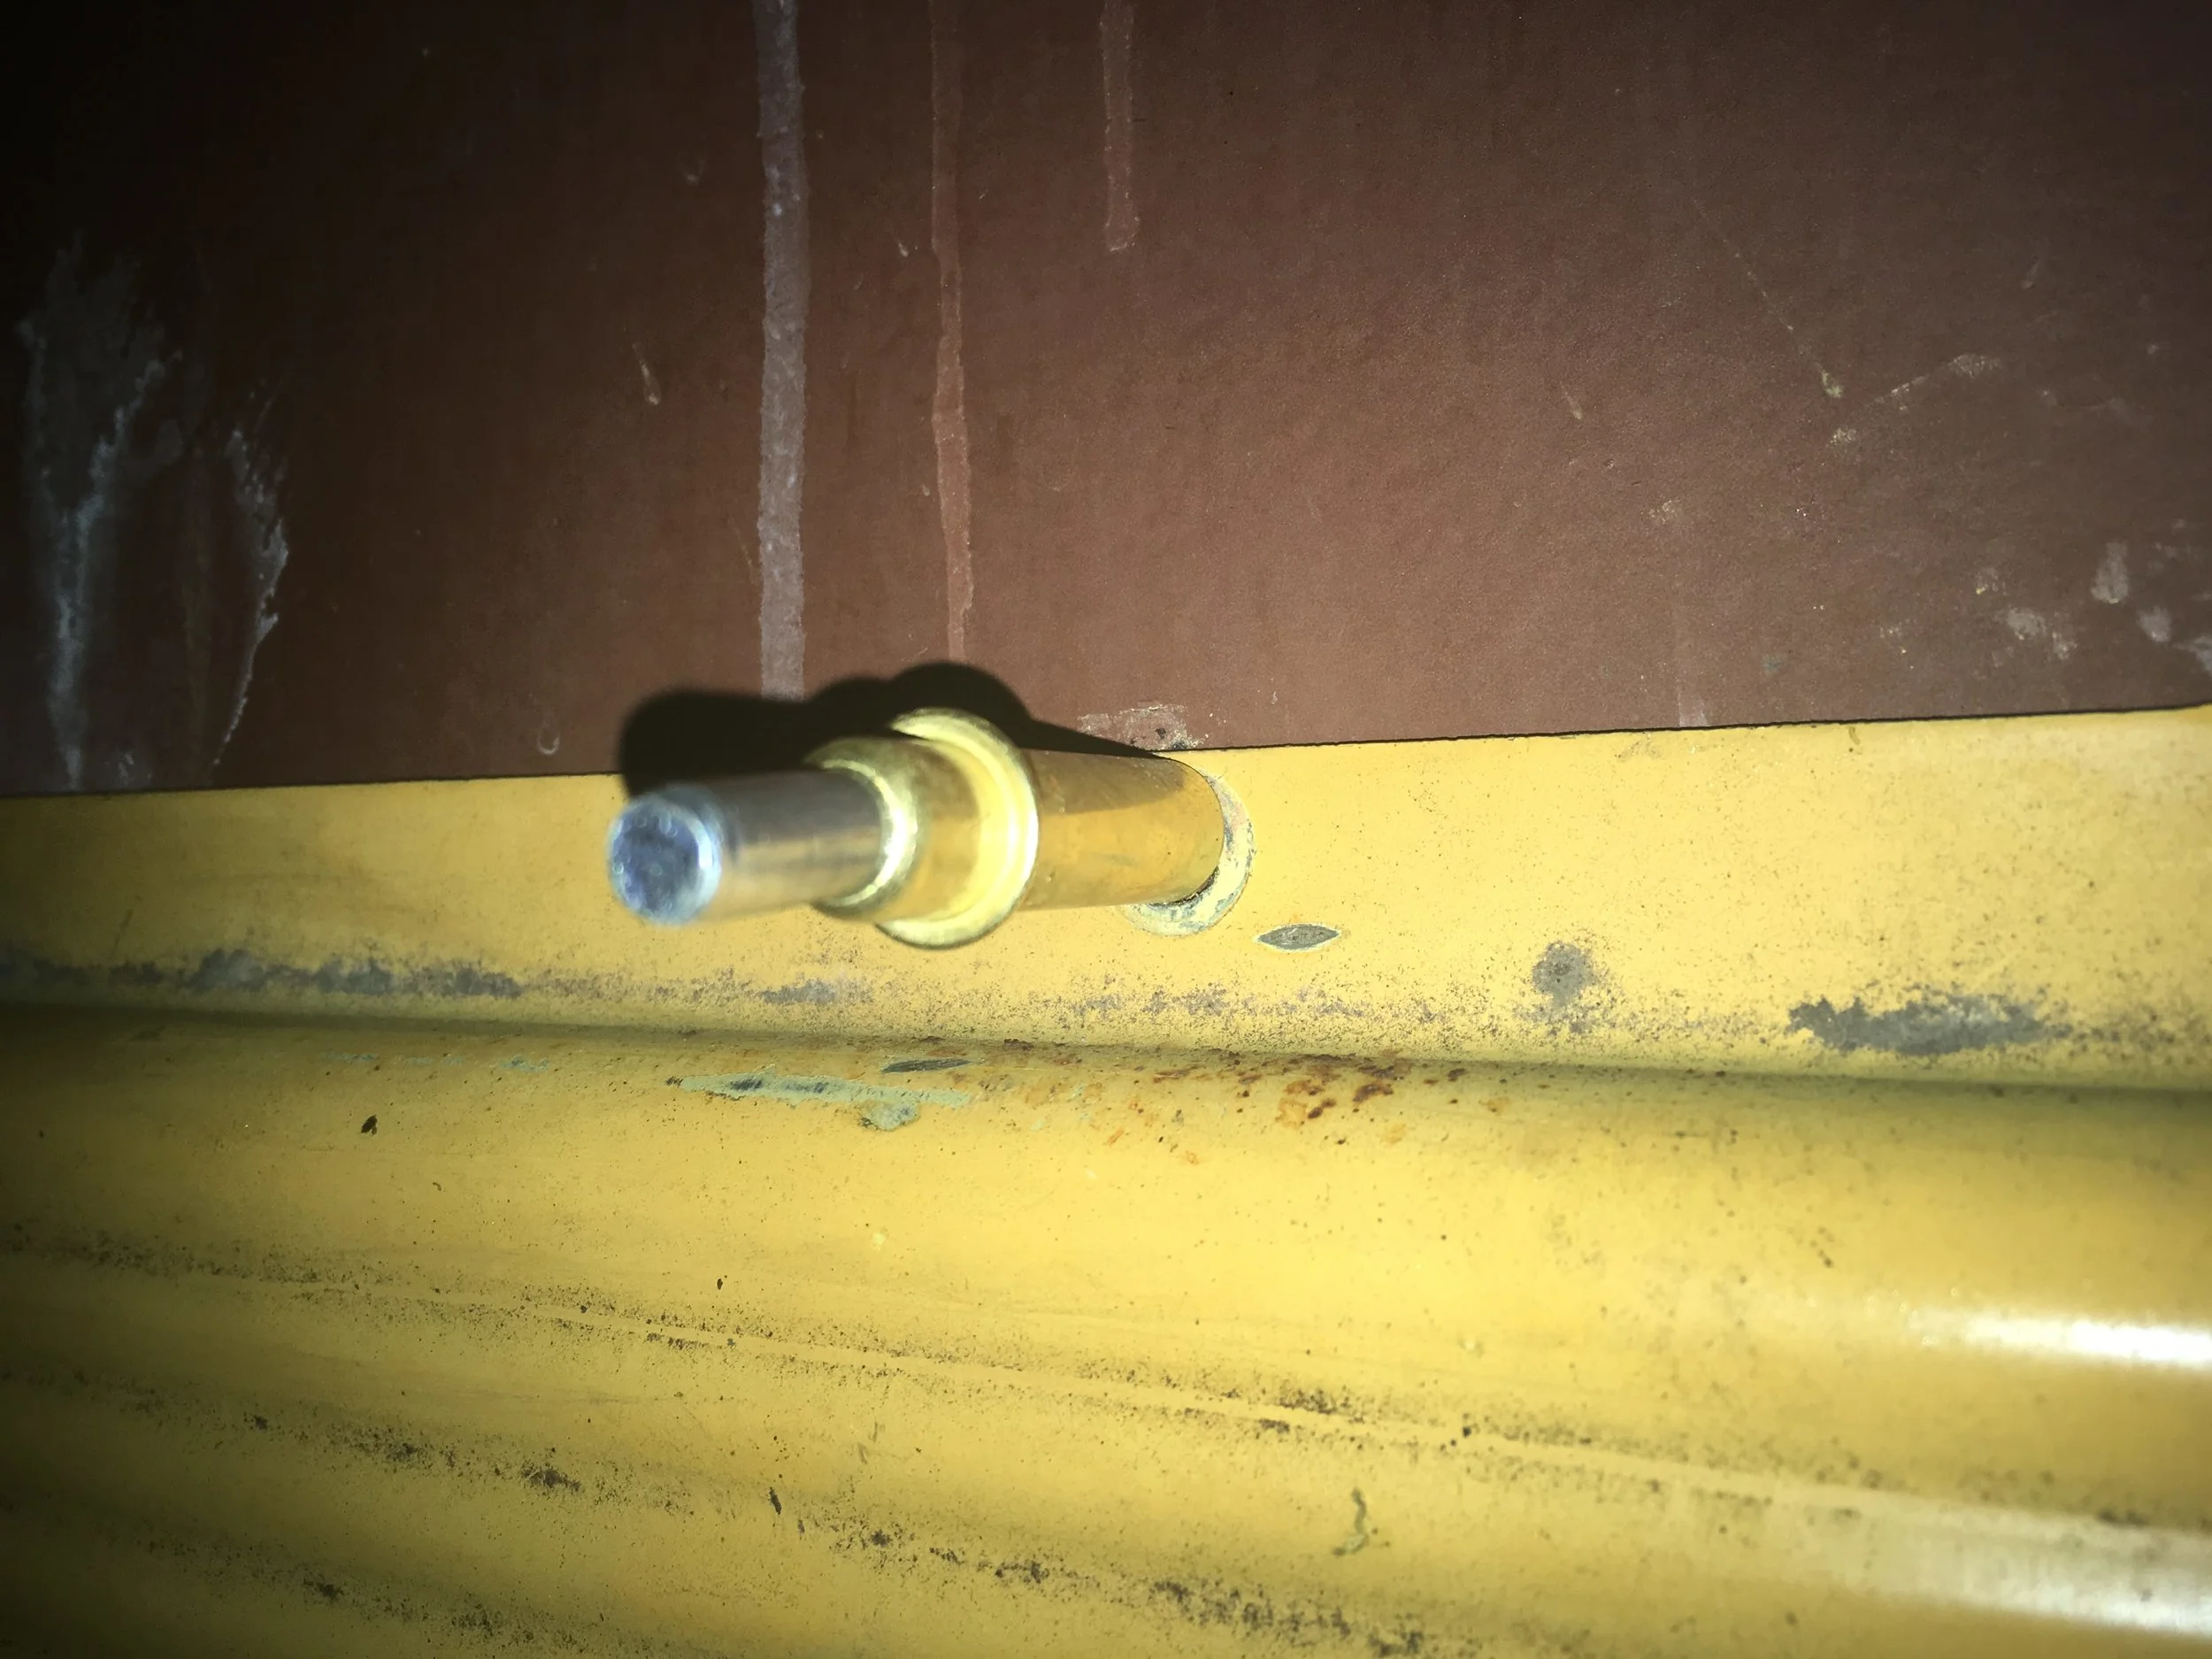
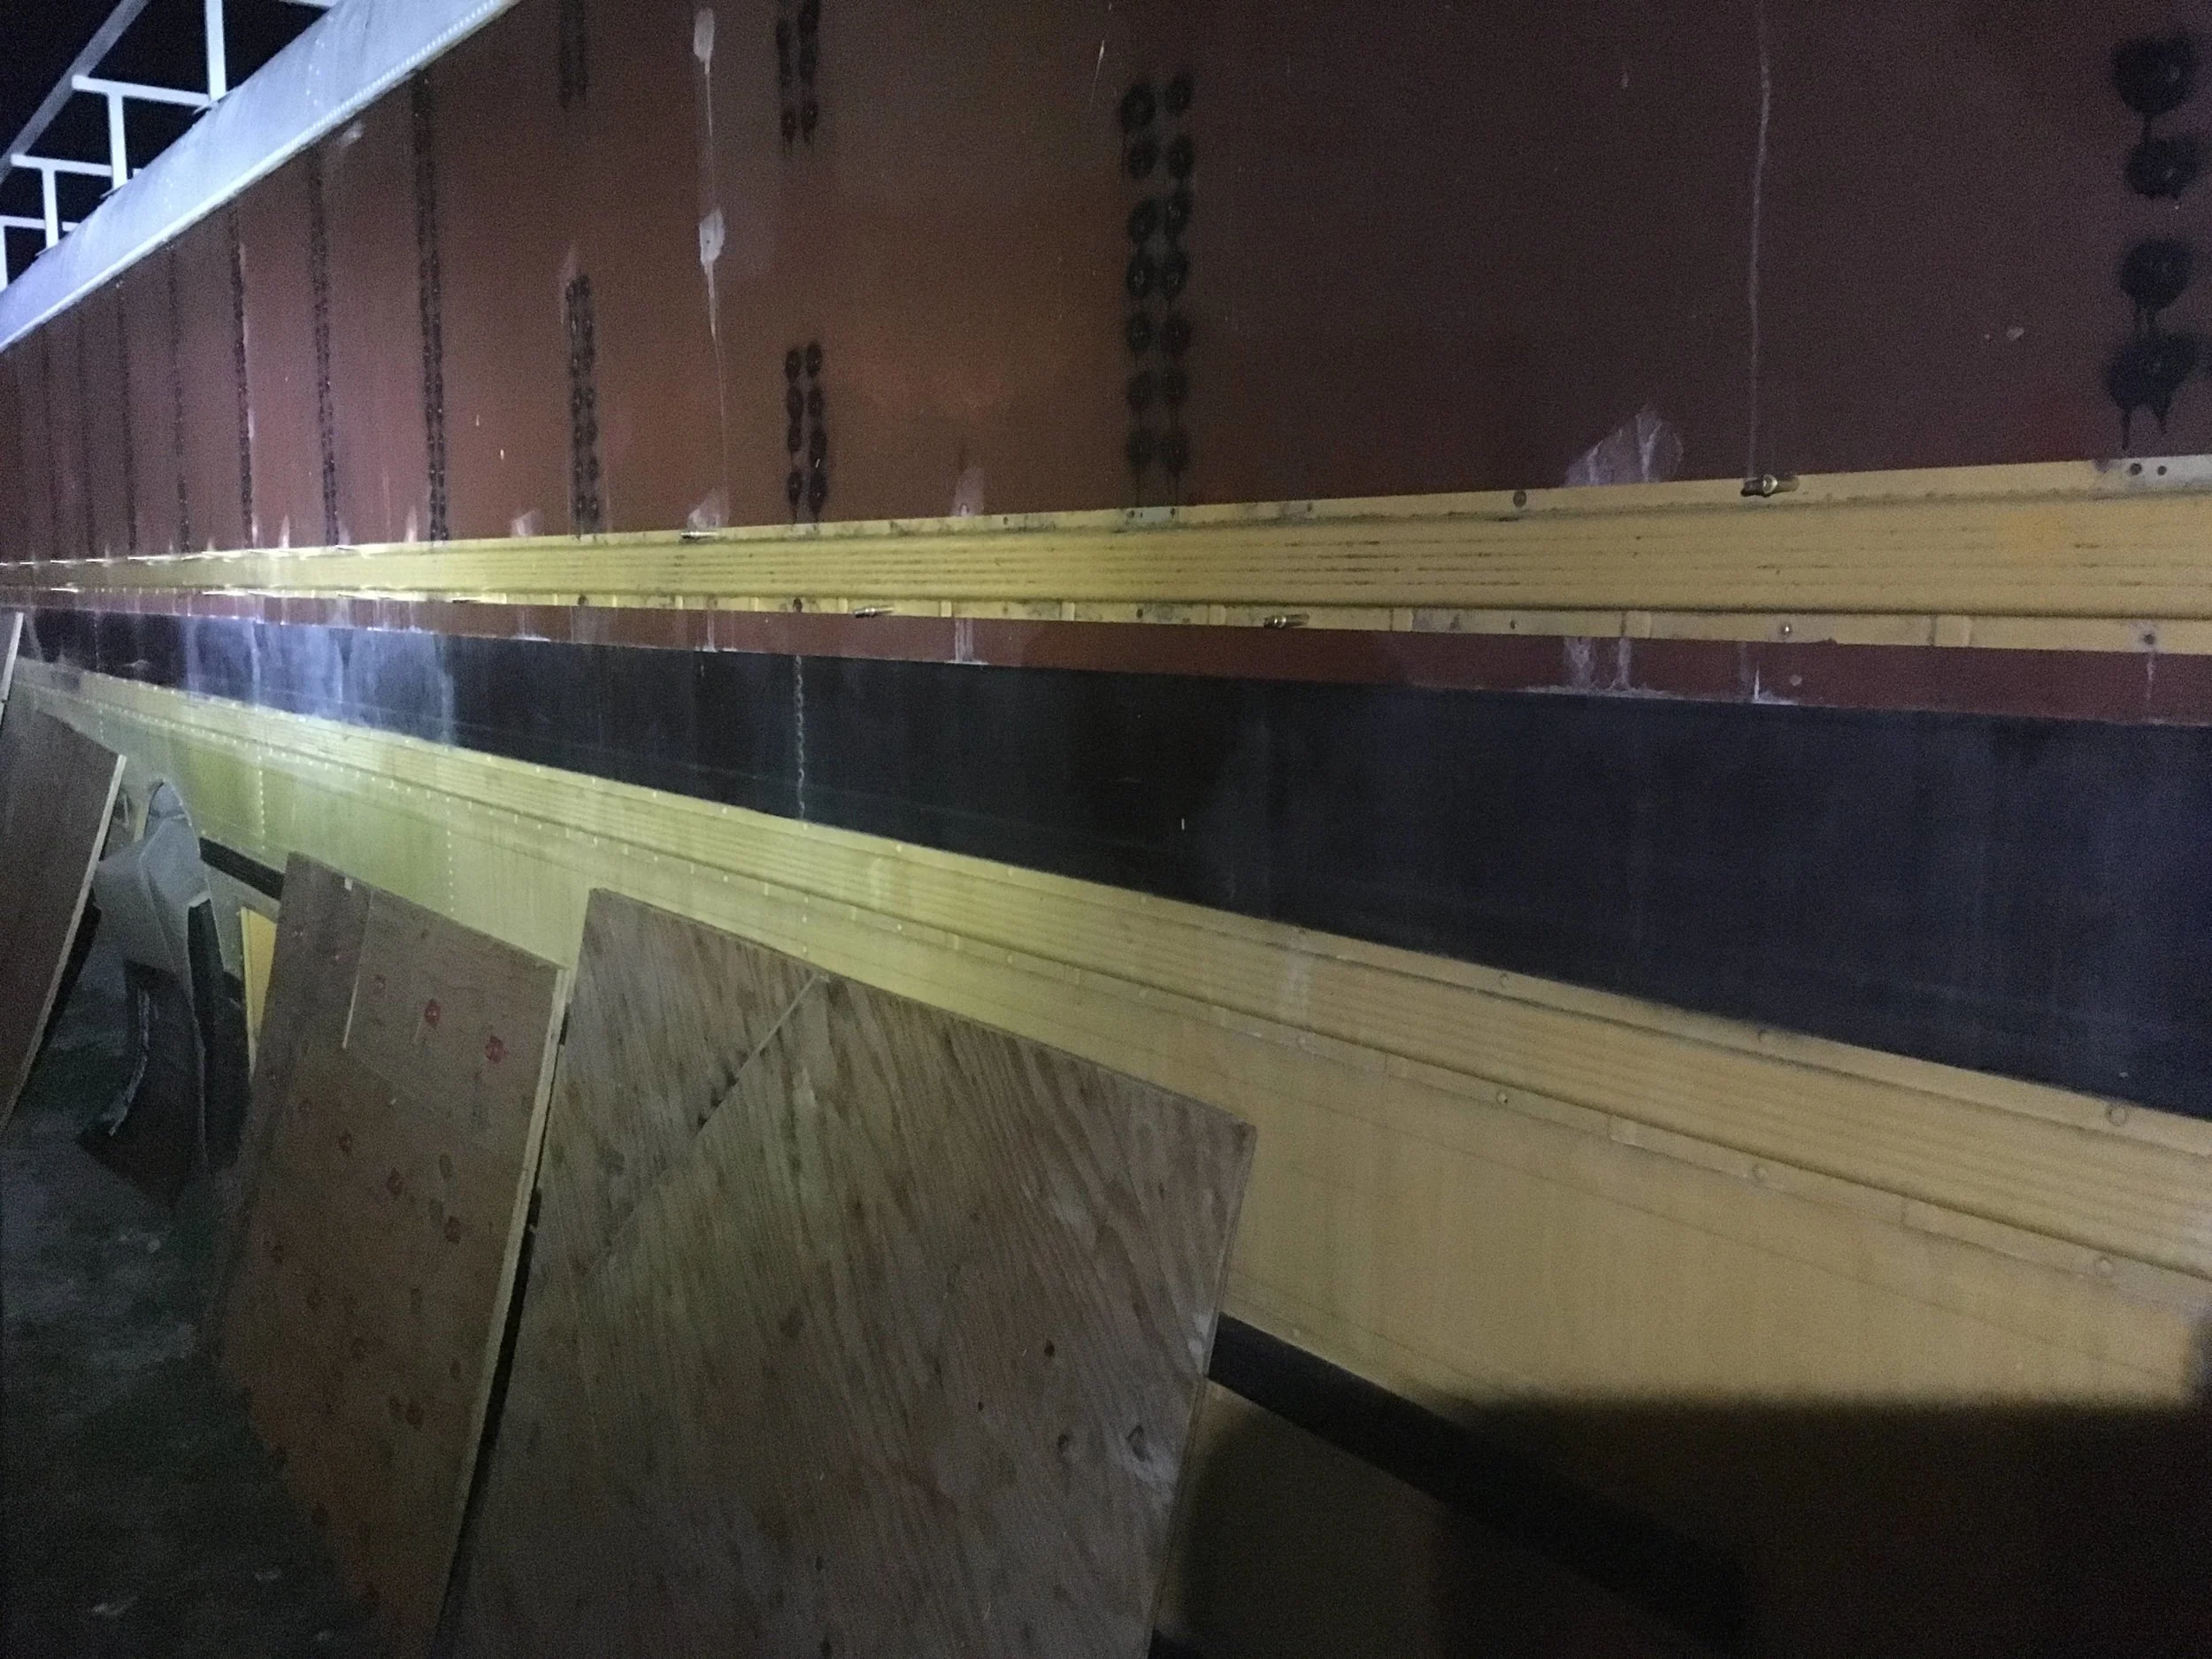
This a magic little "bullet" called a cleco. These things hold pieces of steel together until they're riveted in place. This 33' piece of metal is called a "rub-rail" and was awkward as hell to get into place. It wouldn’t have been possible to do myself without the clecos.
Clecos all in place and holding this huge piece of metal up while I riveted it in place.
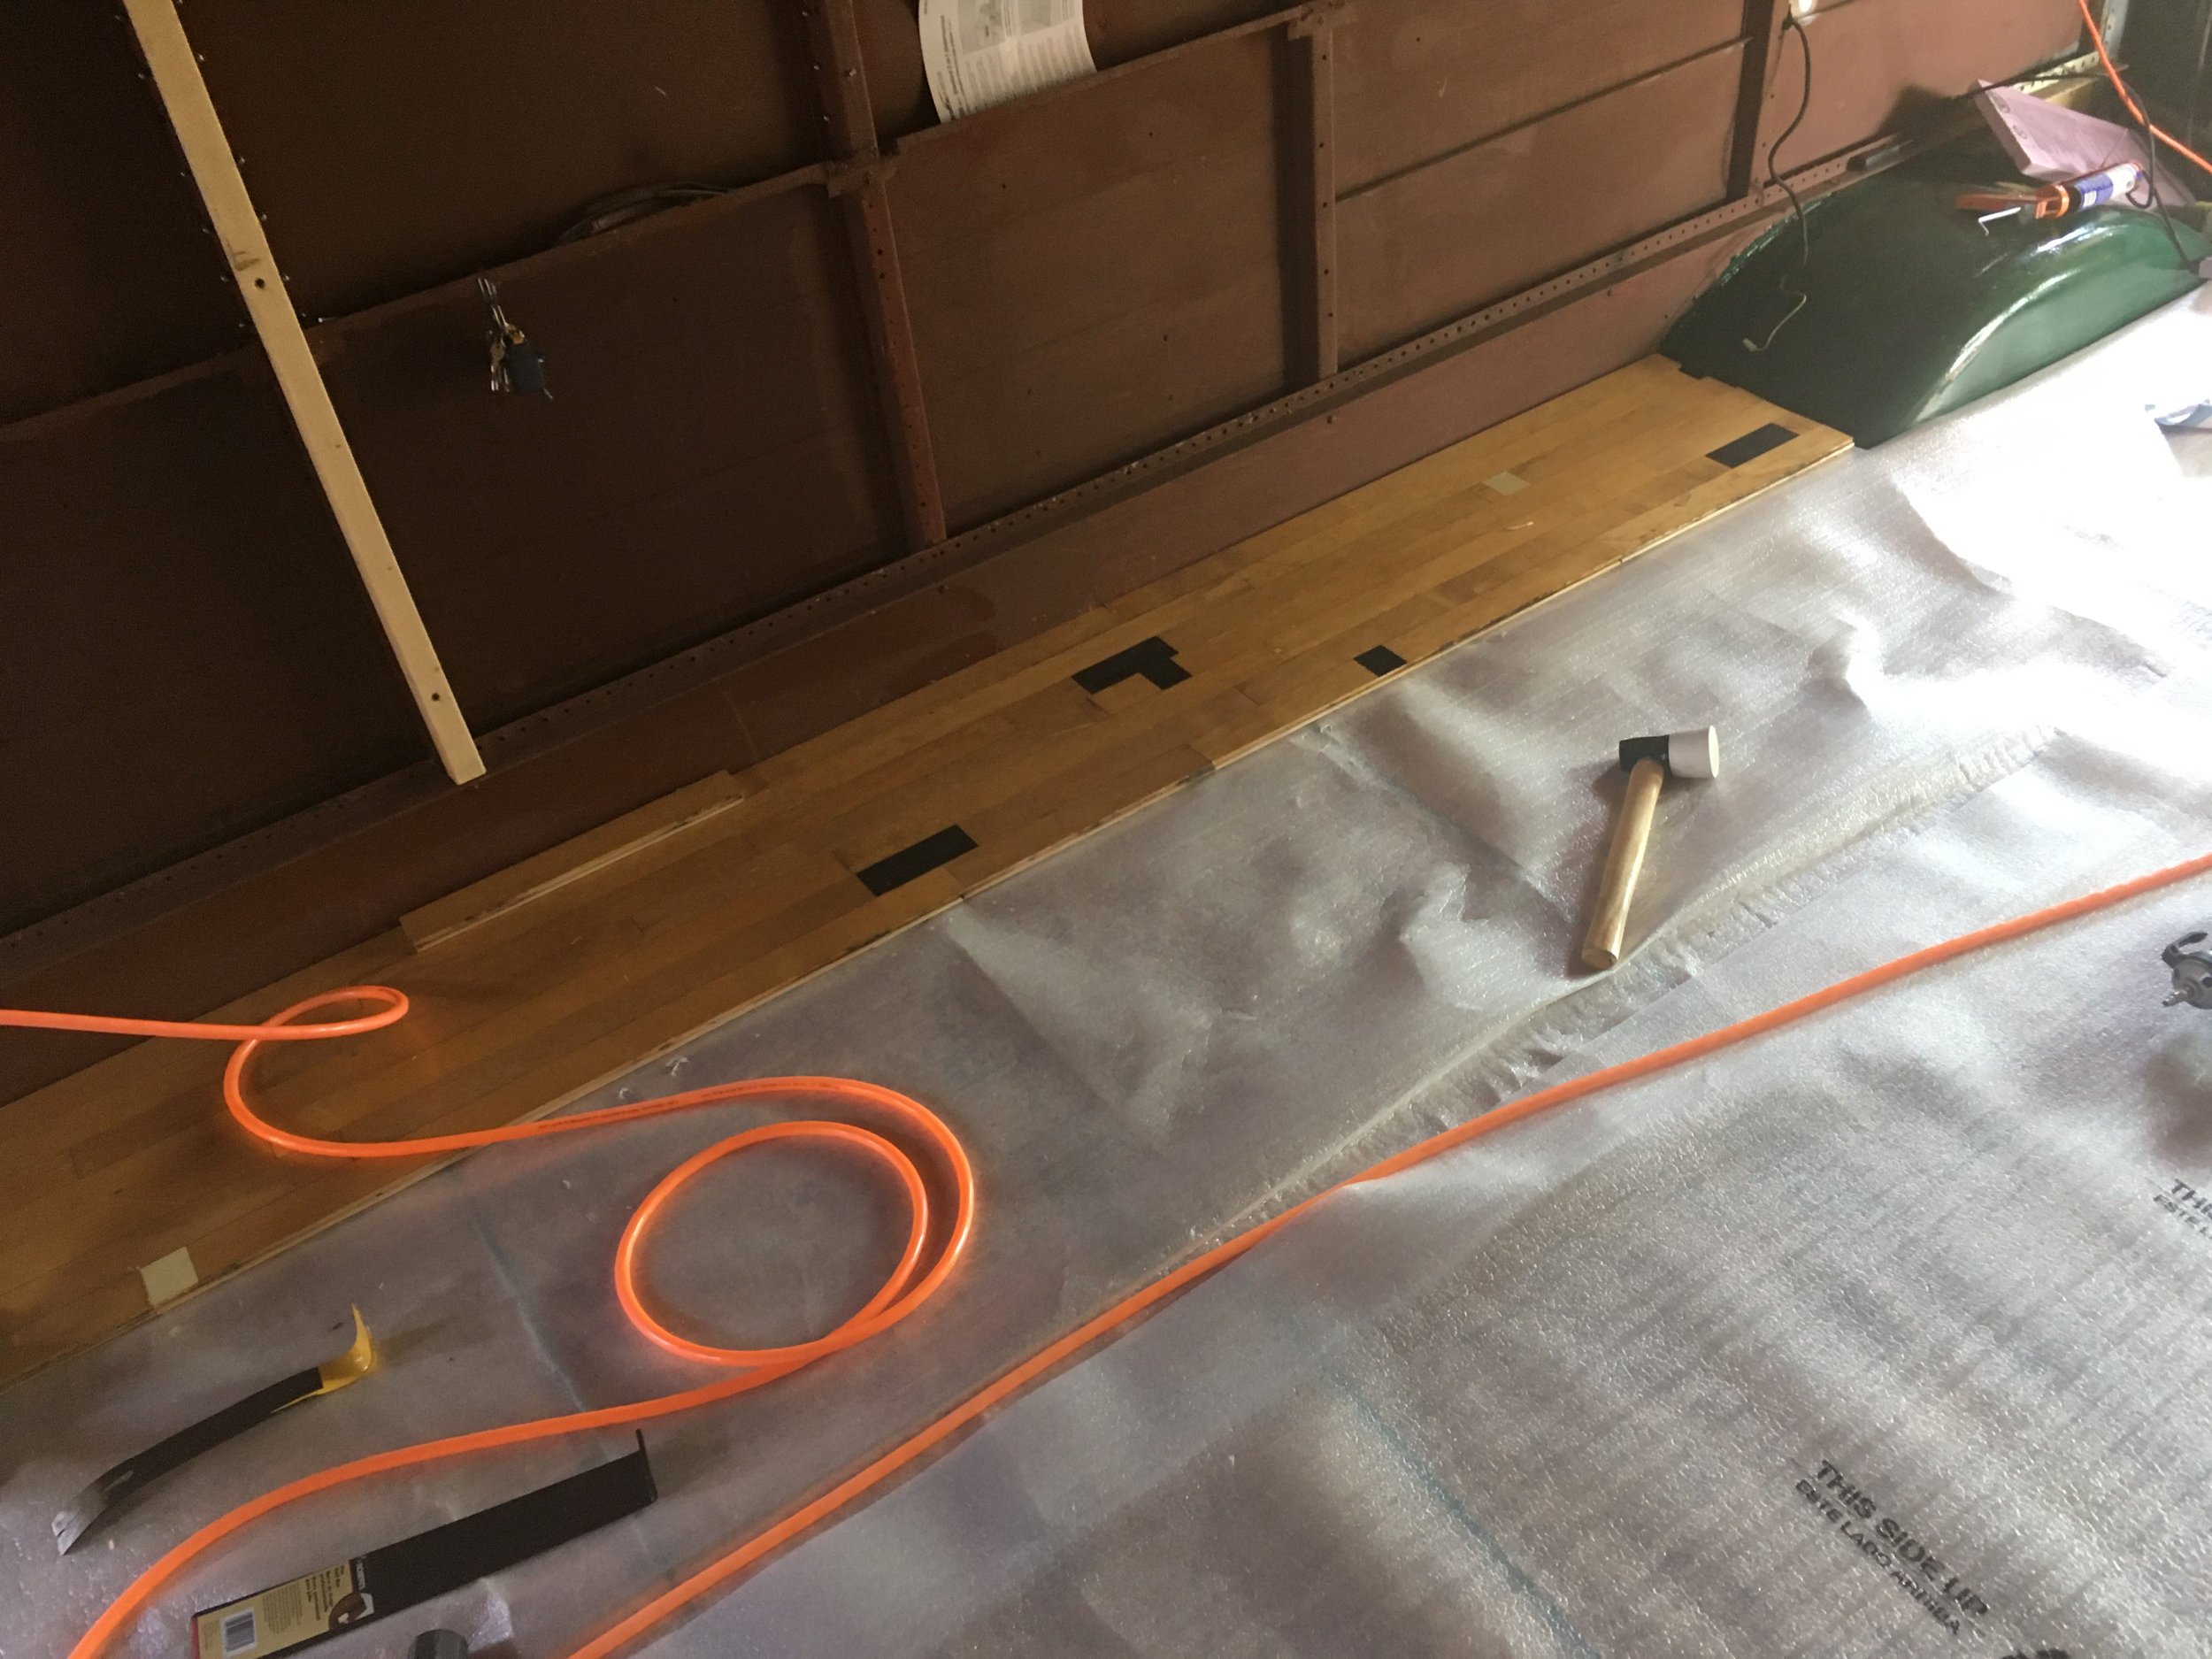
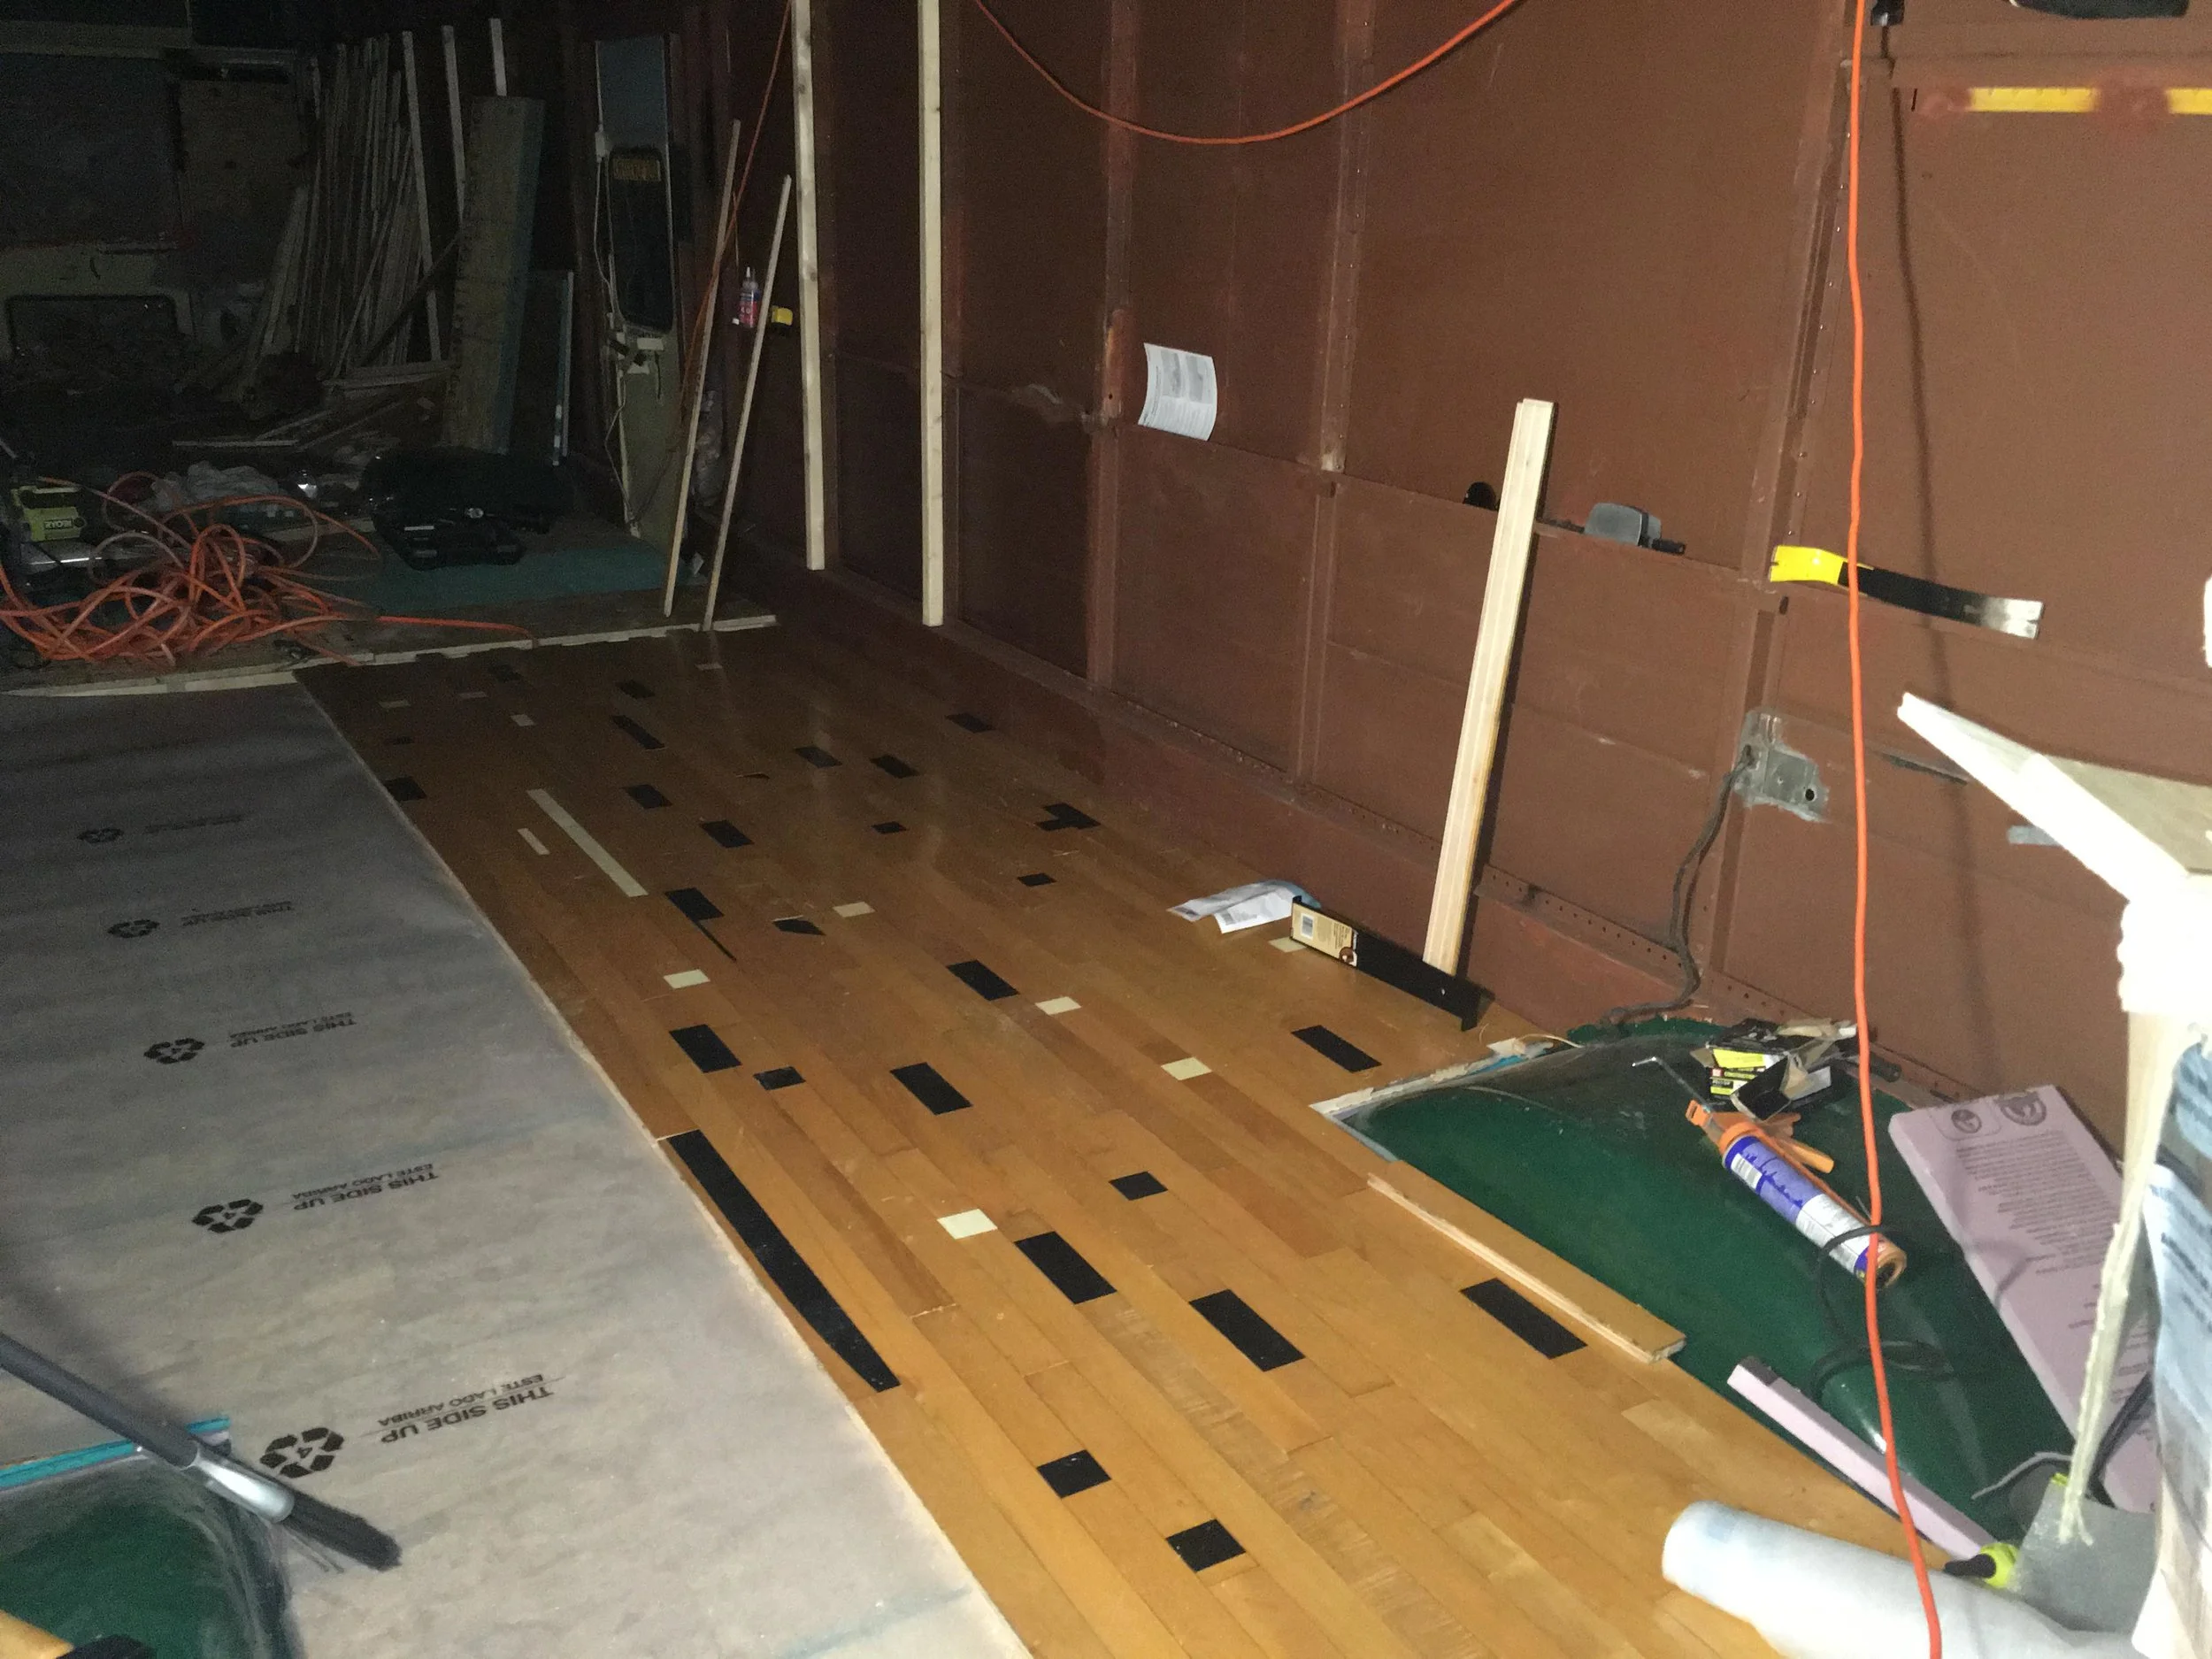
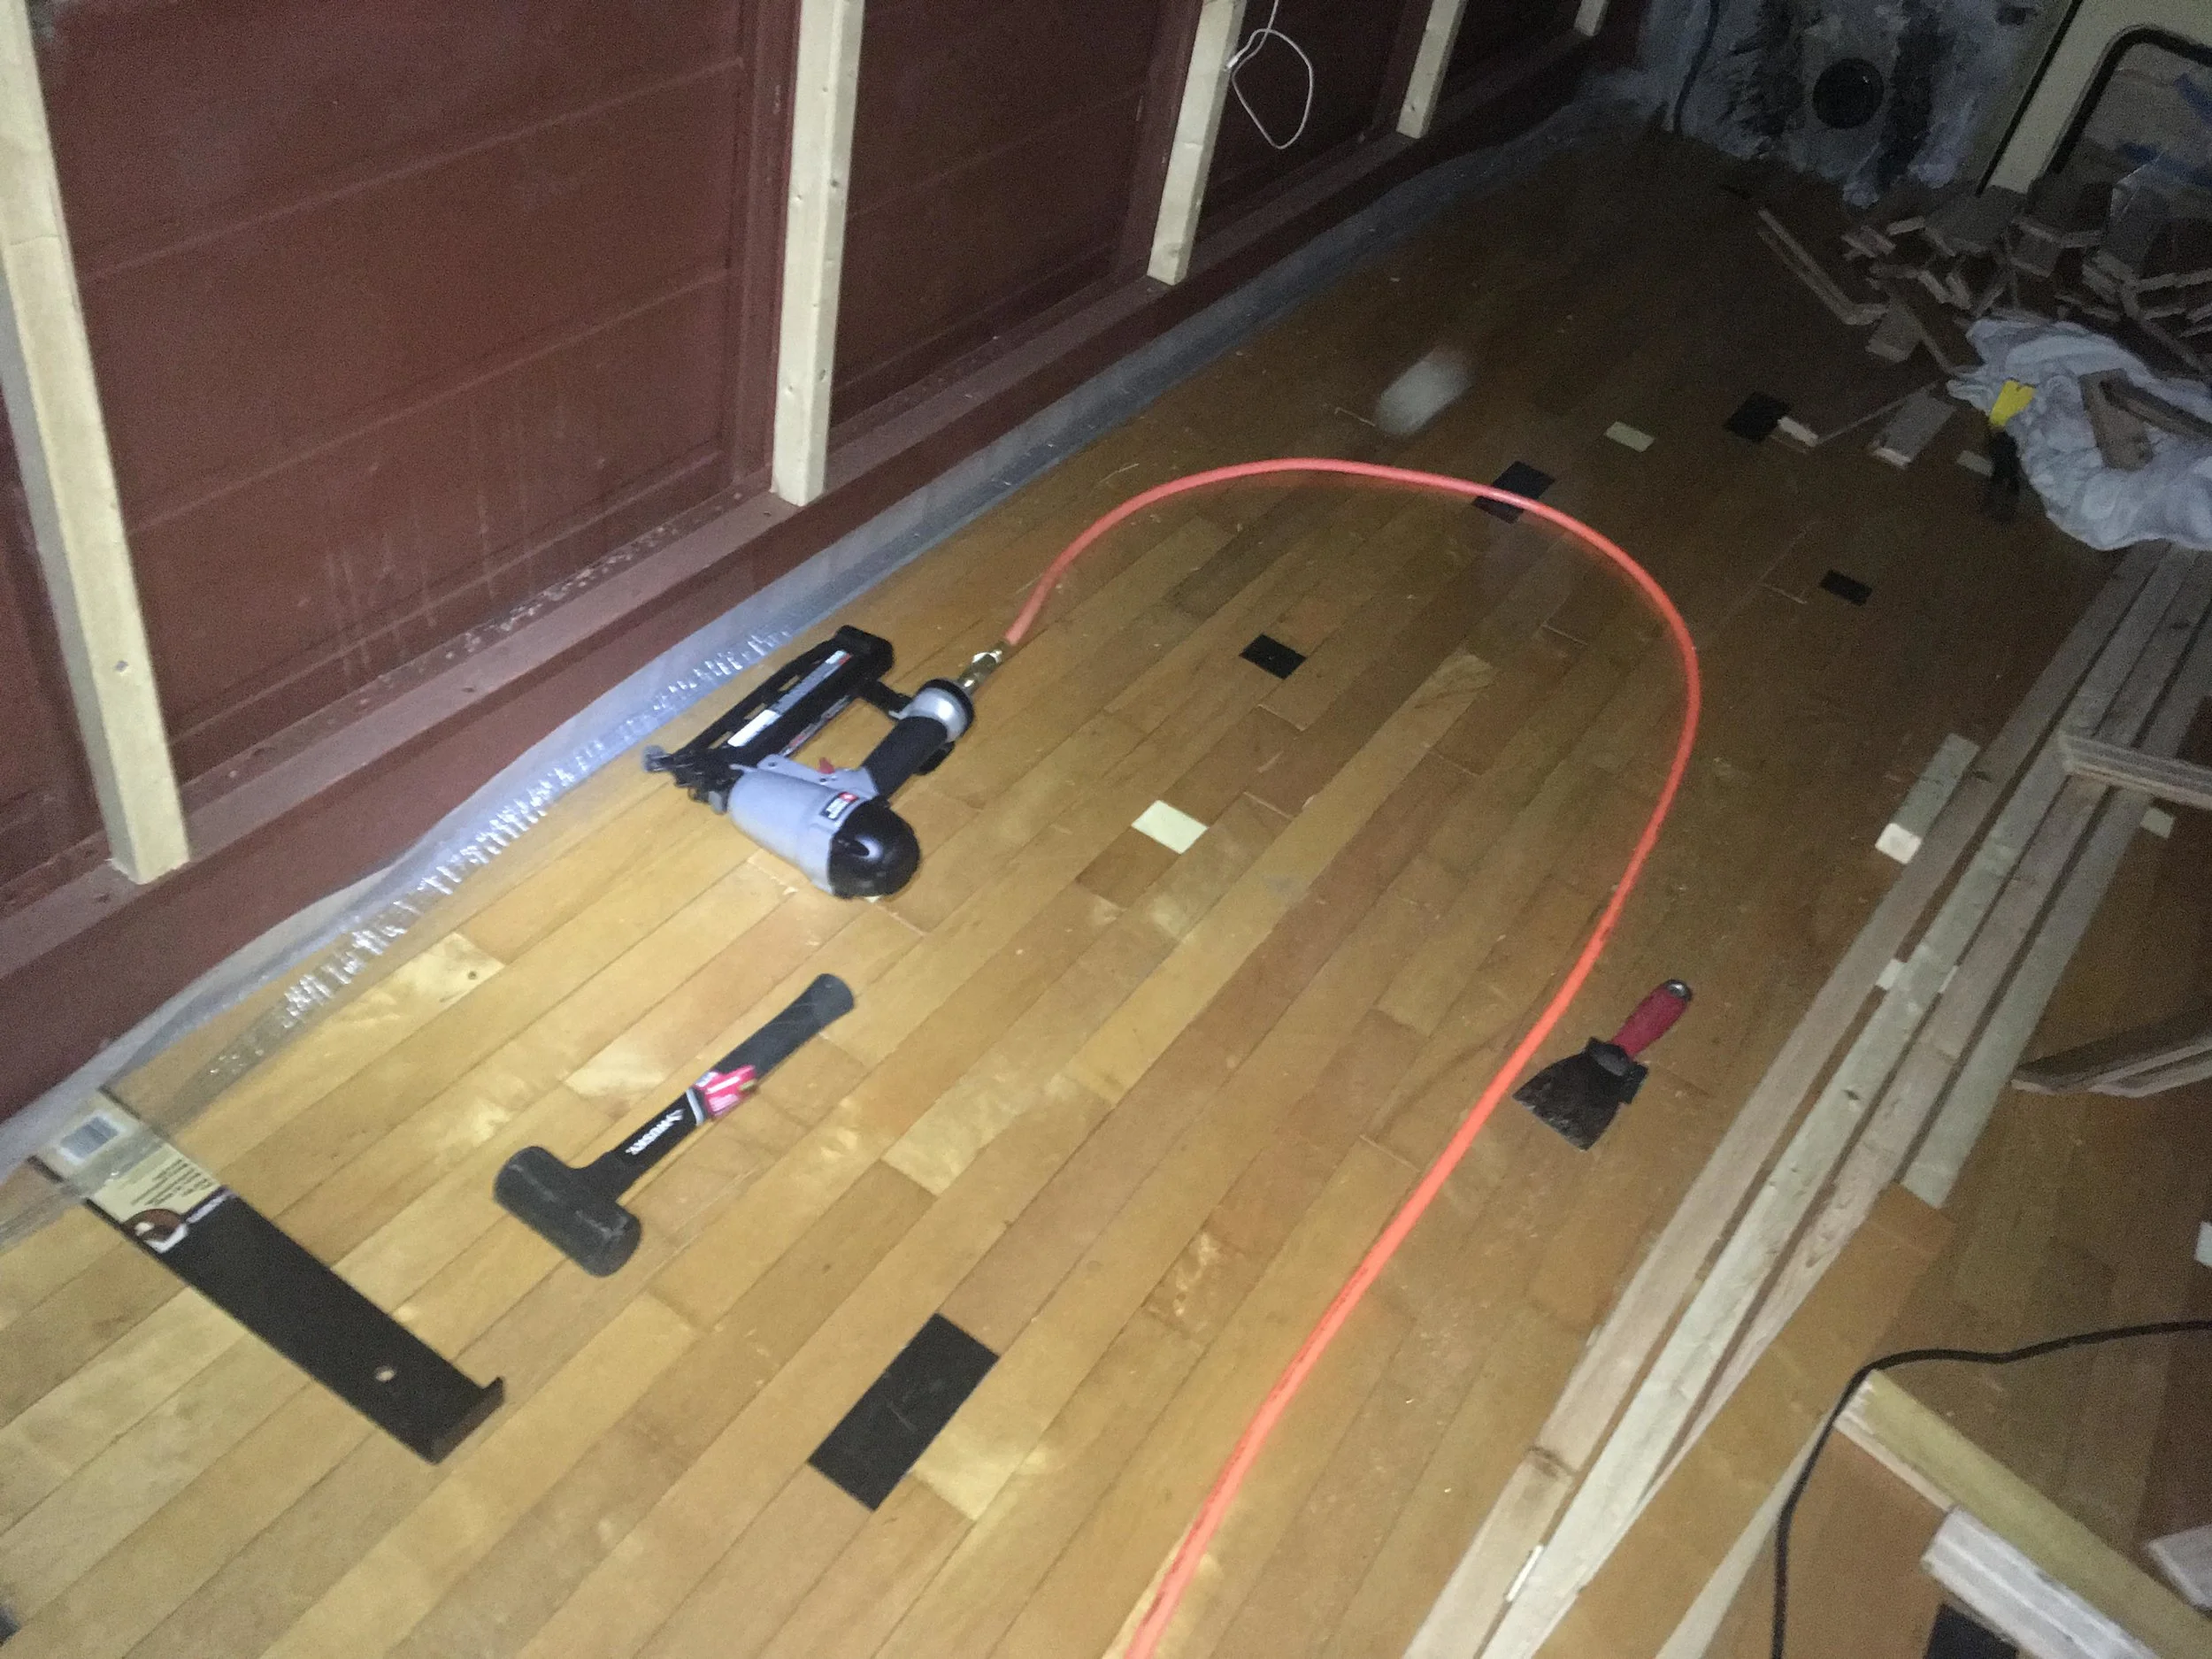
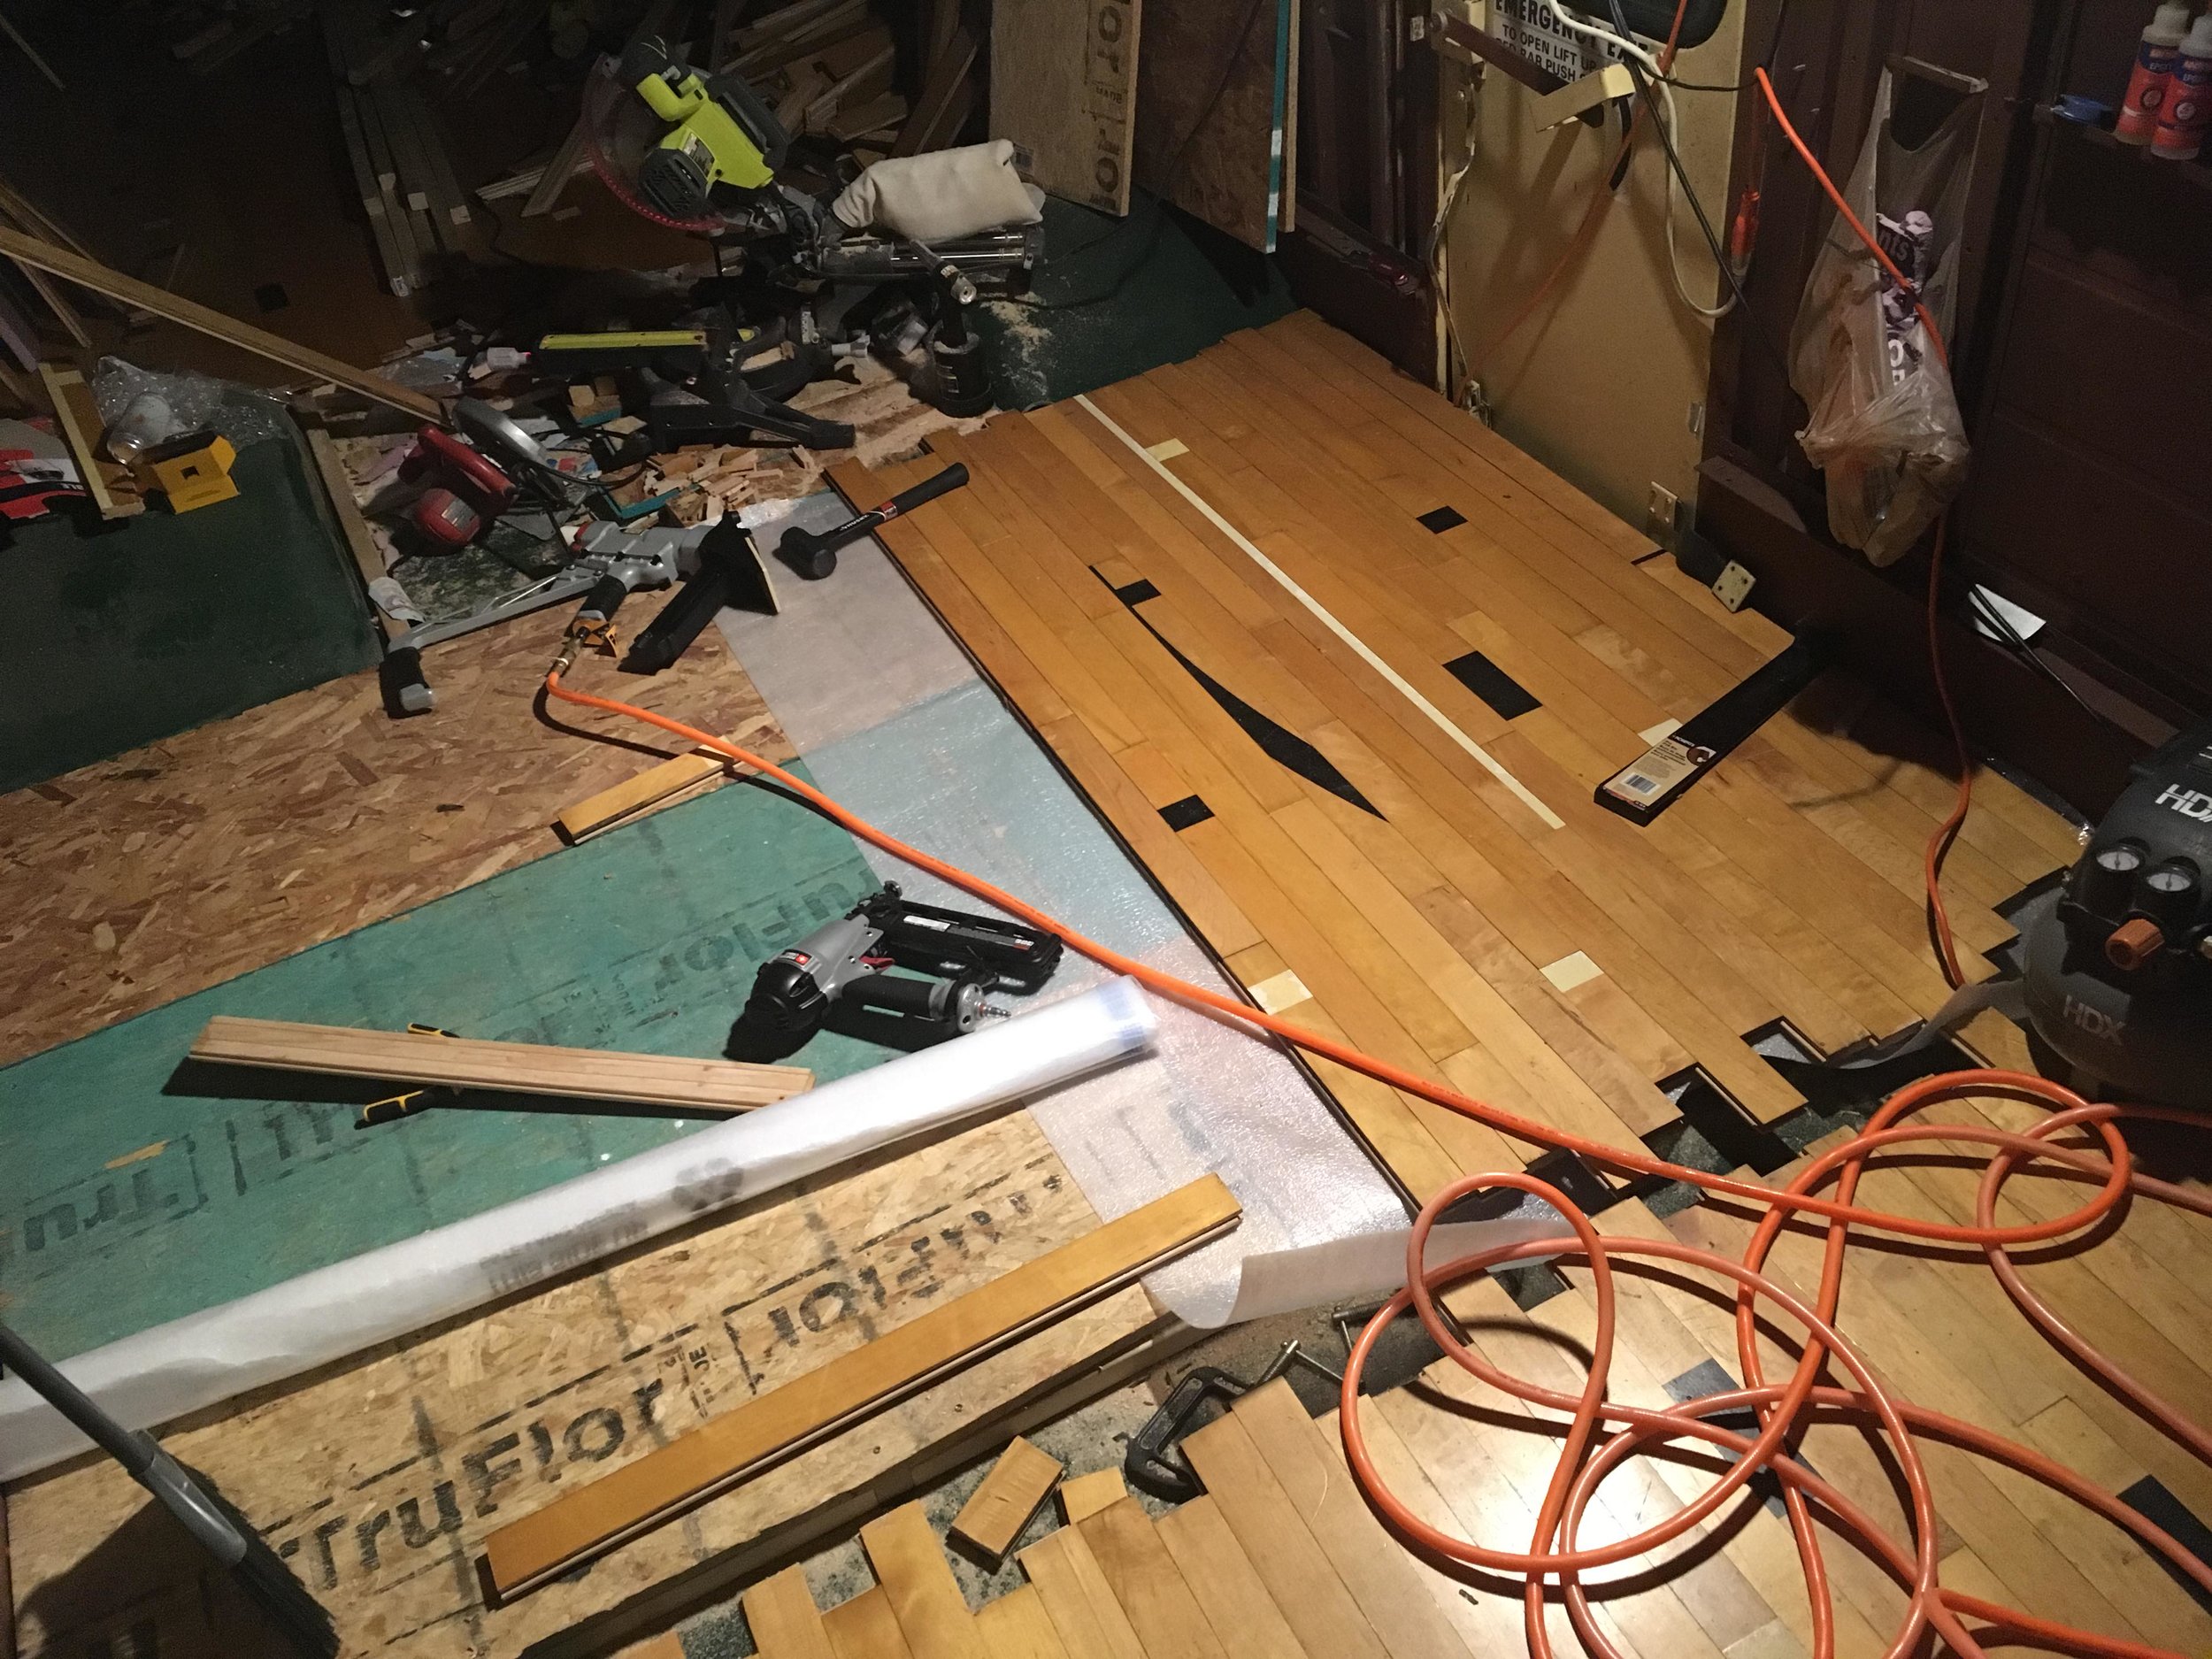
After laying 3/4 insulation foamboard and a basic subfloor plywood, I’ve started laying the boards for the floor. Here, I’m adding the anchoring floorboards for the bedroom before using the nail gun. I'm using a foam-ish boundary layer that reduces noise and vibration from underneath while still sealing out moisture.
Shortly after this picture, the nail gun broke. It was brand new and a piece of metal that guided the nails was bent within the mechanism. Thanks Home Depot for having an amazing return policy.
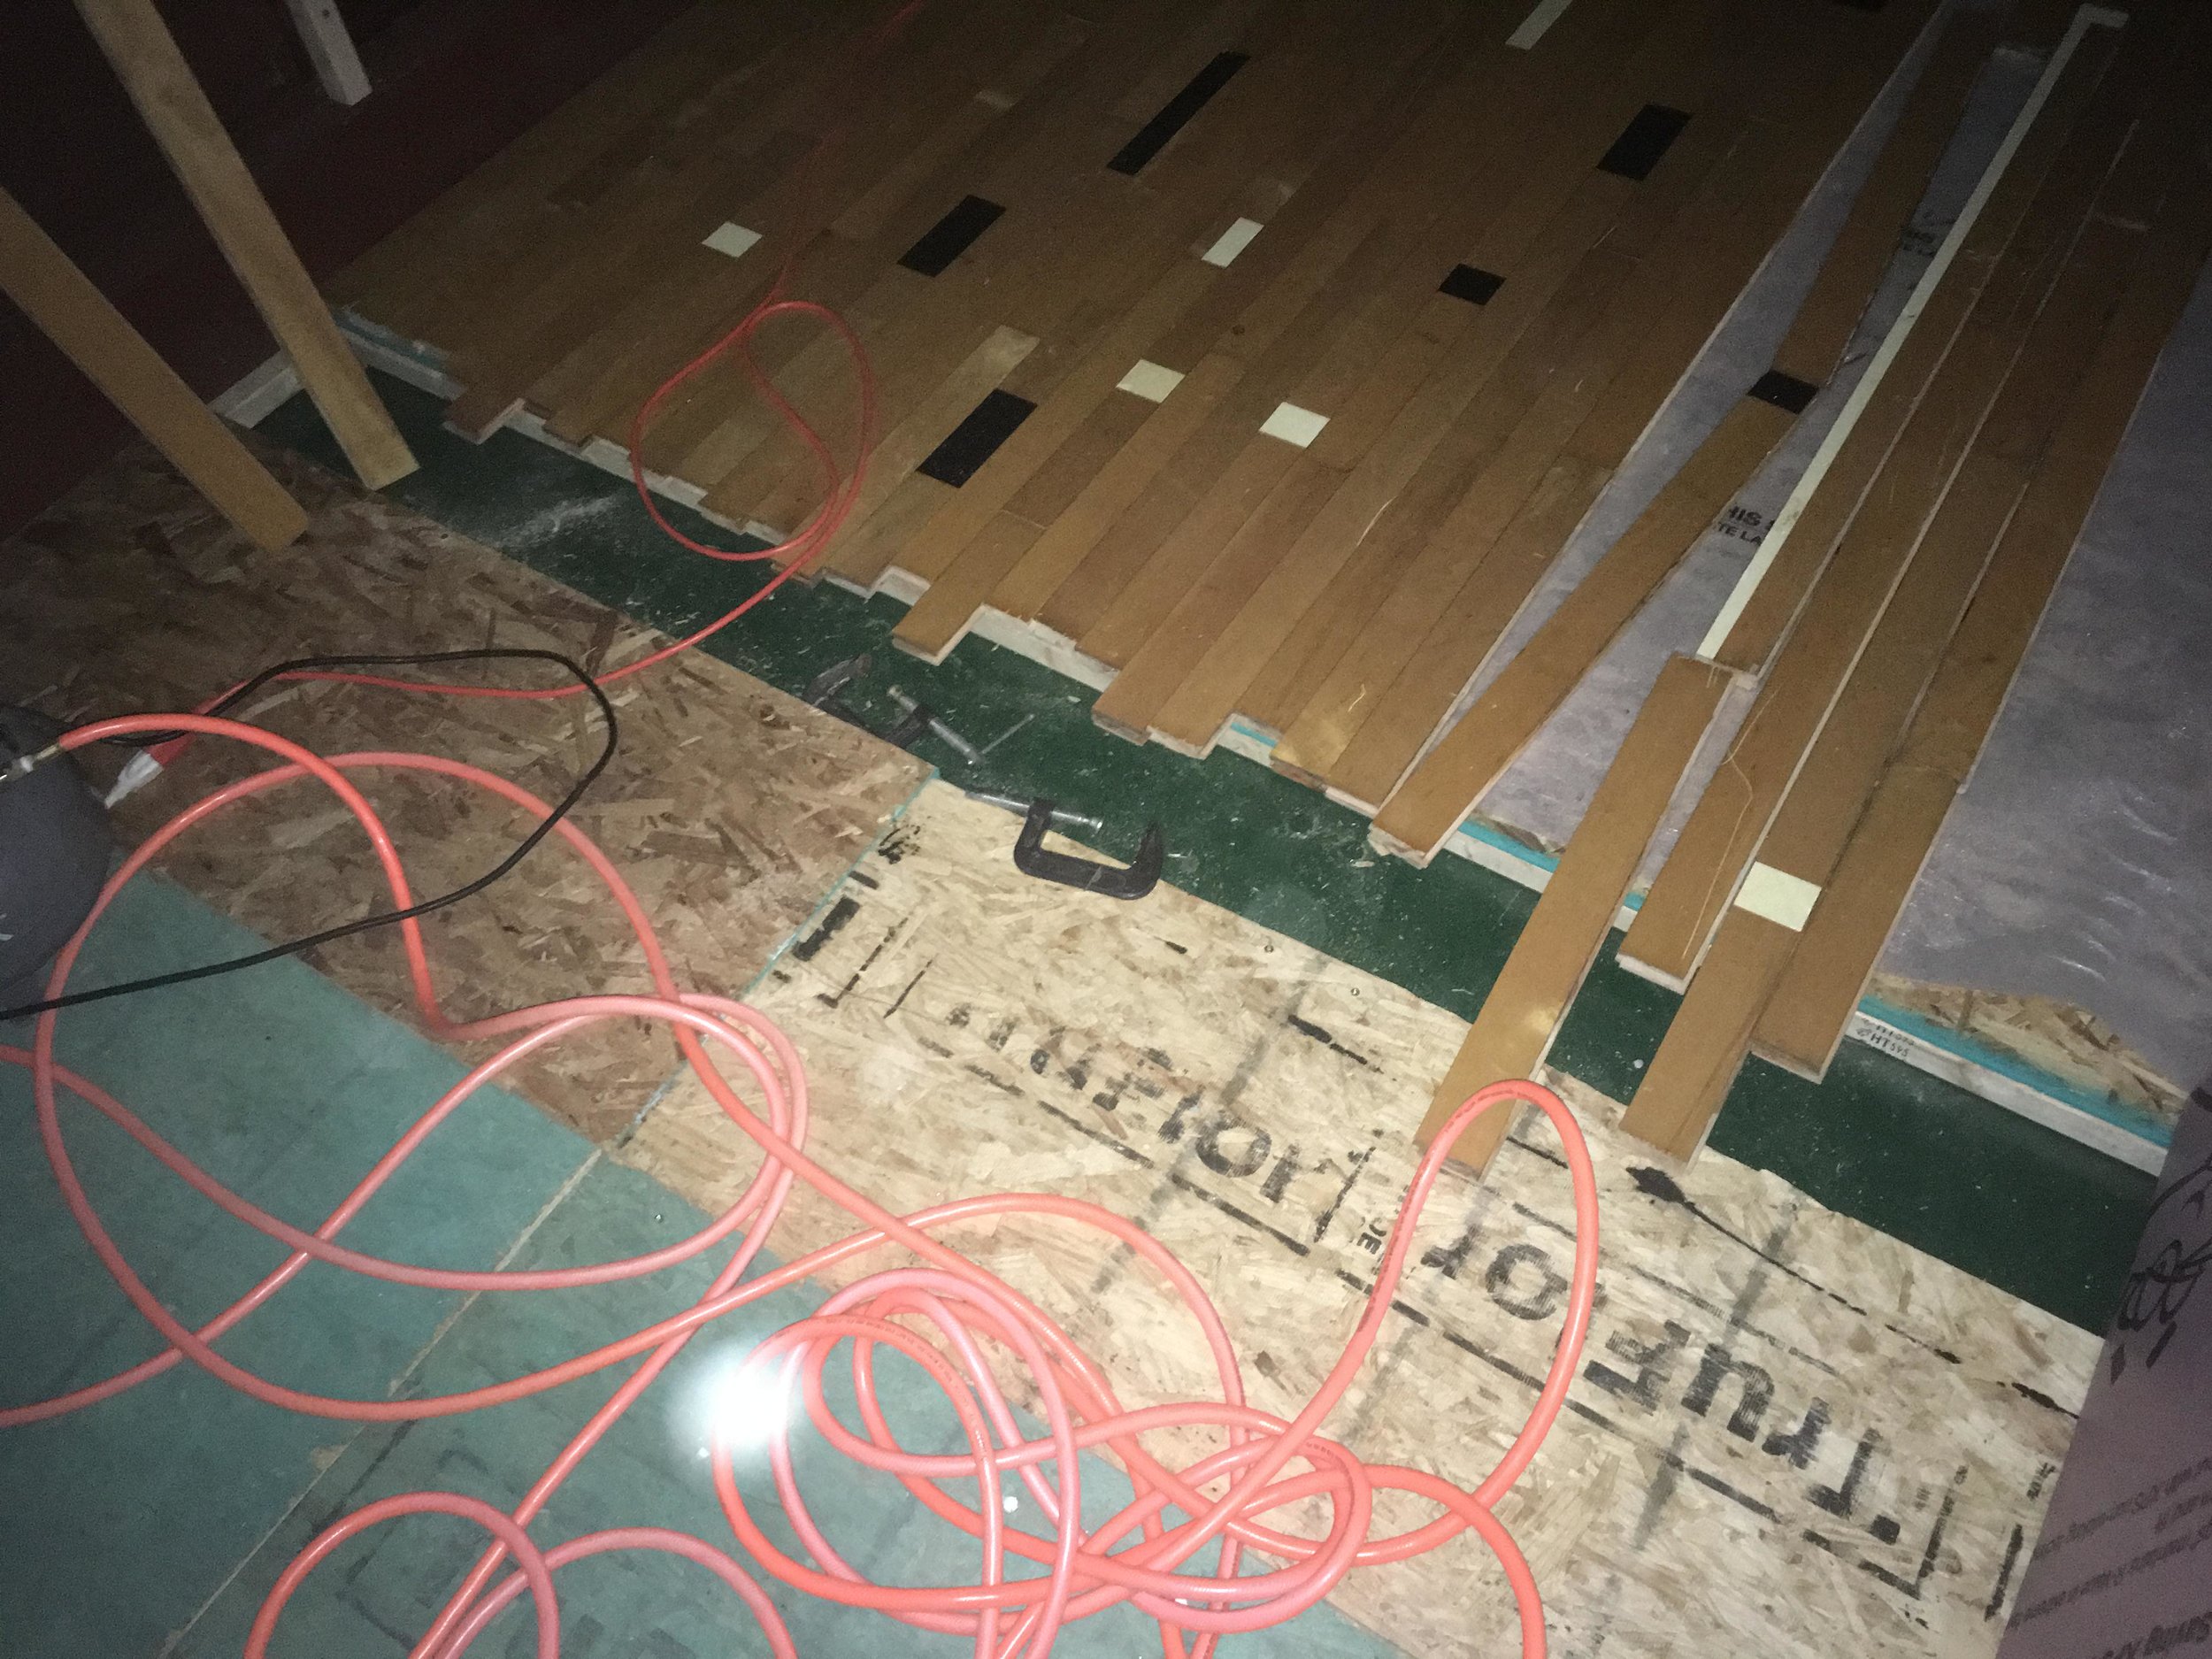
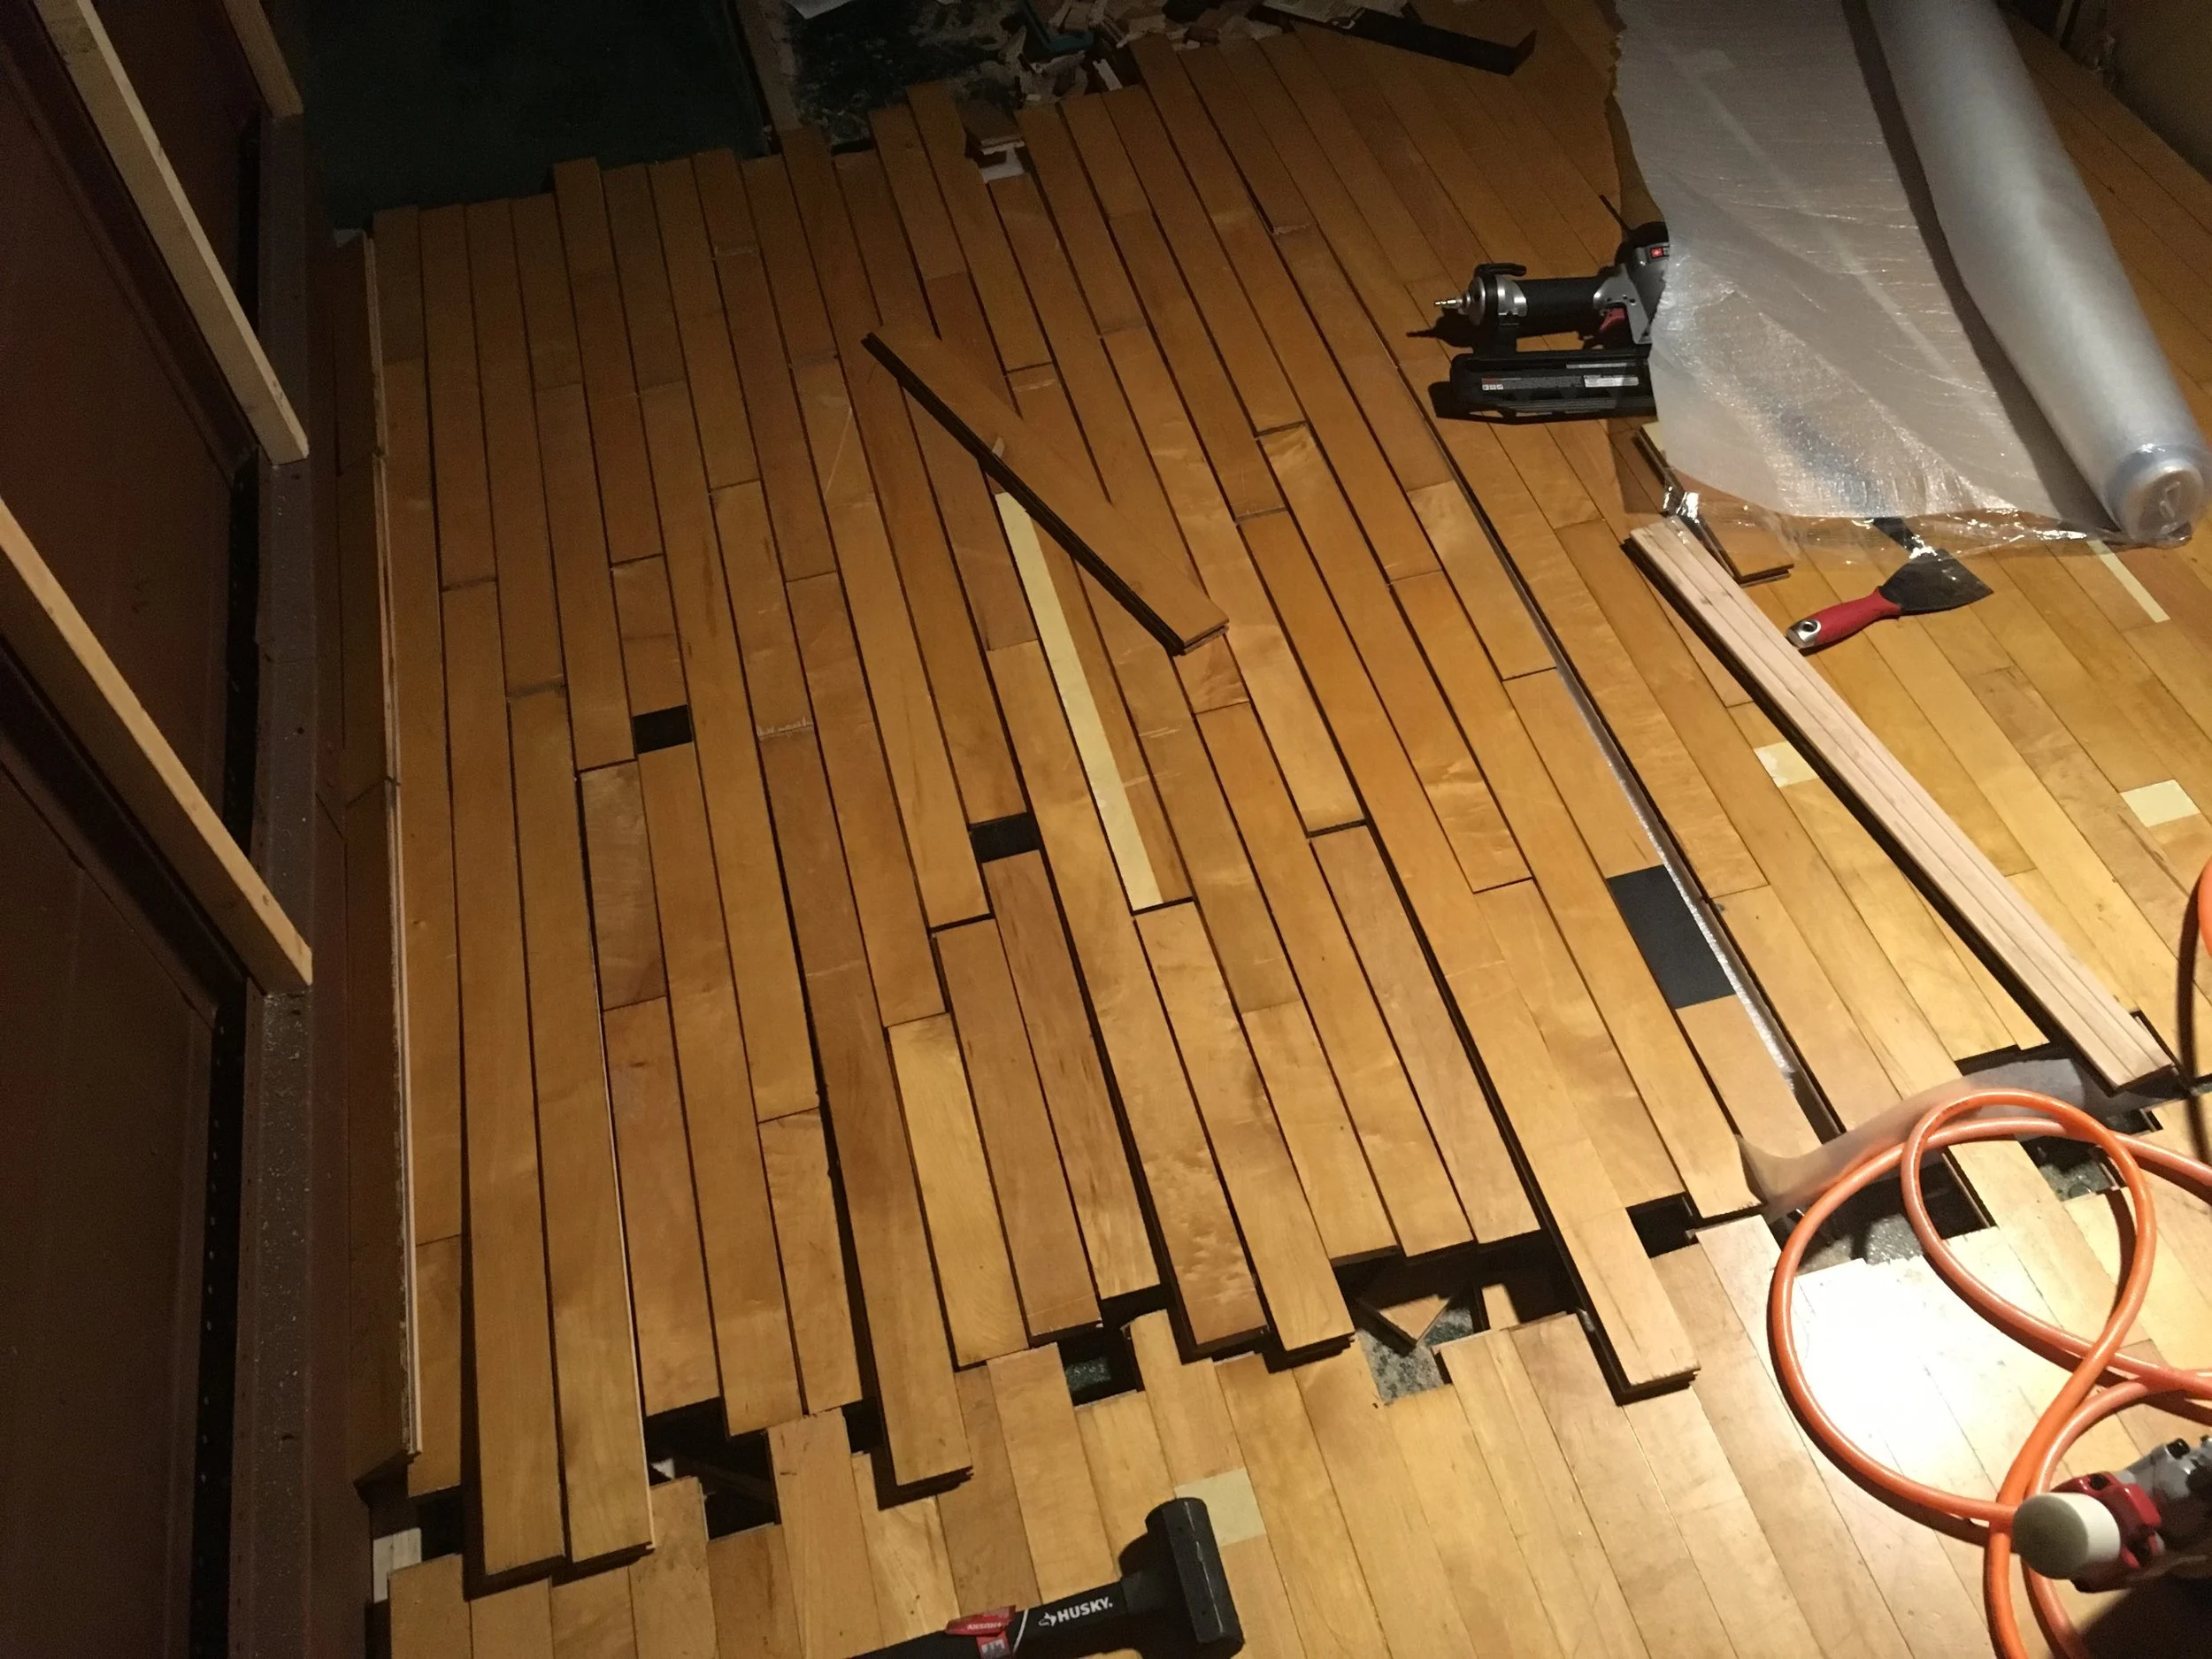
Since I can't nail the boards in, there's at least some value in being able to prepare the floorboards and save some time later. I measured, cut, and placed the floorboards down. There's plenty of videos on youtube that describe the process for laying the boards to avoid issues with the spacing of joints.
I'm really happy with how the bedroom layout will look. It'll be easy to nail in when the new gun gets in.
Eventually there will be floodlights in the back of these for added accessibility in the front and the back of the bus.
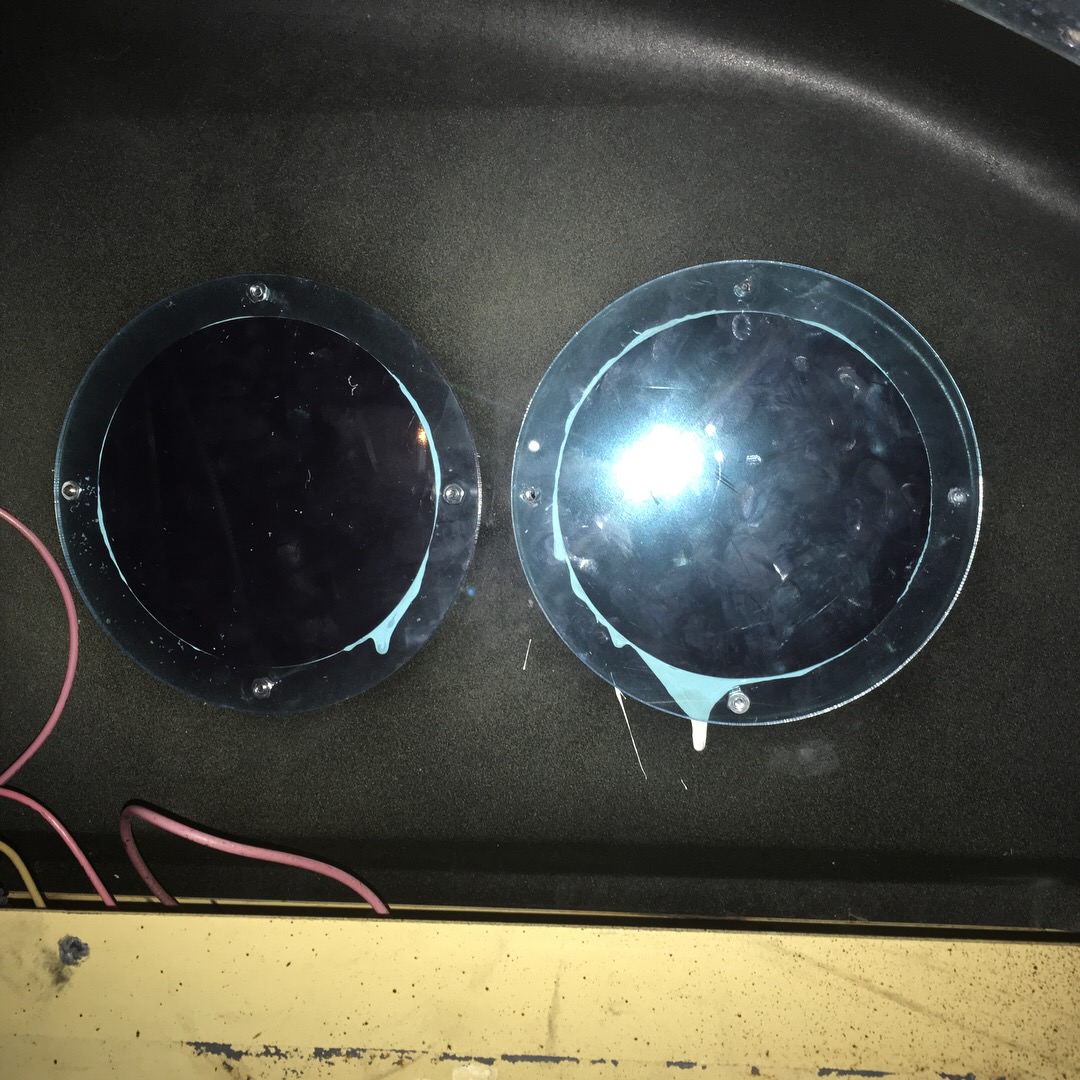
The 7" Lexan circles that I got were a perfect fit. Before I tighten them down, I'll be adding some clear caulking to the inside and outside to keep the water out.
The full roof rack is up and just needs to be bolted in. I wanted to make sure that everything was perfectly aligned before I started drilling holes in the roof. The pucker factor was huge!
The new nail gun works marvelously! Got half of the bedroom nailed in place in just a couple hours!
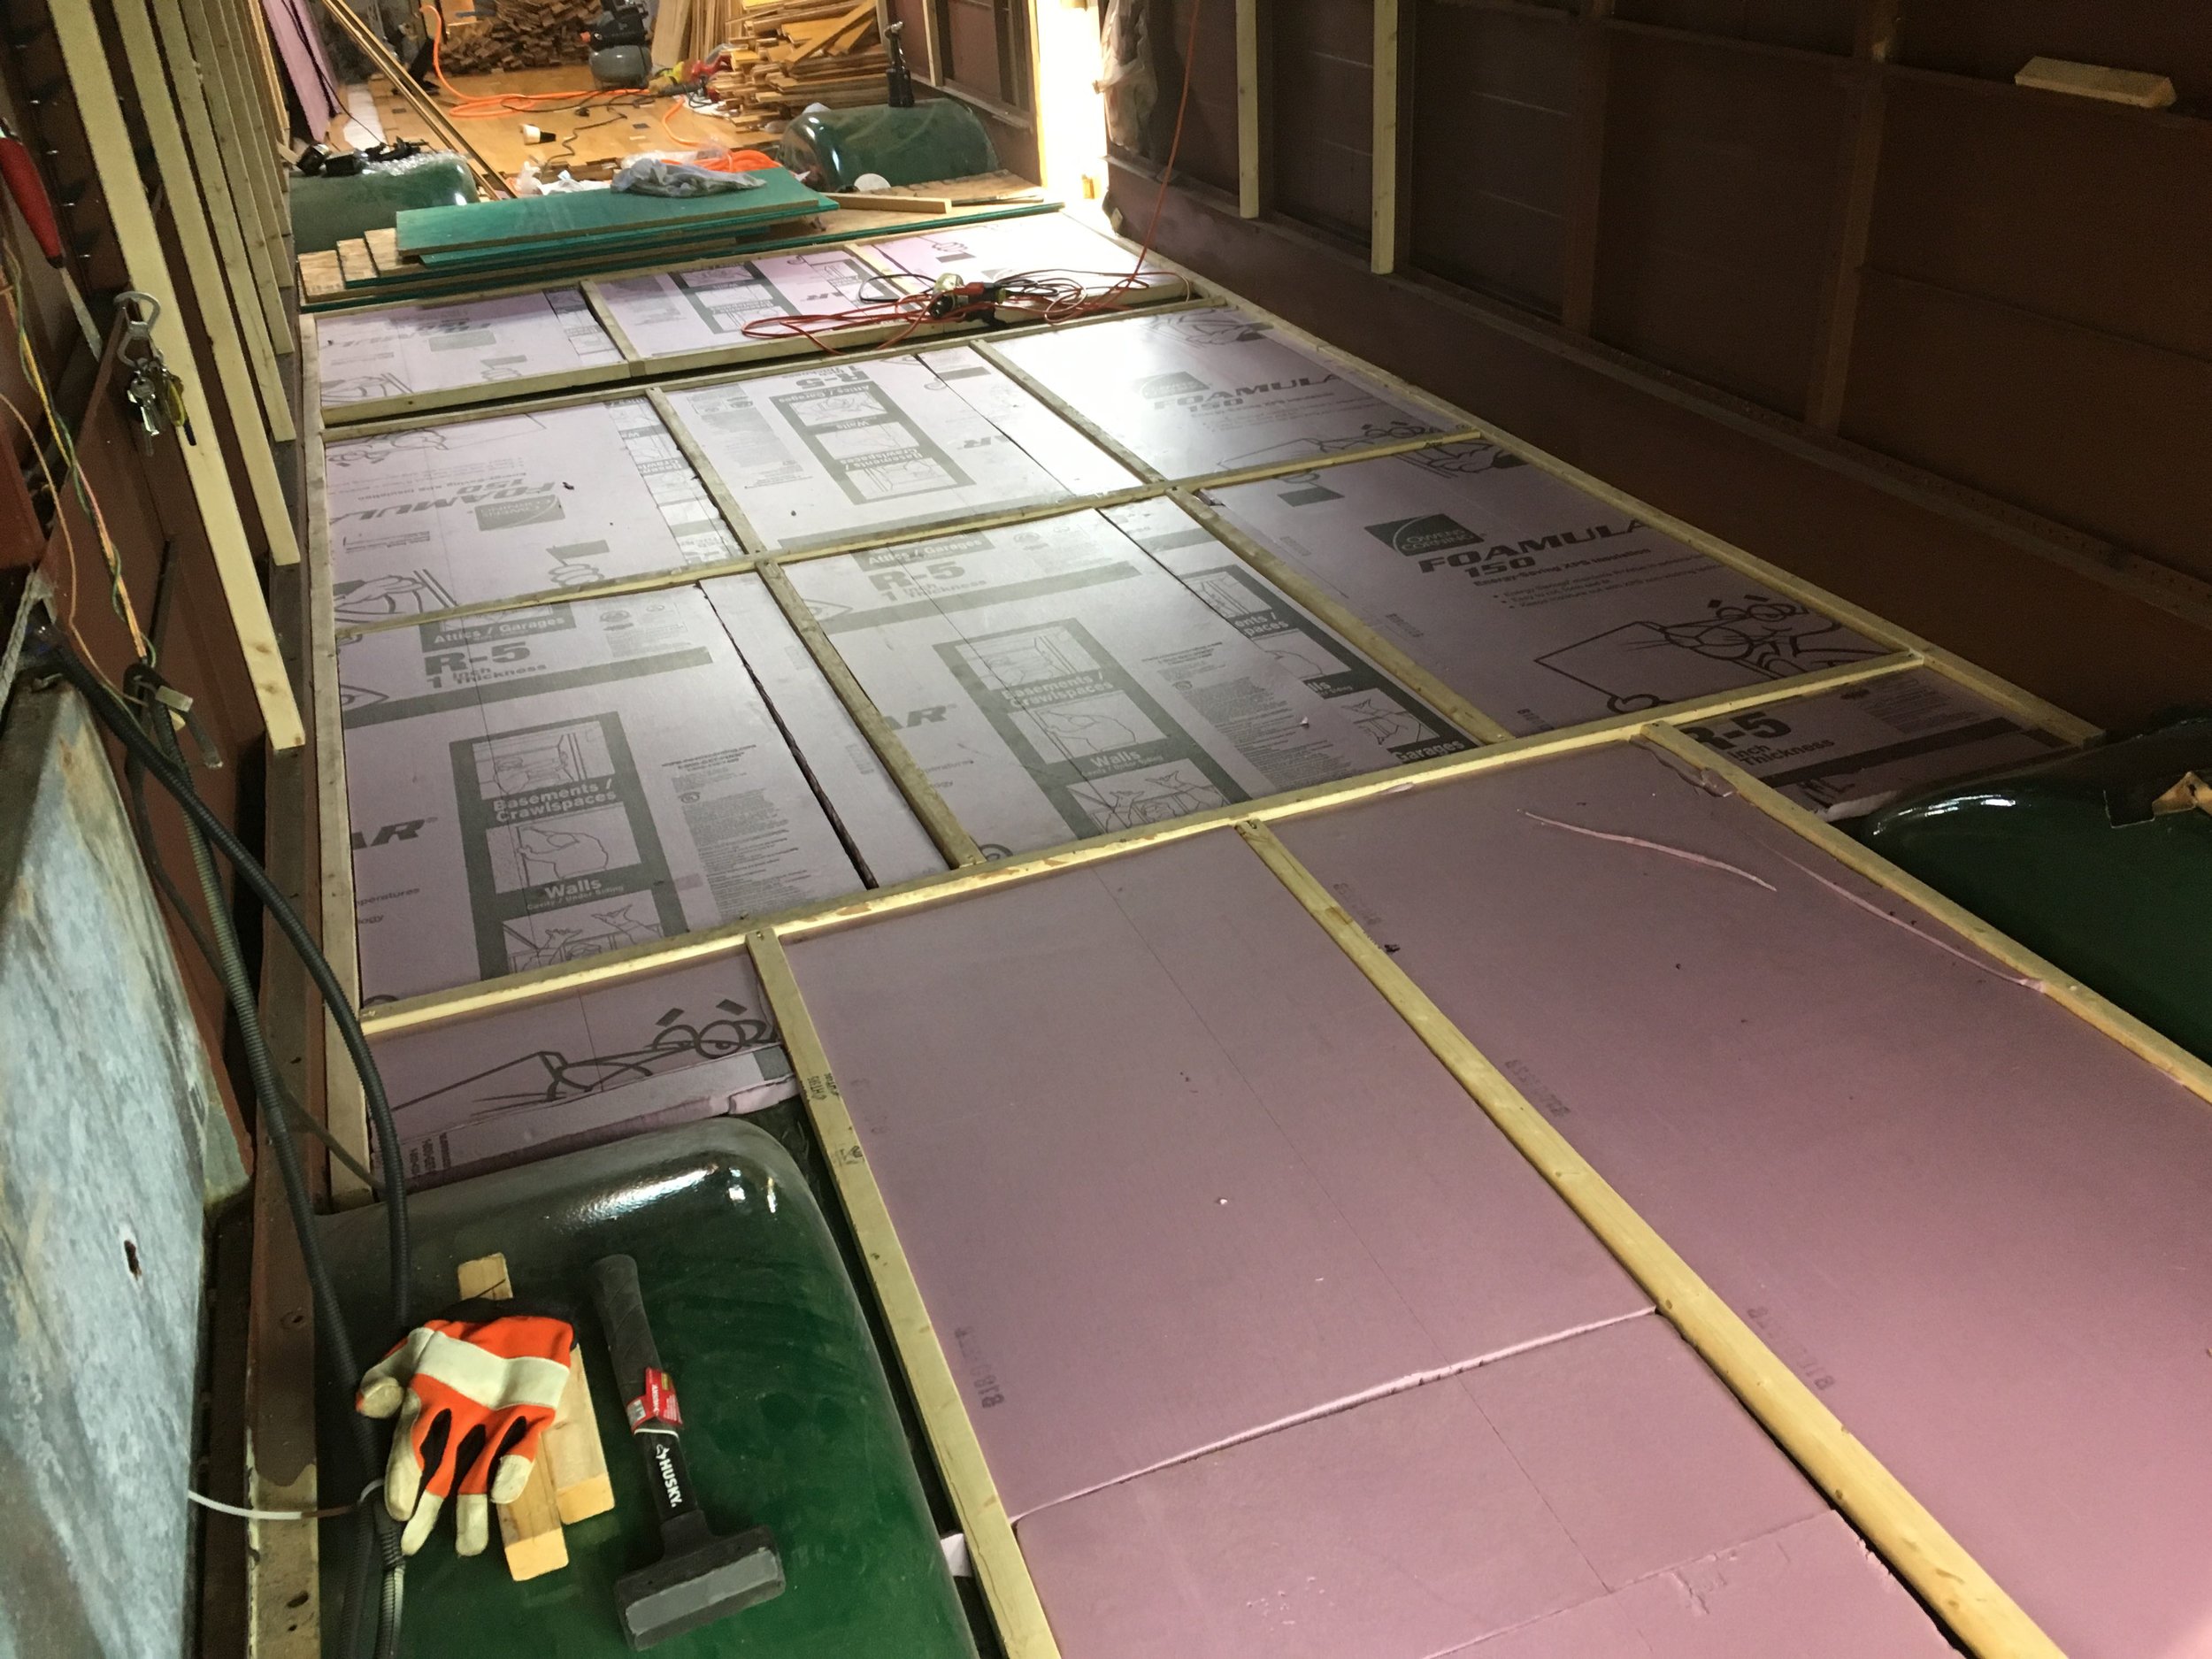
Subfloor 1" insulation for the front of the bus (living room & kitchen space) is done!
I’ve got about half of the plywood screwed down here. It’s coming together slowly but surely!
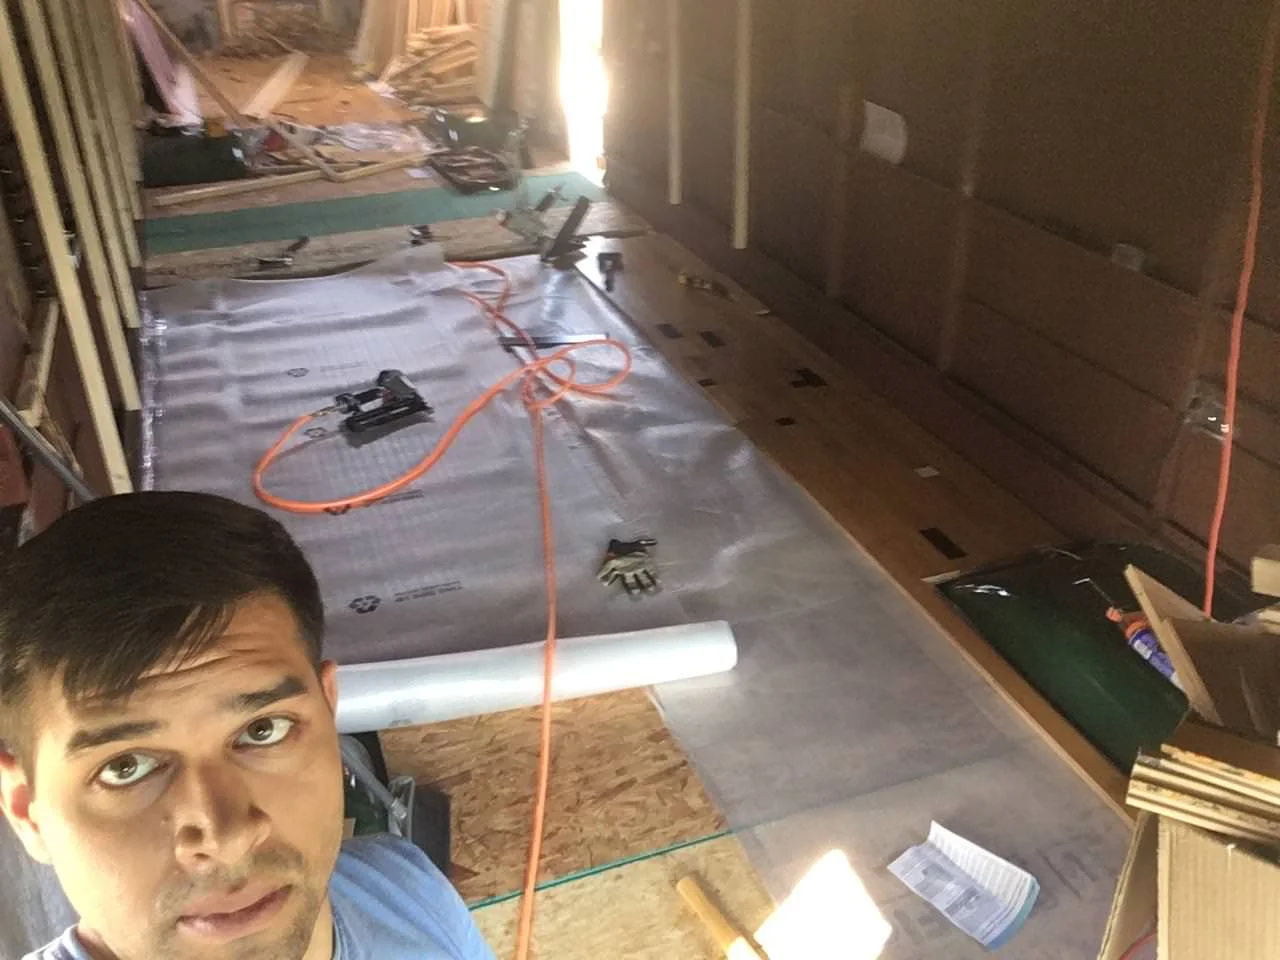
Moisture barrier/noise insulation has been rolled out and I've started nailing the boards down.
This took a lot longer than the back portion because I didn't pre-position the boards as I had when my nail gun broke. I was frequently stopping, finding the right sized planks, cutting rough edges... so it took much longer than anticipated.
Getting 2/3 of the front portion floored took about 9 hours. It was exhausting and I'm surprised to actually have felt some back stiffness. Should be able to finish the last bit over the next night or two.
I LOVE how the paint from the old basketball floor looks on the floor!
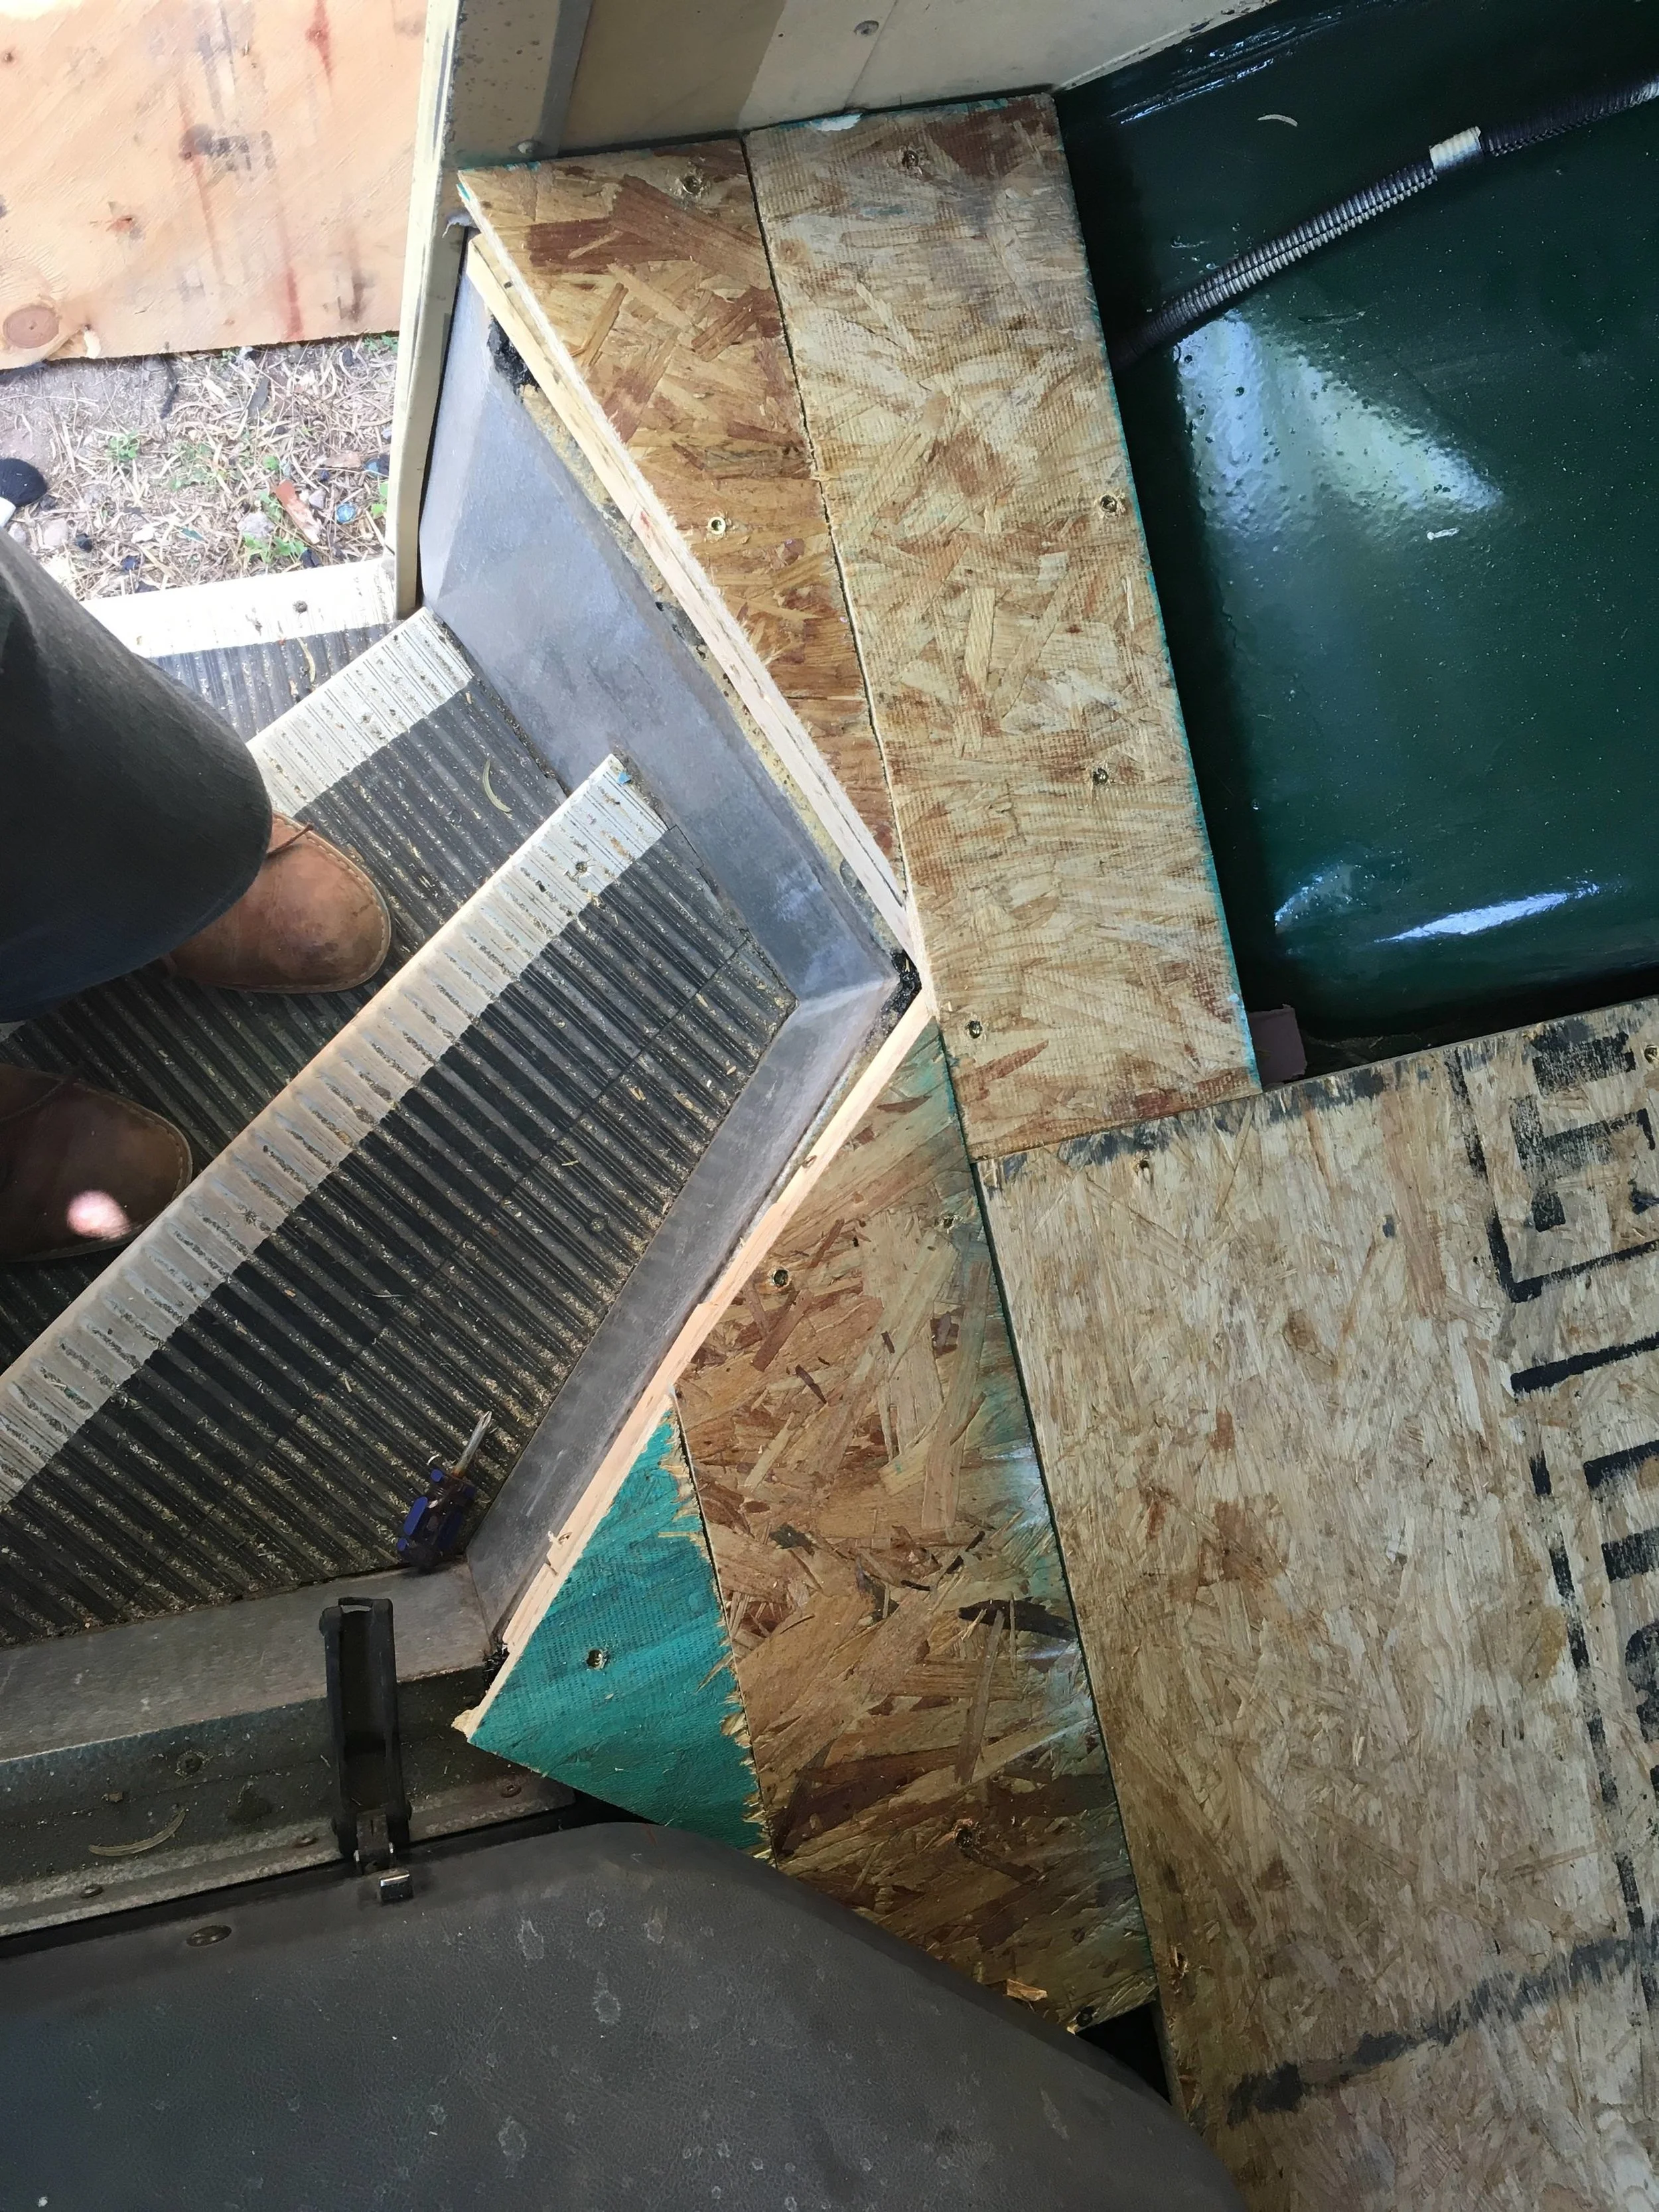
Top down view of the entrance area. This was the trickiest area to lay subflooring. It'll be pretty tough to lay the flooring down as well. We'll just have to see how it goes.
Finishing the last couple rows of the aft bedroom with the nail gun!
I’ve gotten a couple questions from friends about this gap. Pictured on the upper right is the forward living area. The plywood area is what will become the galley, which will also be covered with wooden flooring. I’ve seen enough bus builds where the electrical and water utility lines are buried deep behind walls and flooring and I hate that idea. The flooring section (4, roughly 2’ long sections here will be removable for easy access. Creating these sections so that they're nearly seamless will not necessarily be easy, but the extra time will be worth it. I'll have them removable via recessed inserts into the top so I can lift them out from the gap.
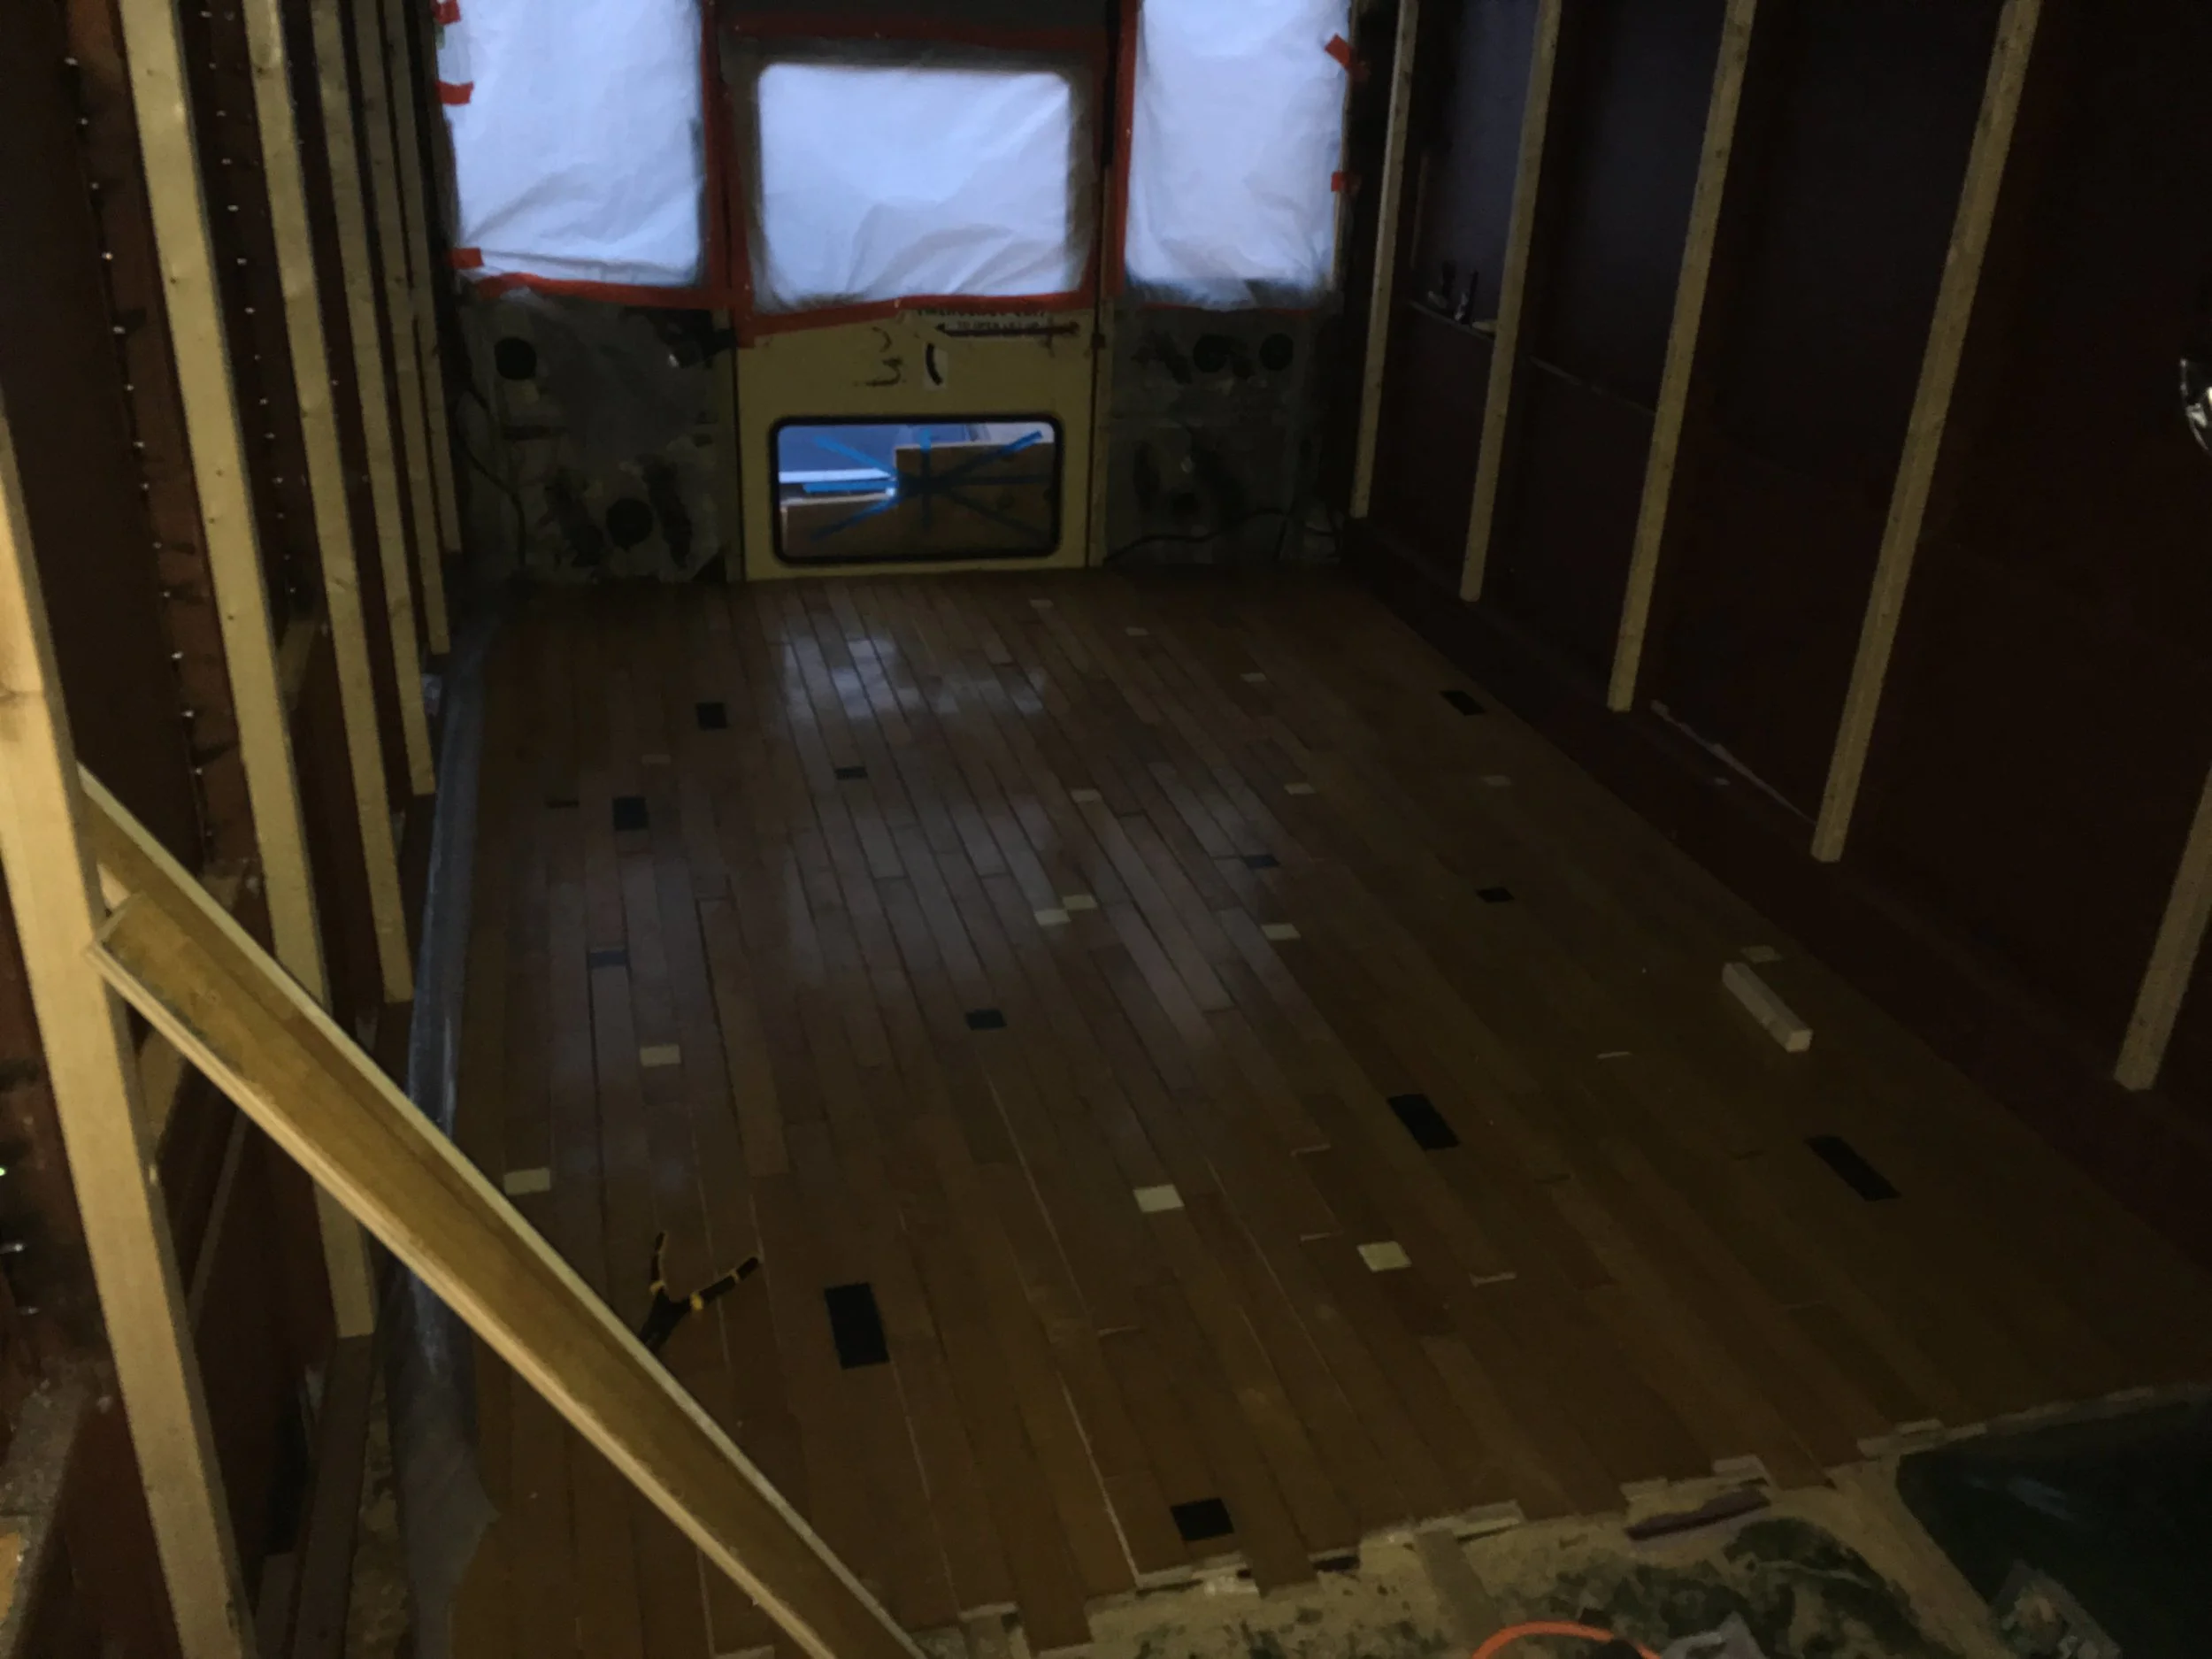
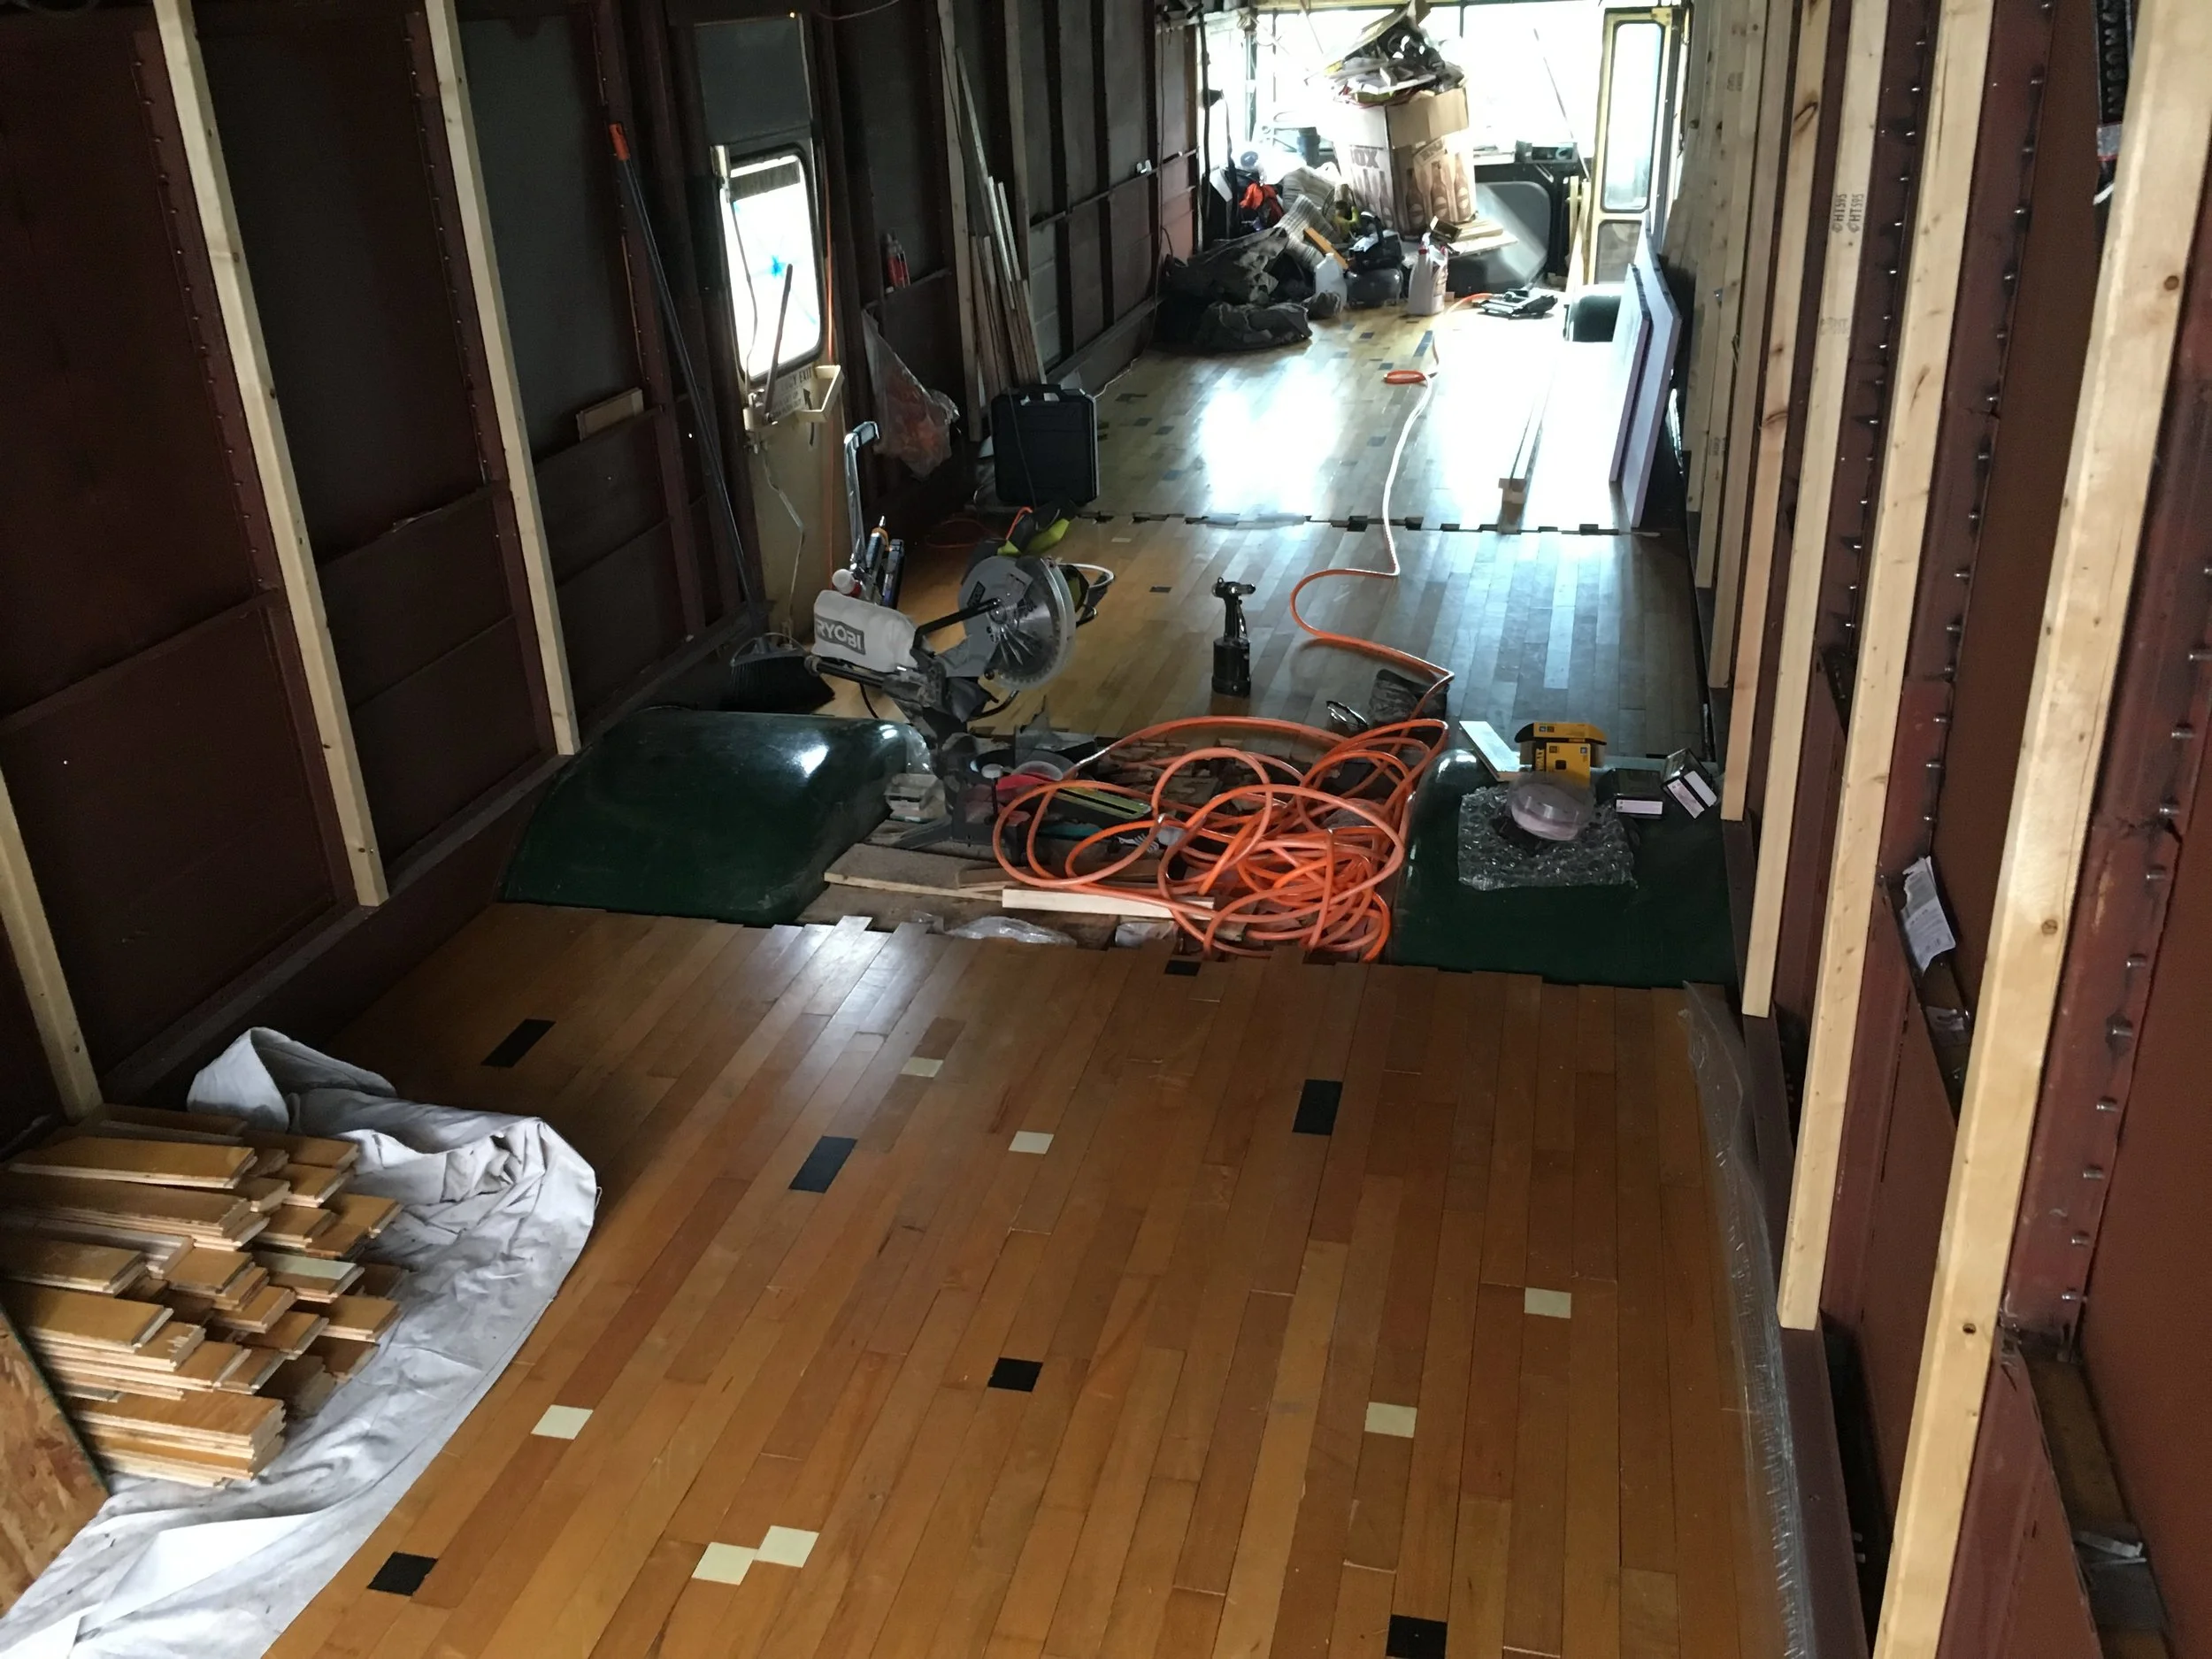
Finished the front section of the flooring where the kitchen and living room will eventually be.
The middle section should be done after one more night of work. Then I can finish the channel and start framing walls for the bathroom/kitchen.
The kitchen section is complete. I’ll save the utility channel until I’m done building the frame for the cabinets and couch.
Sanding the used flooring to apply the new polyurethane coats. It wasn't too hot that day, thankfully.
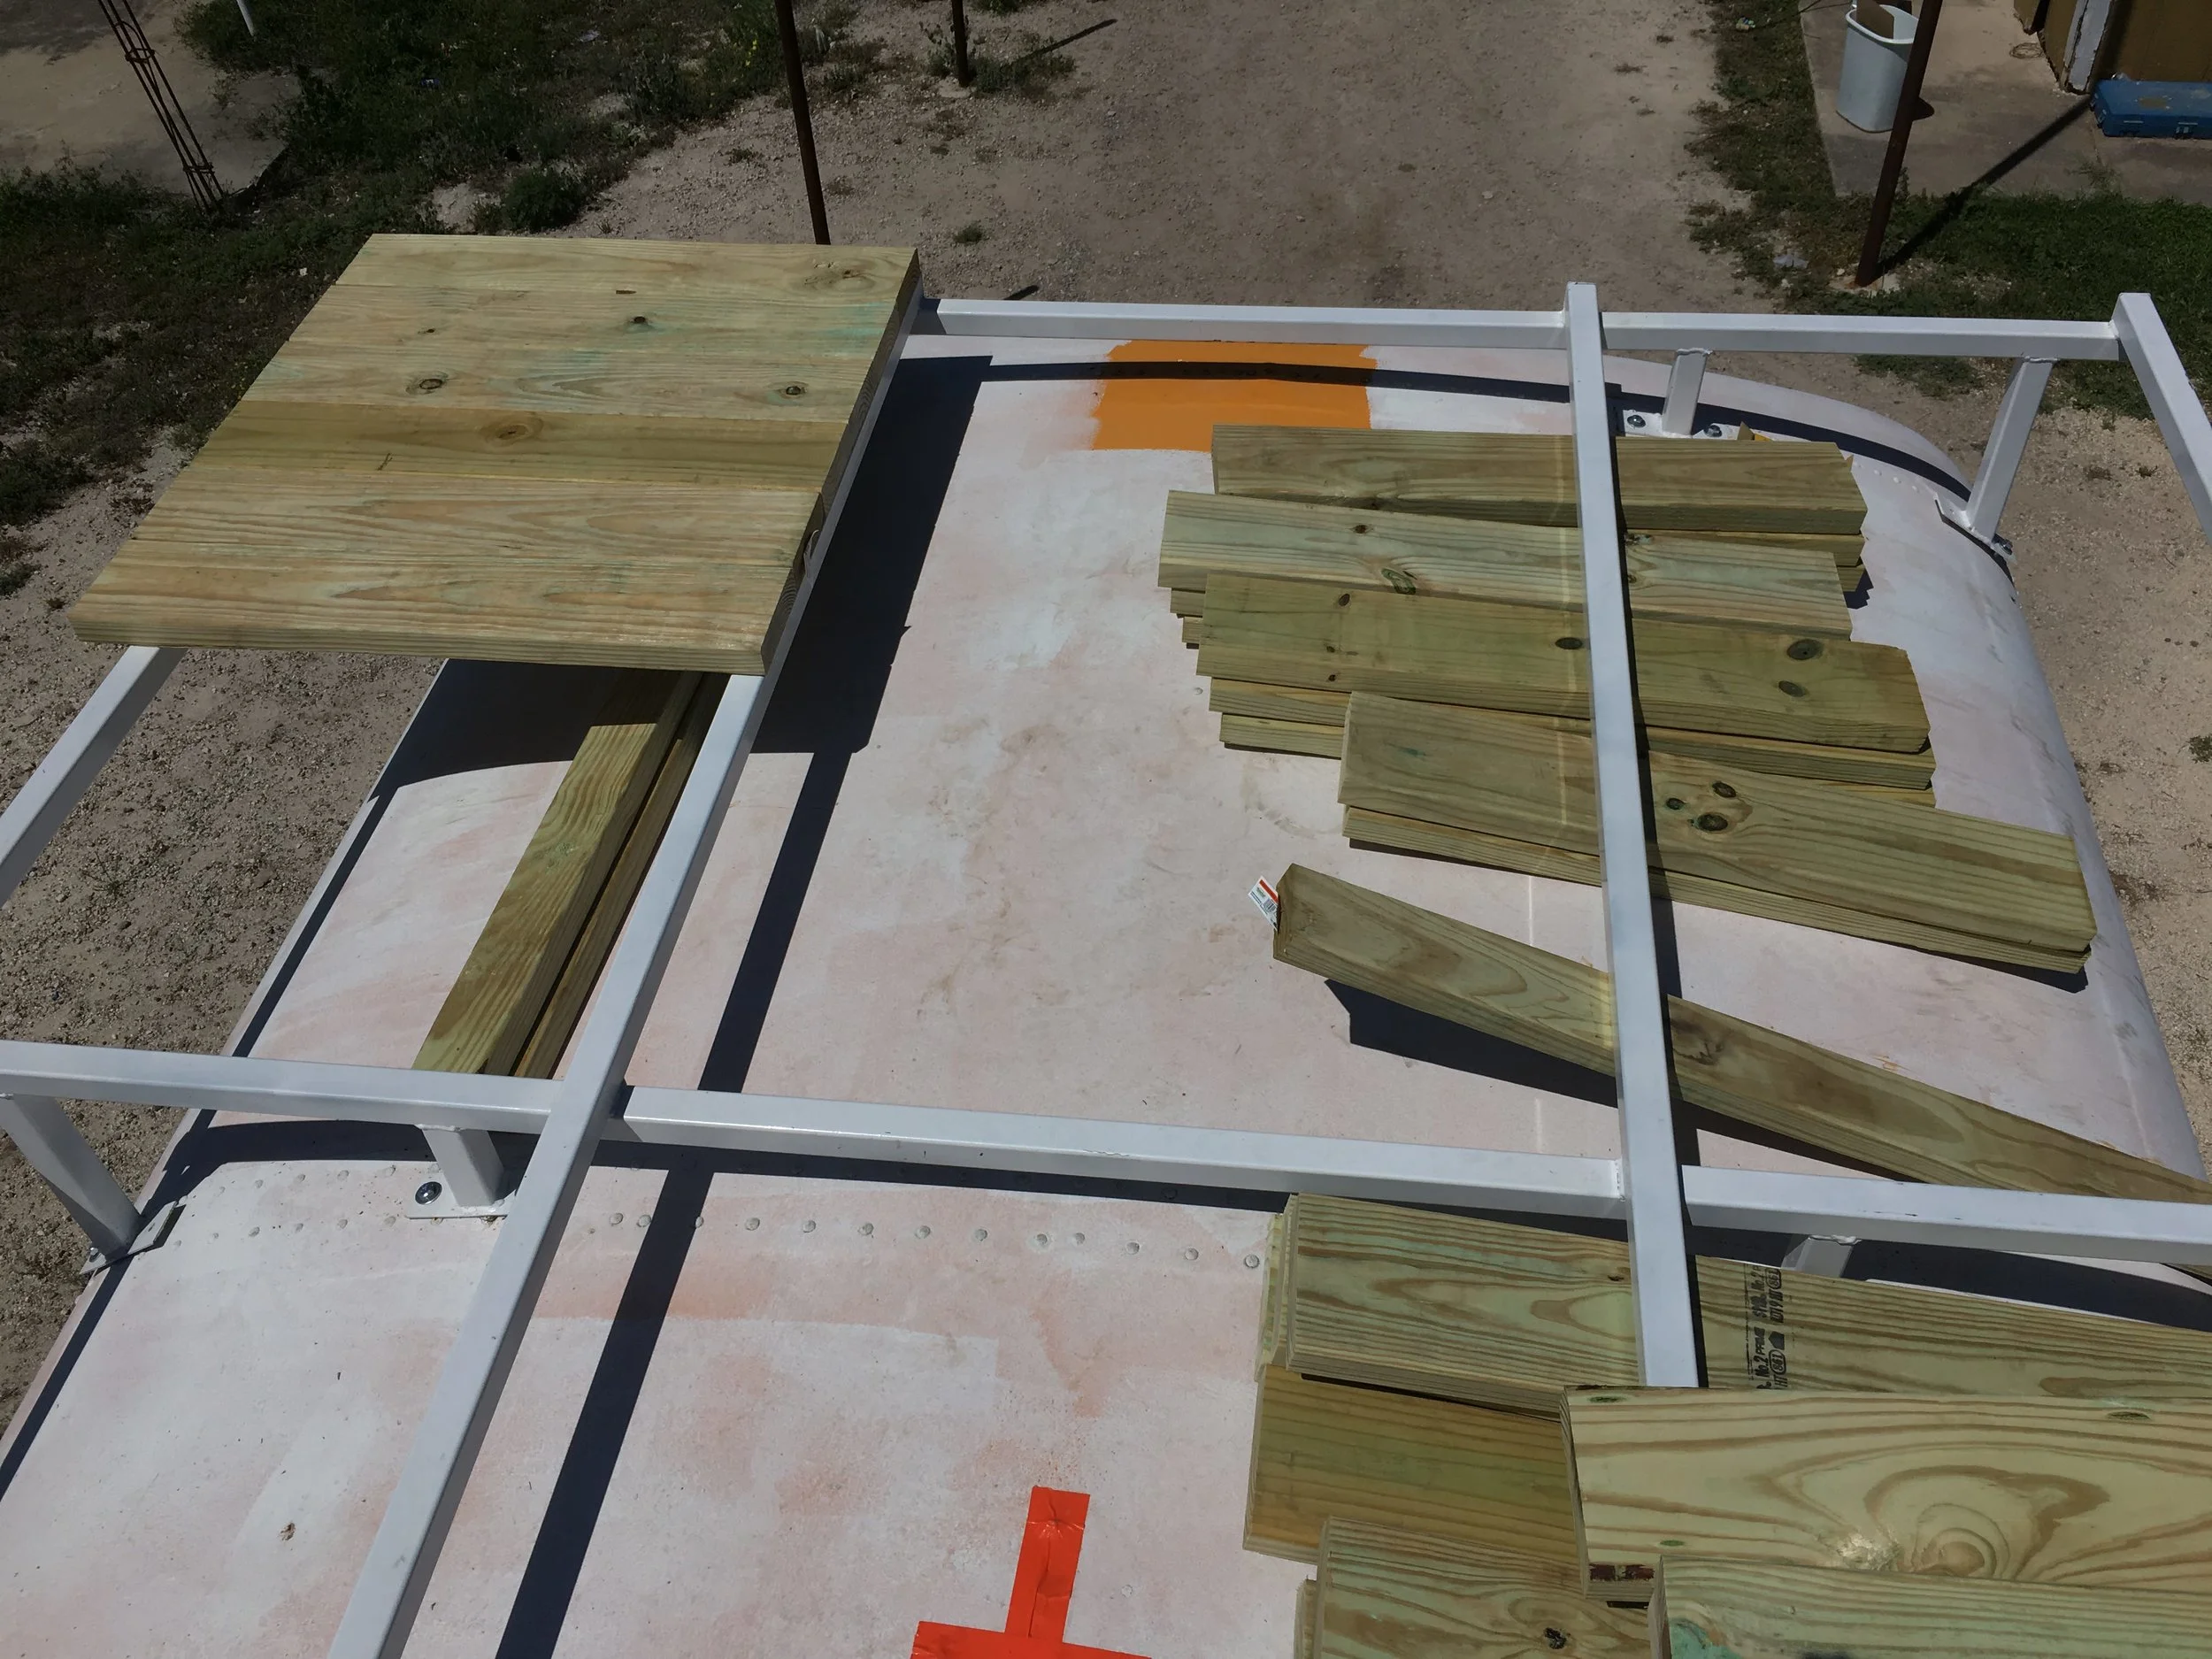
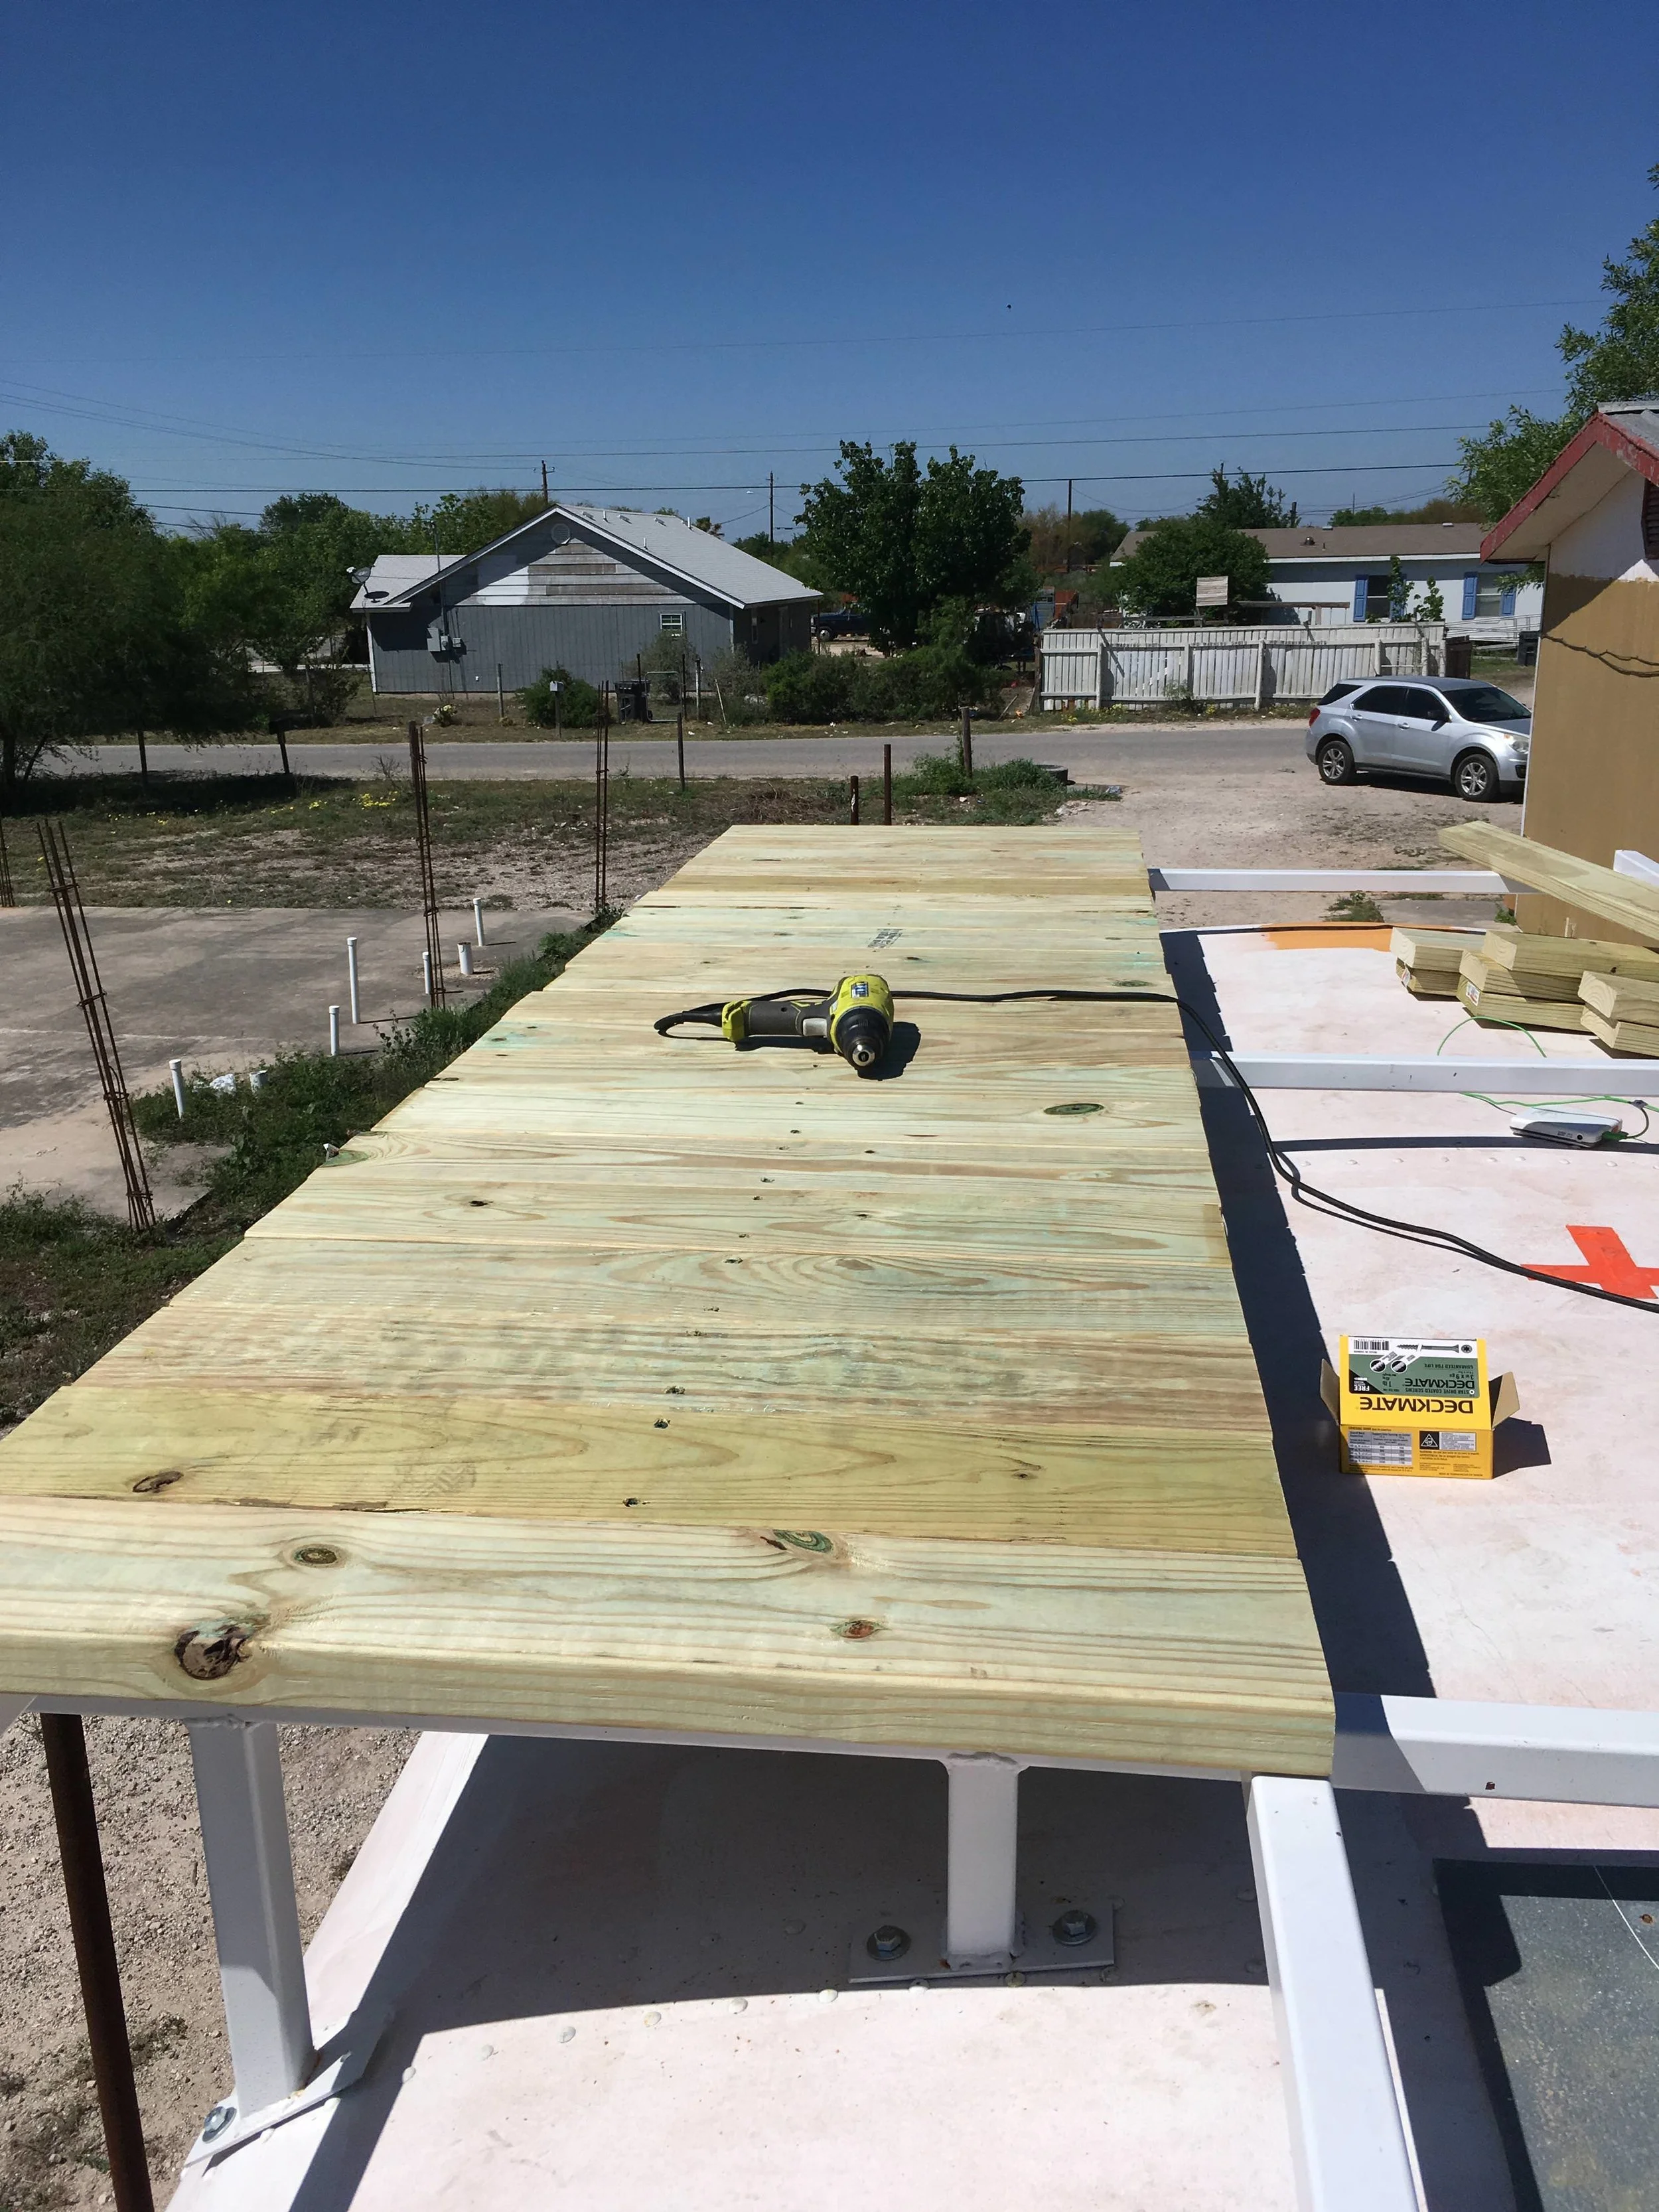
The side of the roof rack is where the boards will be secured via pipe clamps to the rack. I've decided not to ever drill into the metal of the roof rack.
8' wide and about 20' long, the roof rack is going to be sweet (and expensive) since I decided to use treated lumber. There's really no other option for longevity.
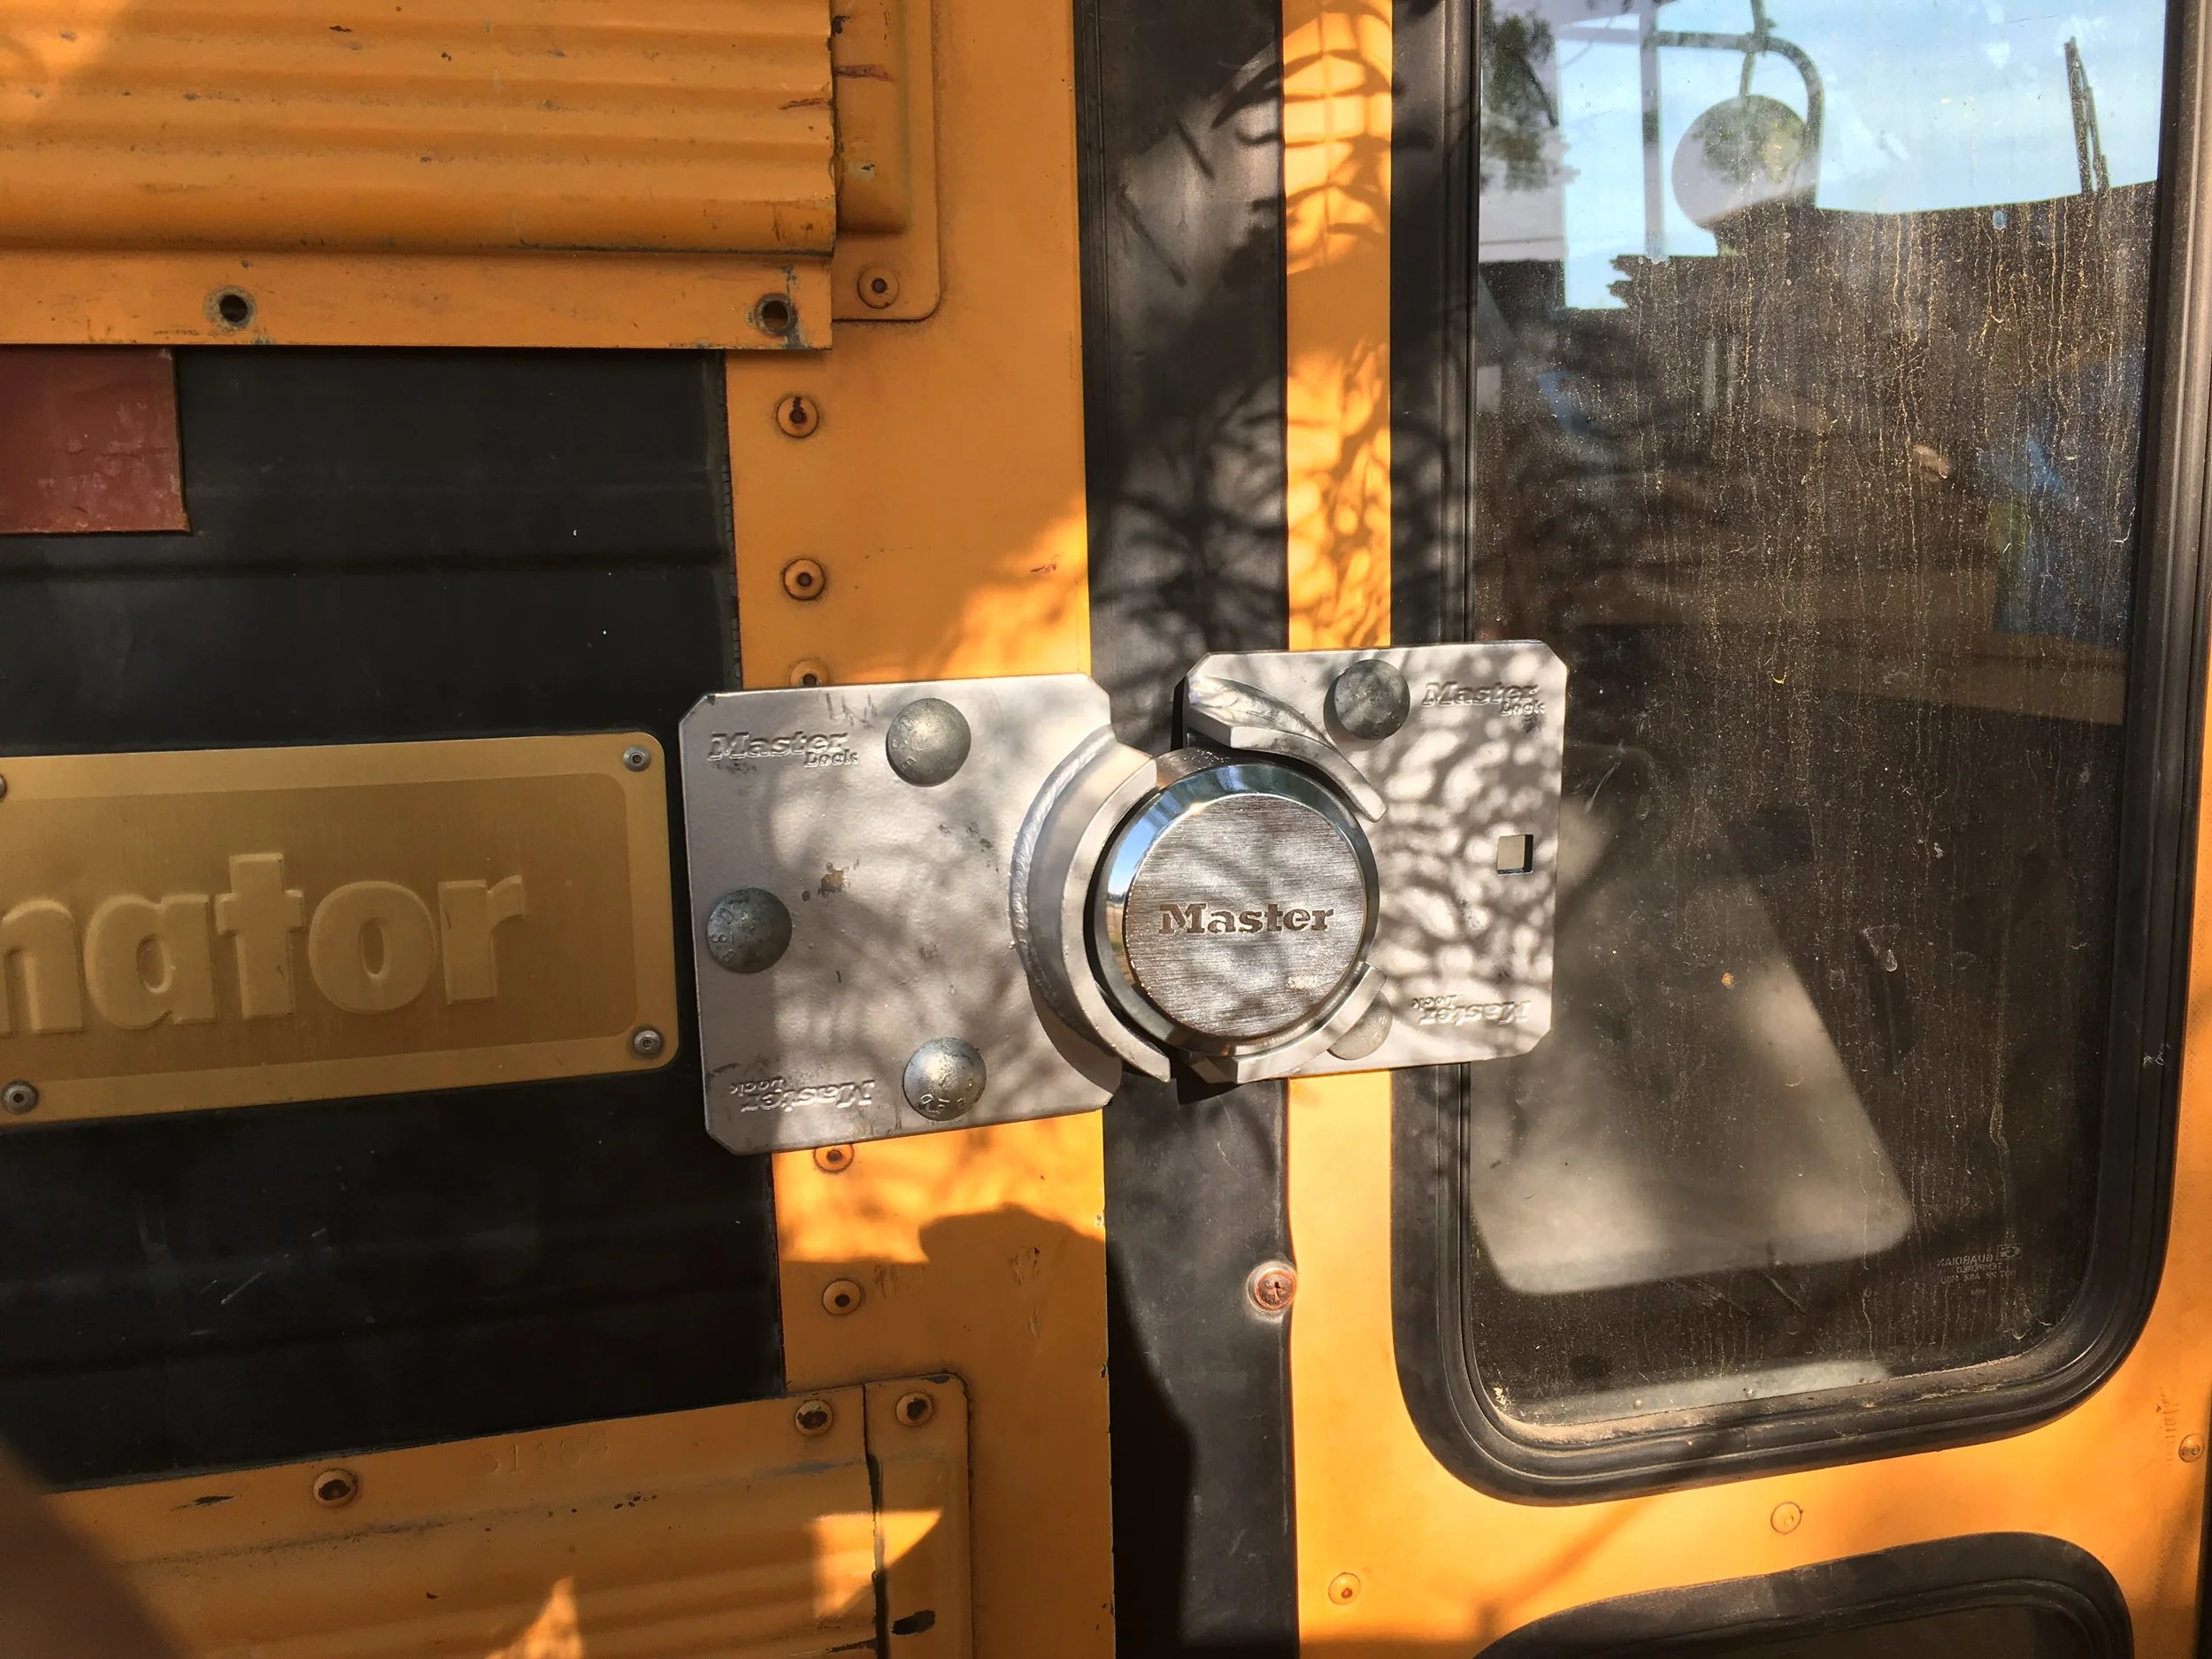
Got a "puck lock" for the door. This is the least intrusive way to lock up the bus, and surprisingly one of the safer ways. The bolt is hidden inside the lock and the hasp is really hard to cut through. Sure, someone could break the glass, but they're not getting into the bus.
Insulating the bedroom walls. Electrical wires will run under the seat rail and the plywood will have outlets in it. Bed construction is starting this week!
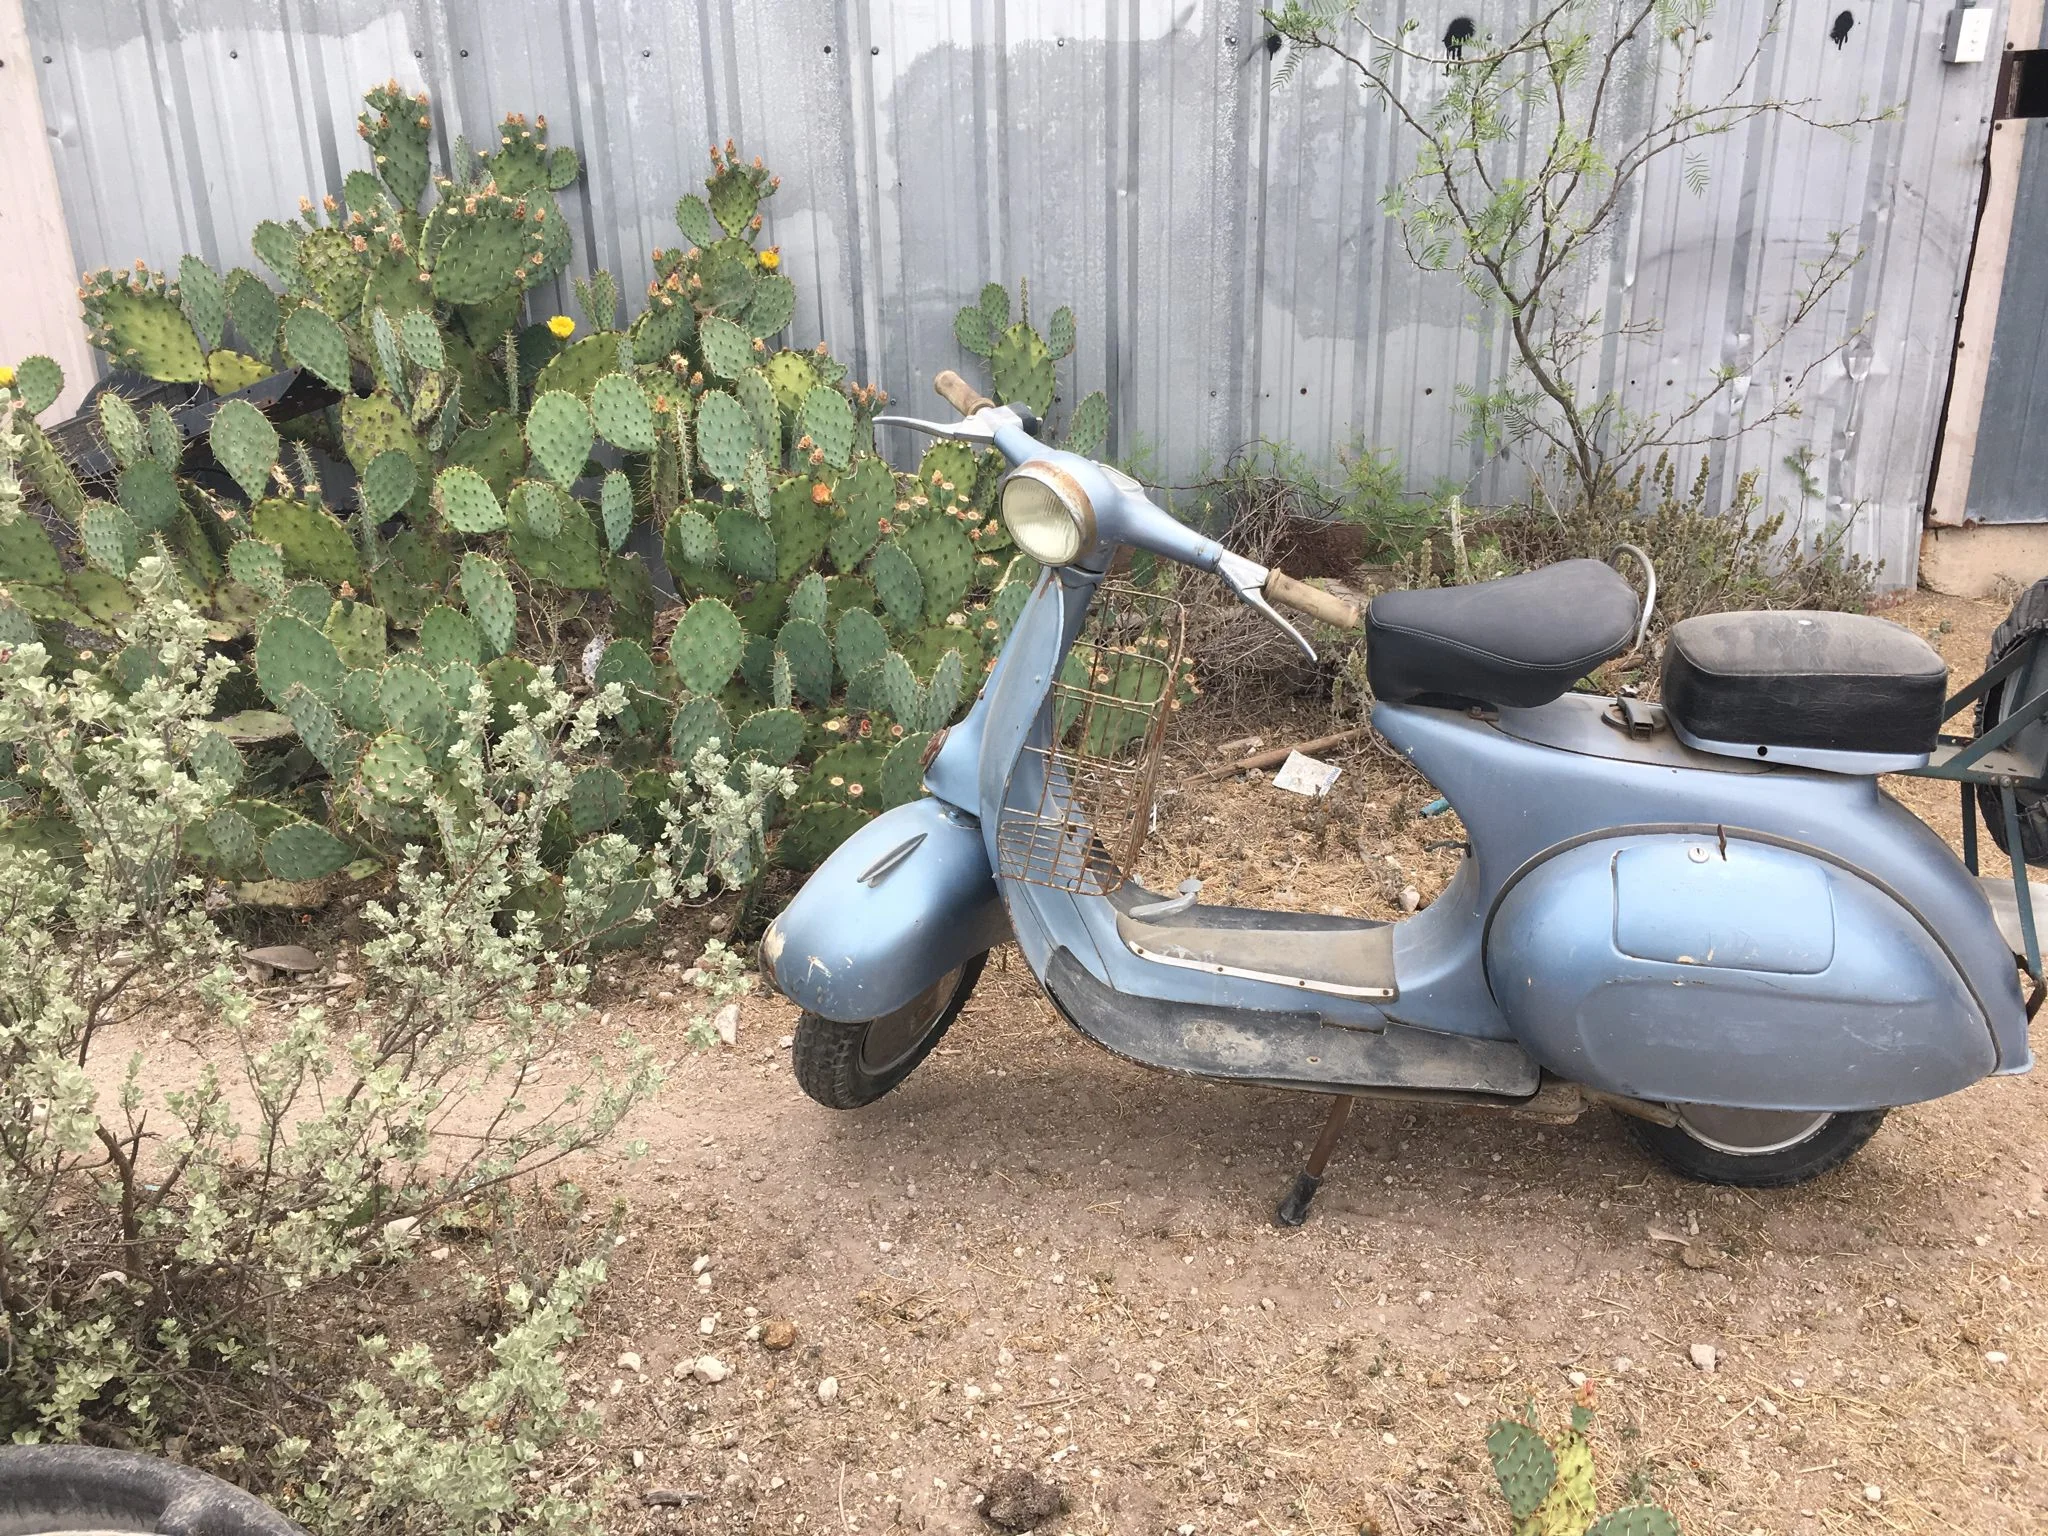
Look at #1 of 2 Vespa 400's which I found in Houston. Only 26,000 were ever made and only 1,000 were ever imported to the US. They're perfect for bus life and I'll be restoring these bad boys as soon as I get to a more "acceptable living space" with the bus. Believe it or not, I'm NOT too tall!! See more at the link below!
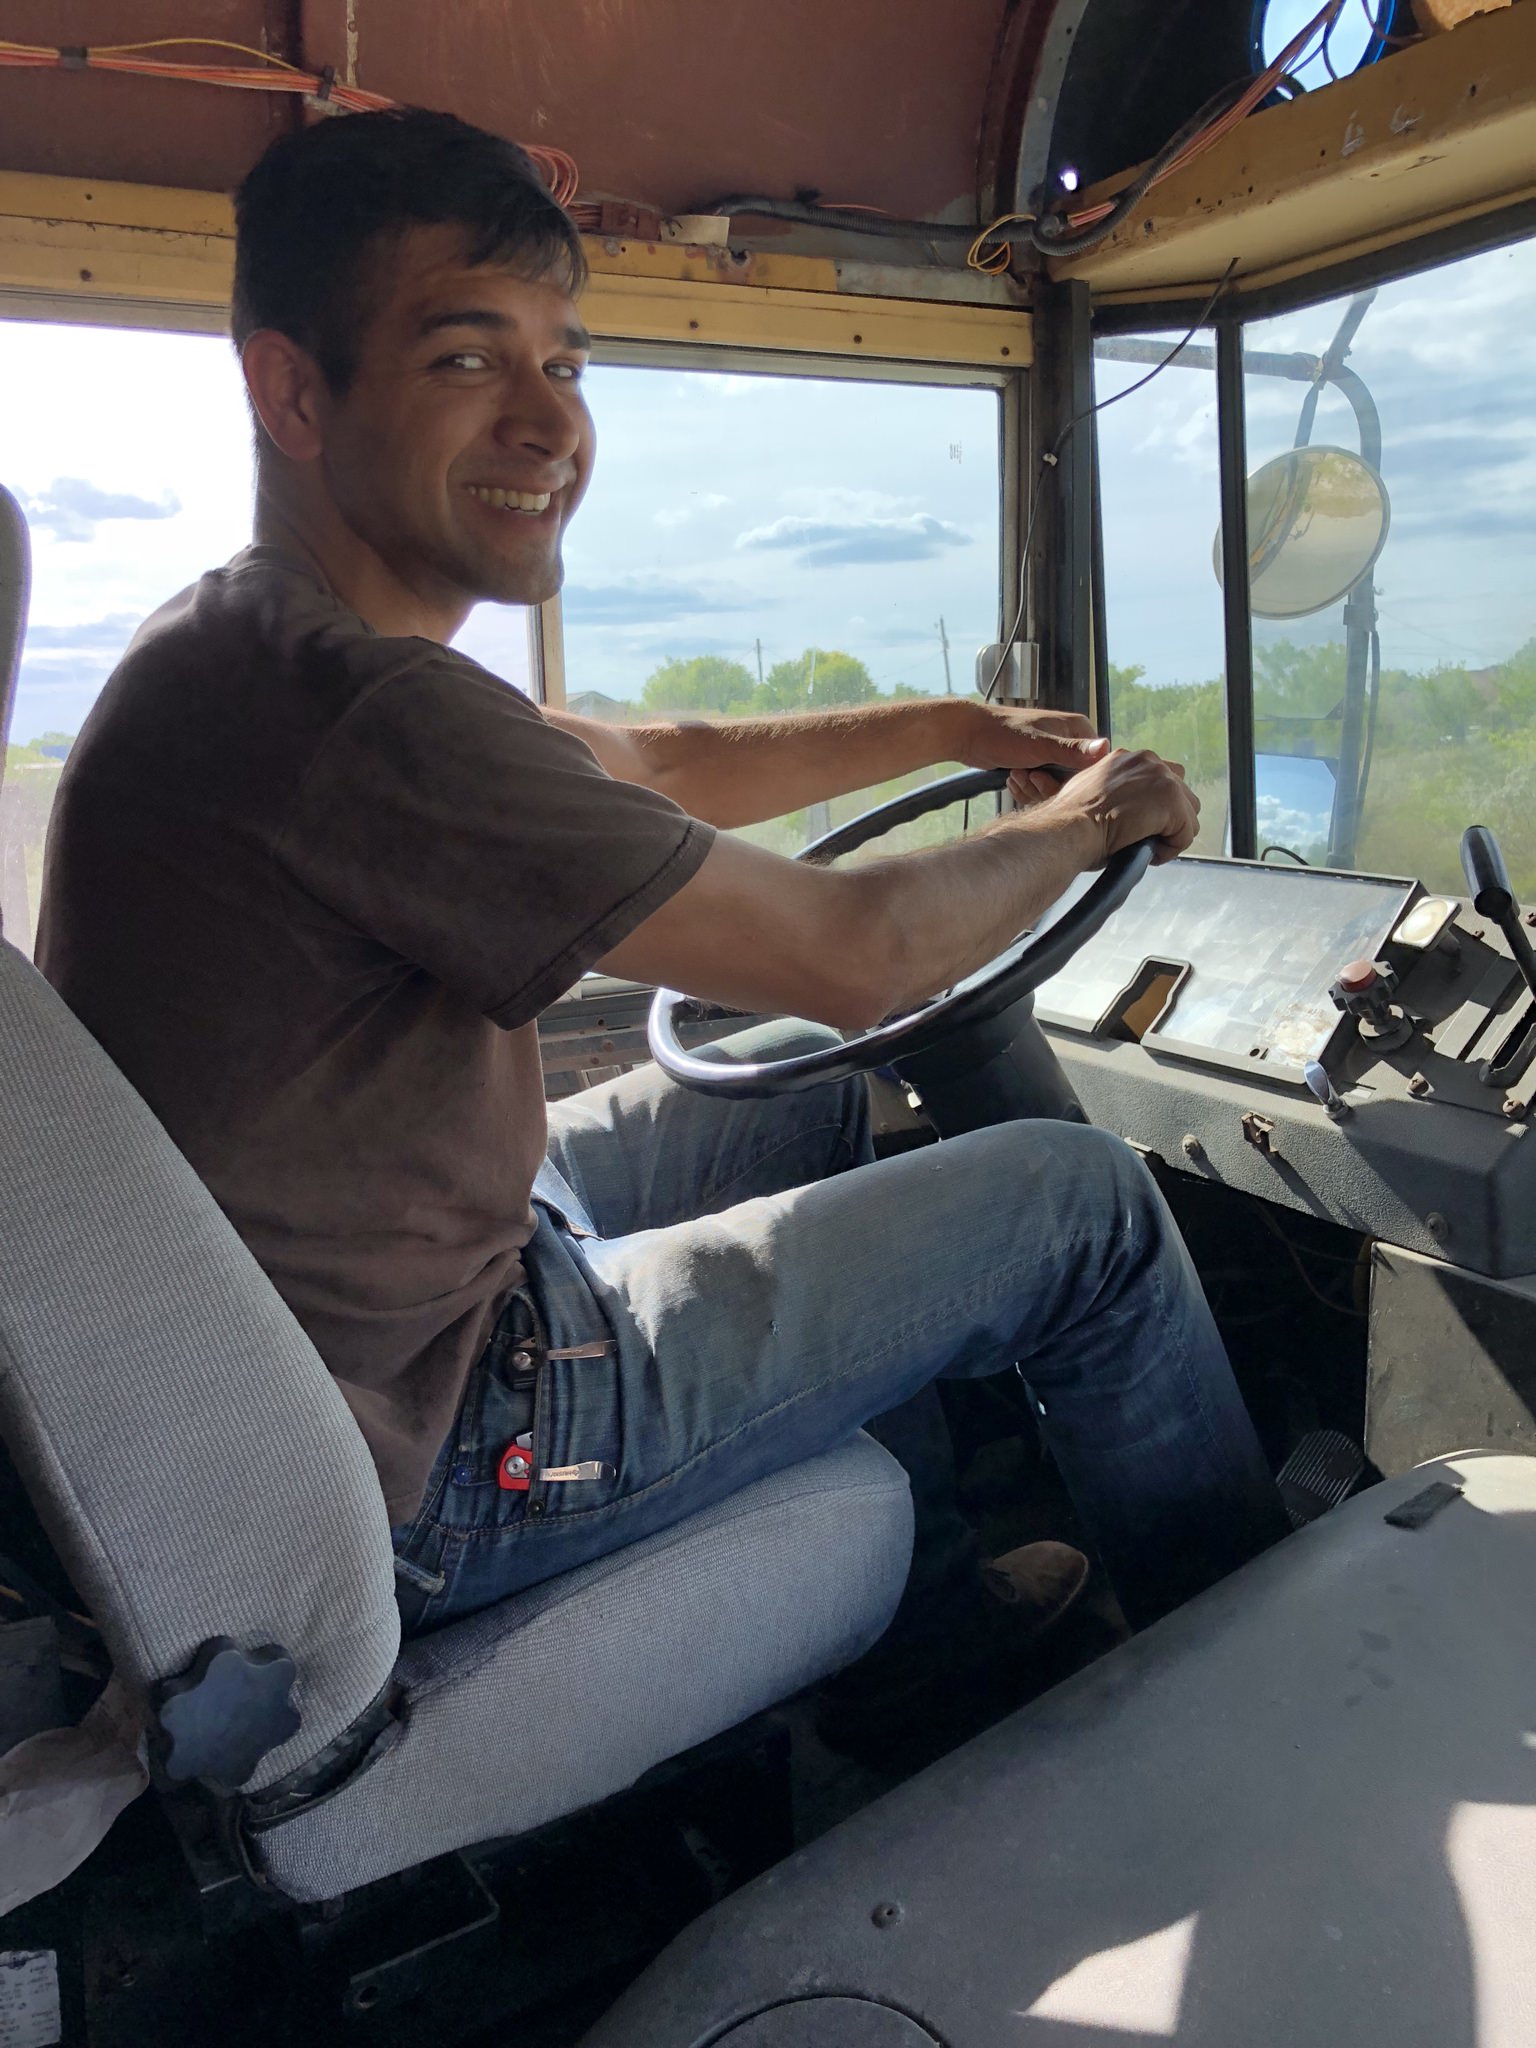
Driving the bus to its new location, a few miles away, but with waaaaaay more space and a water hookup. It's also more secure so I can start putting more expensive stuff inside.
1963 Vespa that I'll get to eventually. Ok, I admit it; I have too many projects...
Secured the roof rack for the roughly 2 mile drive to the ranch. Now I need to drill a few more holes and caulk the holes. I still have to add the eyelet bolts for the indoor hammock hanging.
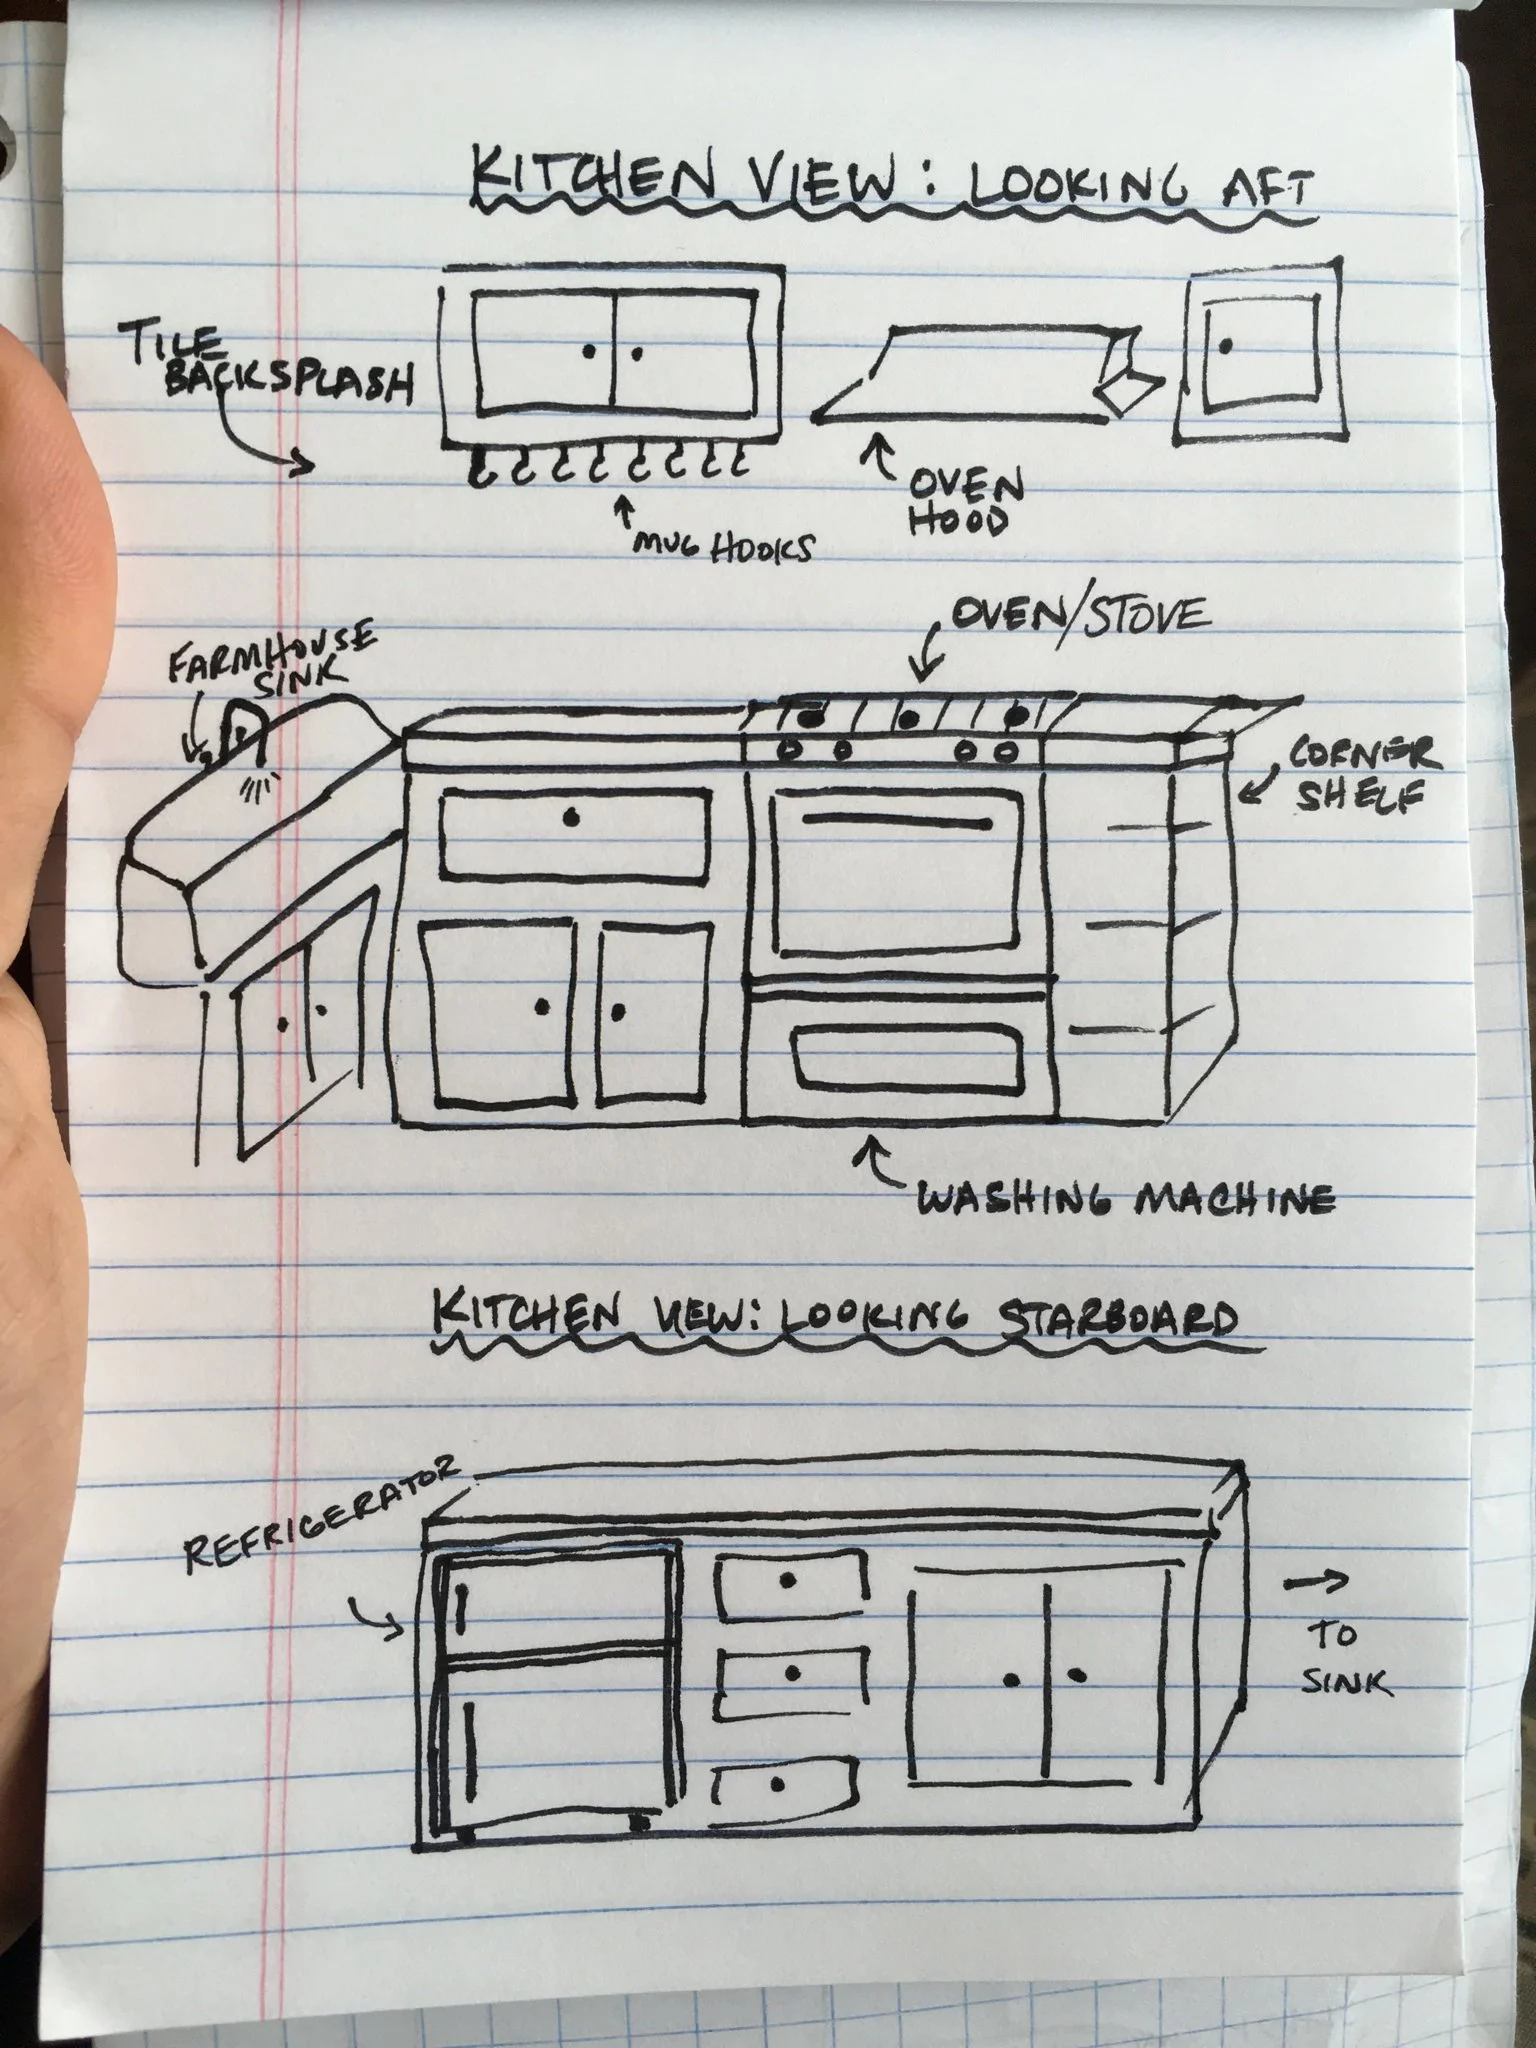
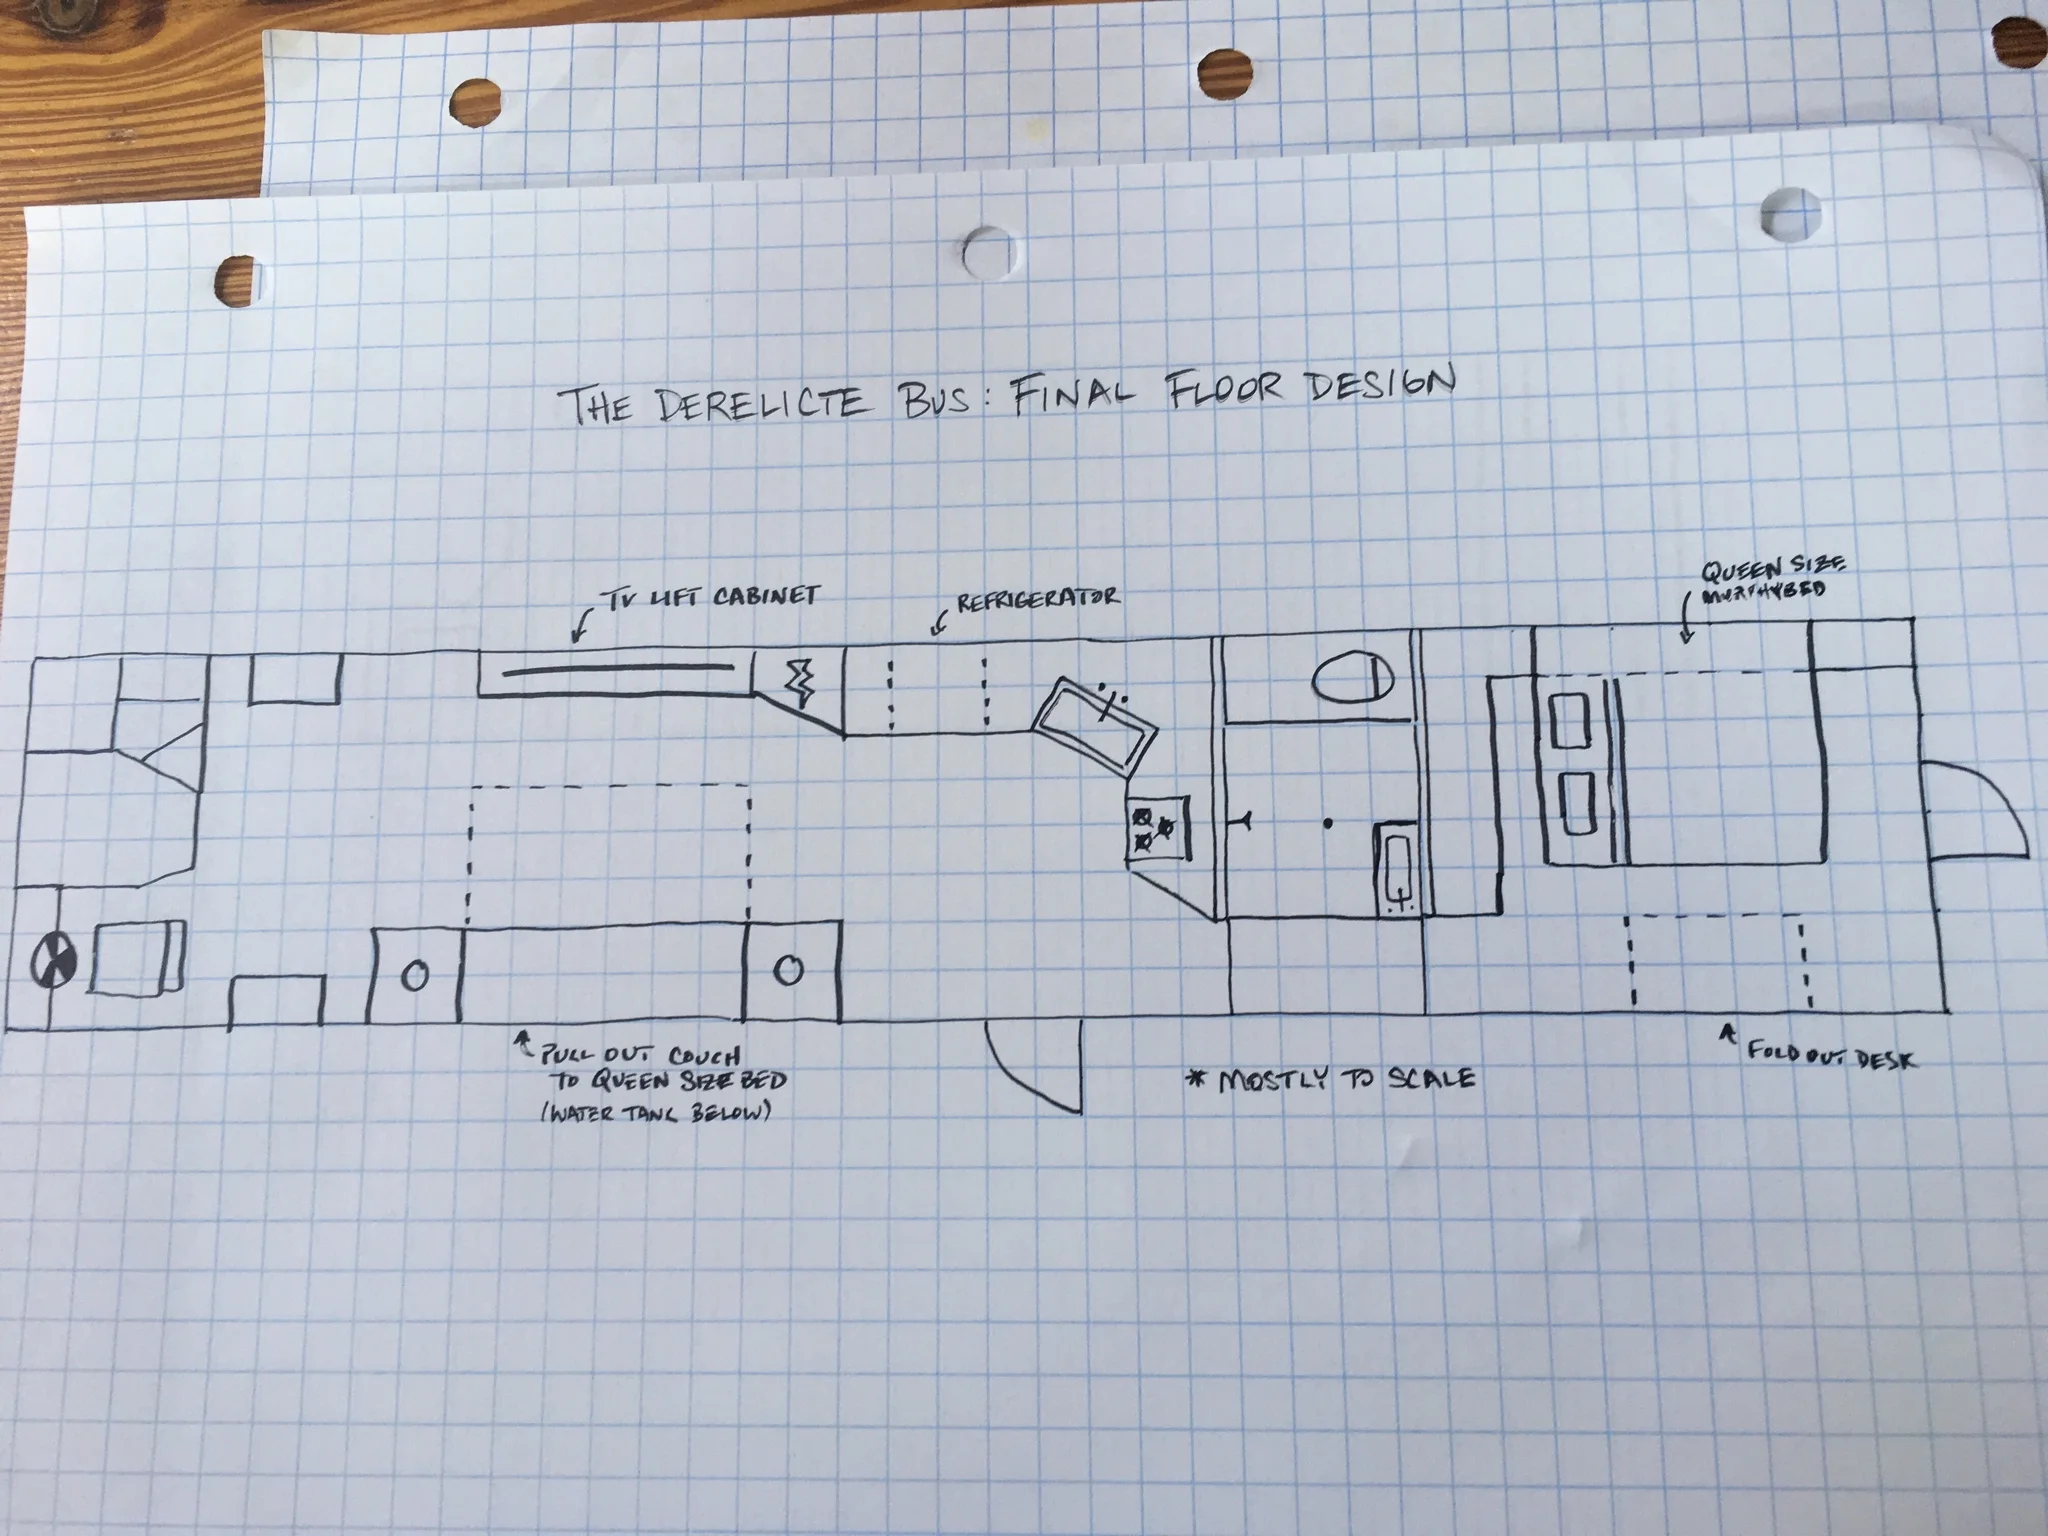
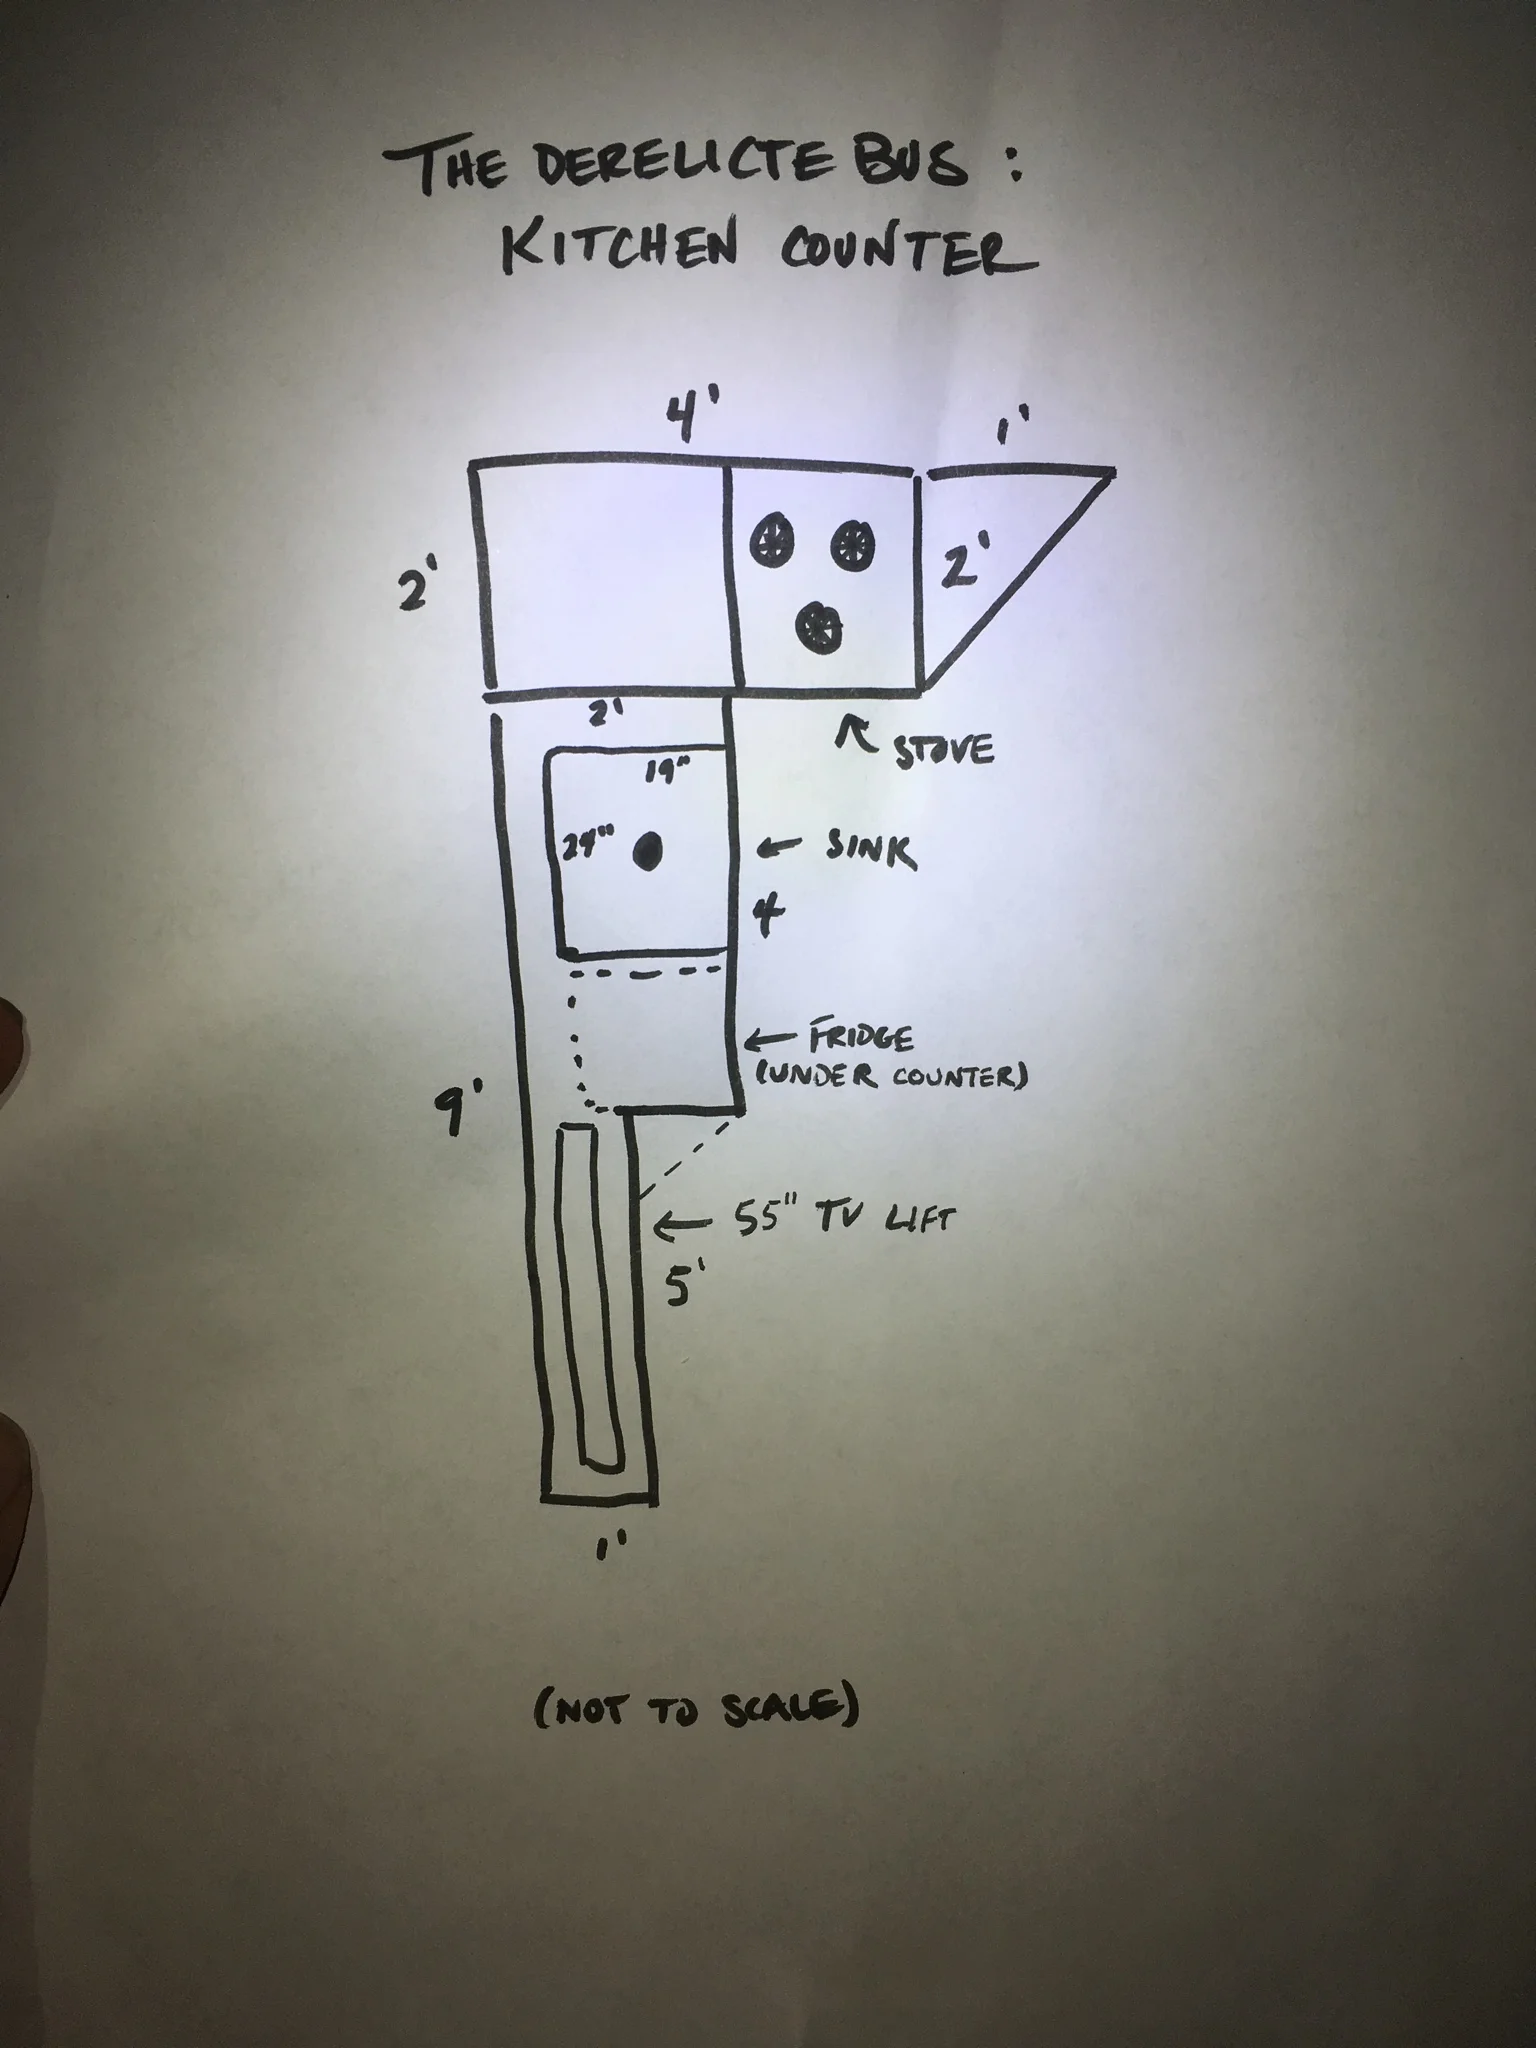
Kitchen Layout in profile, since top down doesn't address some of the stacking that I'm planning.
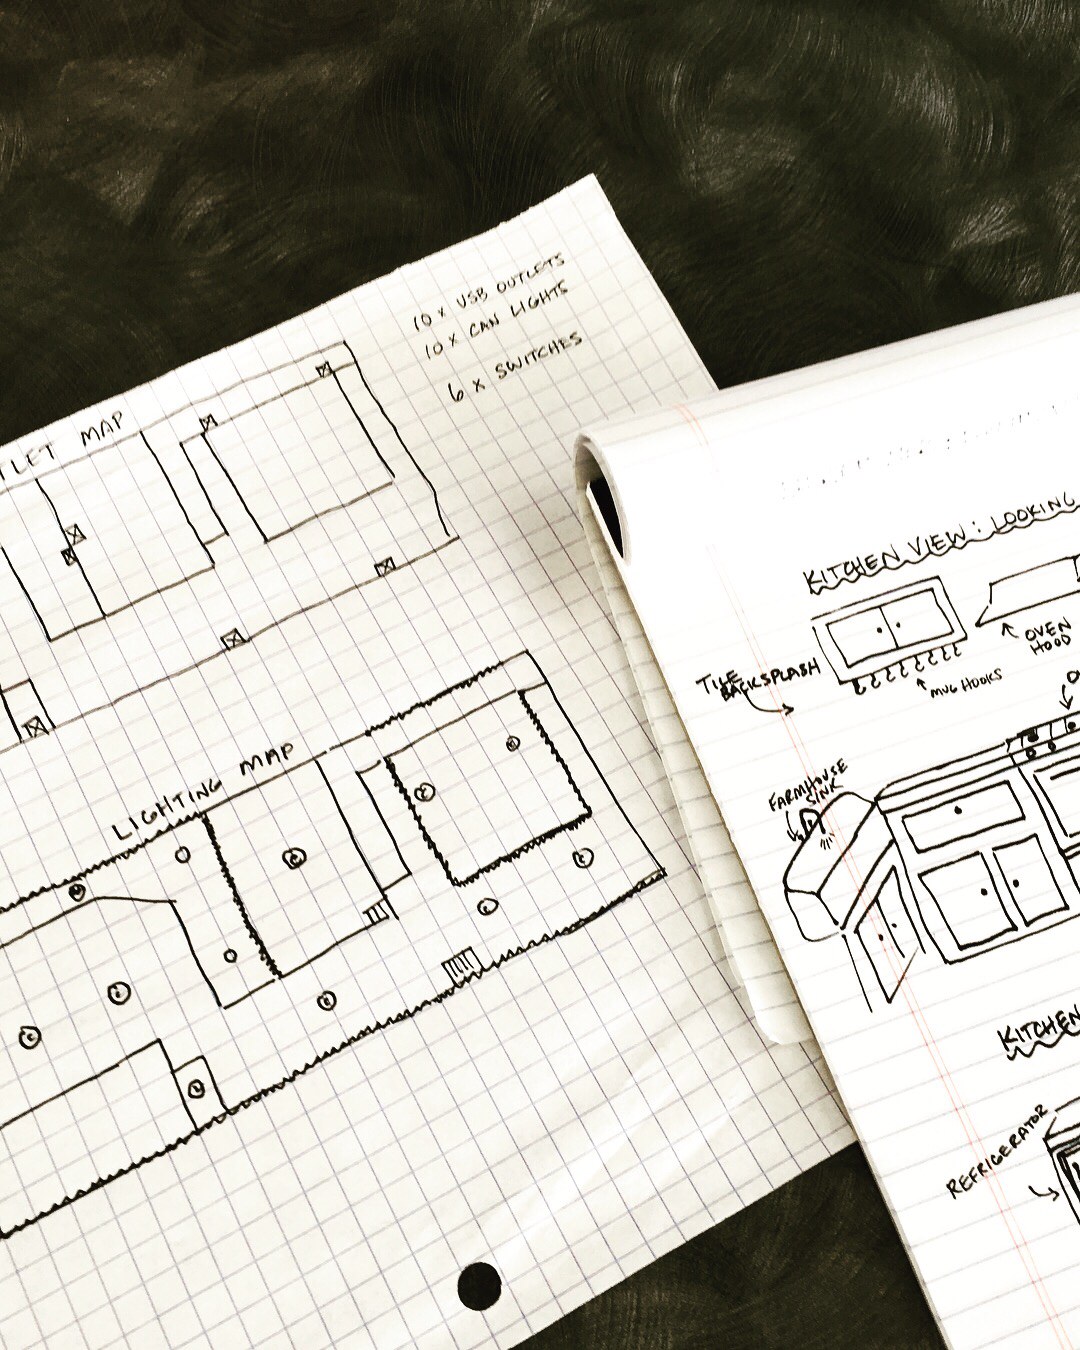
Writing down my plans for the lighting map makes them much more real and helps me sort out potential issues.
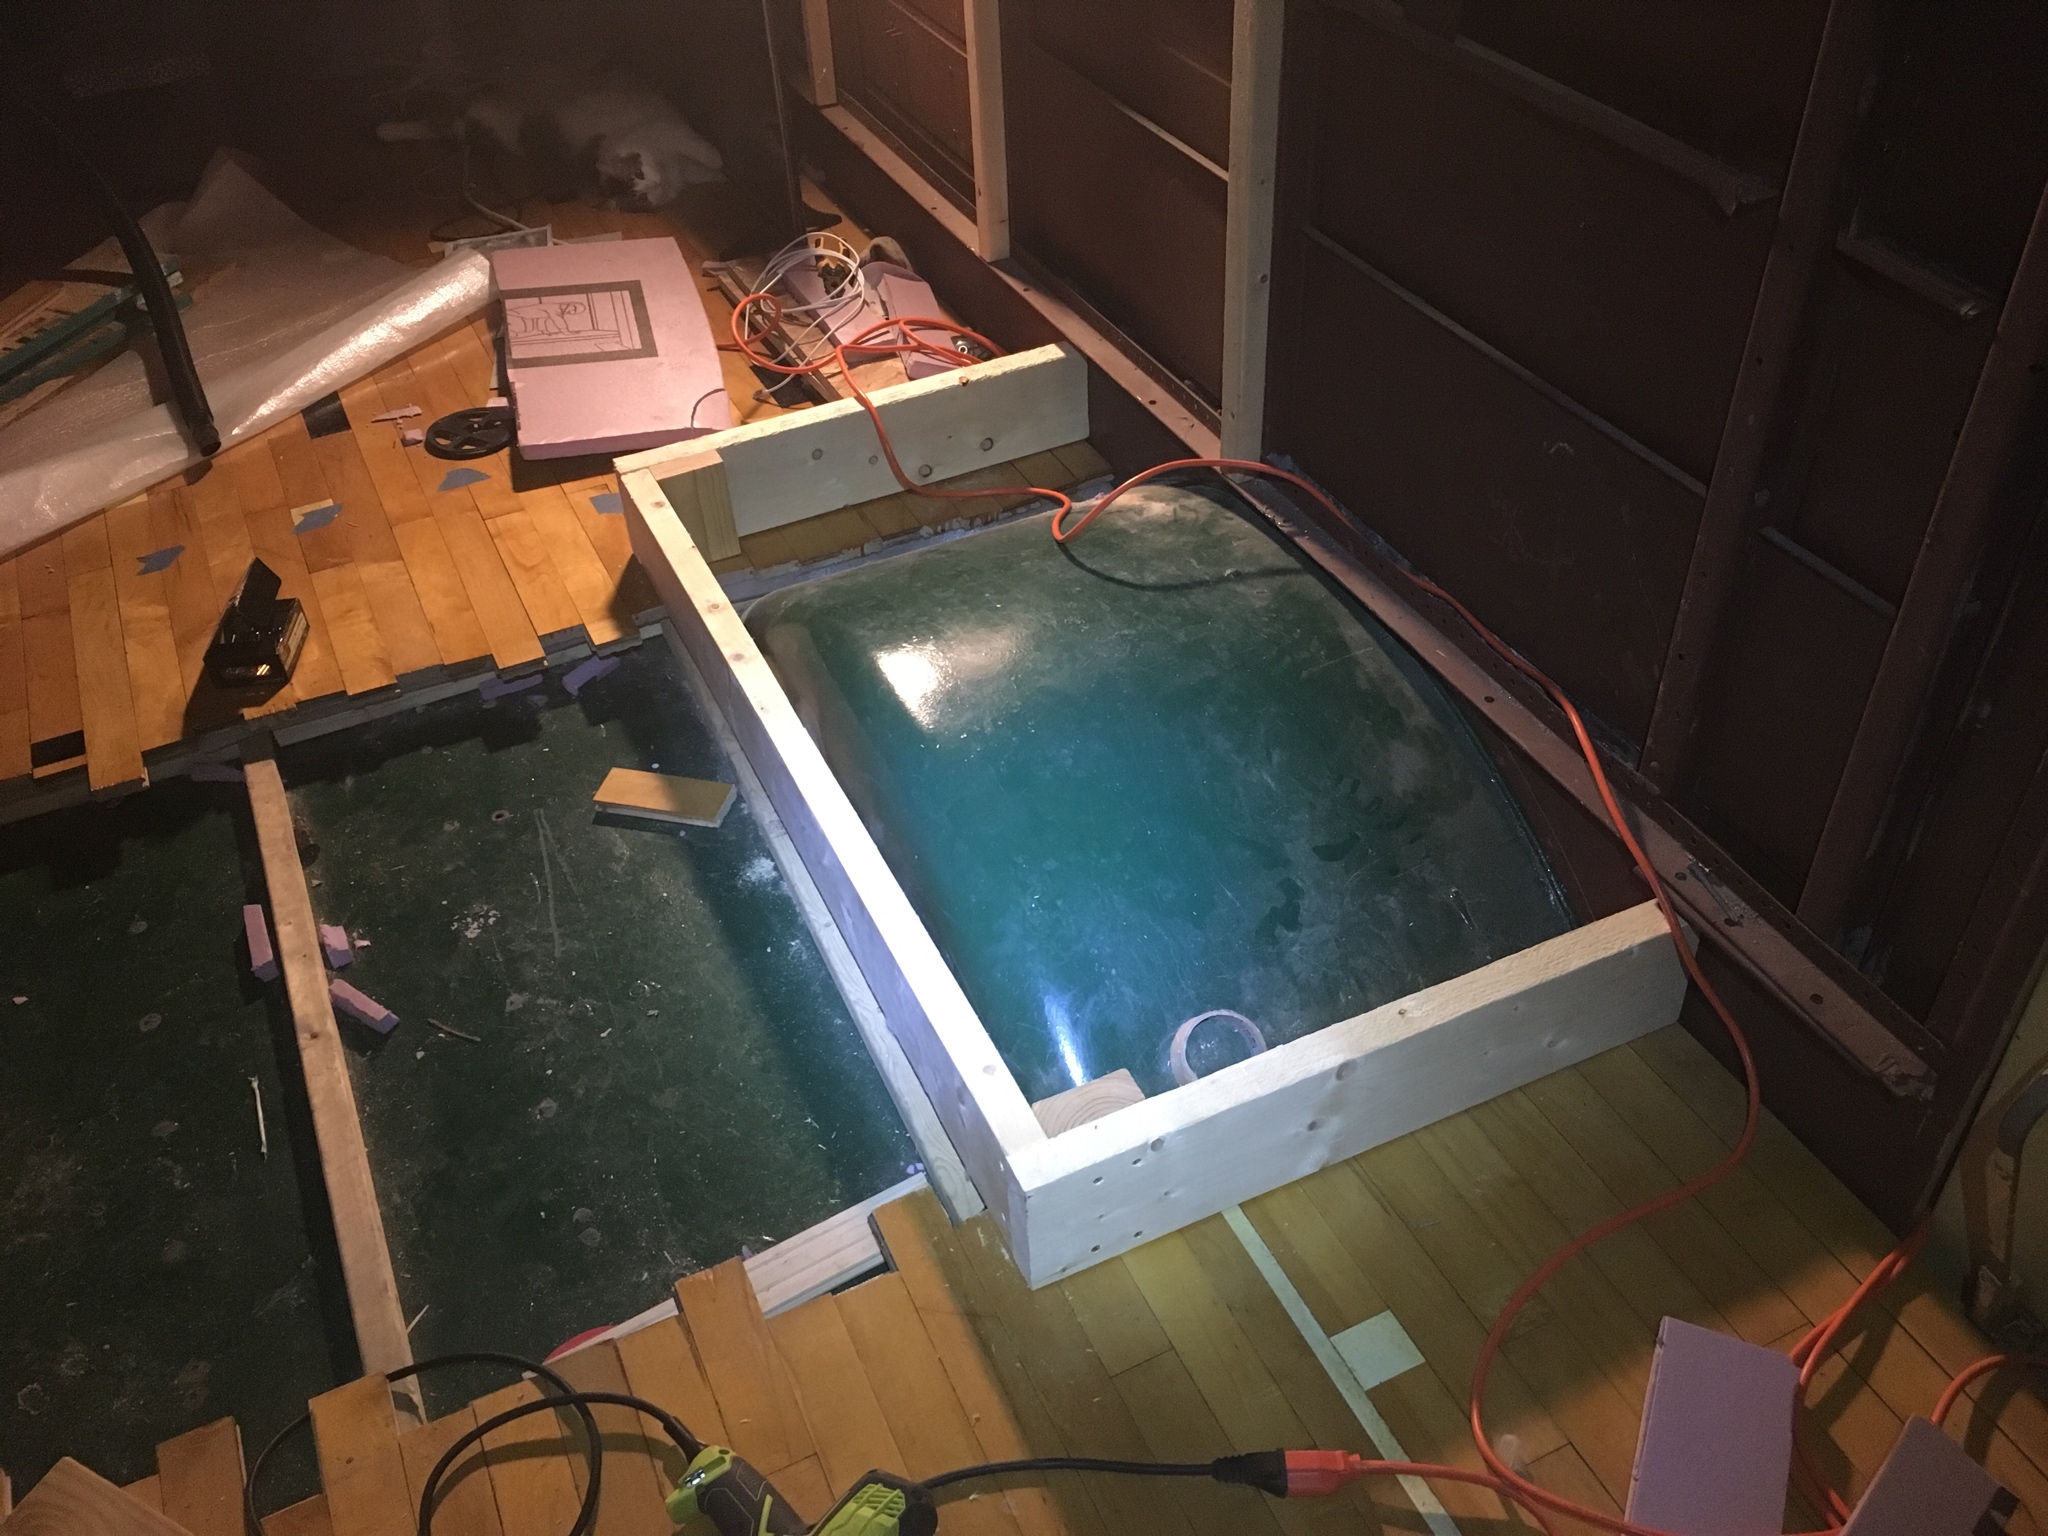
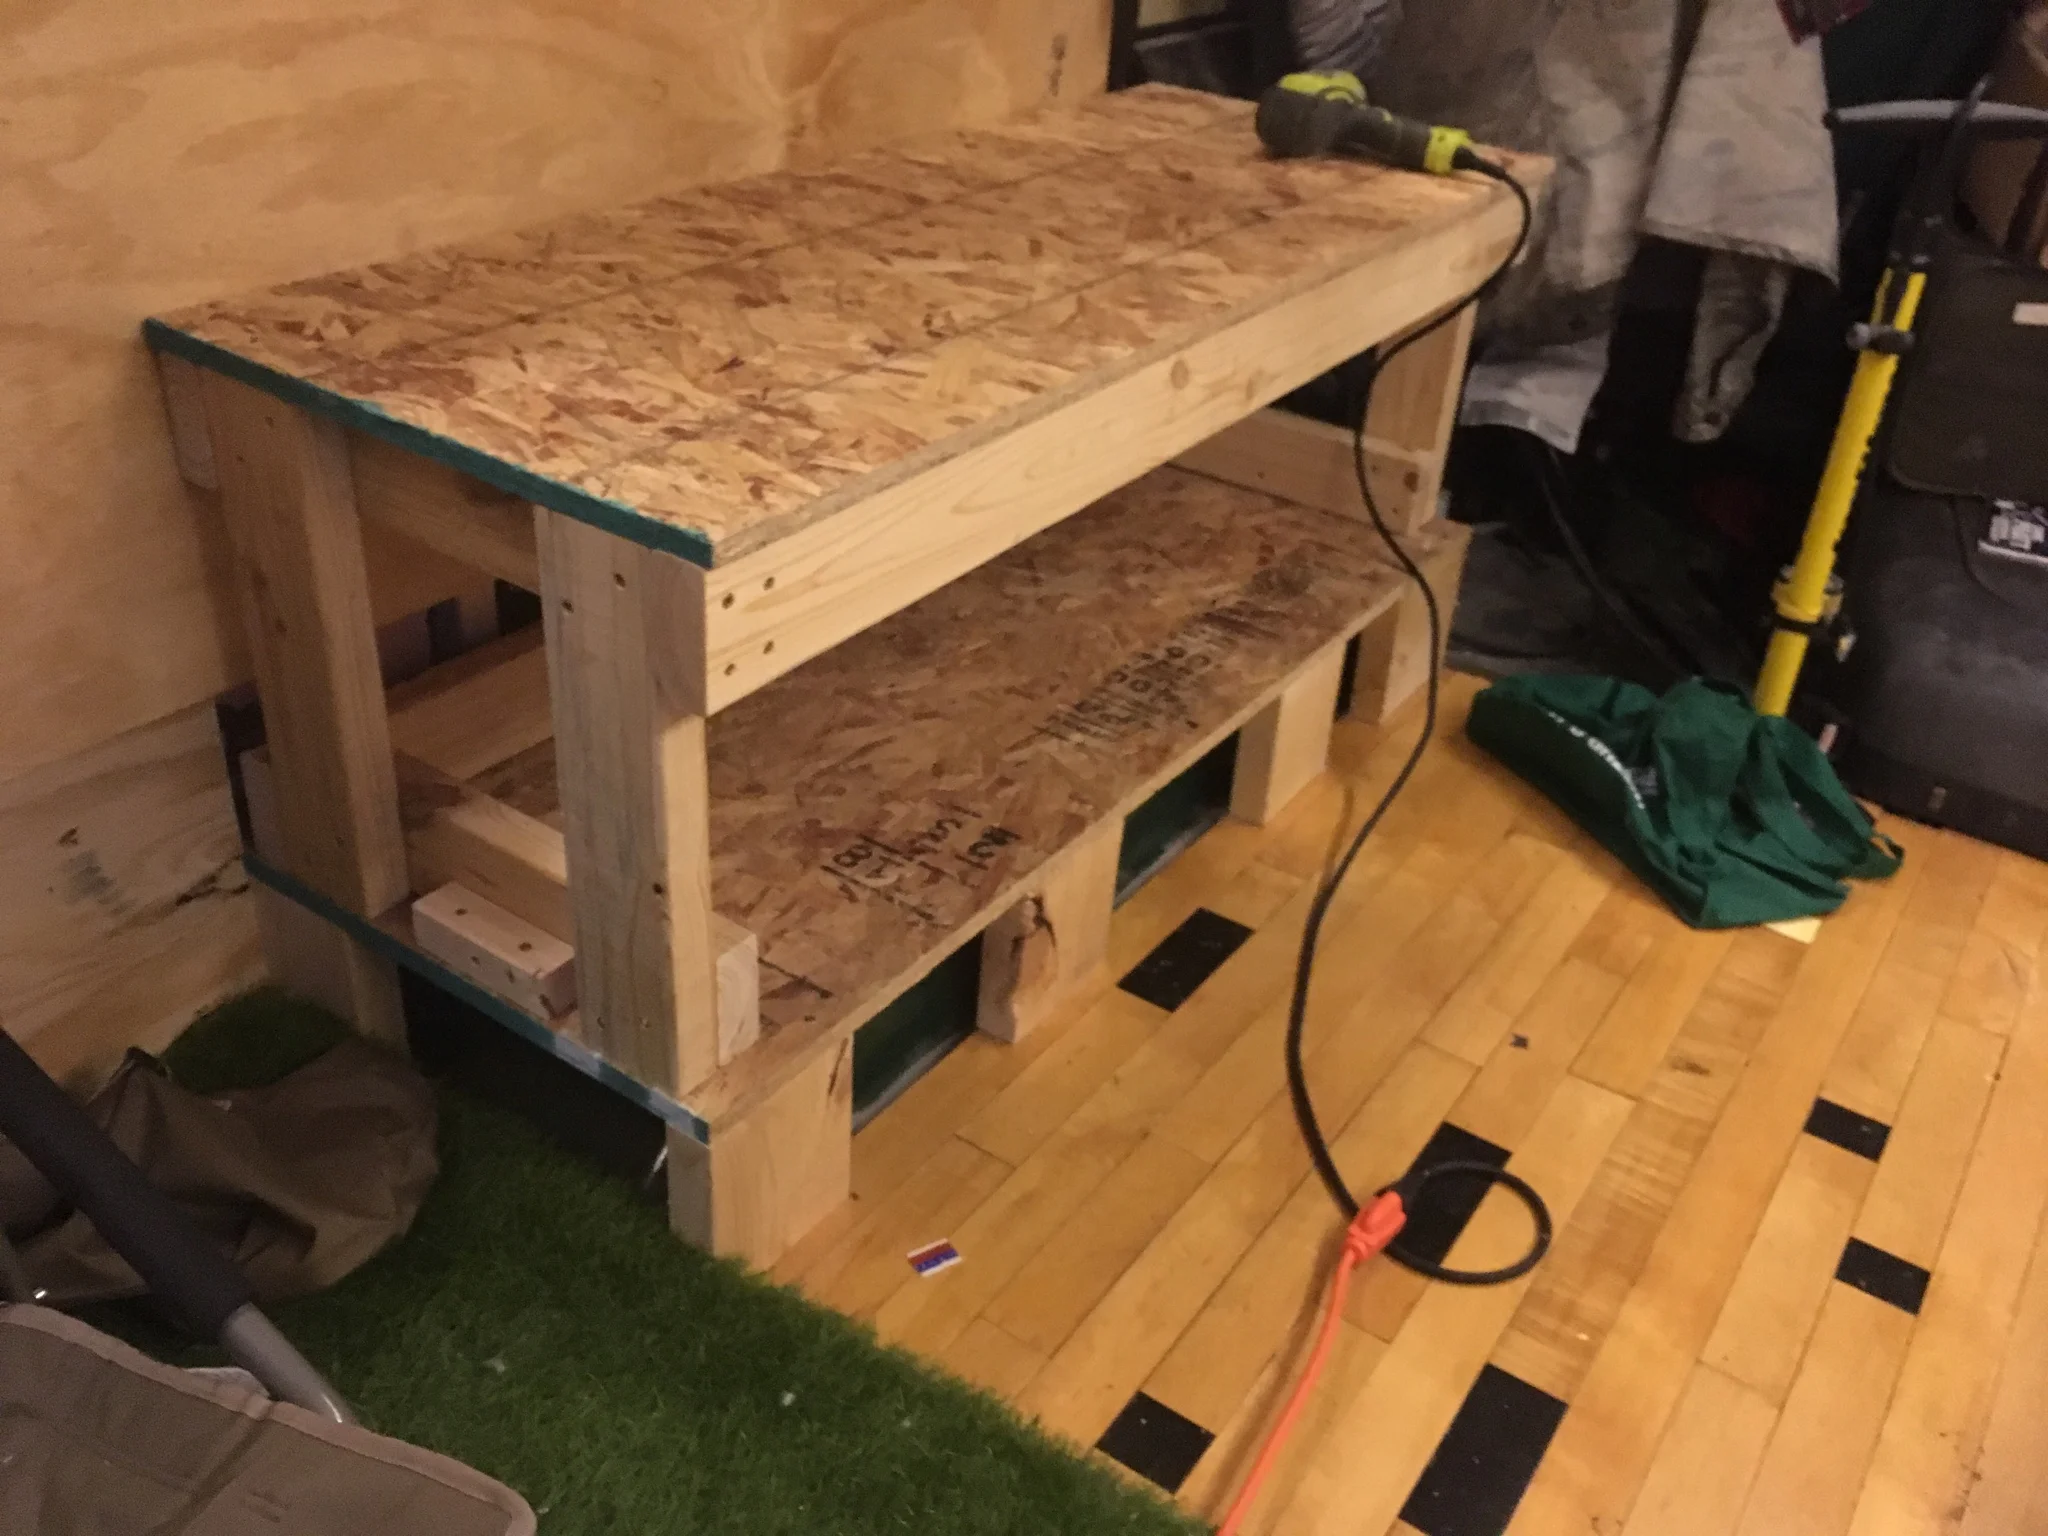
I built a box around the wheel wells. Its nice to have the space while I'm working on and living in the bus. This will eventually be a shoe rack and/or dog kennel.
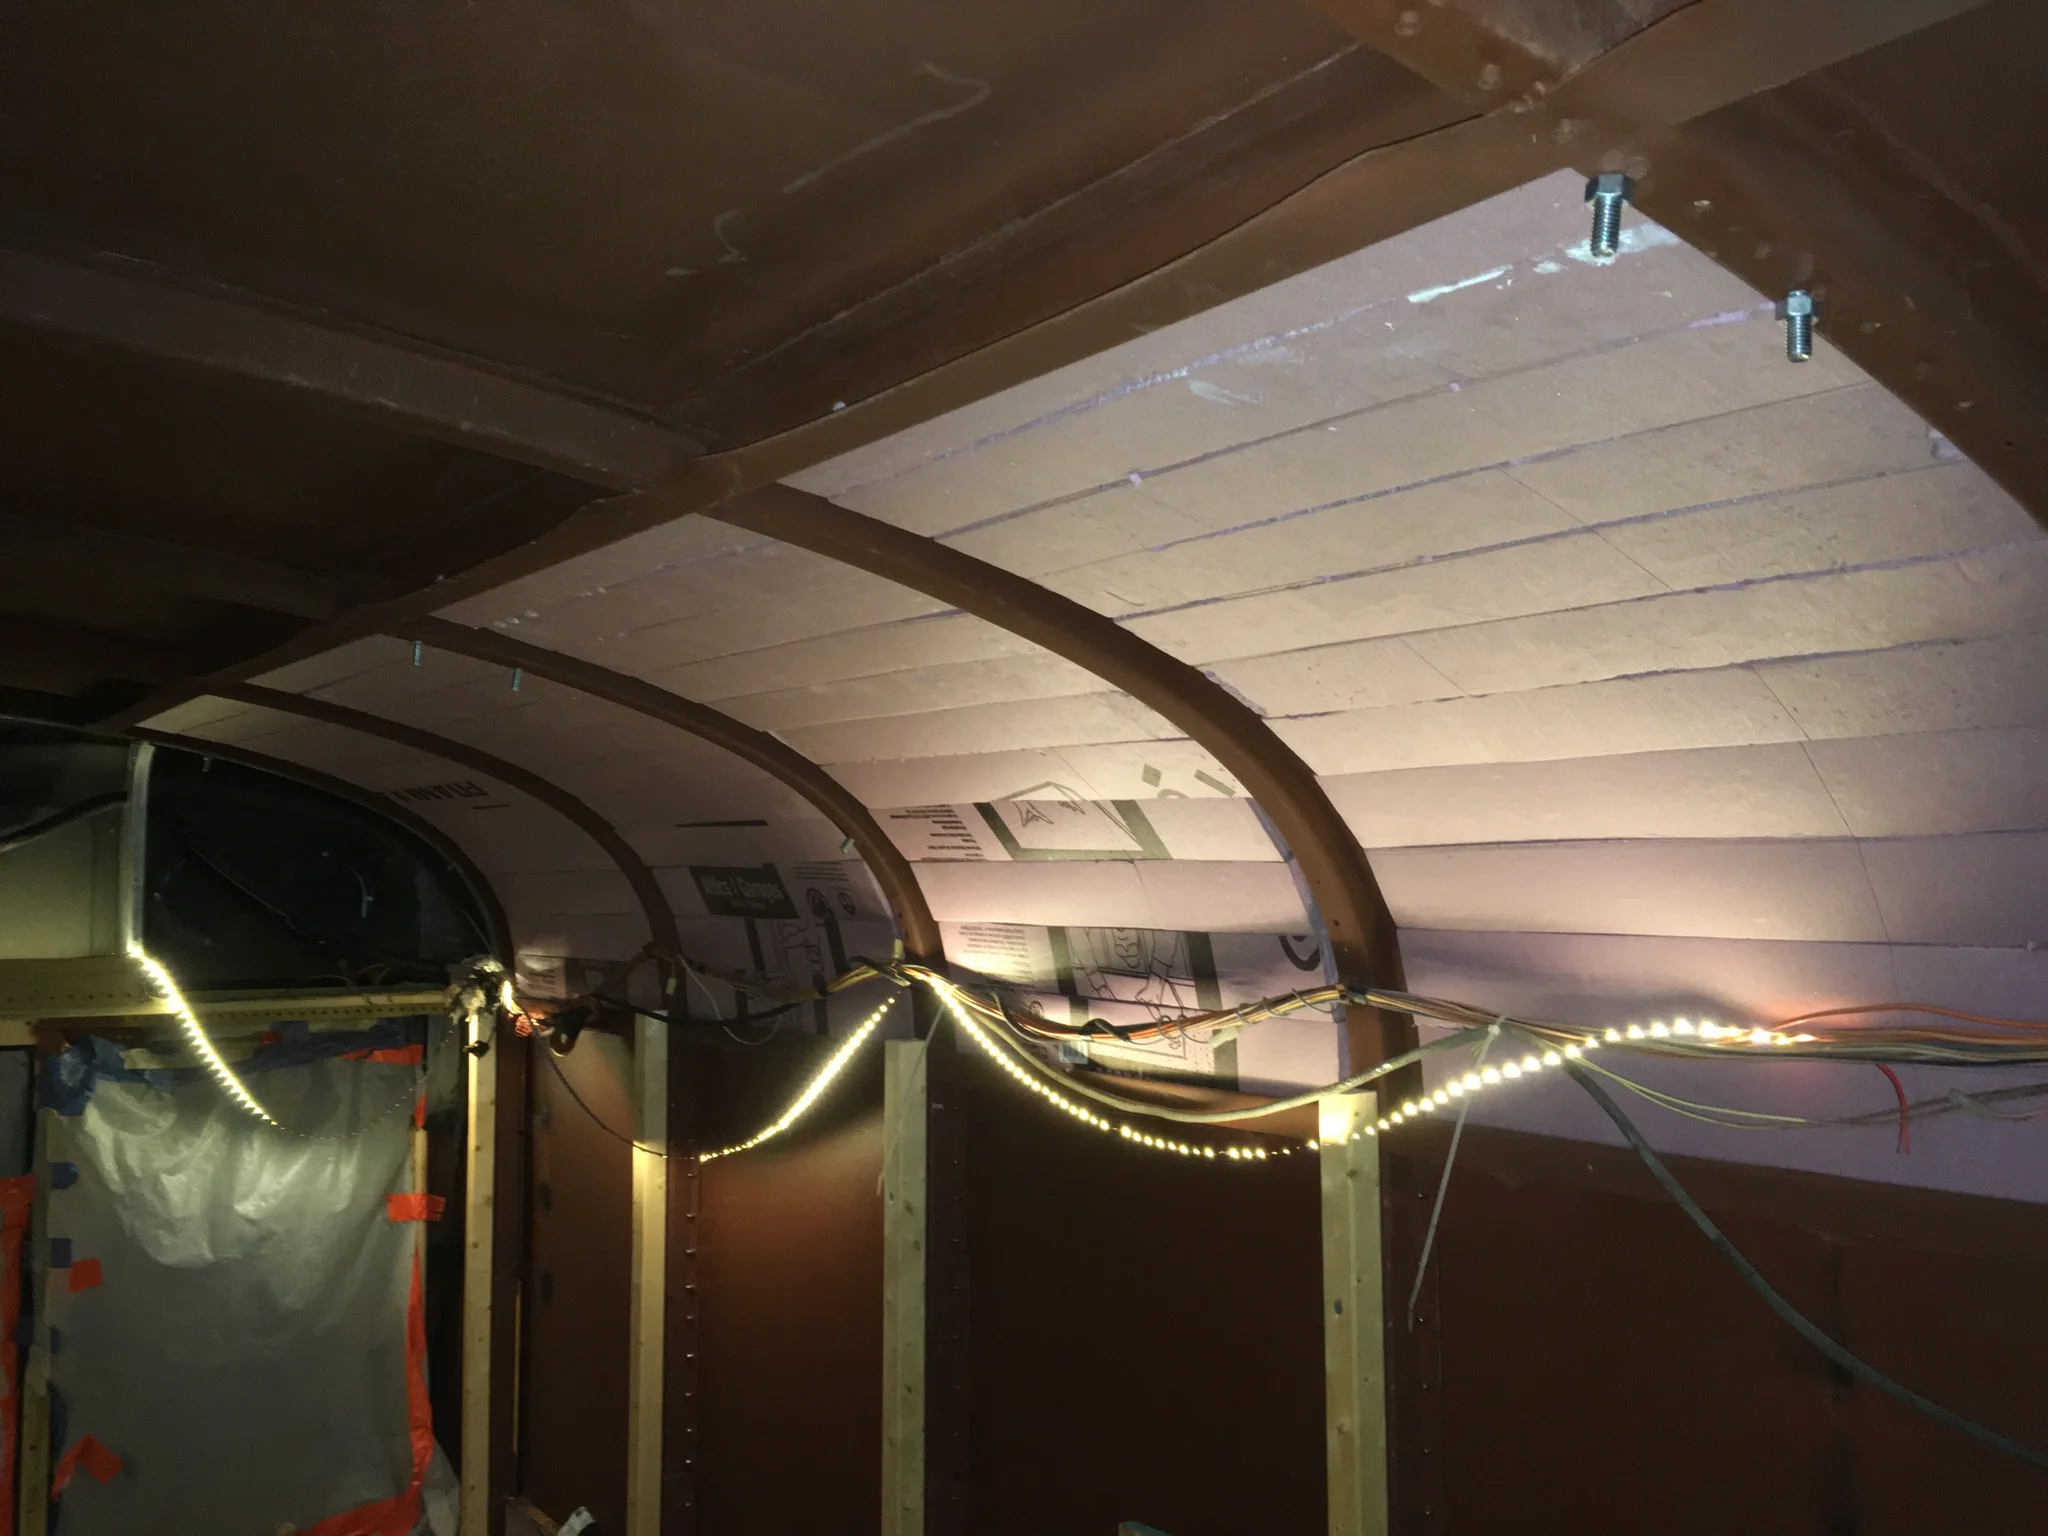
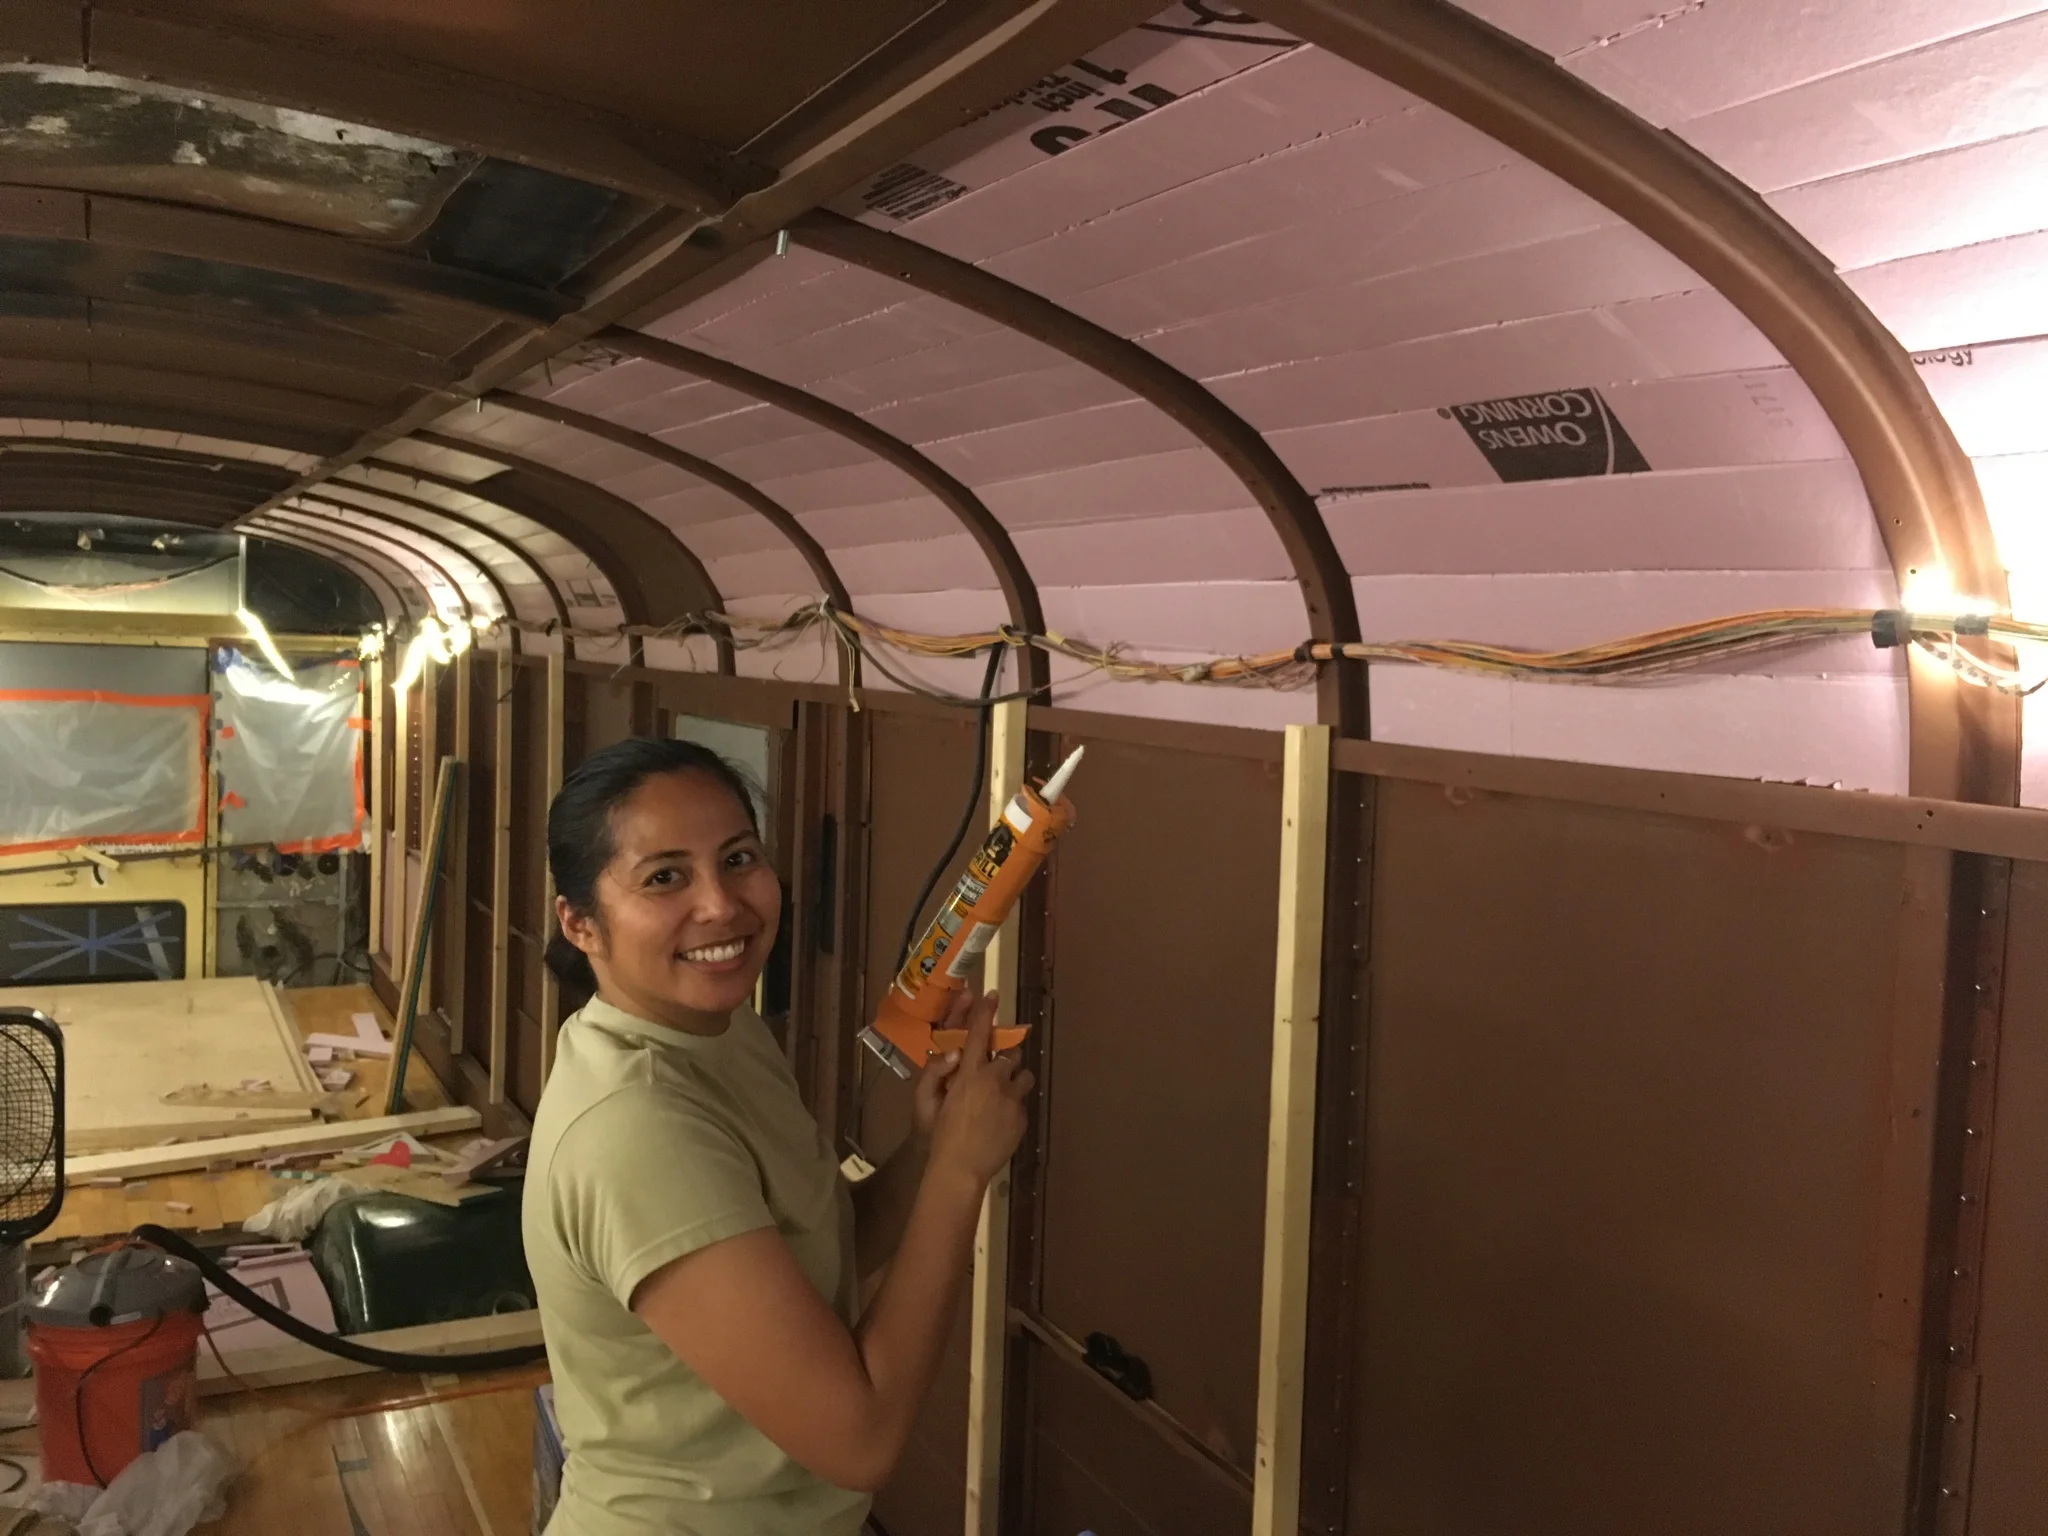
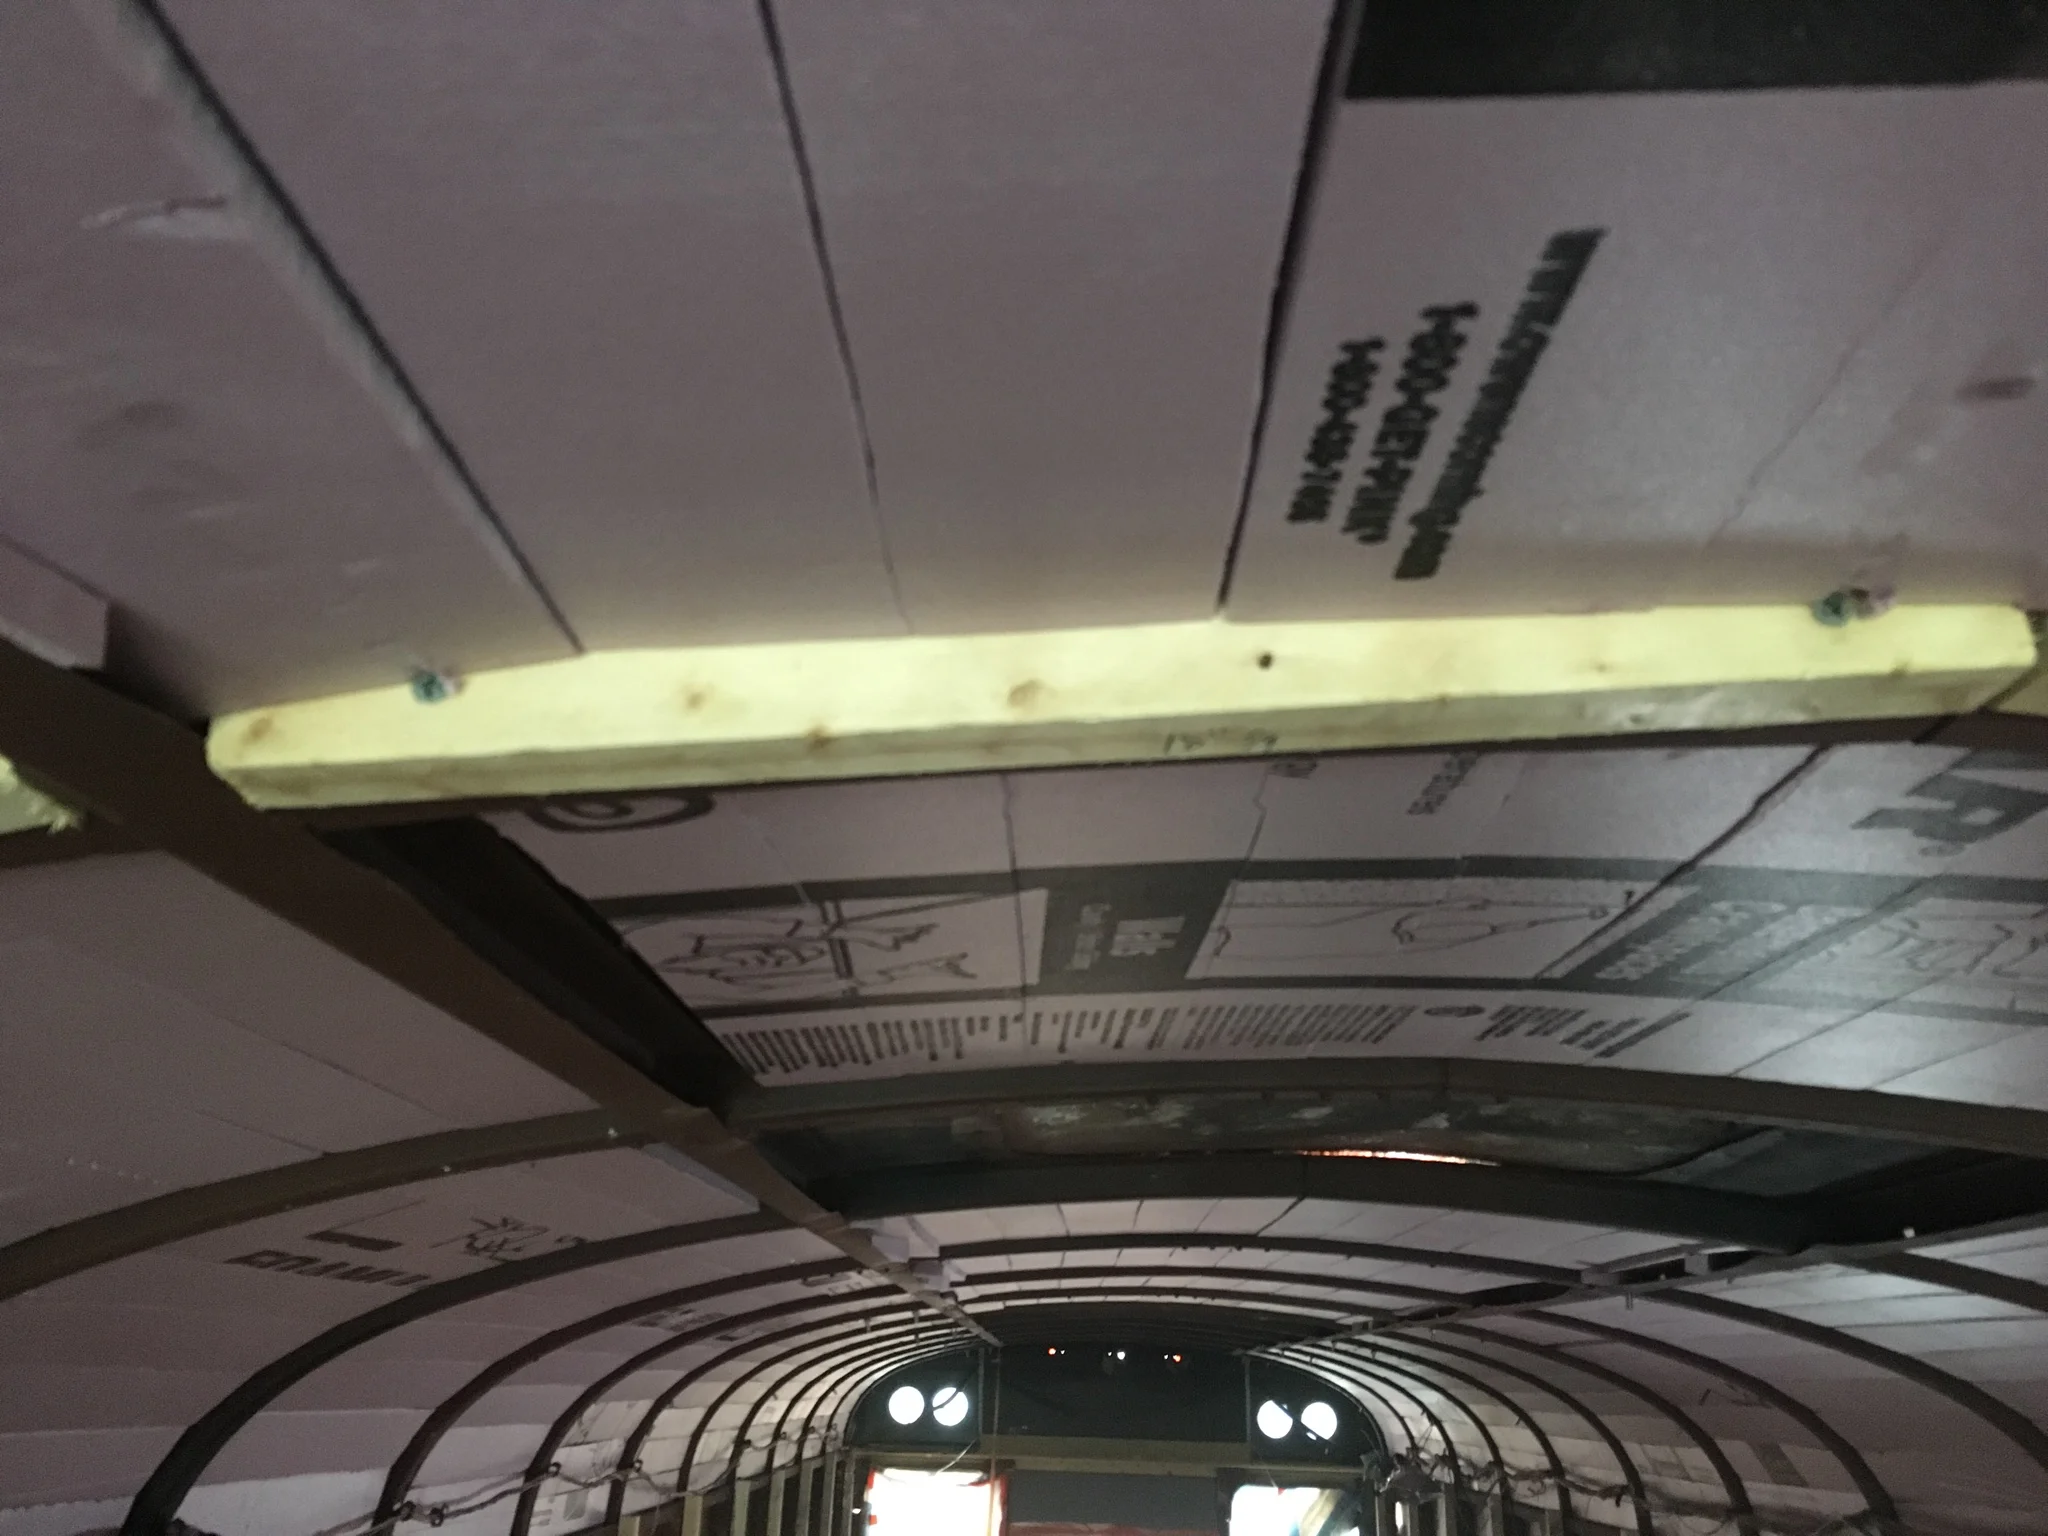
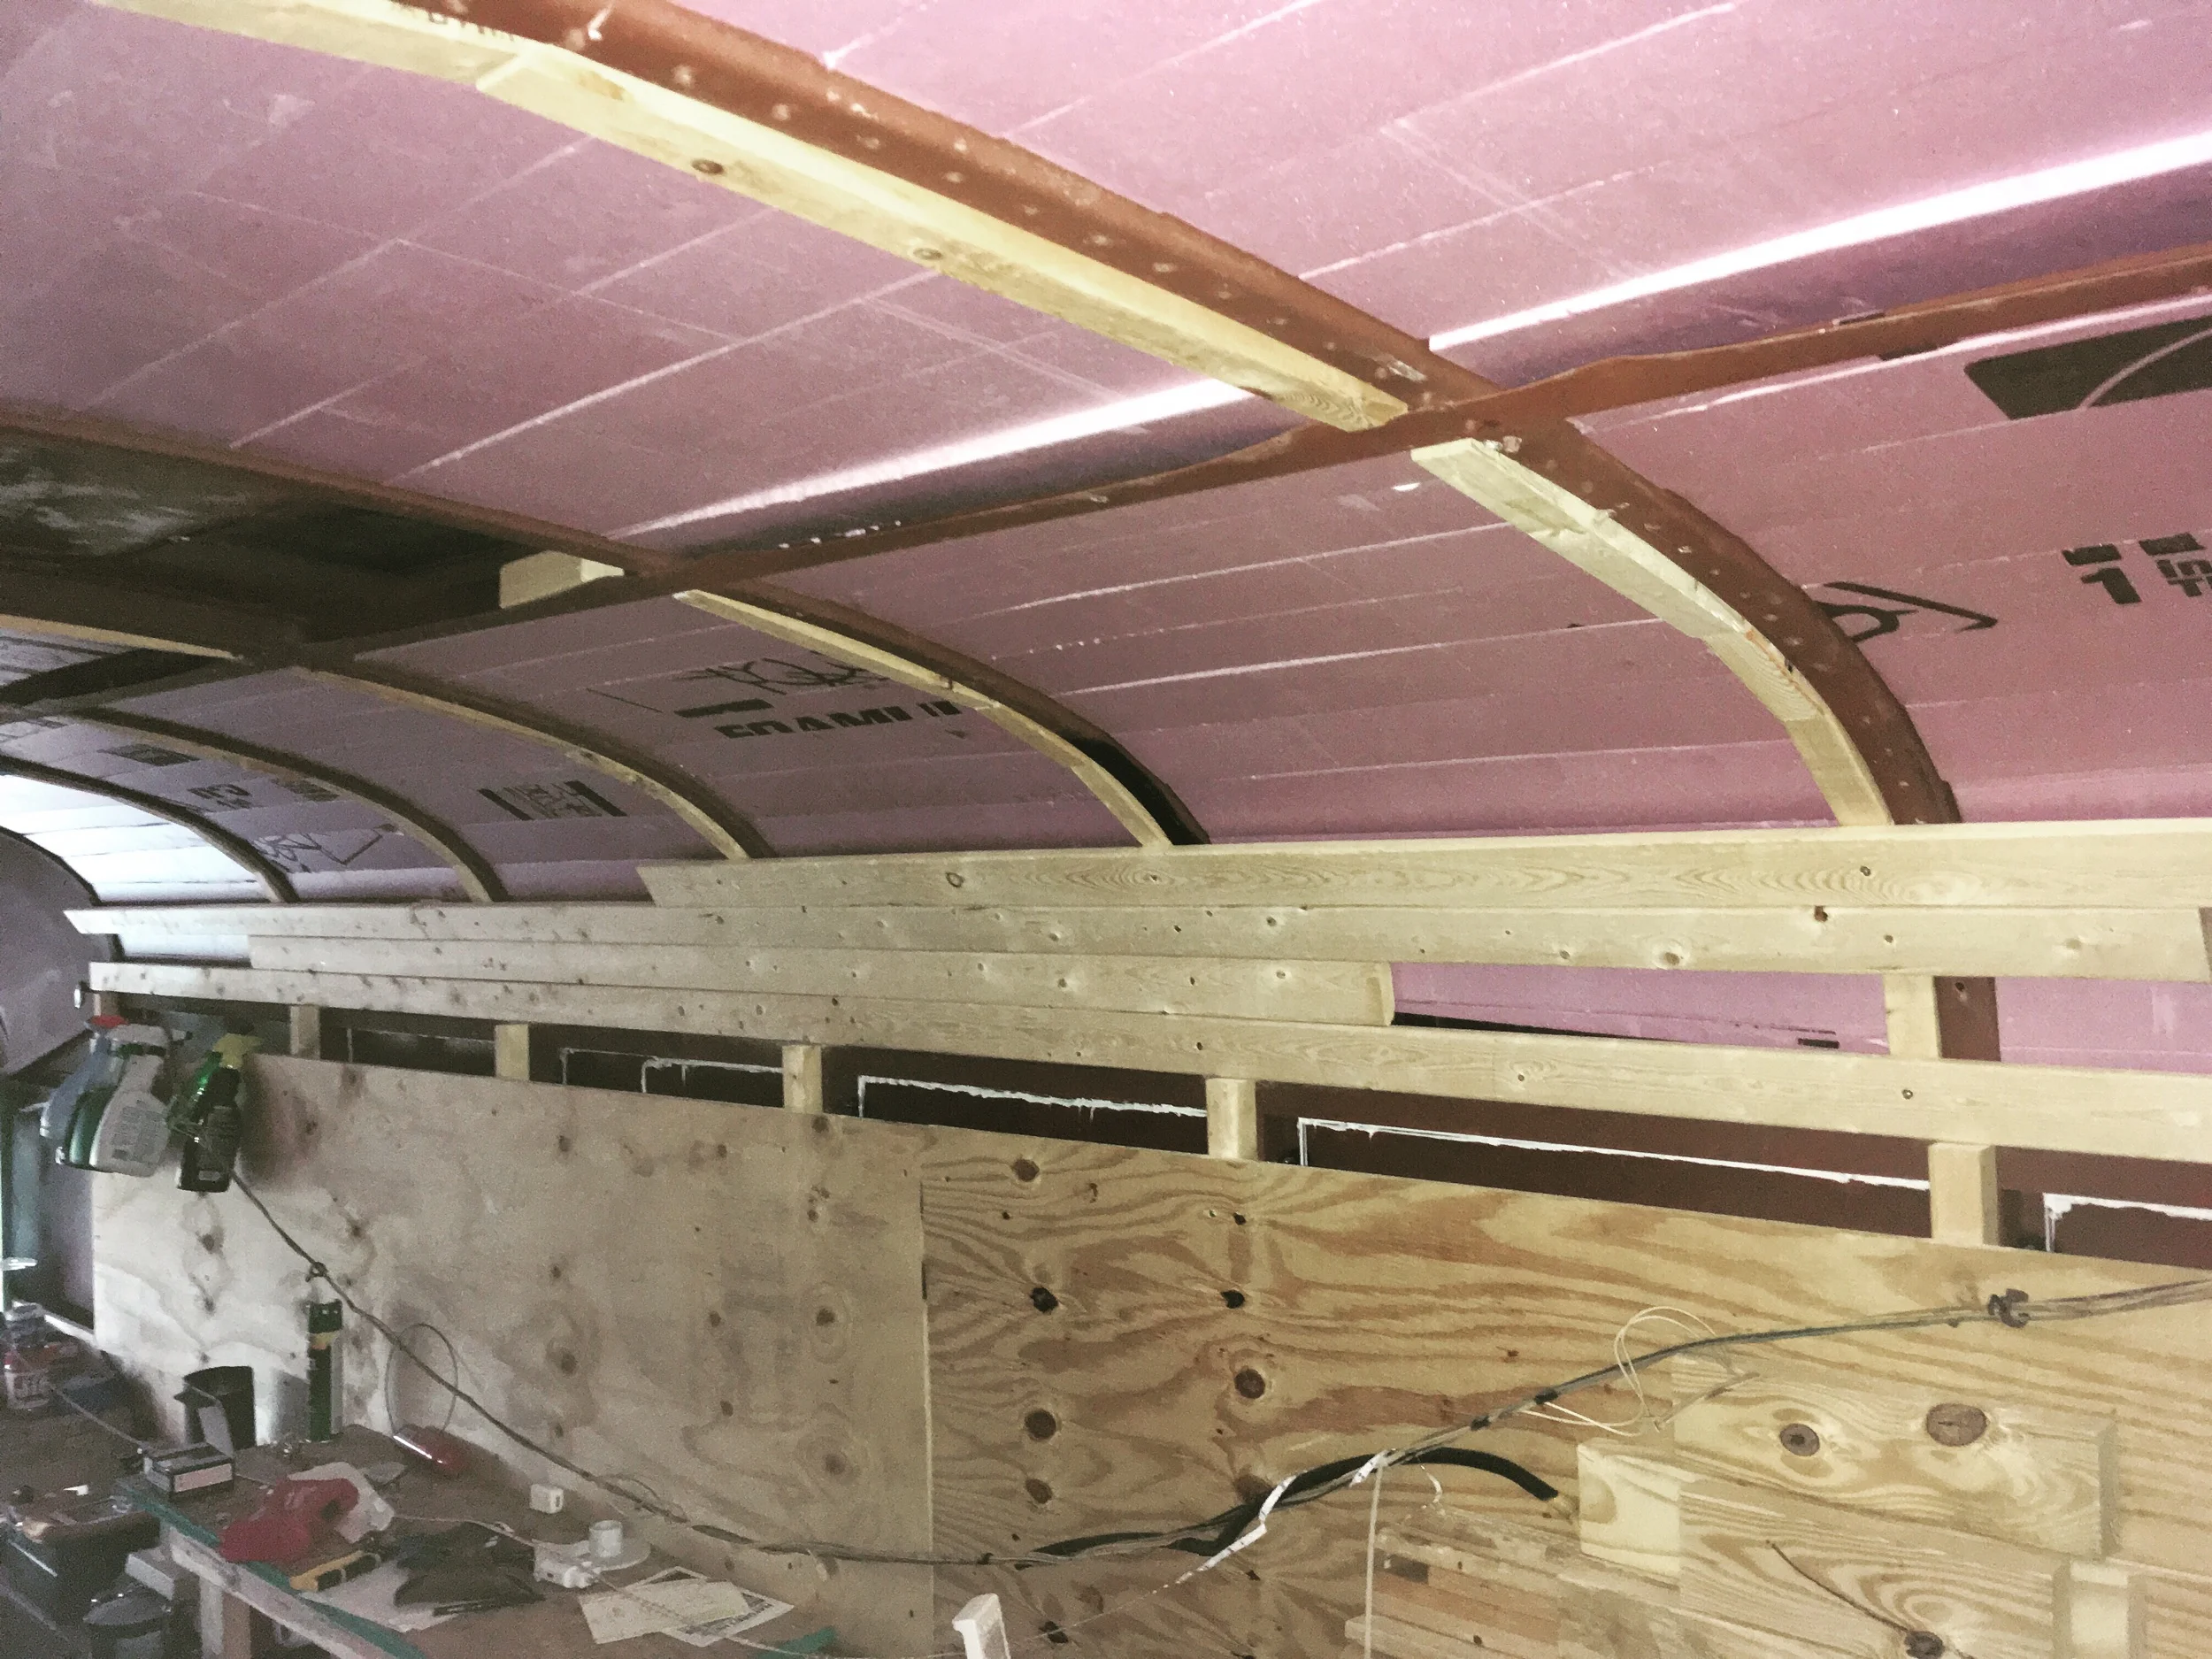
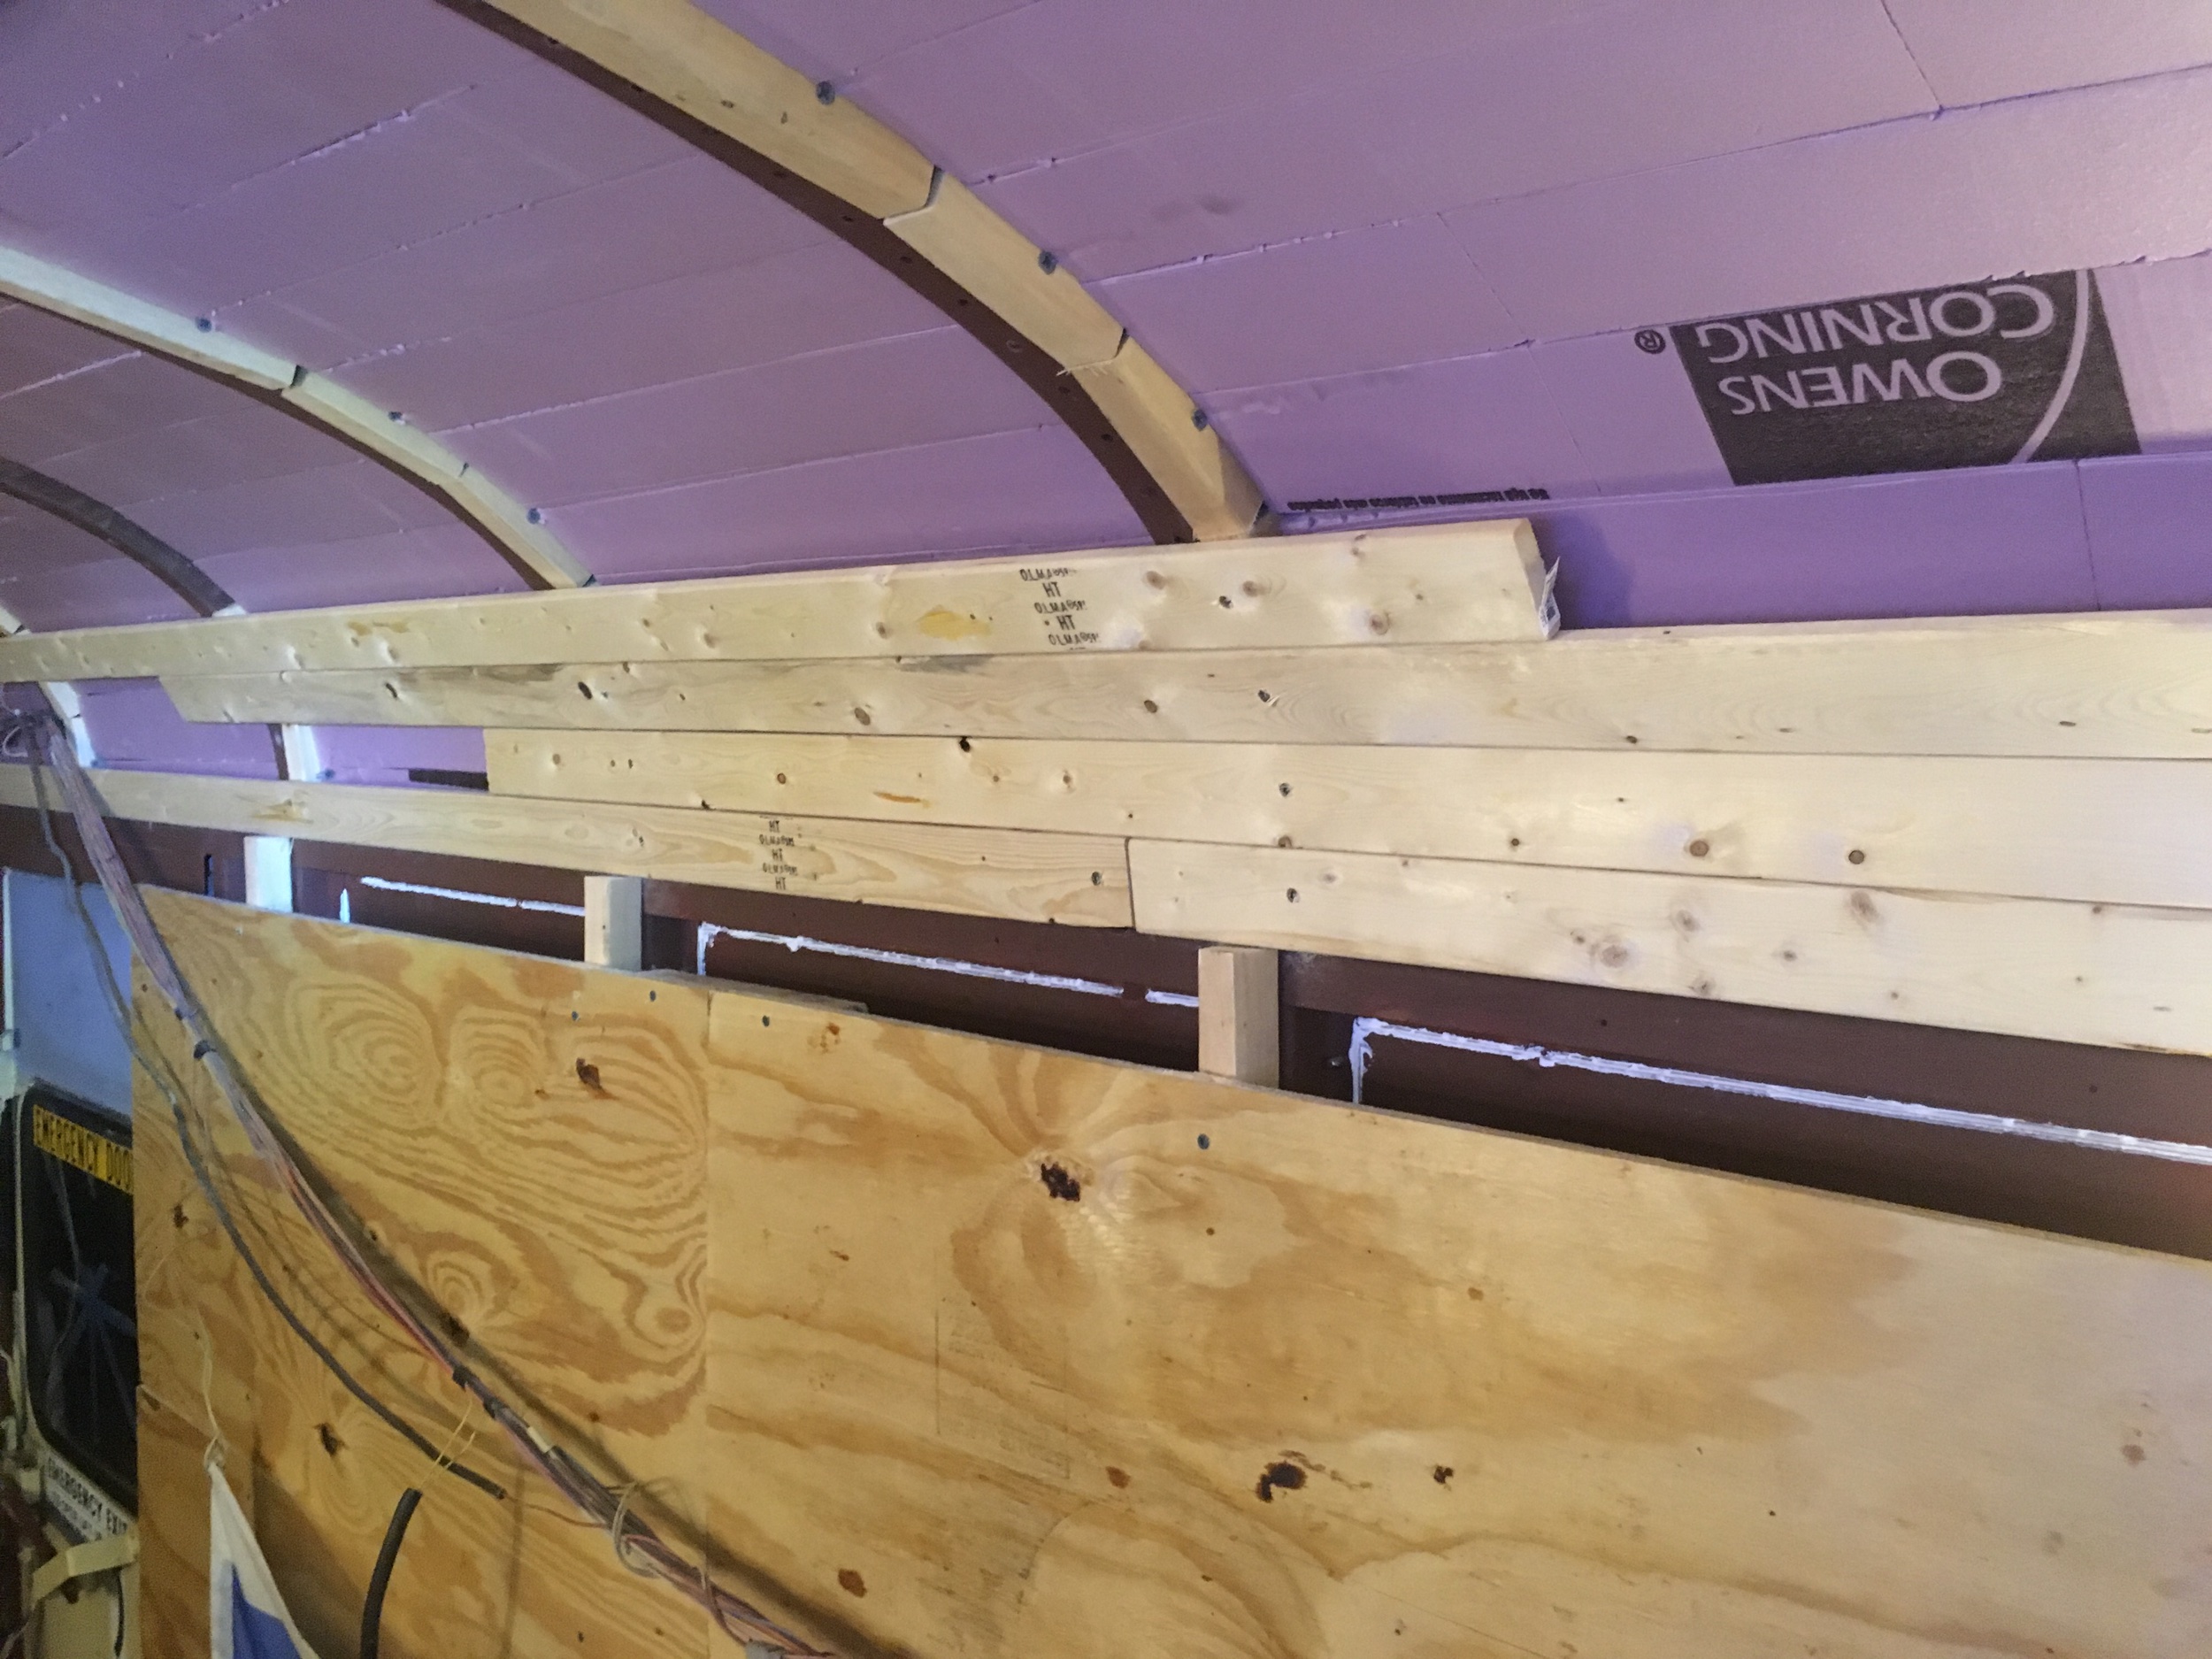
Starting to insulate the curved area of the Starboard side. This method involved cutting my foamboard more than I wanted, but it works out pretty well. I cut the board down to 3" by 2' portions and used Gorilla Glue adhesive that's foamboard safe. Glues can melt foamboard!!!
Port side test area. The gorilla glue holds impressively well, bonding XPS foam to metal. It costs $8 a bottle, but there's some serious peace of mind with that, compared to others that require 24 hours of pressure in order for it to bond. 30 seconds or less and that board is firmly adhered.
Not feeling noticeably cooler yet, but we're getting there! The 3" strips were the best way to tackle the roof curve. It's more work, but well worth it!
Insulation is nearly done for the ceiling. The center portions I'm saving for last so I can put the sunlights in eventually.
Edit: I’ve decided to cross this road when I get to it and not focus on the skylights right now.
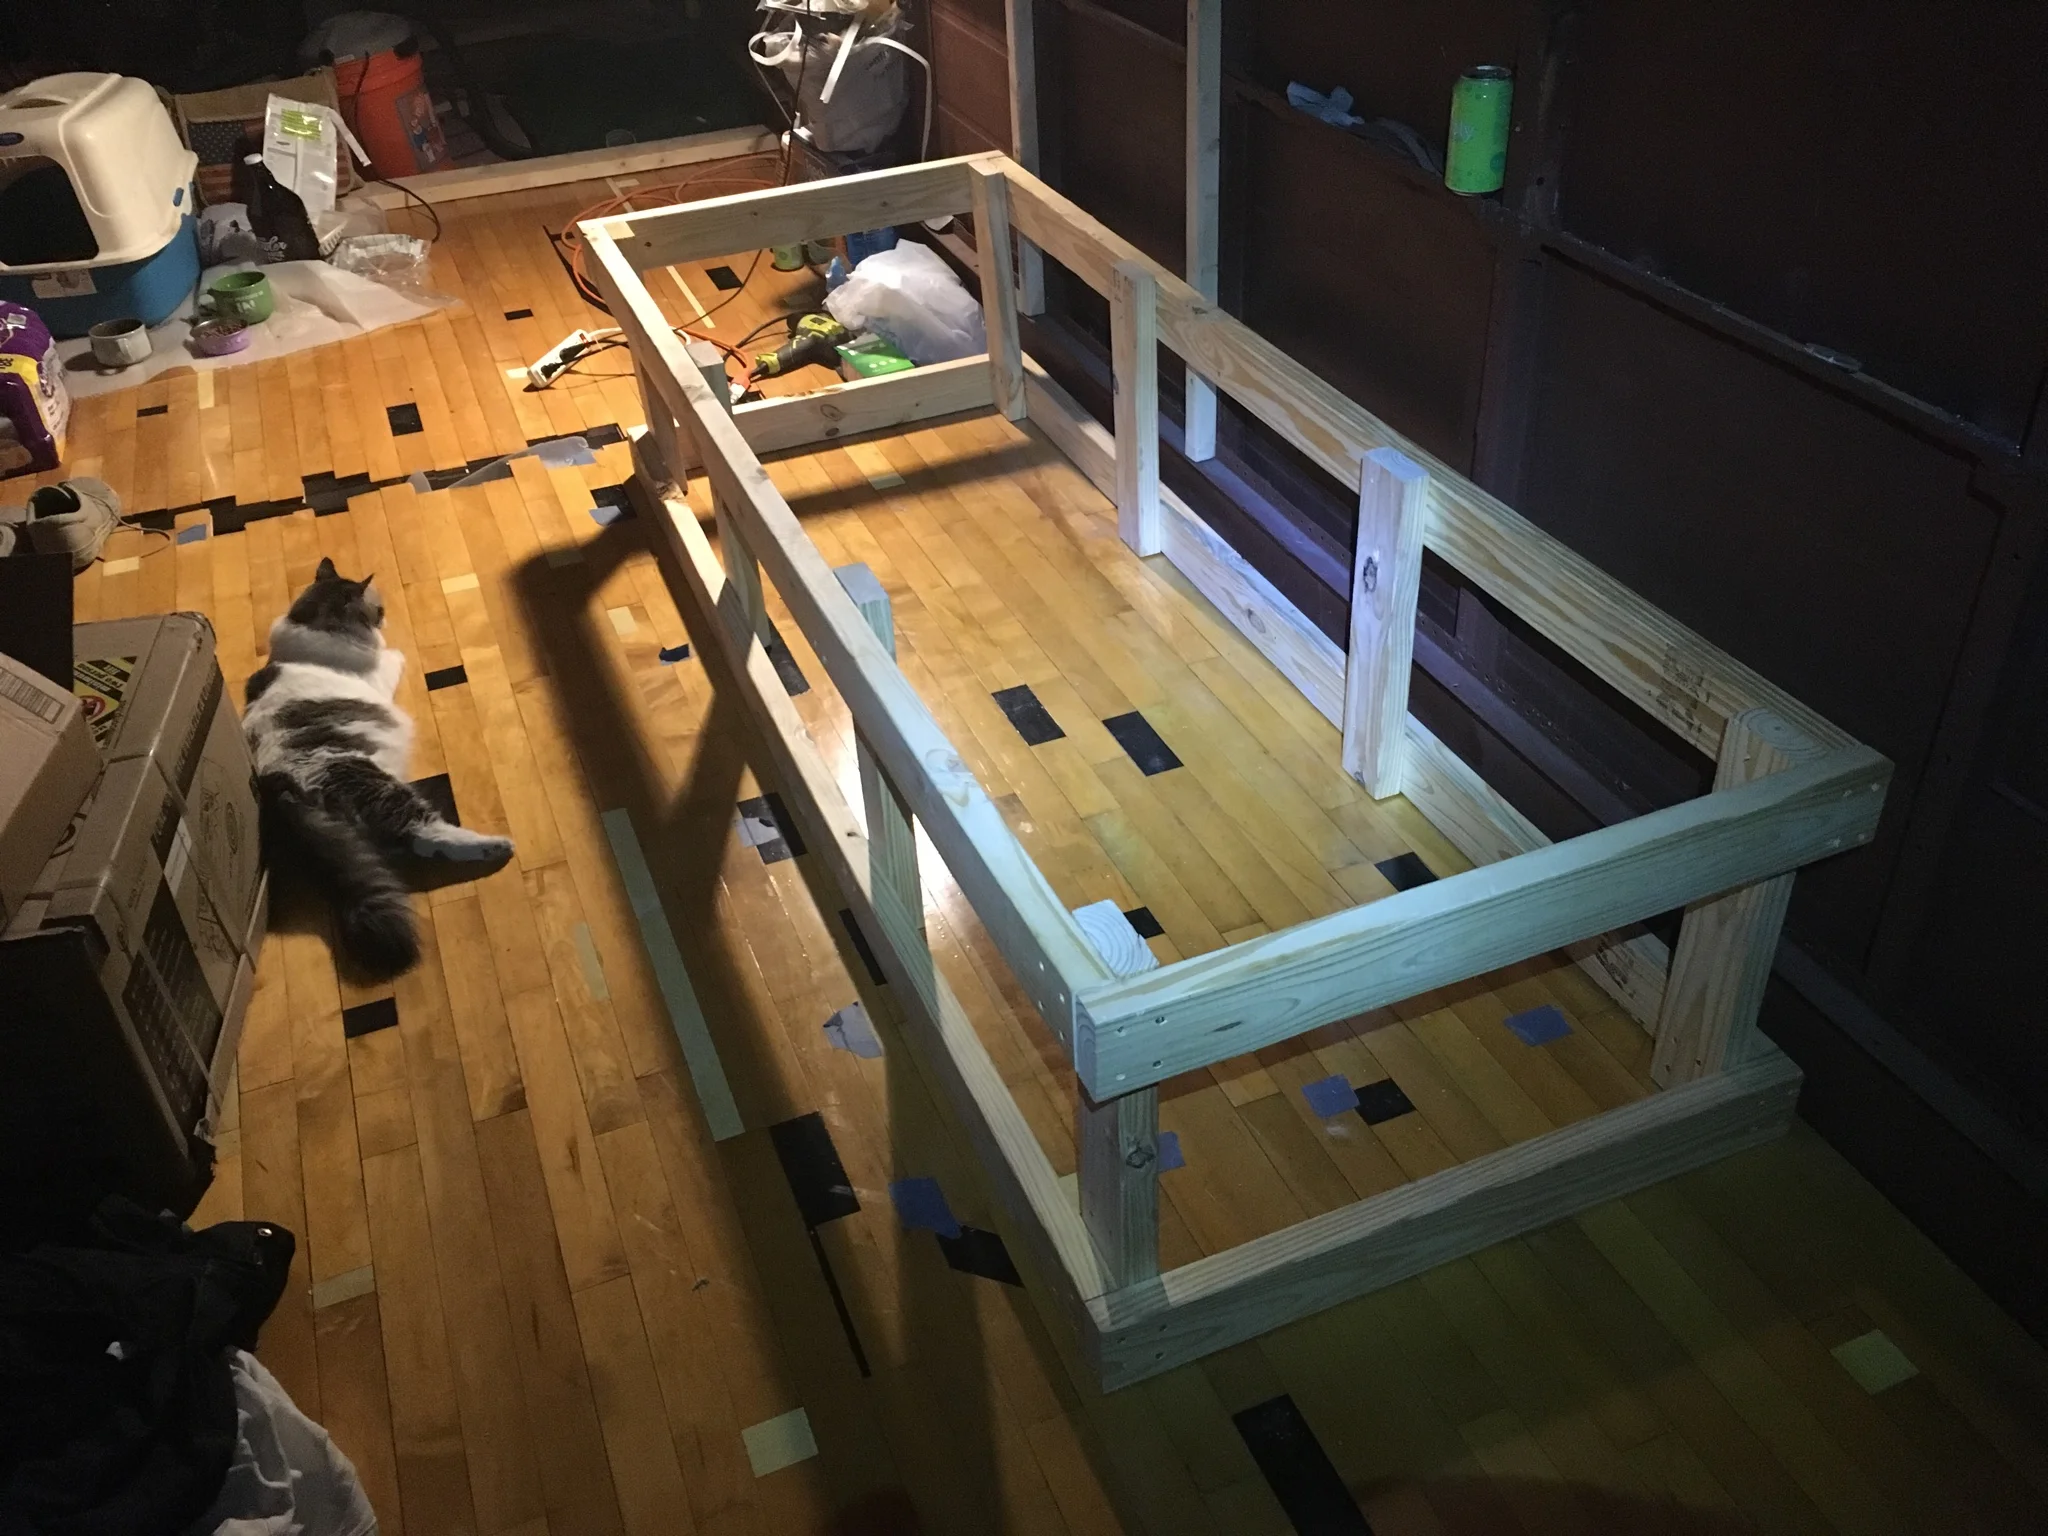
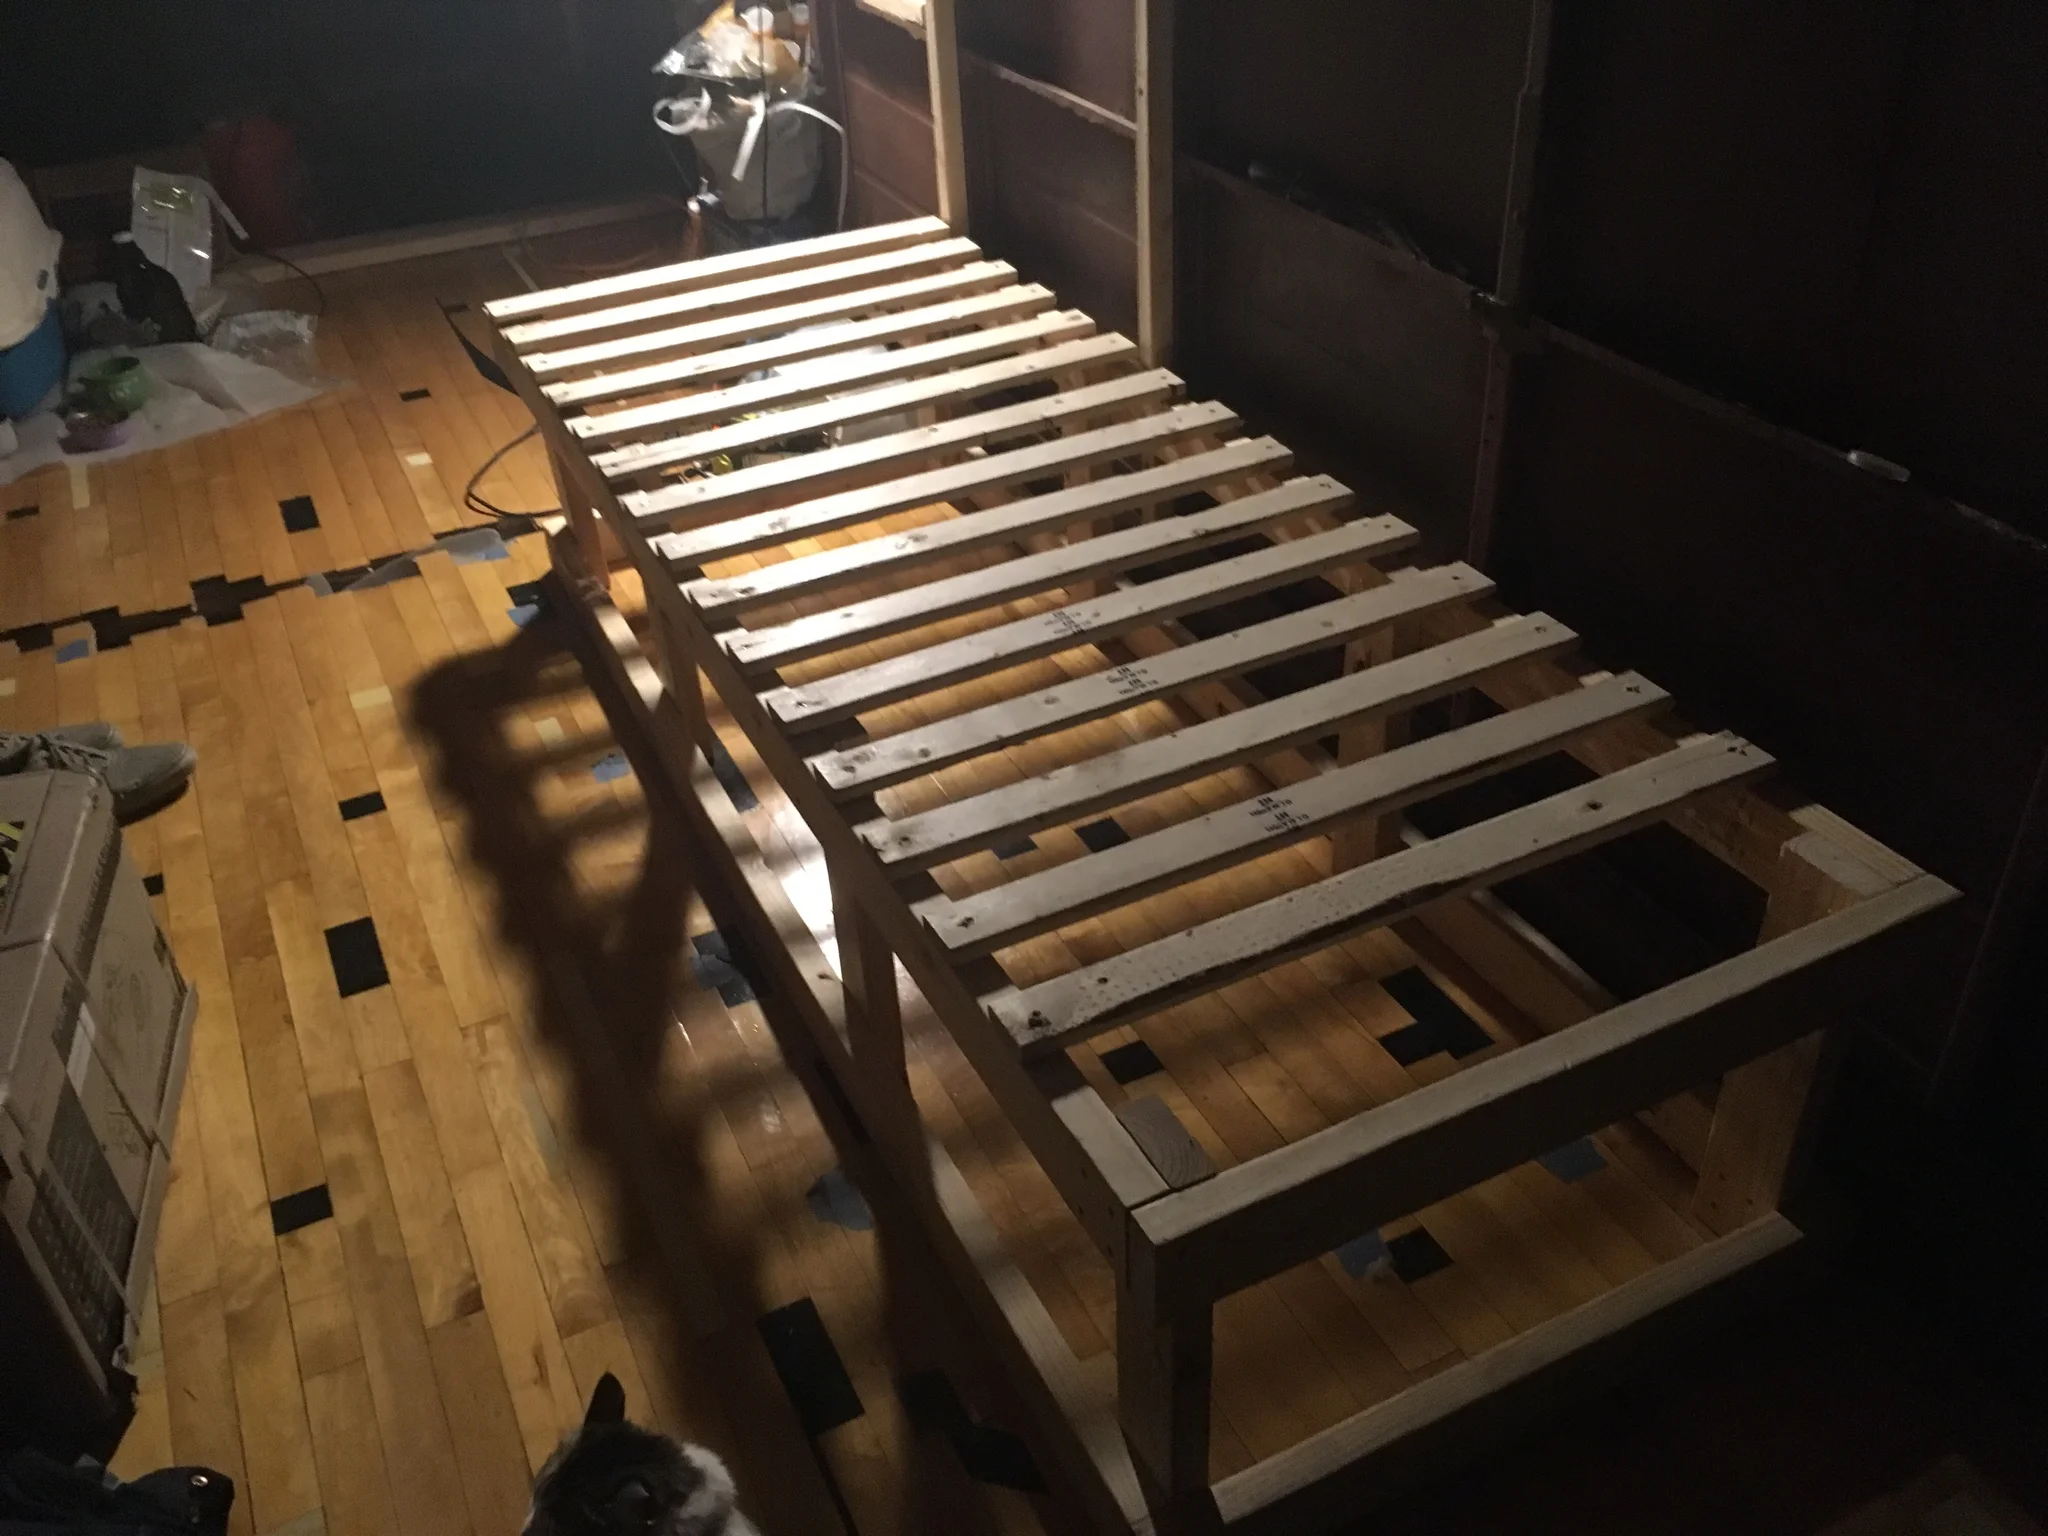
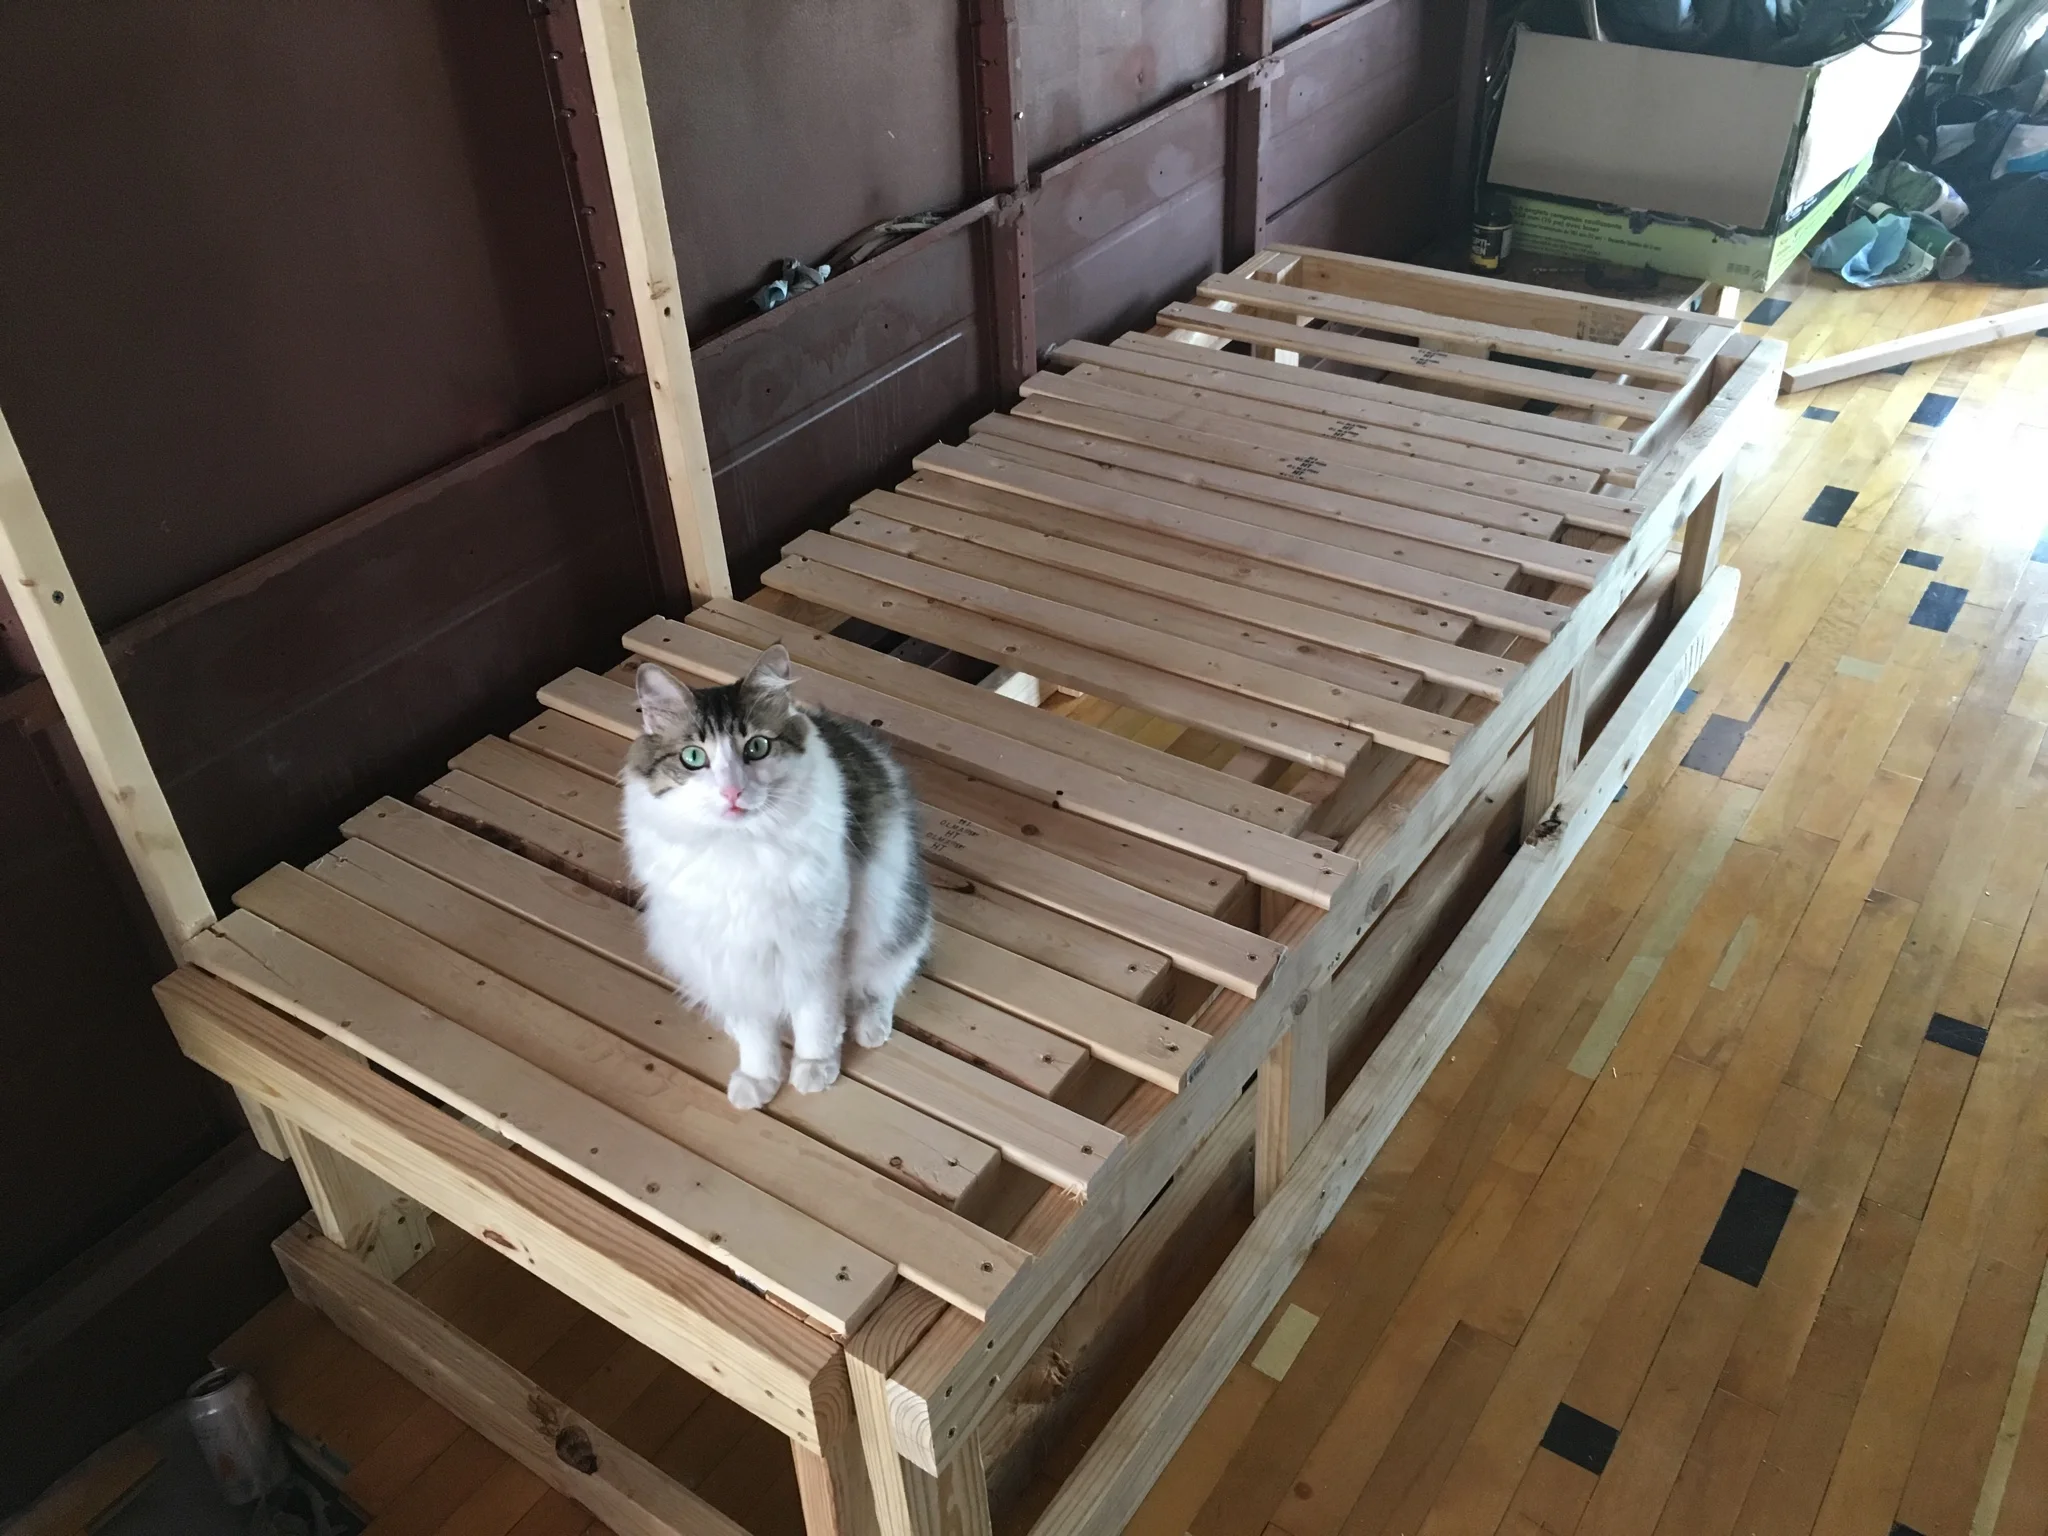
Starting work on the pull-out couch. I'm still deciding what I'm going to do for electrical stuff, so I'm not building stuff that needs to be built into the walls (where the wiring is going to go). Yellow pine 2 x 4 construction.
Maria sat on the slats while I screwed them in. I split a couple on the ends. I'll come back and fix them.
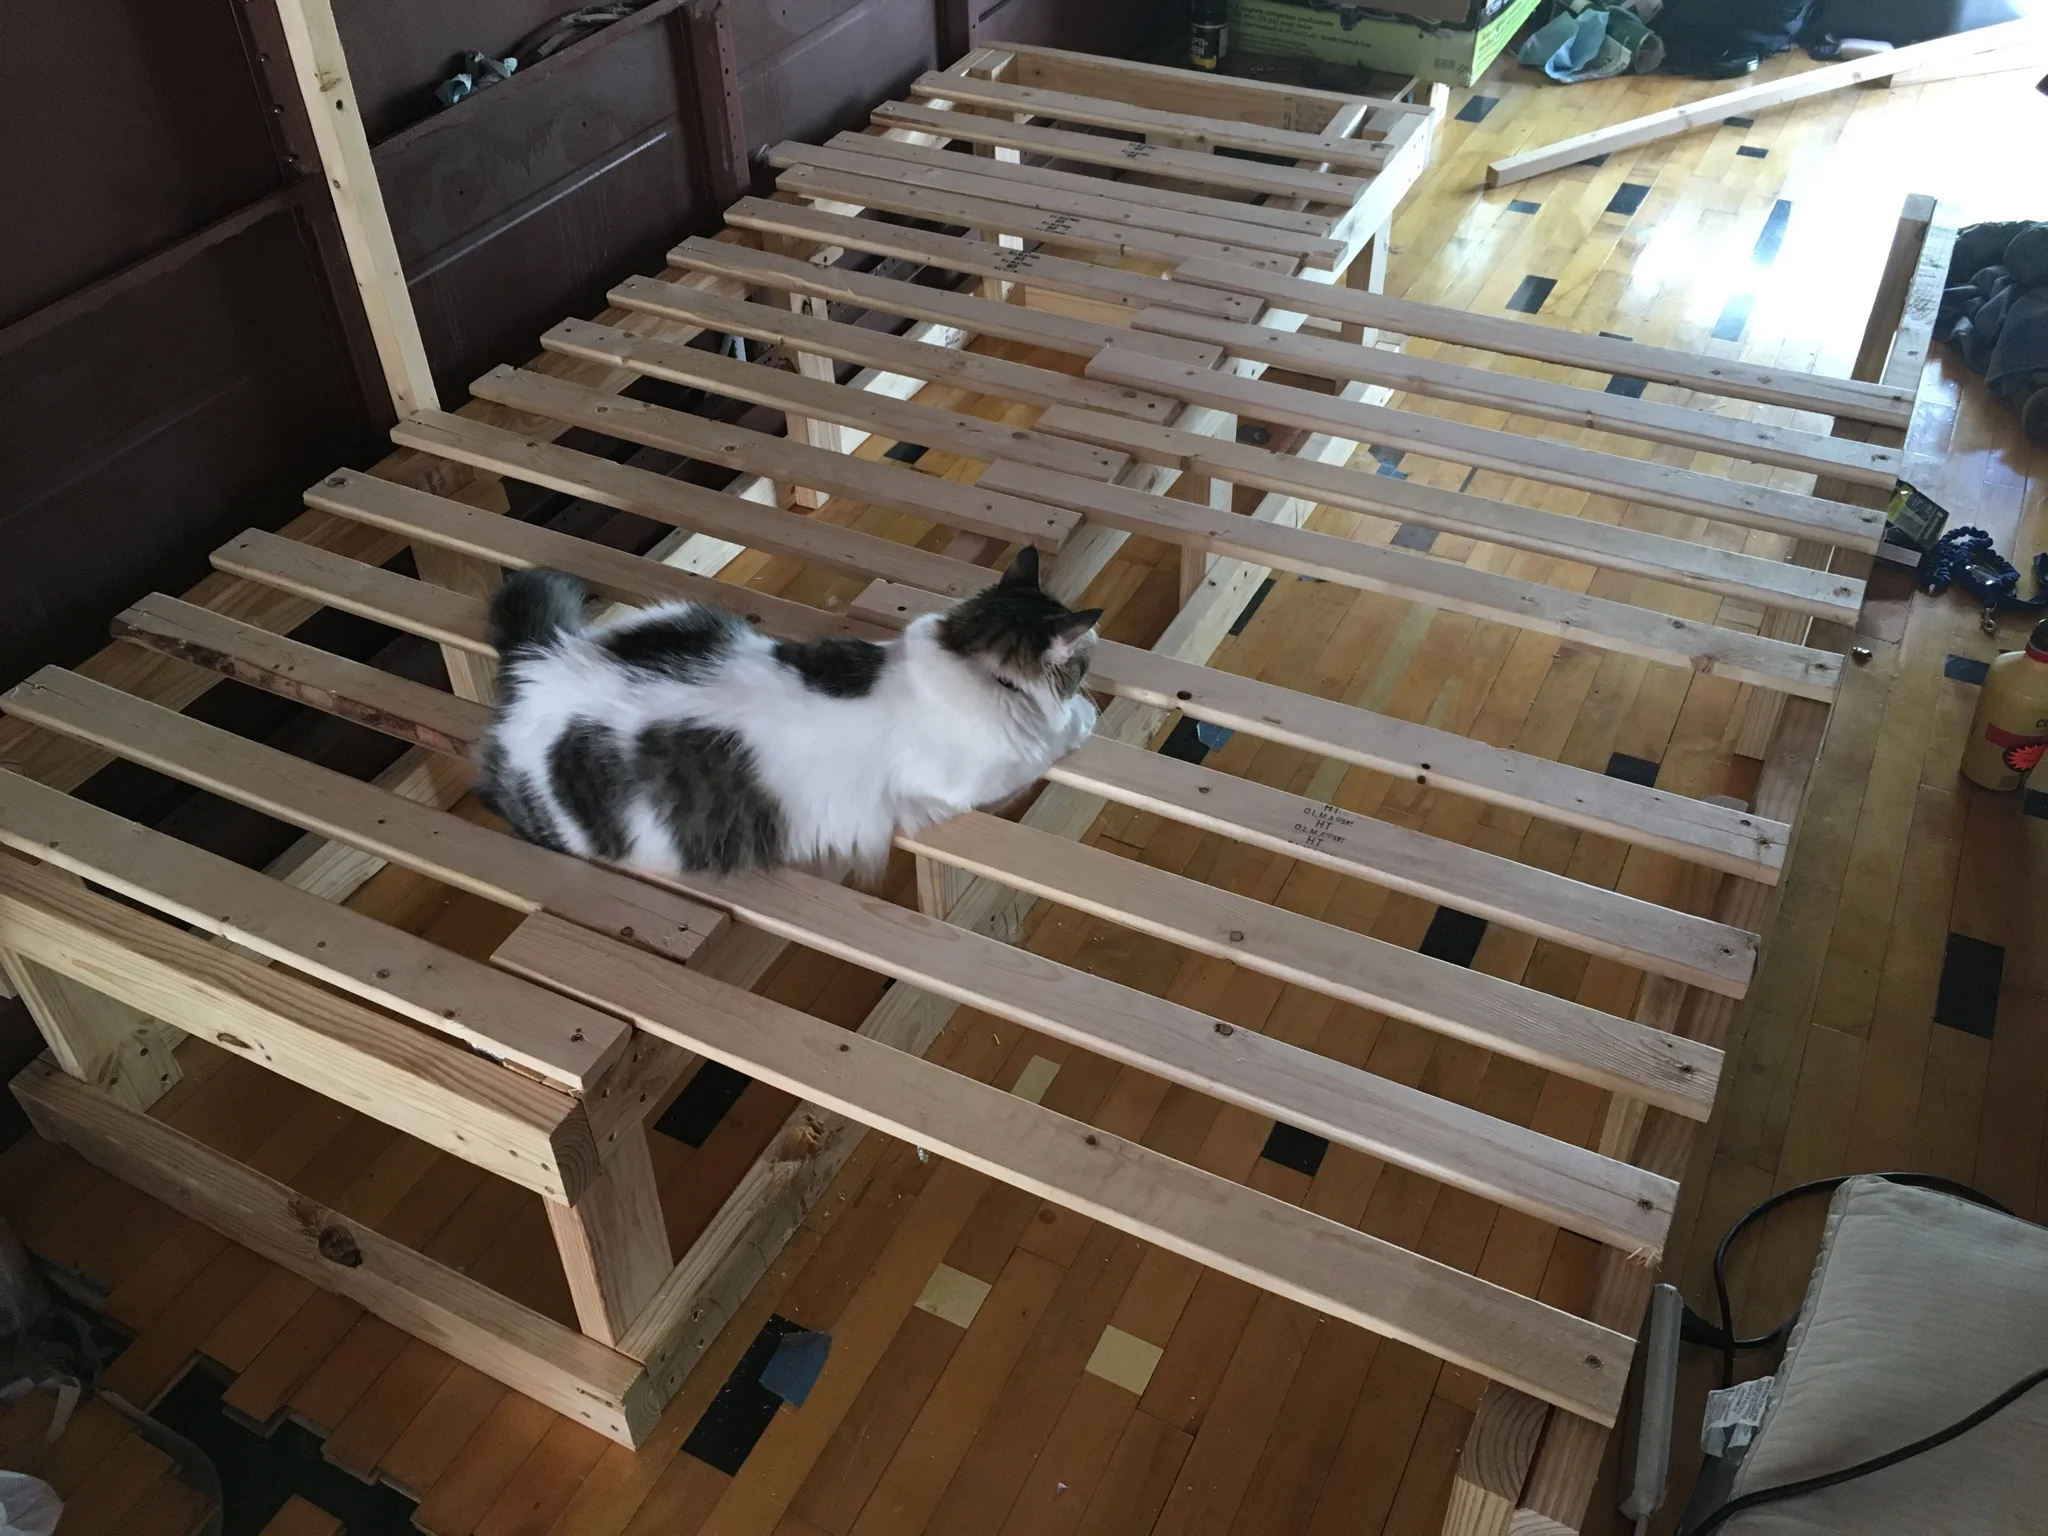
The first half of the pull-out couch is complete. I'll be adding the pull-out portion next. My water tank will also be under this bed/couch. It will be queen sized when extended.
Slats are all measured and cut. When extended, I now have a queen size bed! Maria approves. I'll be putting in a cross bar for the sliding section because more or less the slats are floating. The cushion will be thick enough that this won't be noticeable.
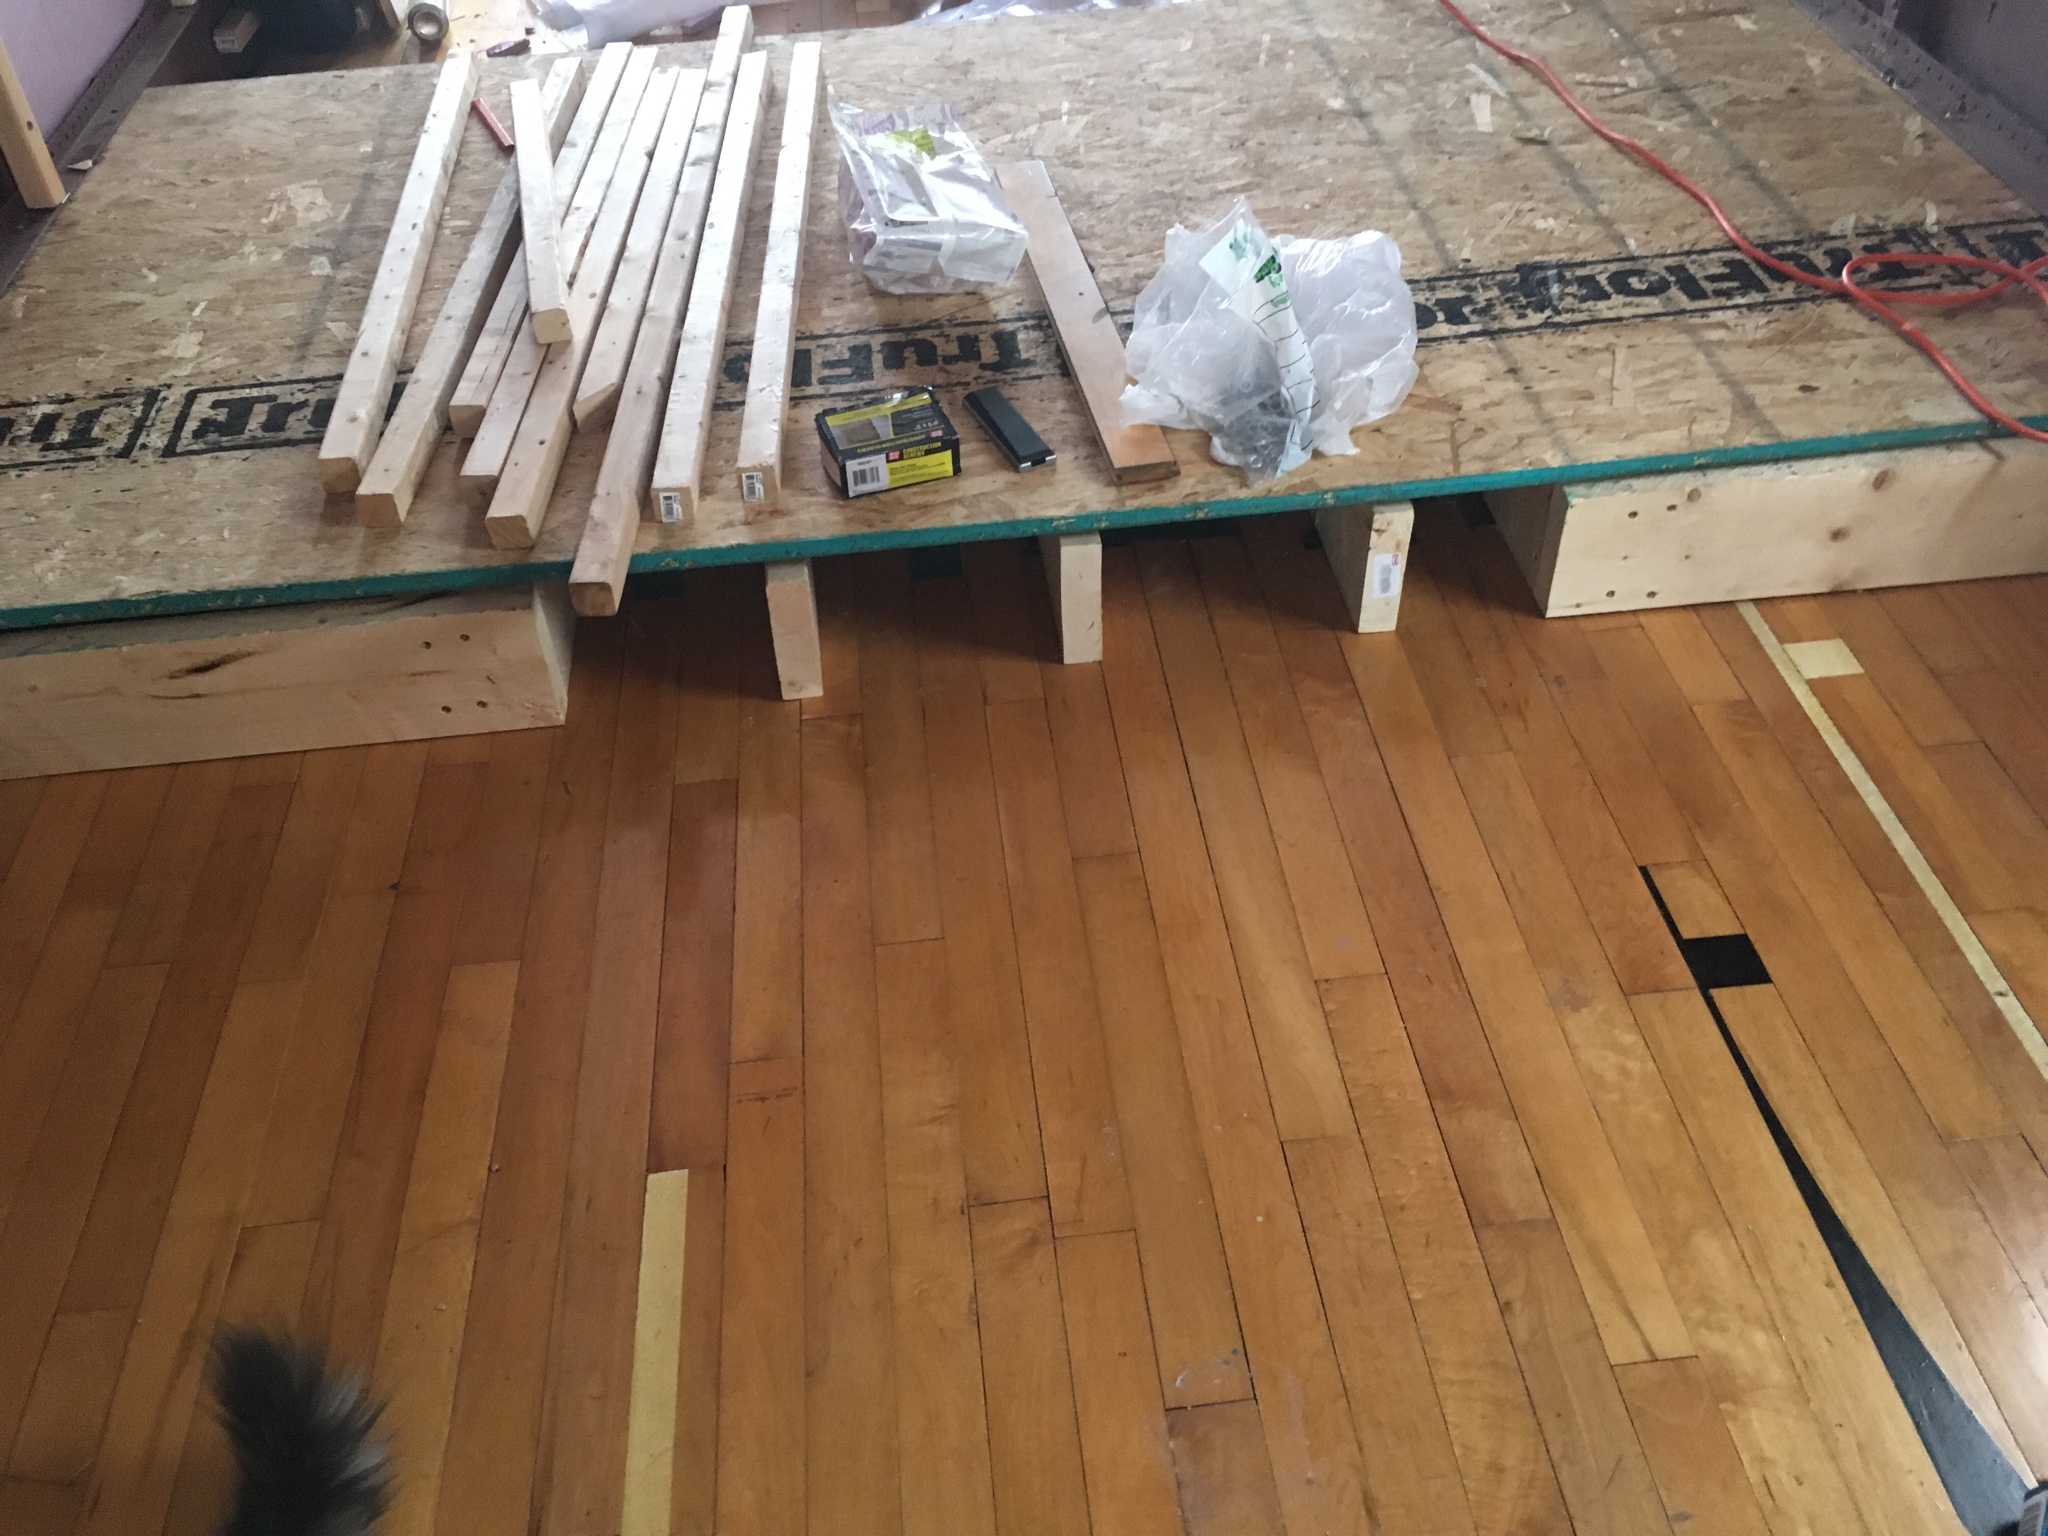
Starting the structure for the raised bathroom. The entire bathroom will be raised to a height just above the wheel well. I'll be insulating and screwing OSB ply on top. This will also make shower drainage a lot easier.
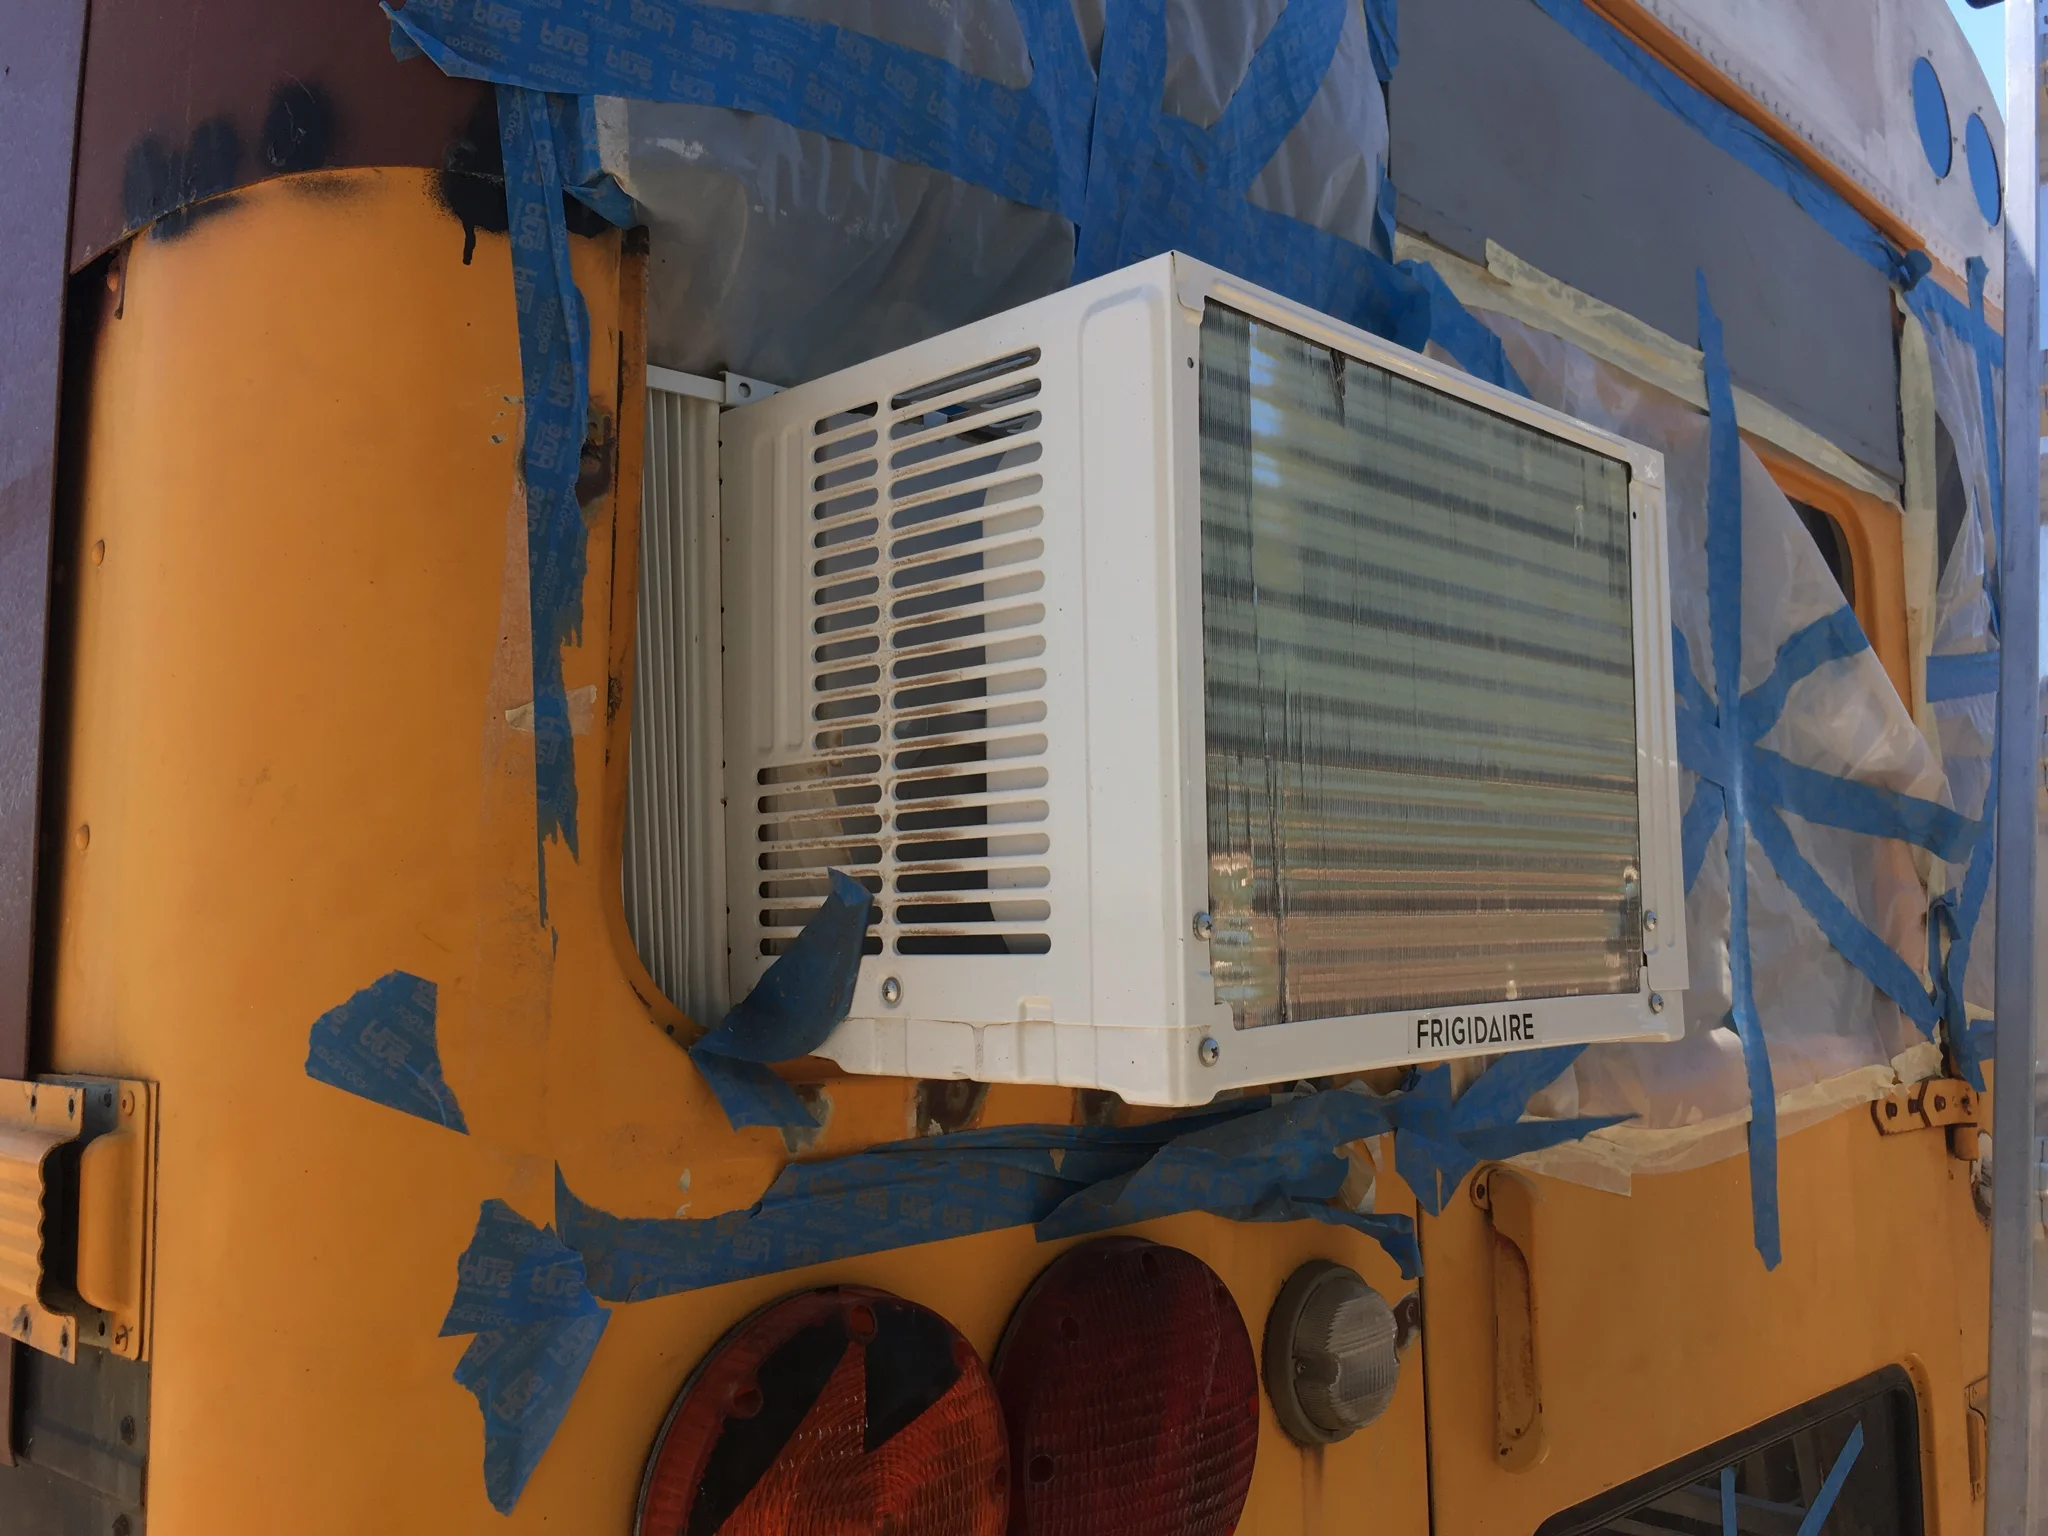
I've been getting some questions about the air conditioner. Pretty happy to finally have it in place, even though it will need to be moved a few more times before it's "permanent."
This leaked extensively whenever it rained. Not happy with the setup.
Here's the elevated bathroom floor finally in. It only took 3 hours. This will allow me to have pipes and utilities underneath and also to have a much fuller transition into the bedroom area via a hallway on the right side.
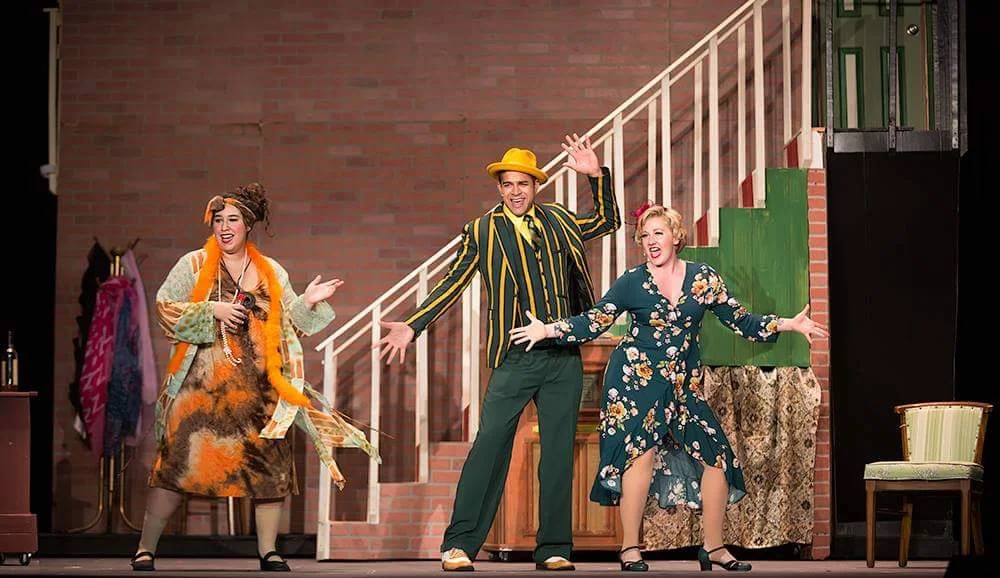
The past two months have been a bit on the slow side for bus work... mostly because of this musical, which was delightful. I was in a local production of Annie and I played "Rooster," the villain.
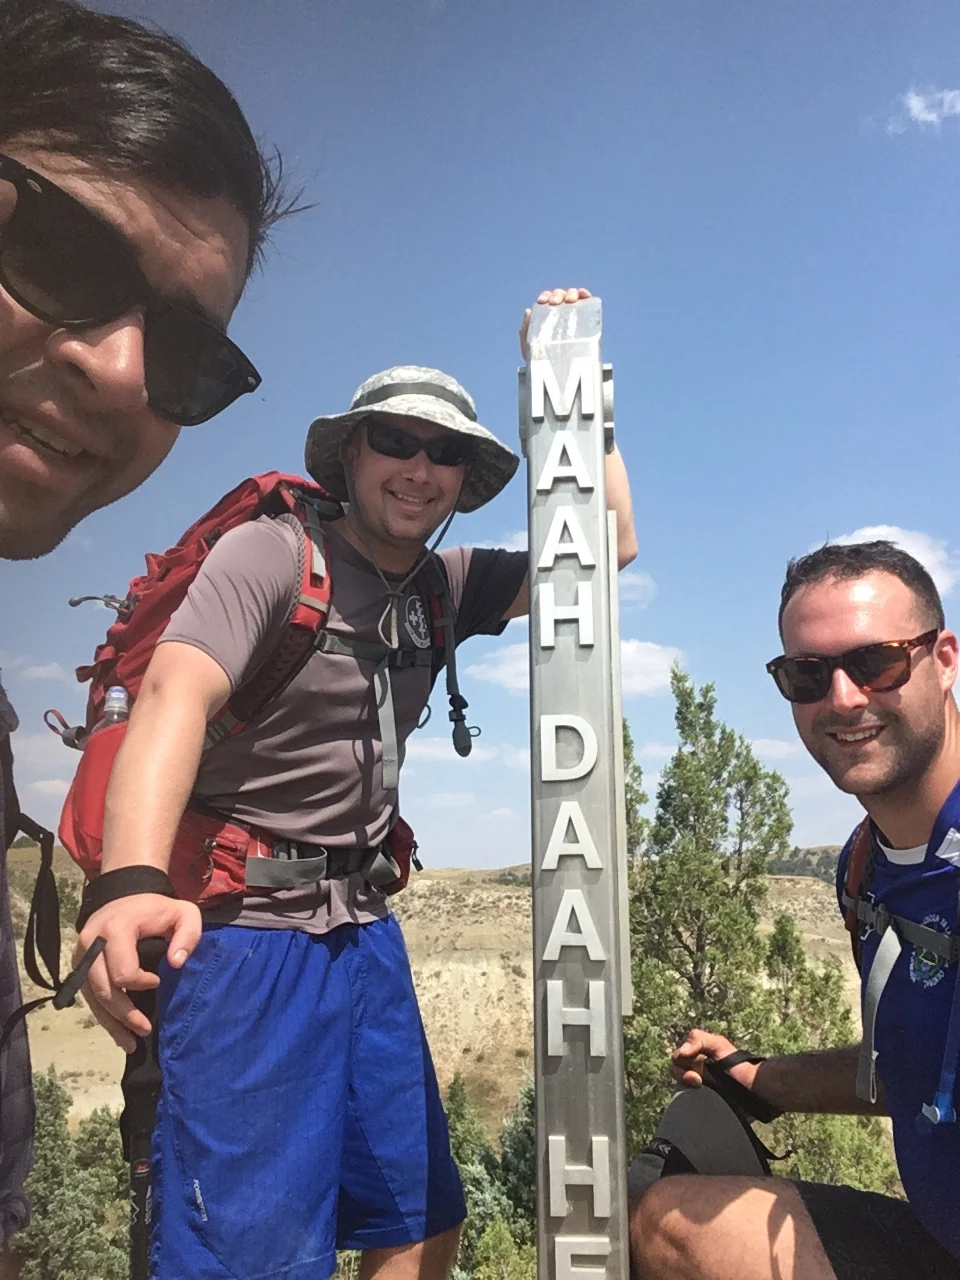
That was followed by 1 full week of leave wherein I hiked the Maah Daah Hey Trail in North Dakota. 102+ miles of rugged Badlands terrain in 5 days. It was rough, but an amazing trip with some amazing Air Force people. The bus will be used on our next trip, with any luck. :D
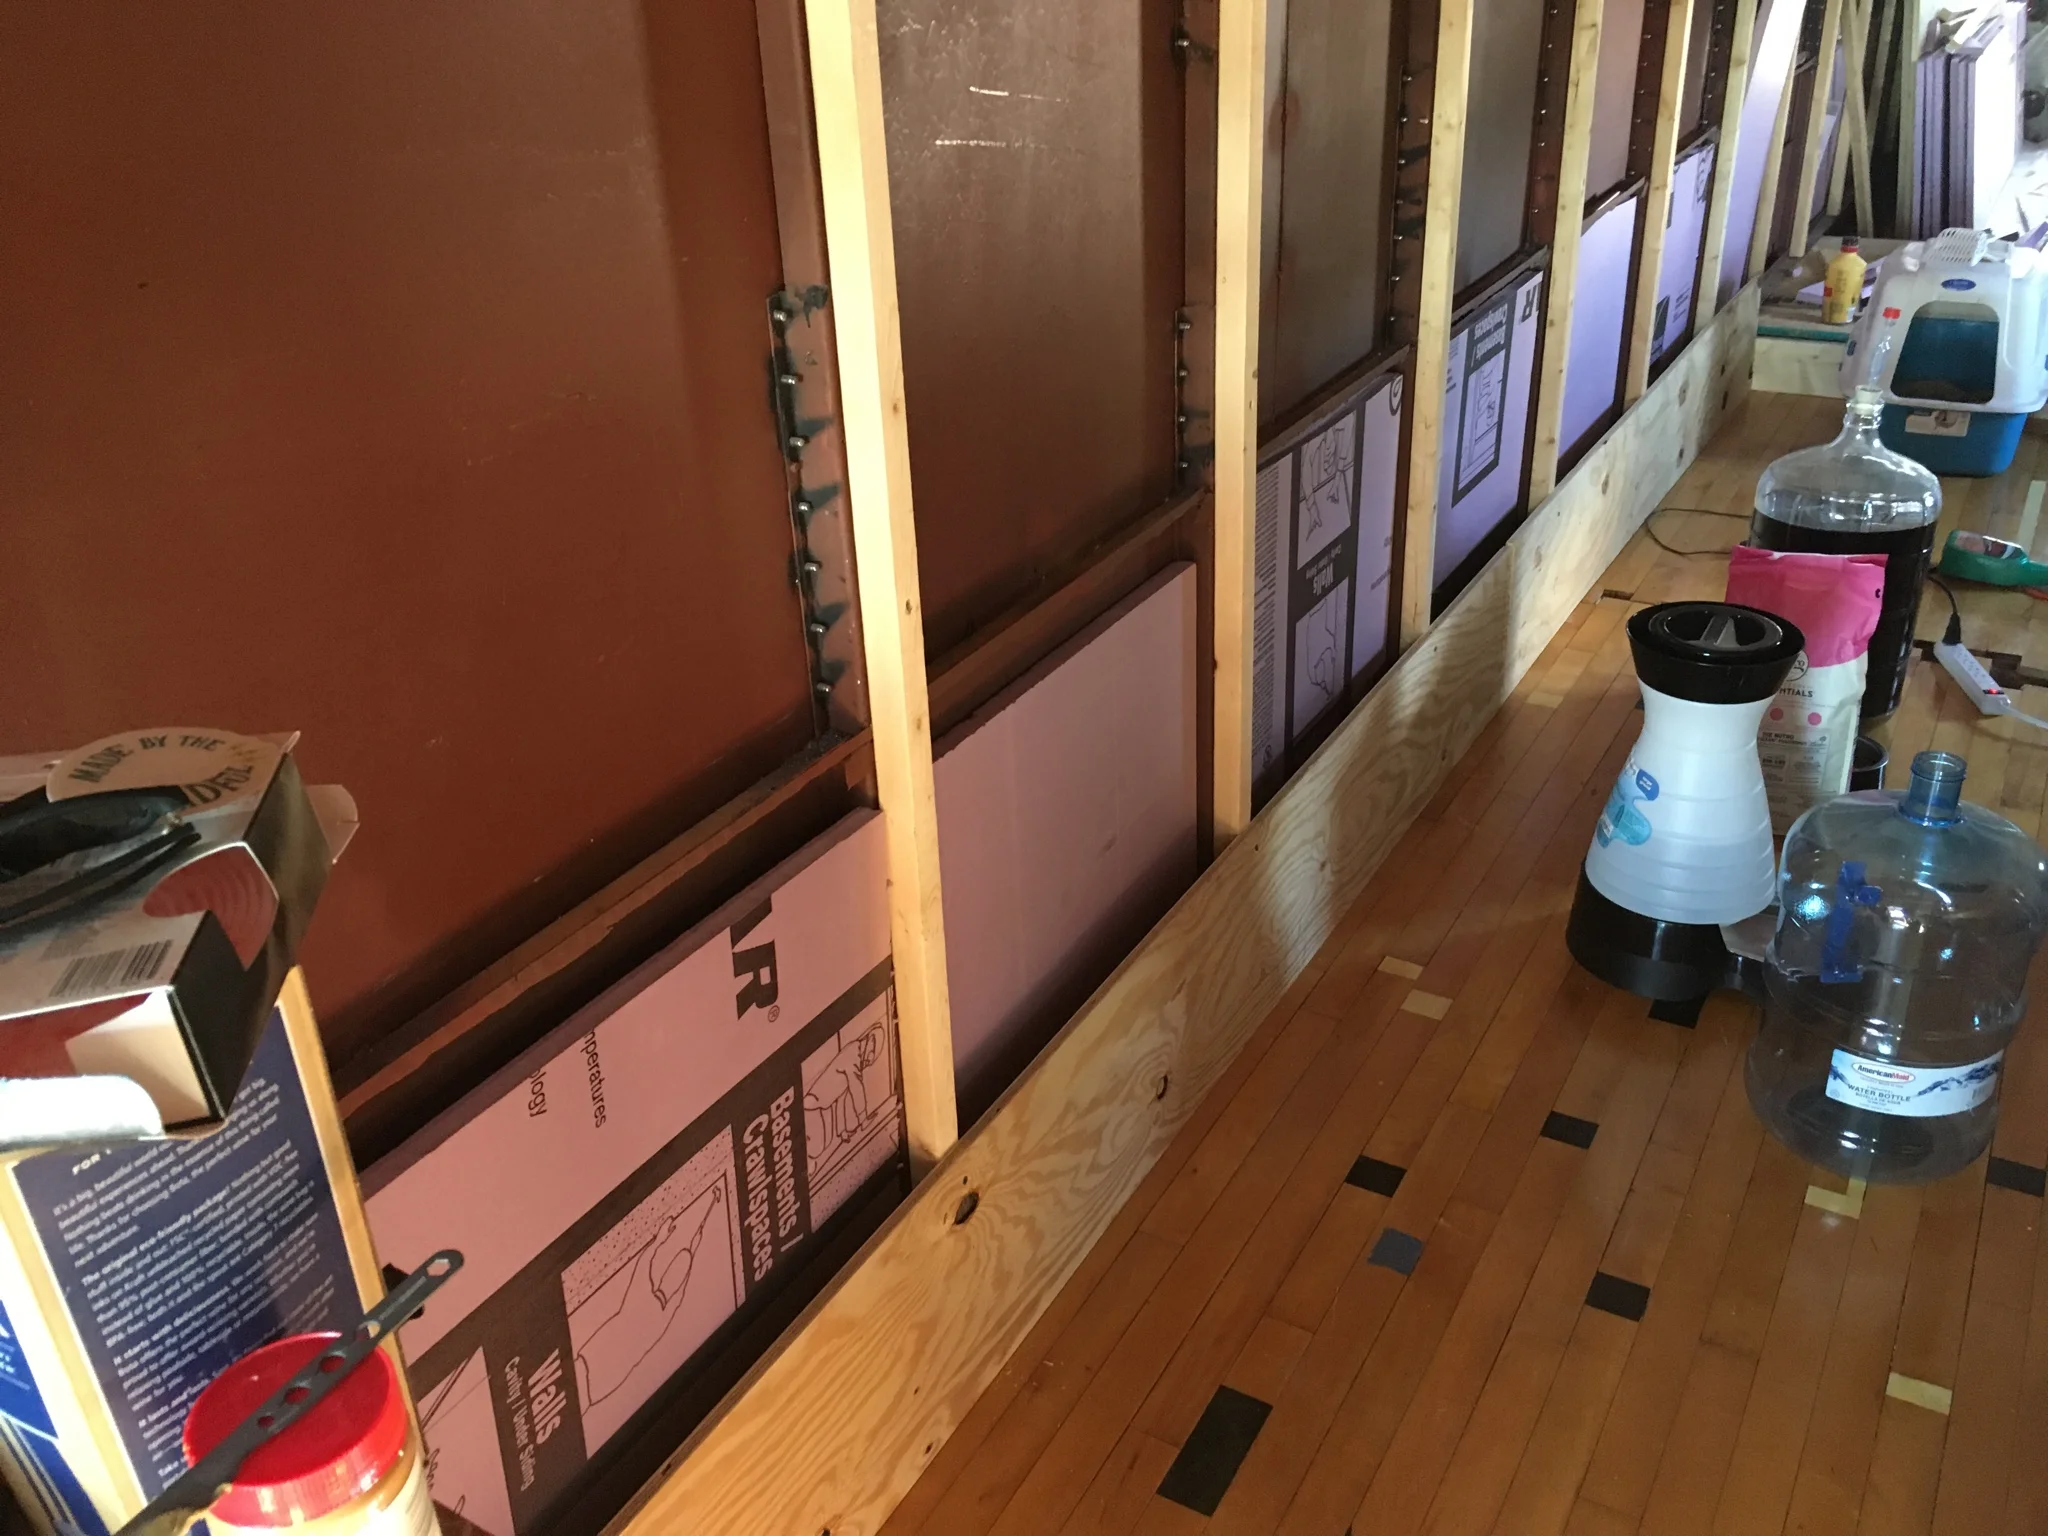
I've insulated the walls and after placing this first board, the second board is also placed. That's 2" of insulation between the metal walls and the plywood walls.
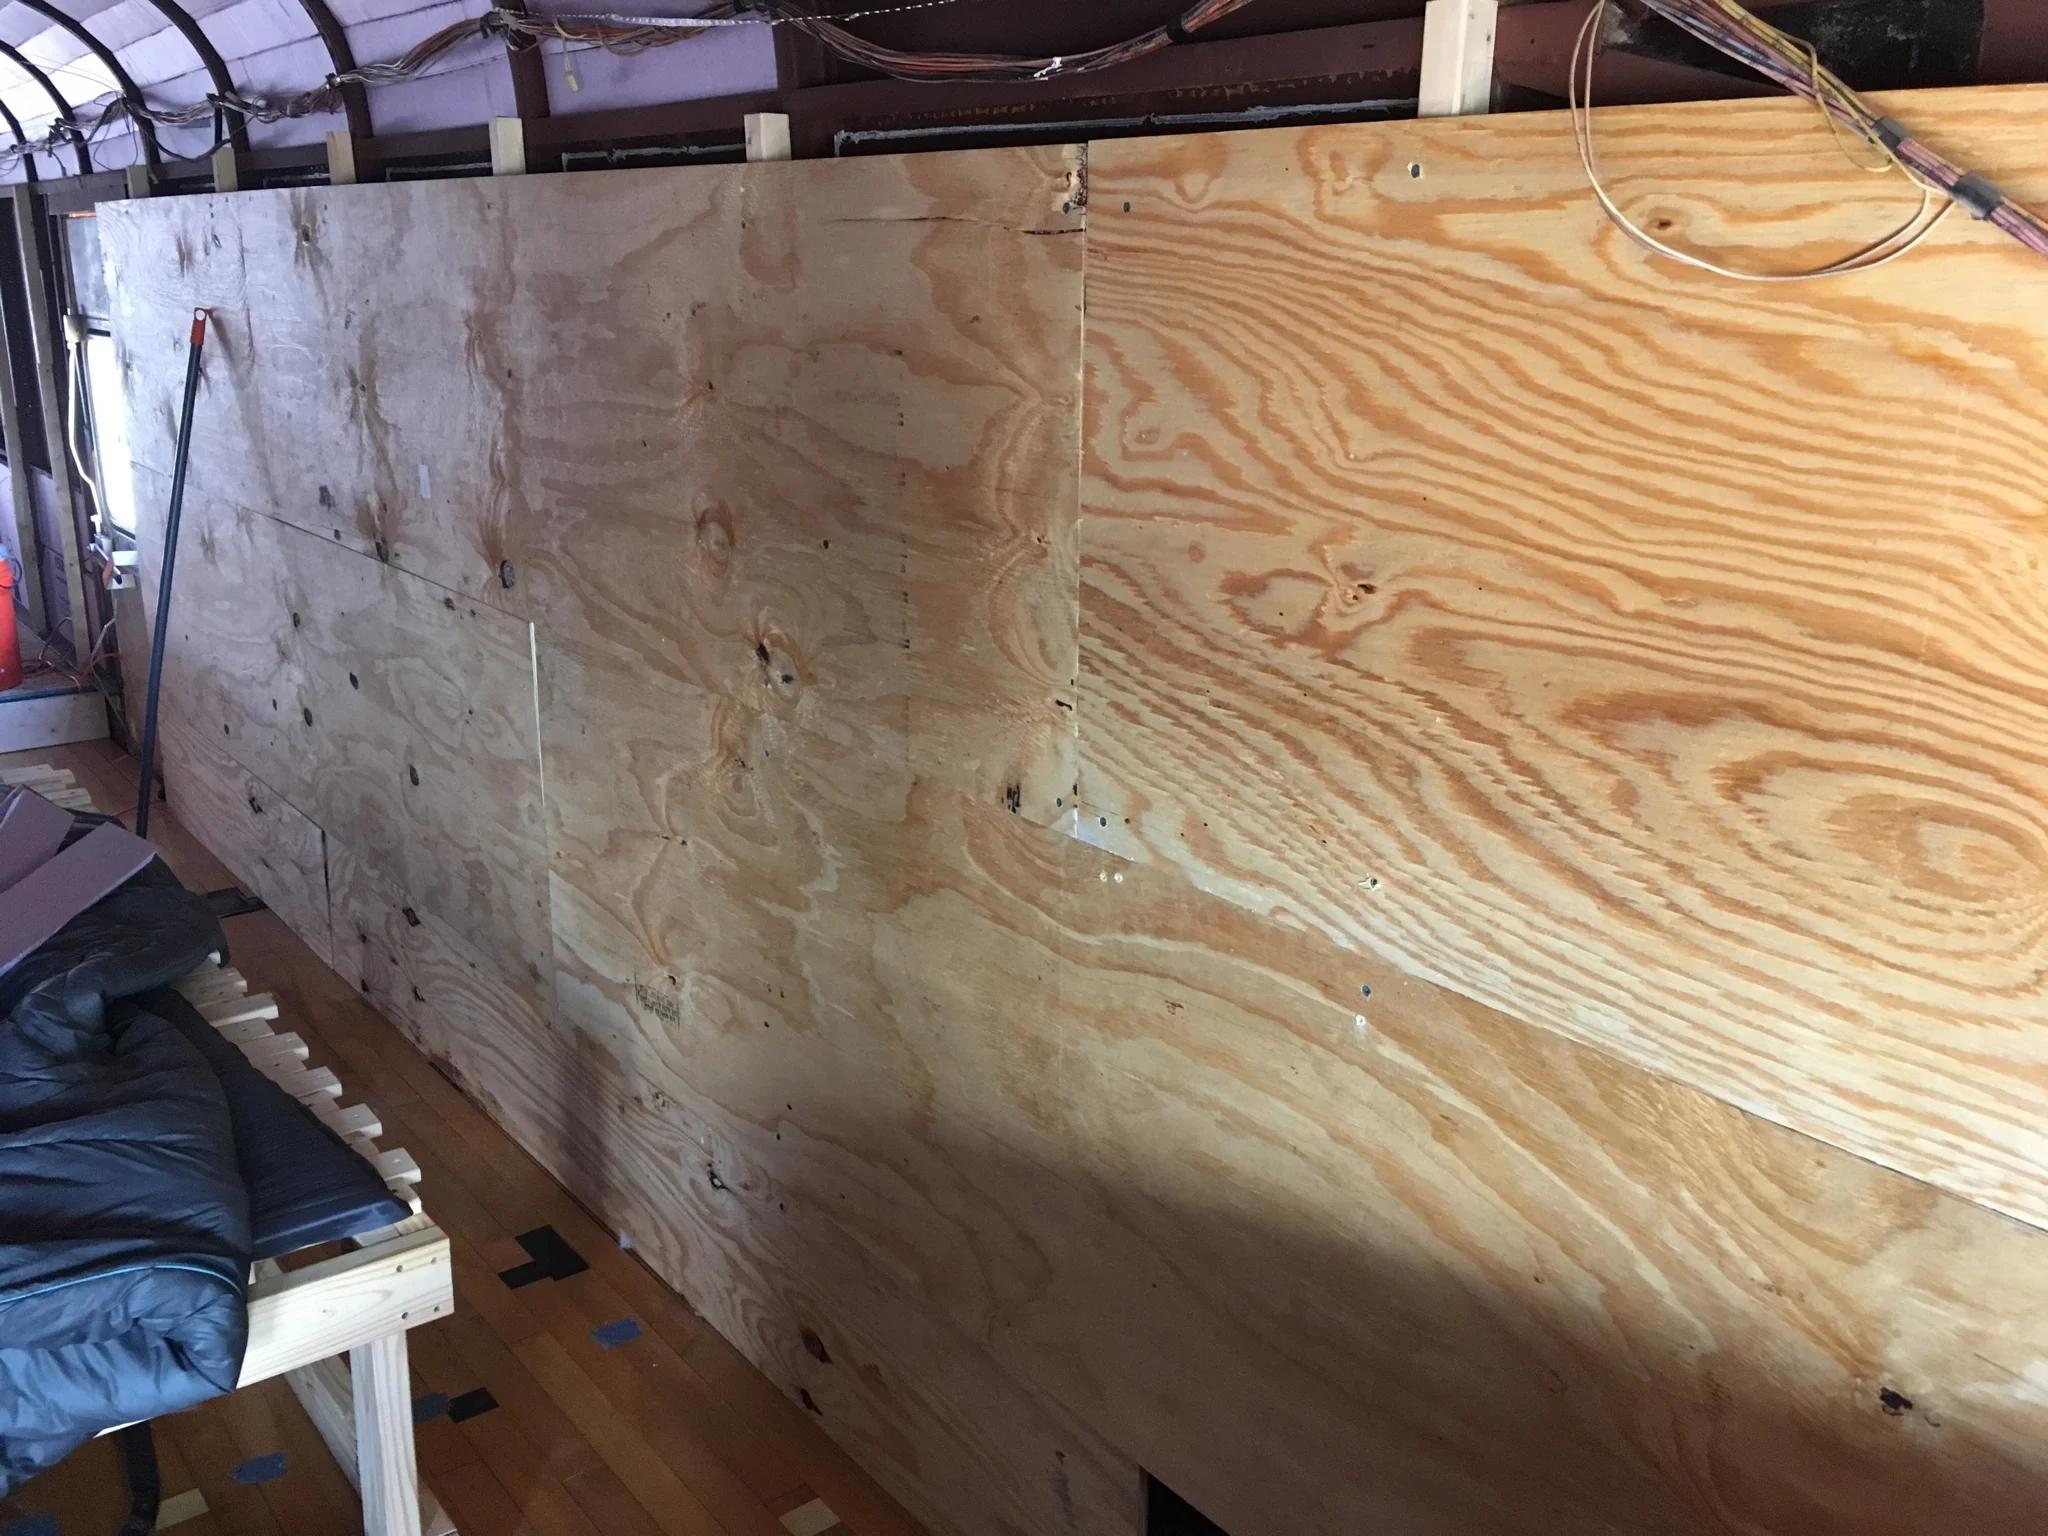
Full wall up for now. I'll eventually go back in and add windows, but I want insulation now! Also, I want to start building furniture inside too.
So much caulk used! Every single seam. Inside and out. 100% silicone.
Things changed a tiny bit in the building process but for the most part, the kitchen stayed the same.
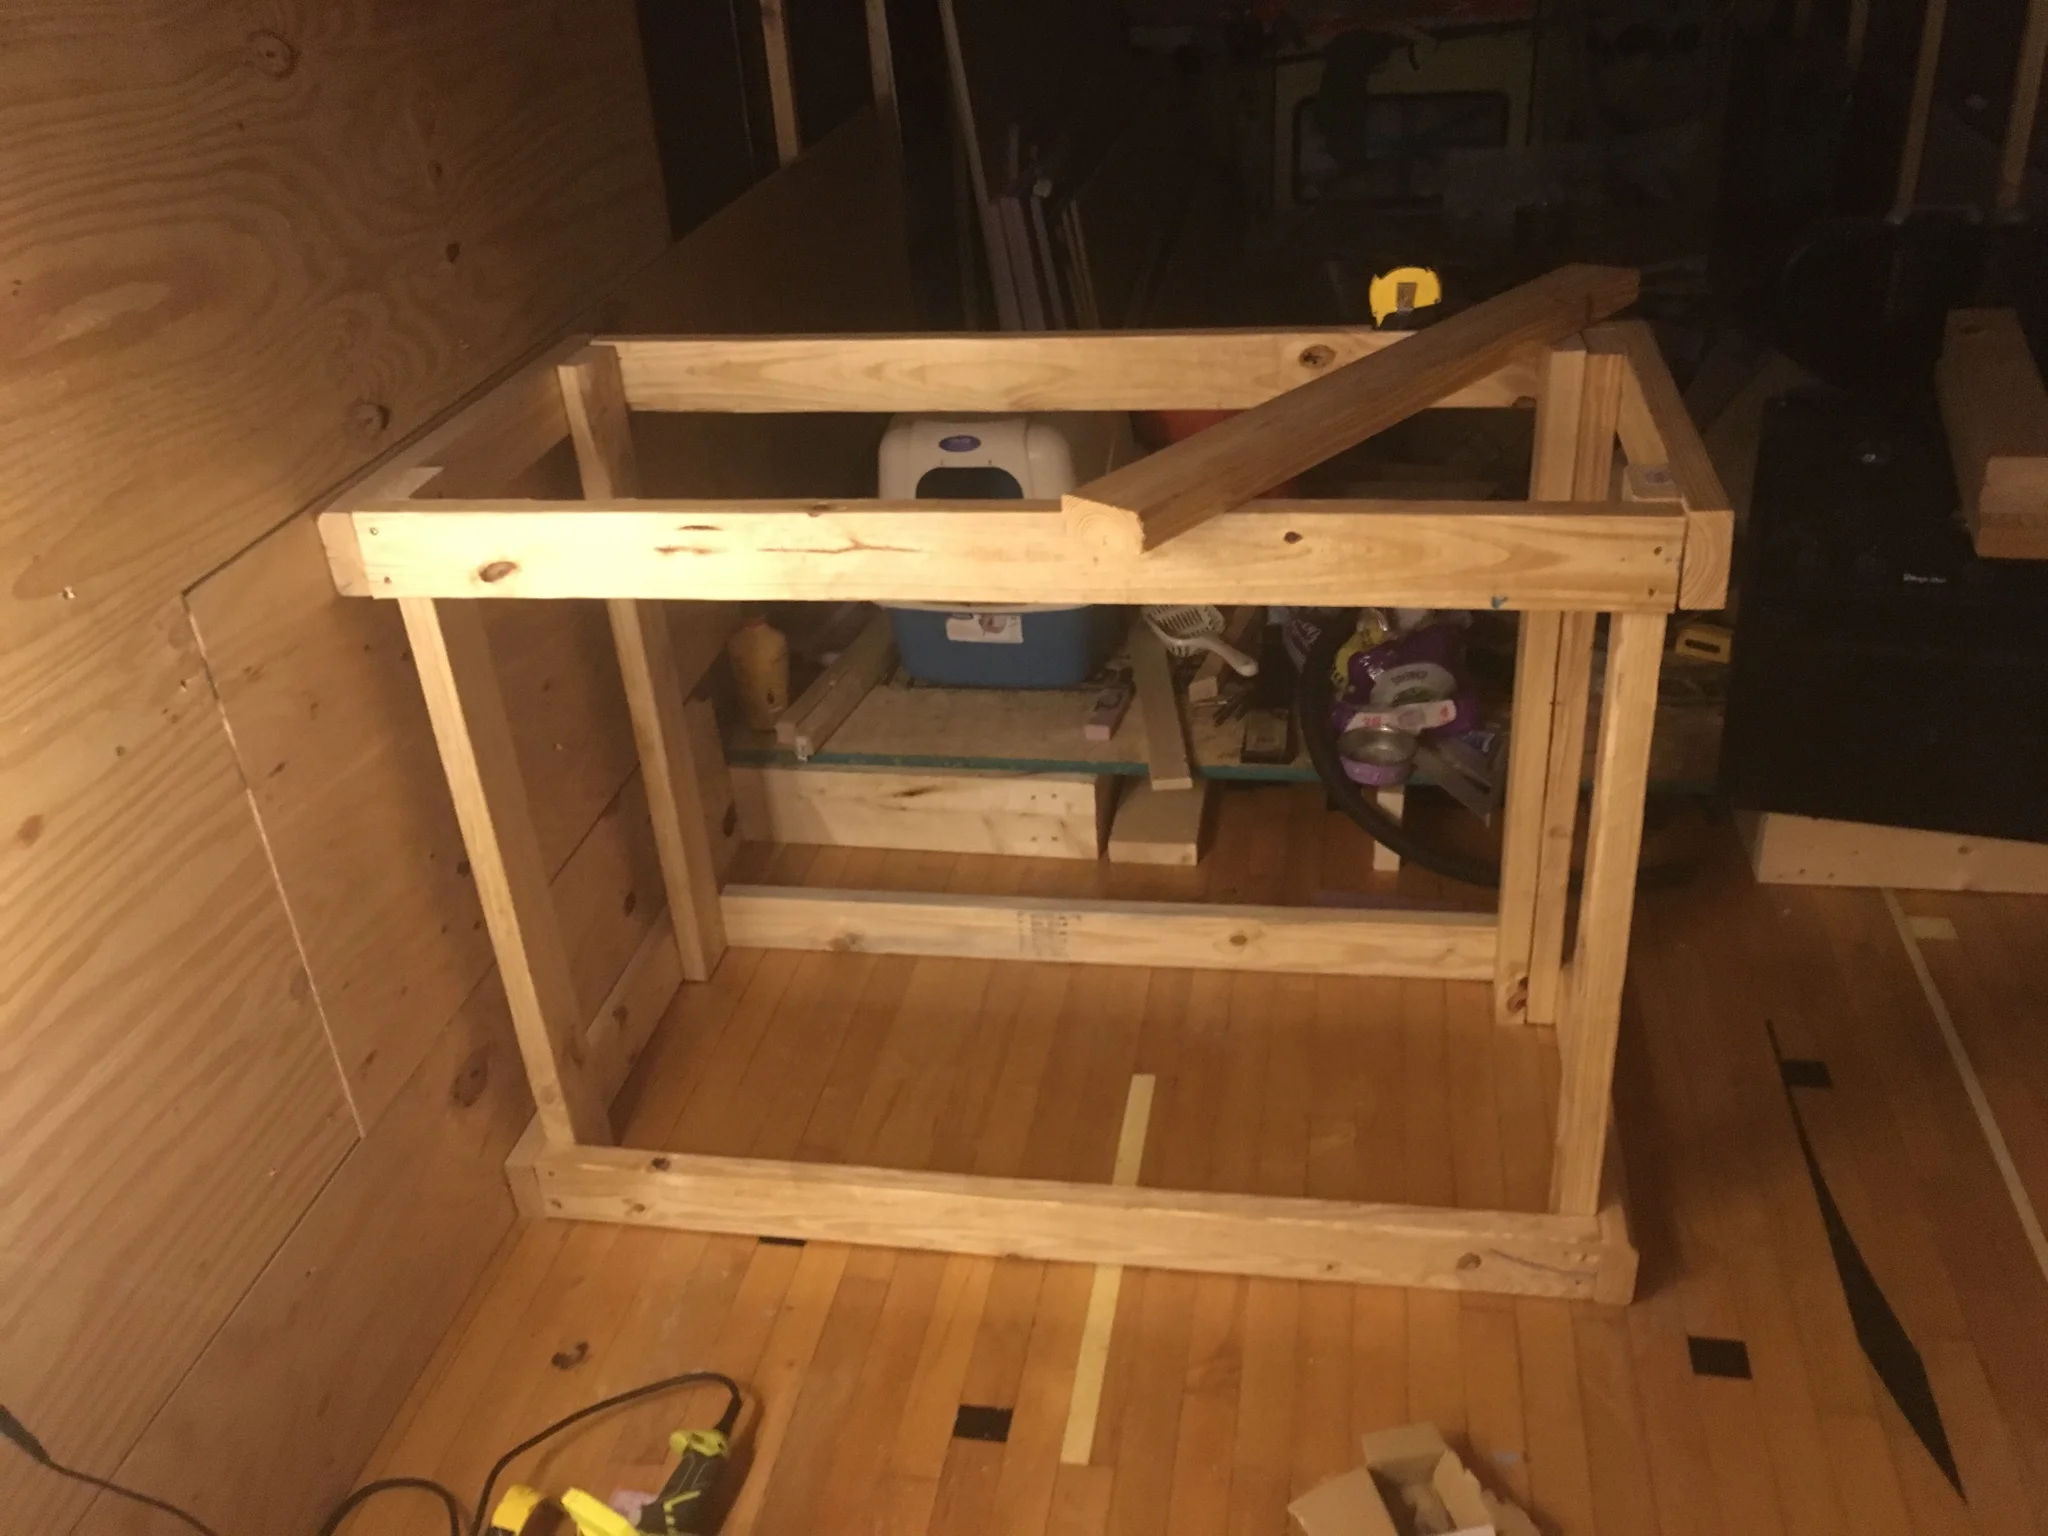
Laying the framework. 4' wide, 2' deep. This will accommodate my Magic Chef Stove. Eventually this will wrap around the left side of the bus.
At 3' this will be standard counter height. There will be a wall behind it.
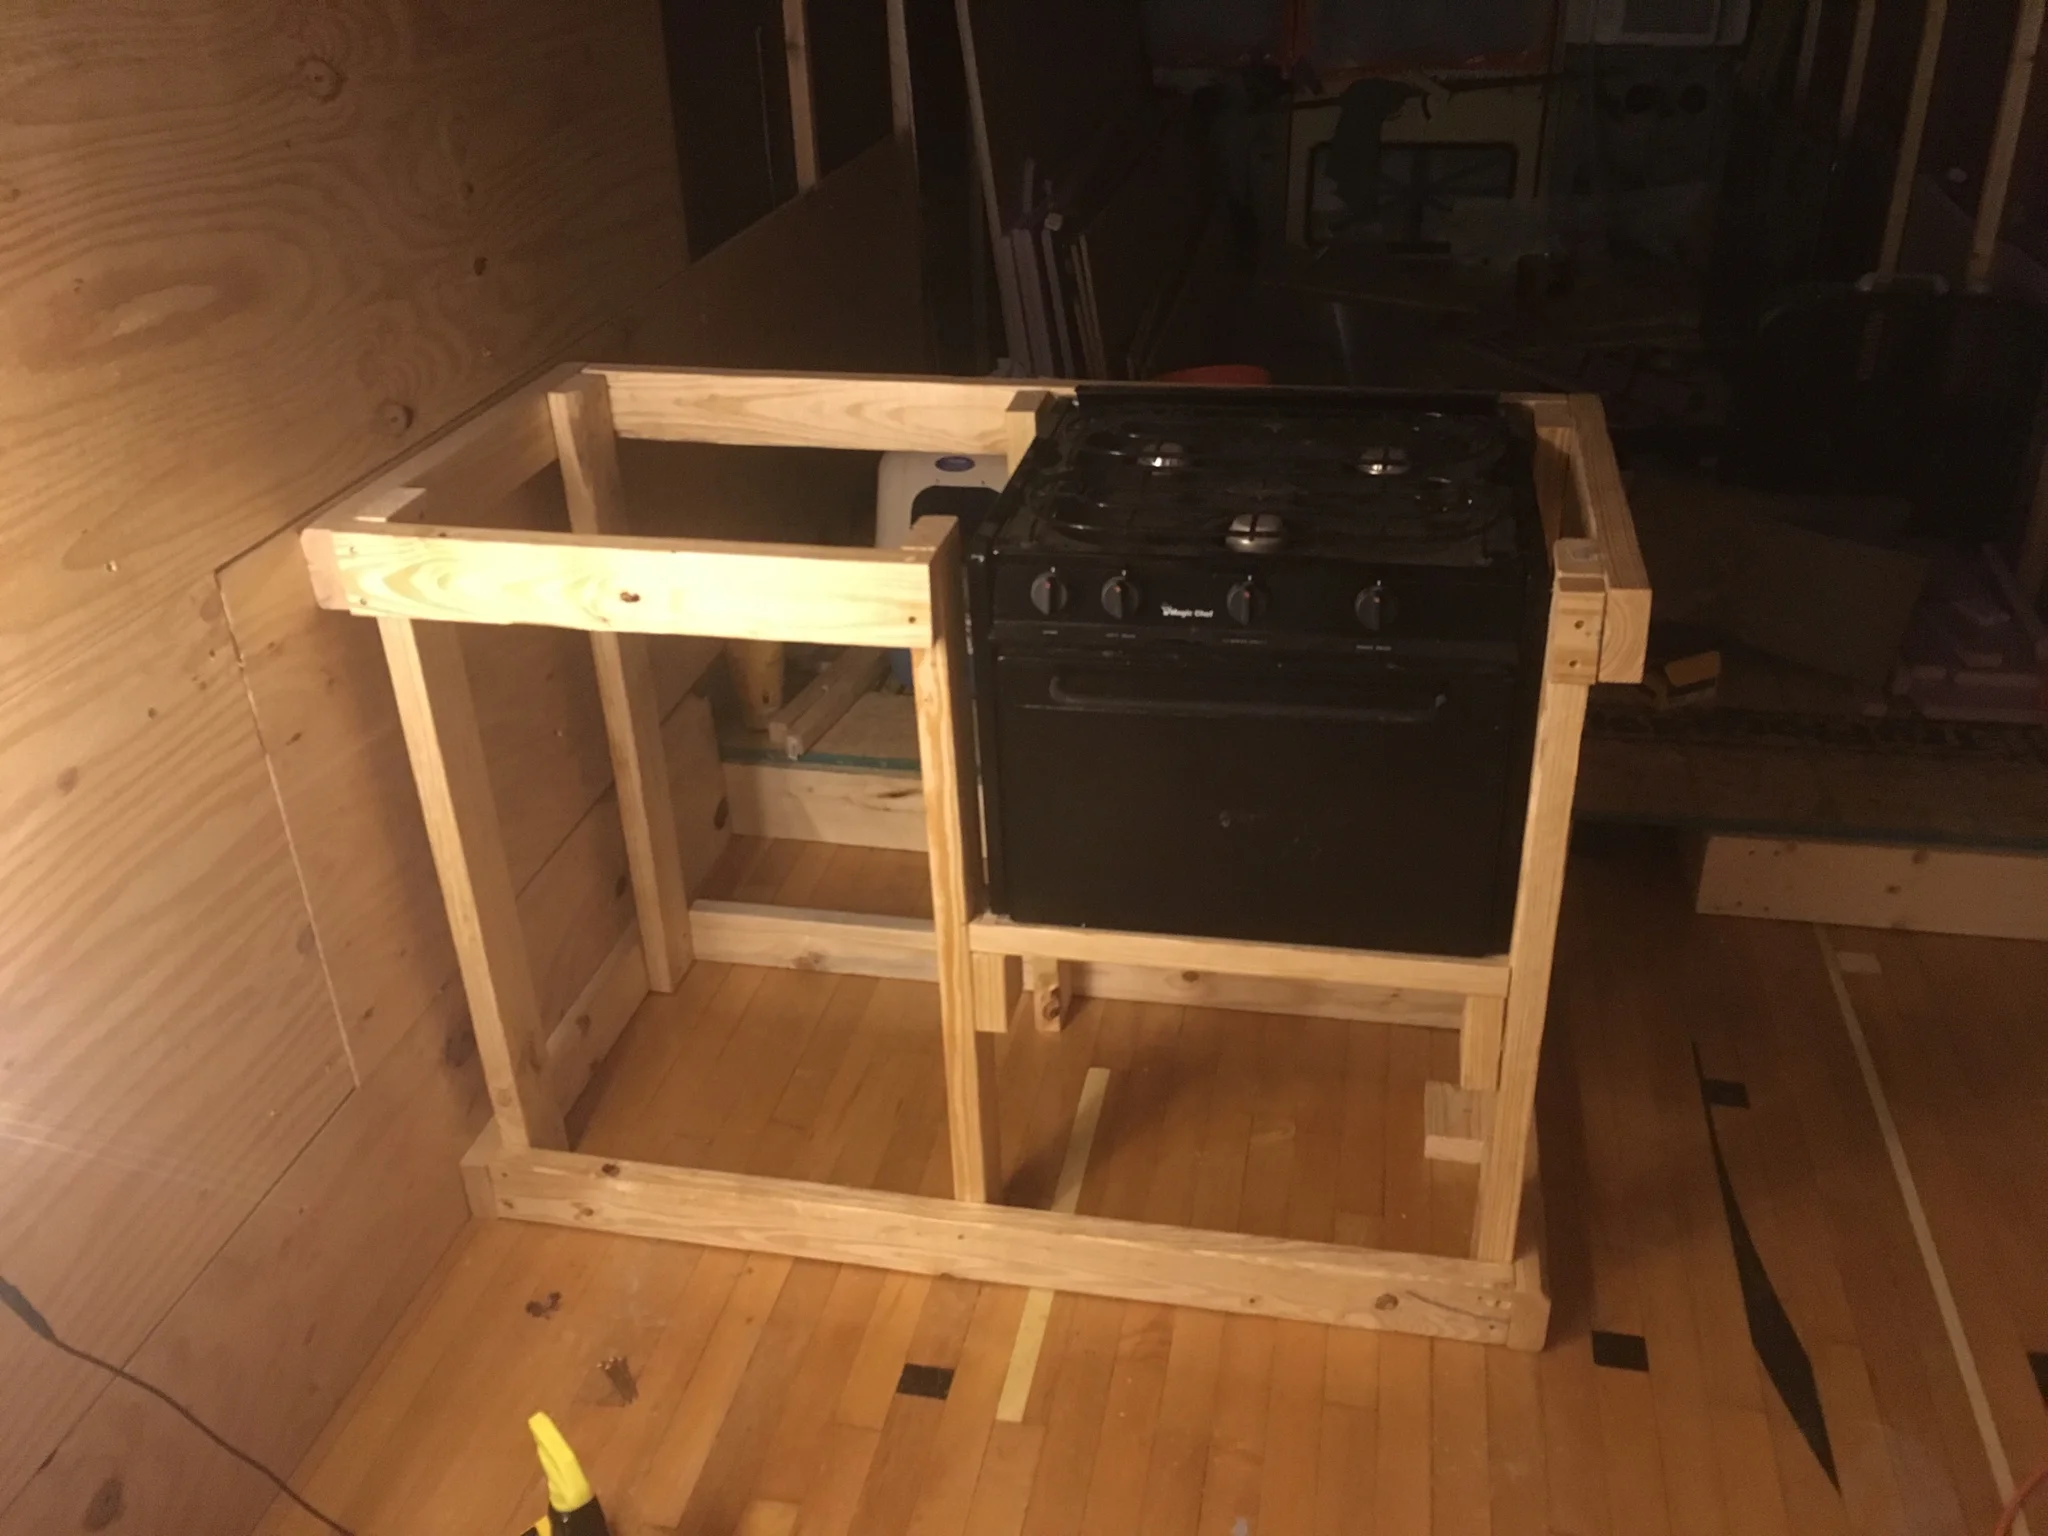
It's a perfect fit! After I finish the rest of the framing, I'll have to cut plywood for the horizontal surfaces and then eventually I'll cover the vertical surfaces last.
It's nice to see how much space there is with the couch and the counter in place. There's still room for the couch to pull out even! Plywood should be easy to fit on the countertops so I can start using them.
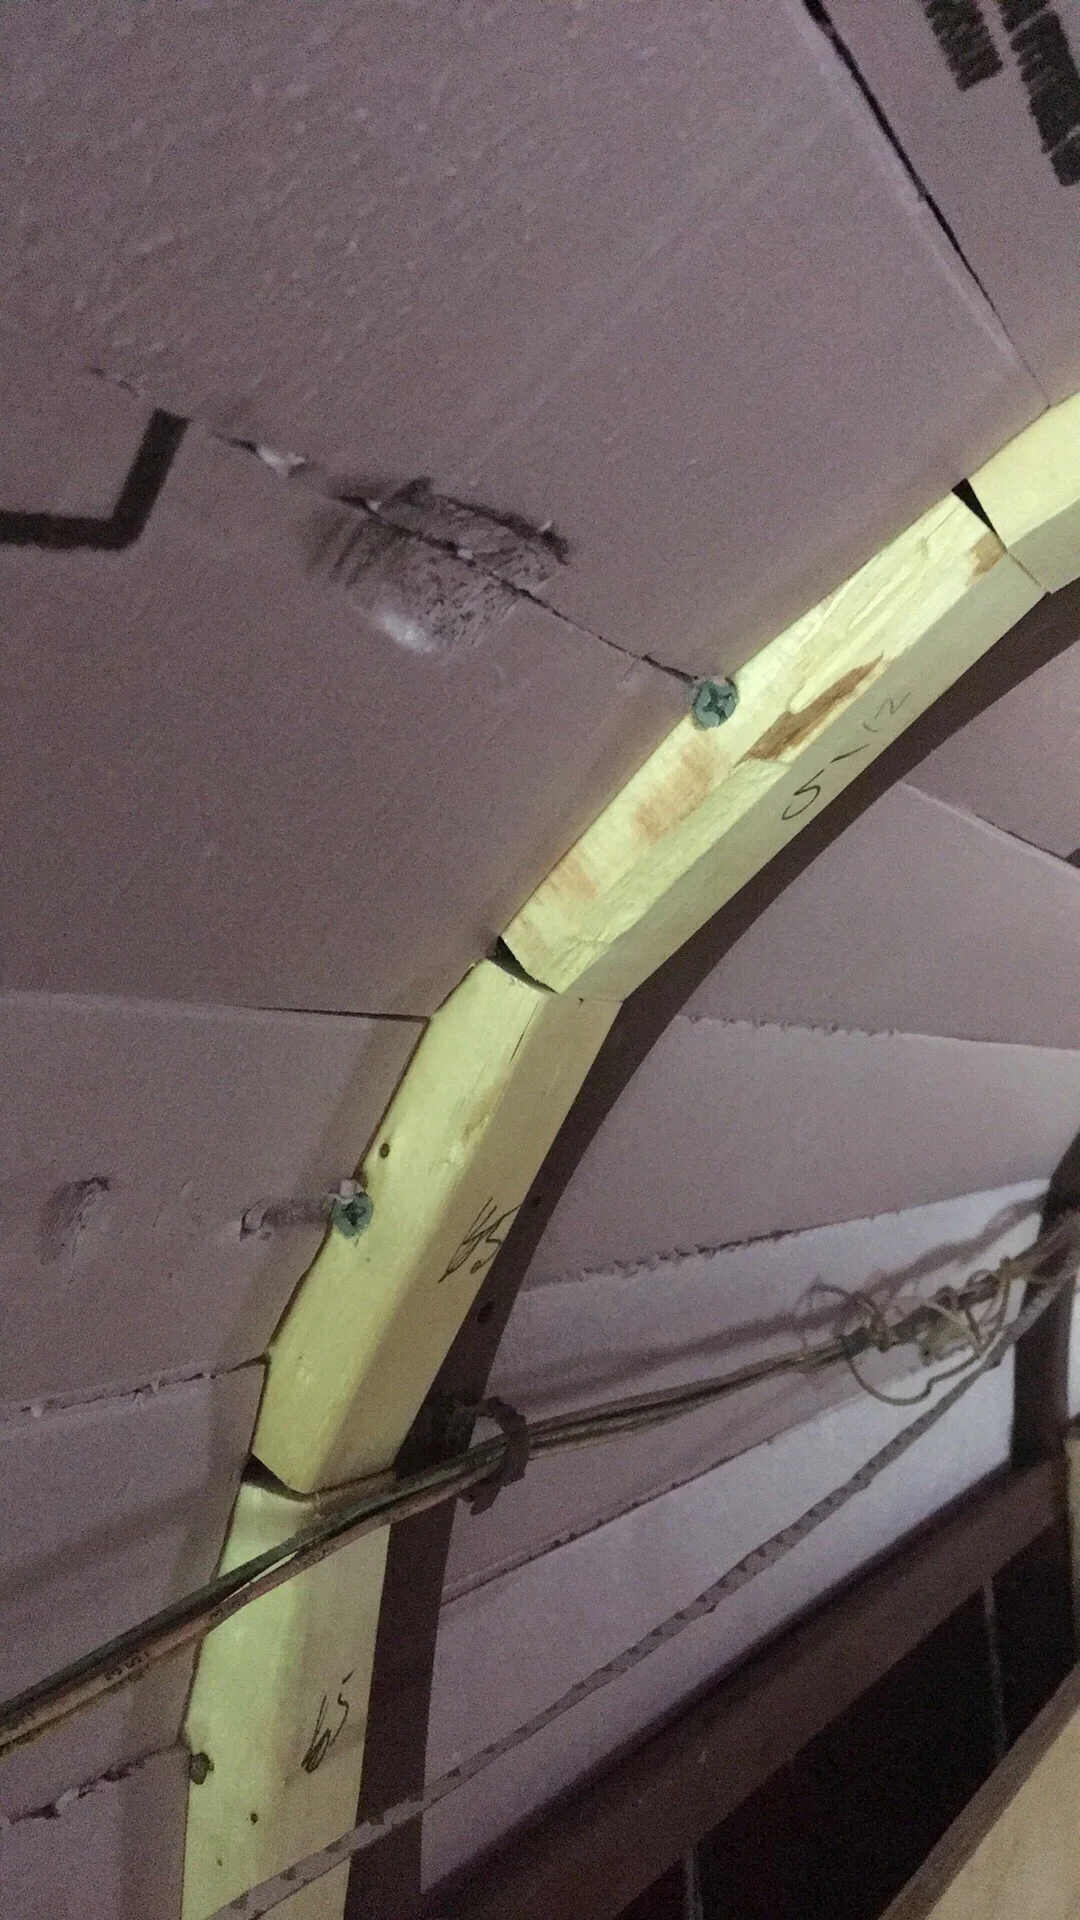
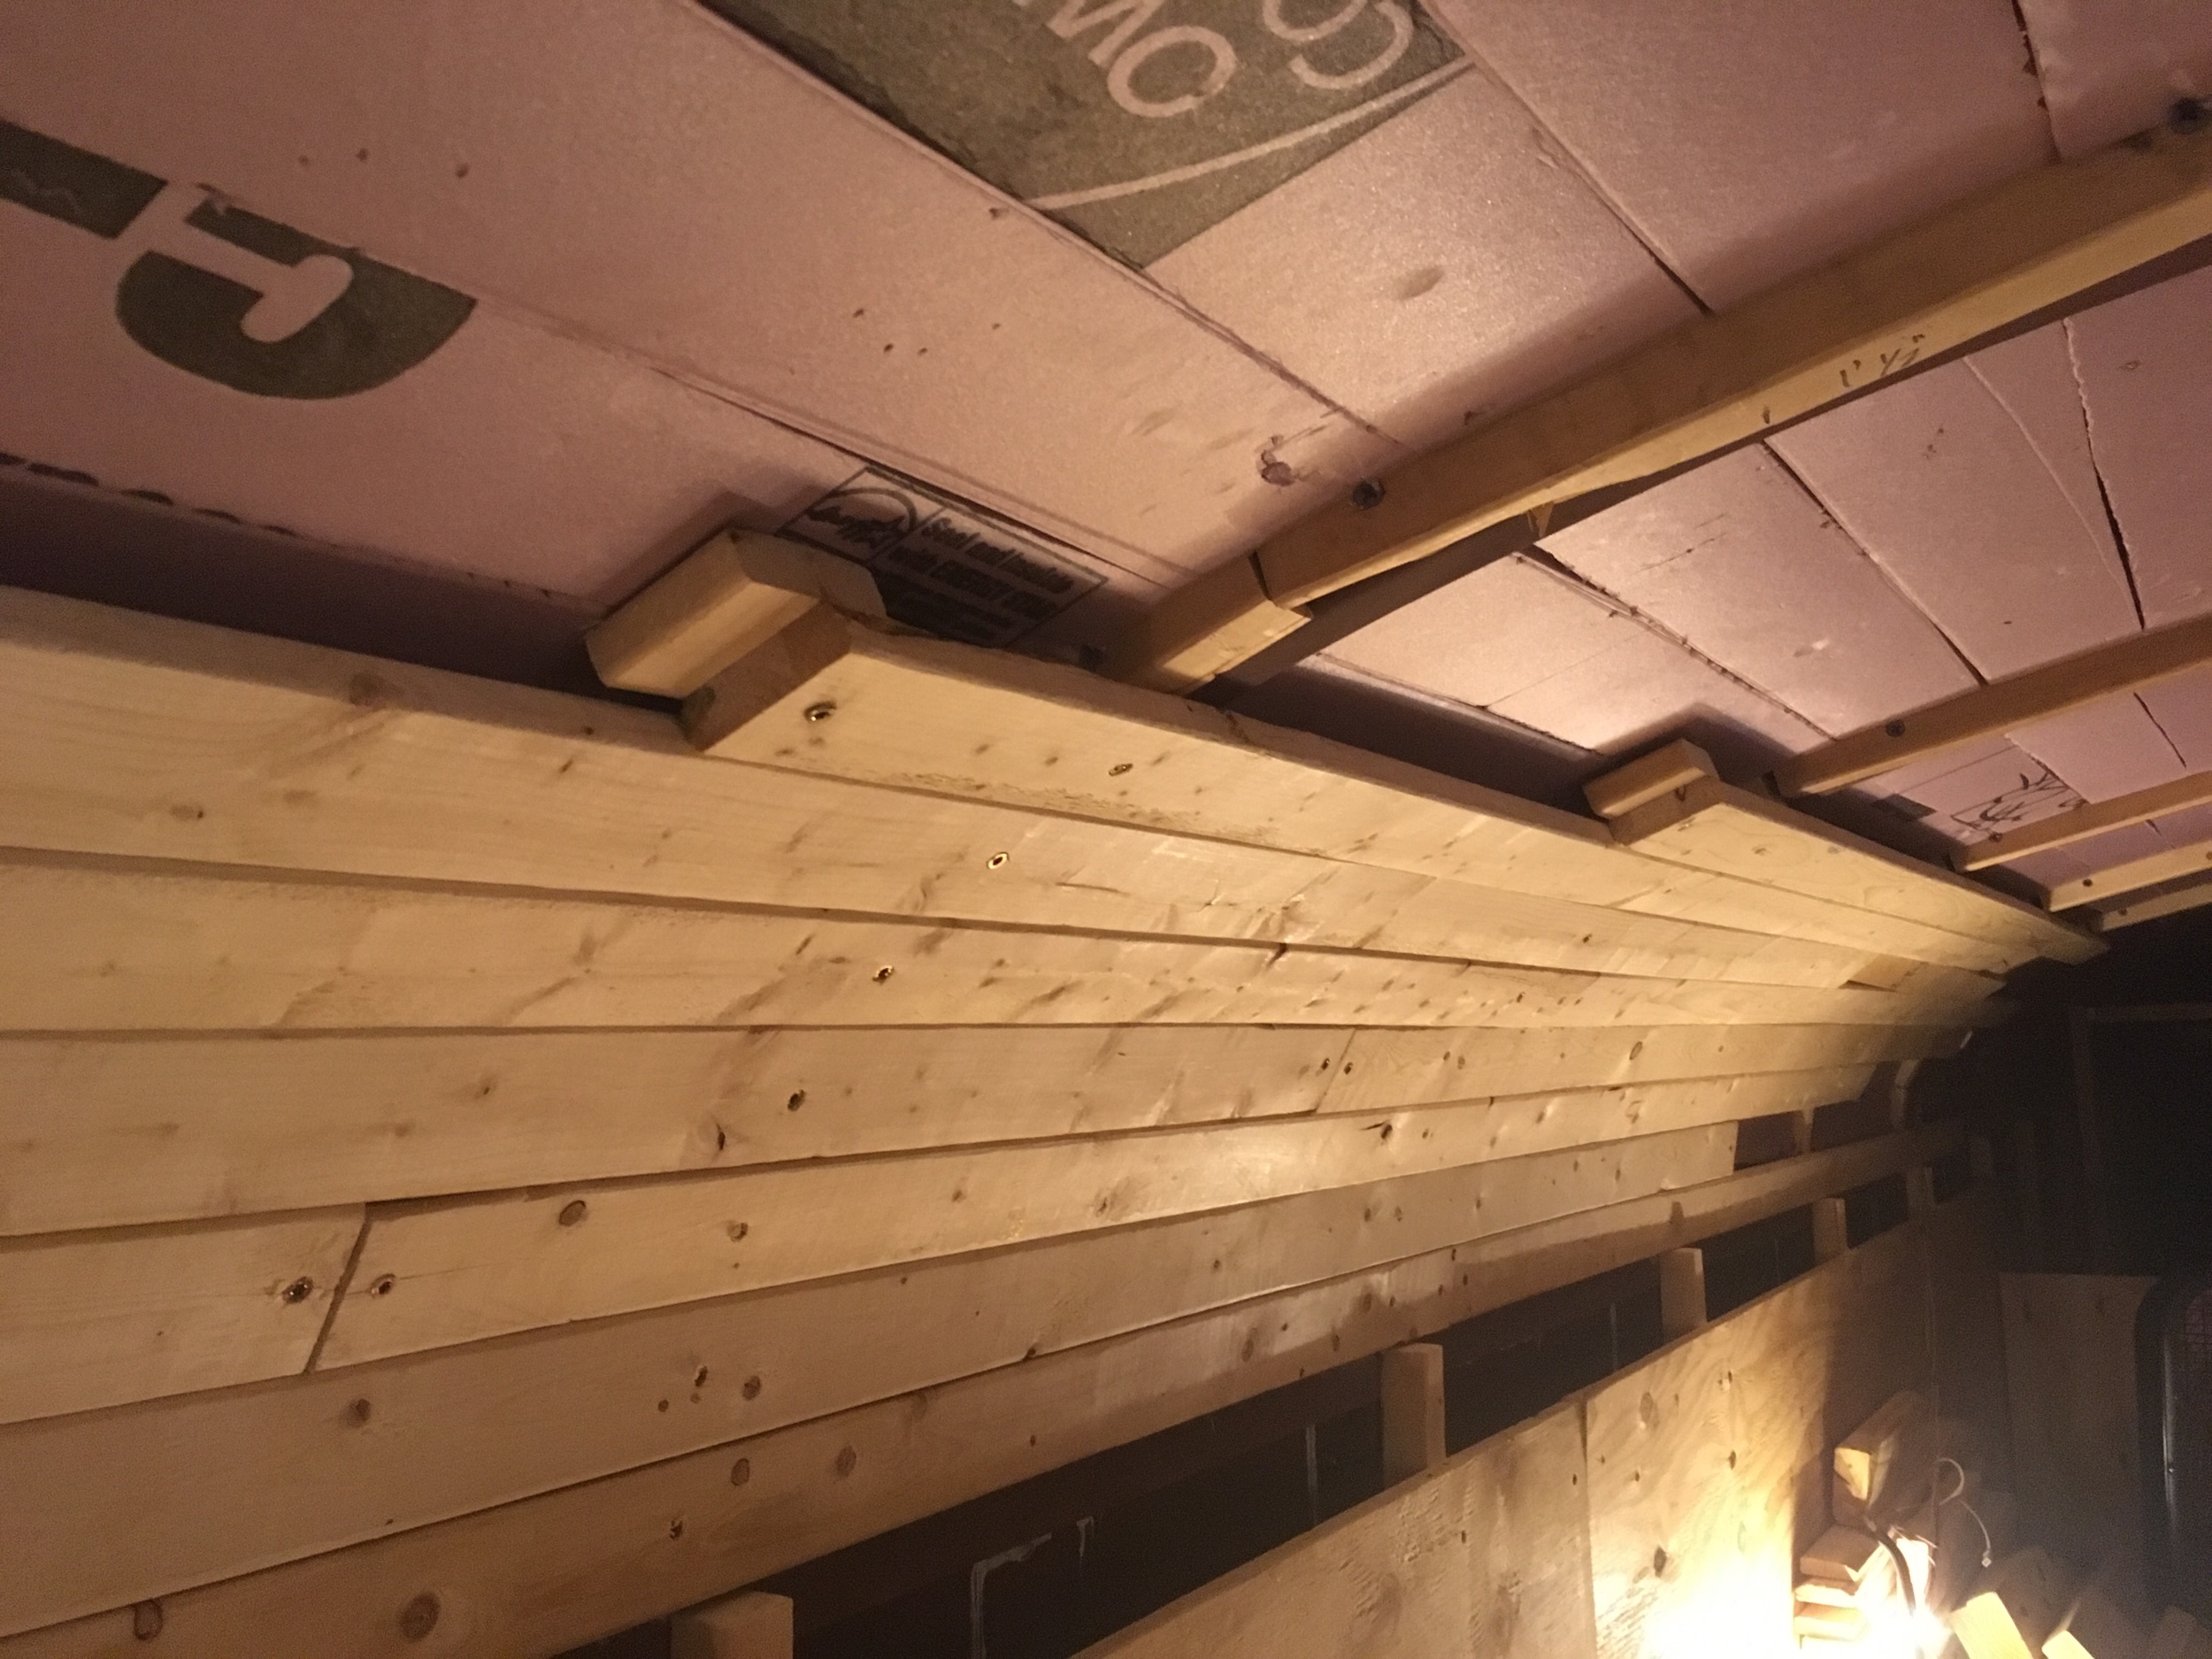
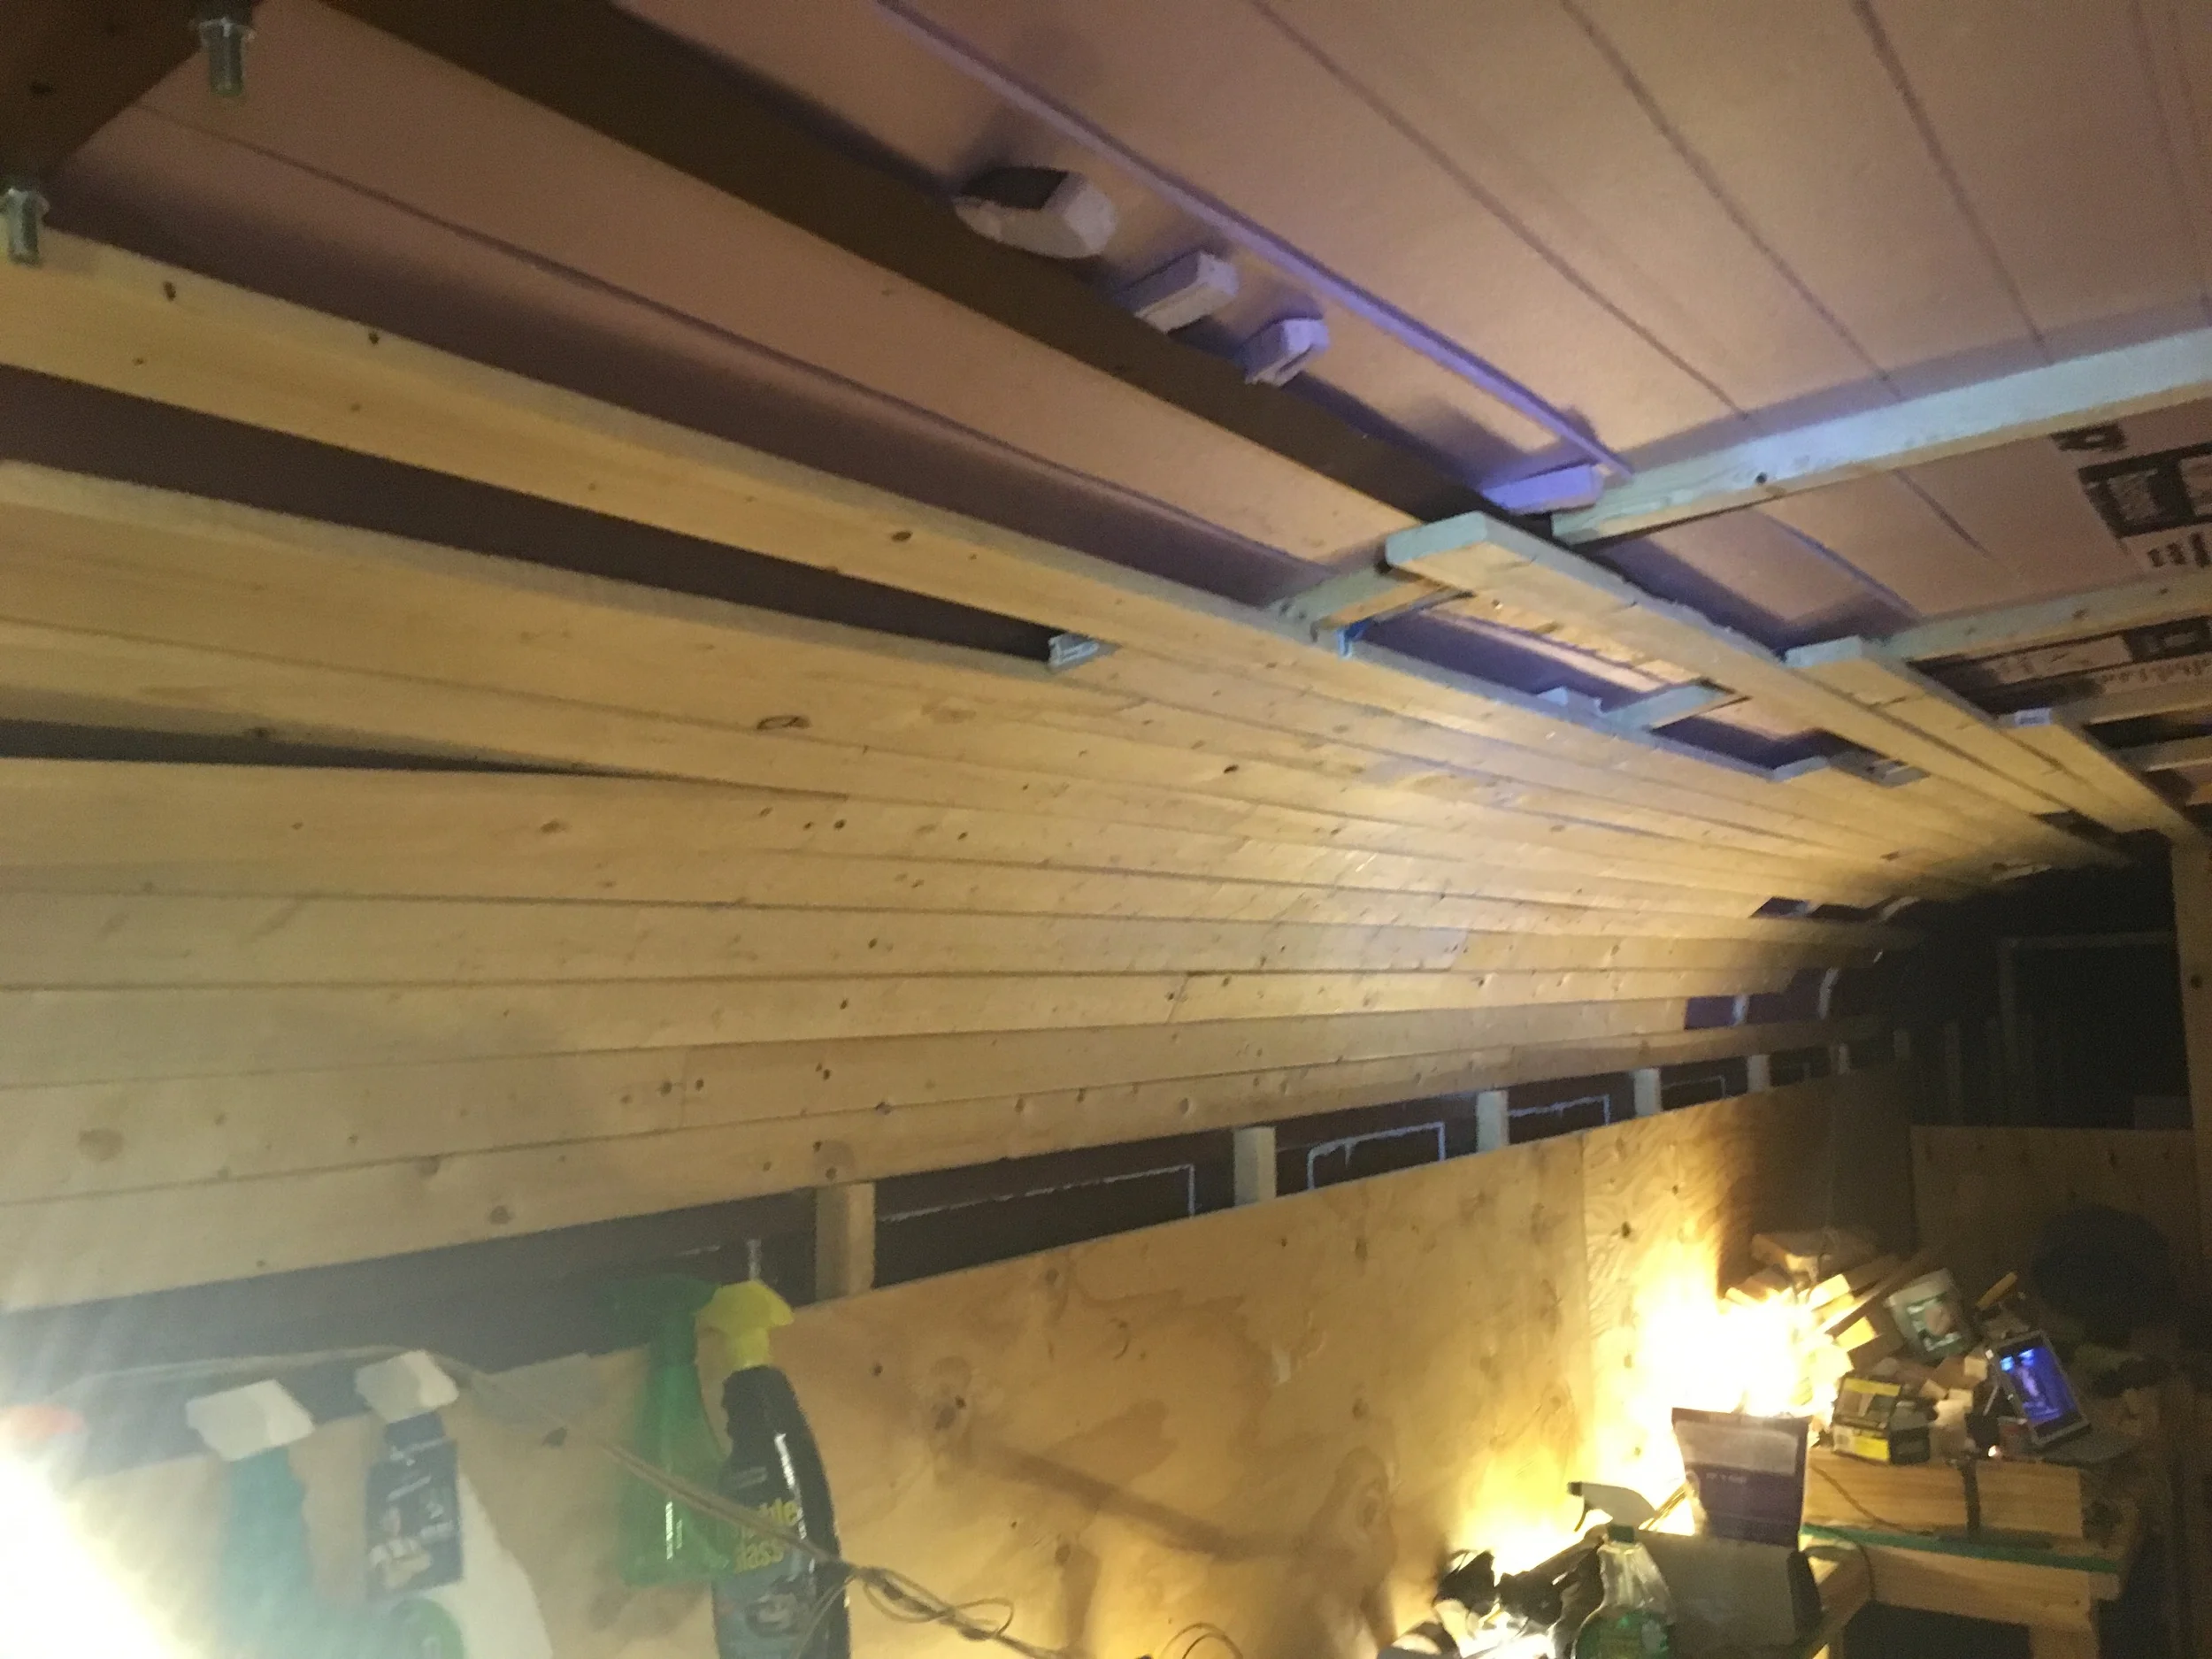
Here are the boards I've sized and cut for the ceiling. I will actually feel comfortable hanging things from the ceiling and I'll also be comfortable without any thermal bridging. This avoids having to drill the ceiling boards into any metal of the bus.
You can see here how I cut and attached the boards for the bend in the roof. The space between the foam and the boards will also allow for wiring to the lights that I will be placing in the ceiling as well.
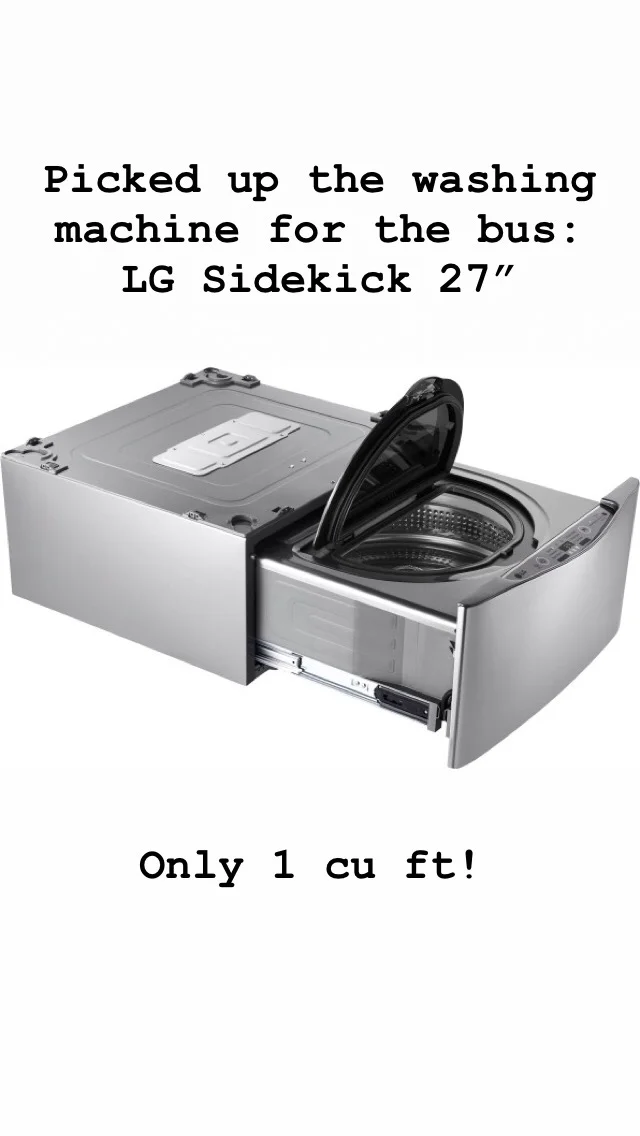
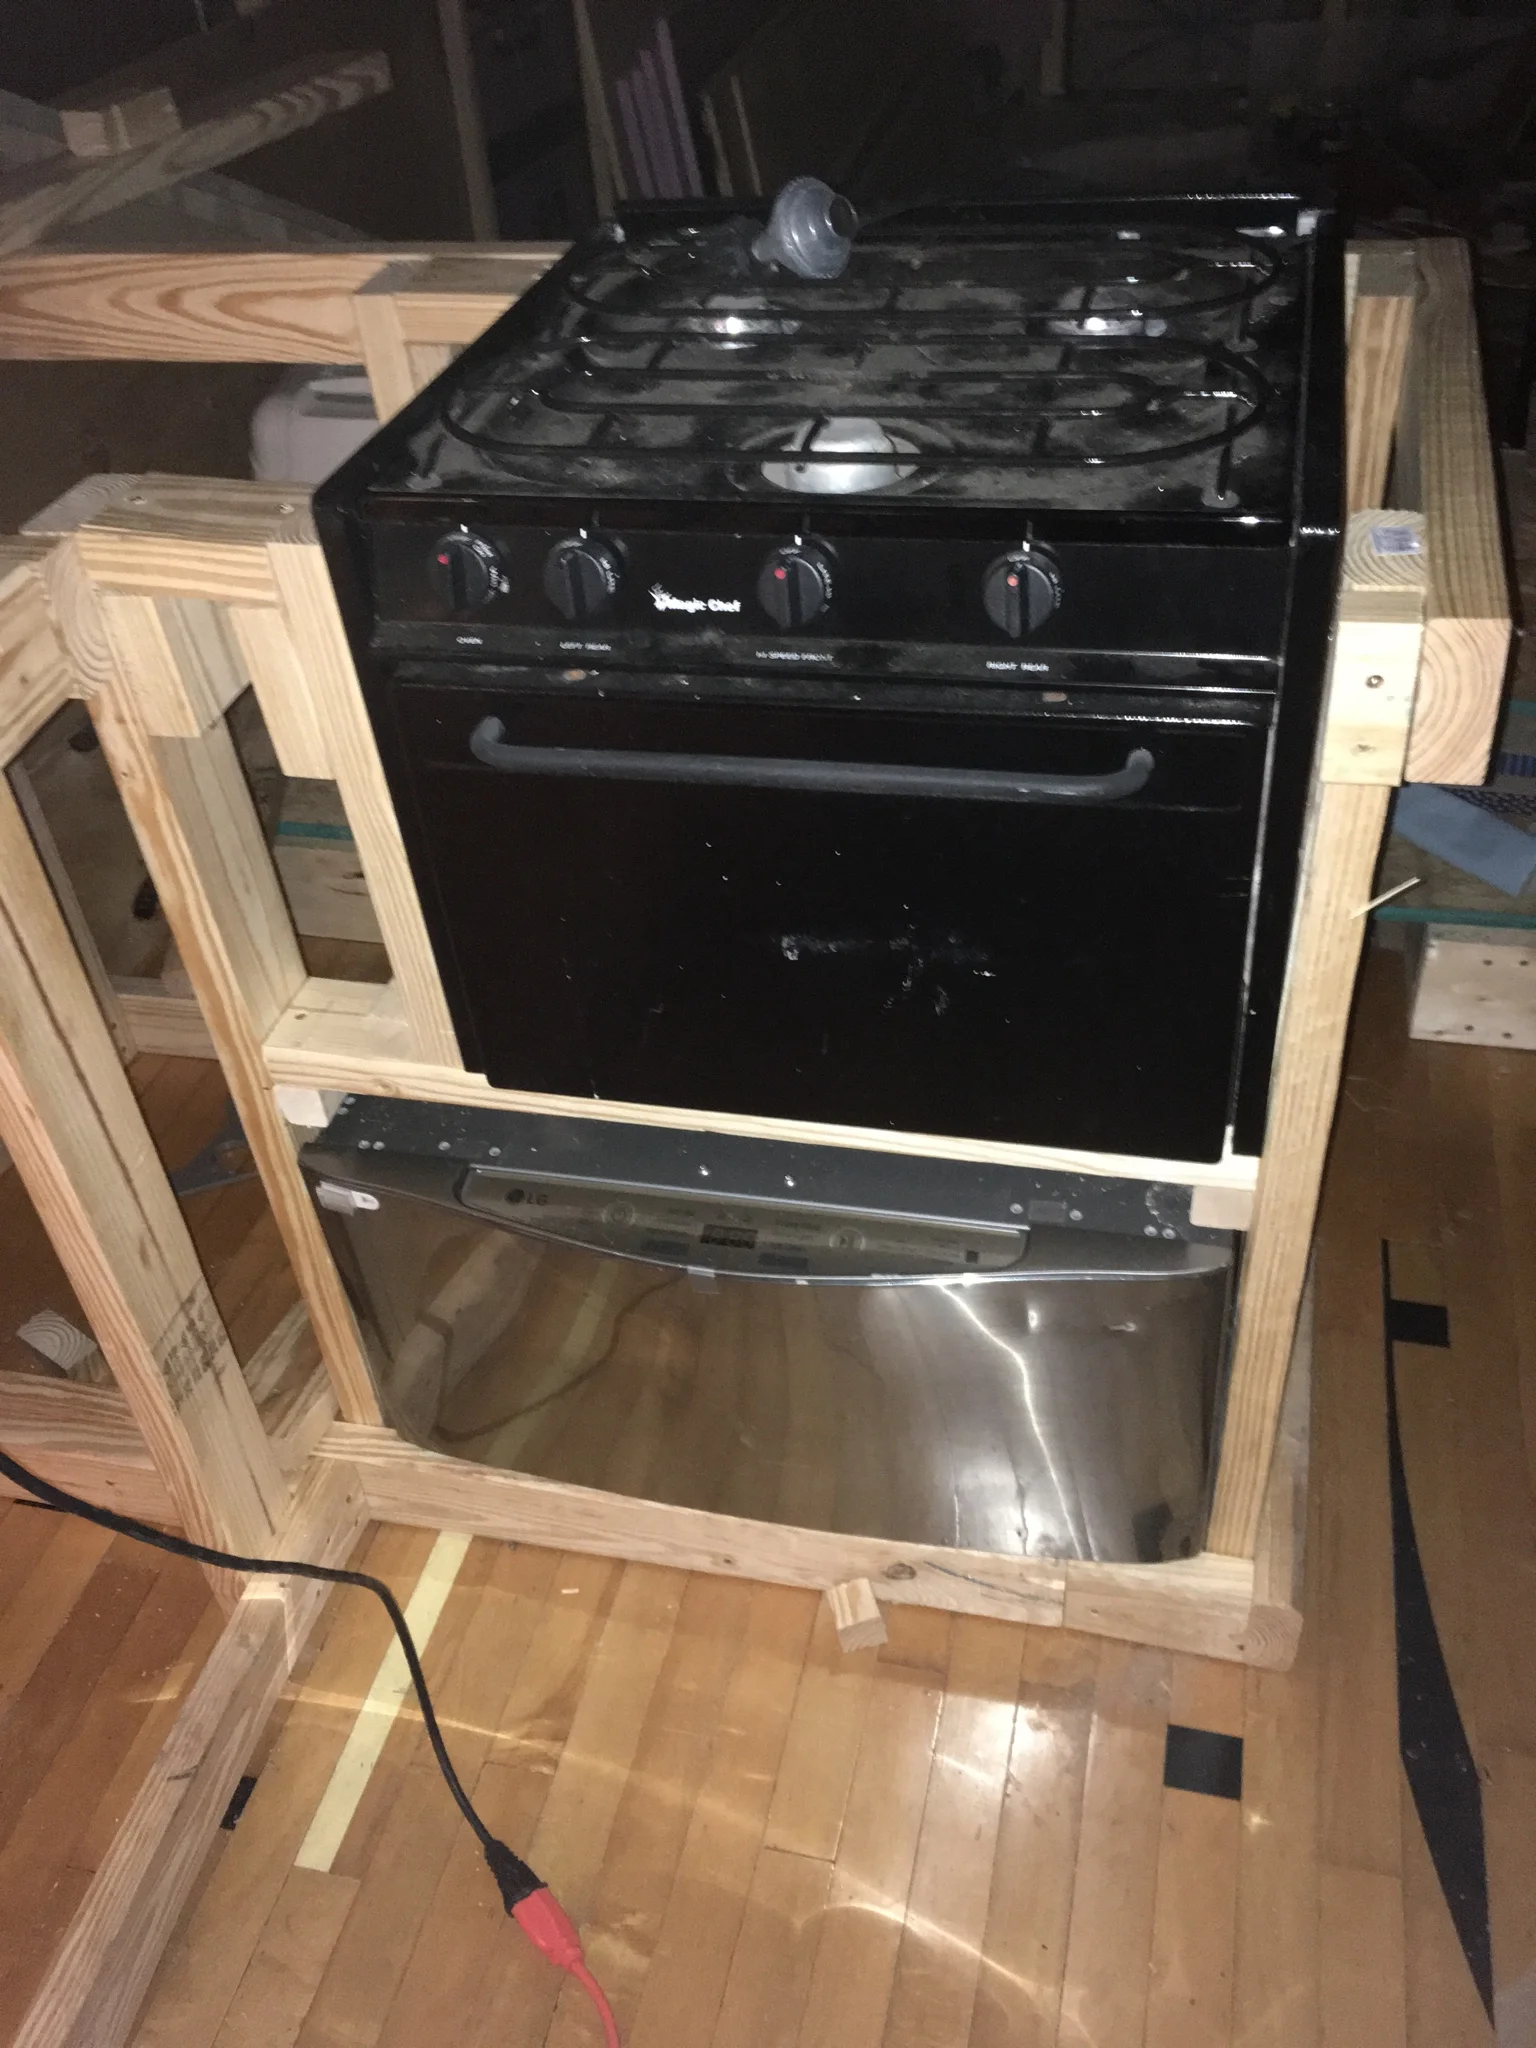
The LG Sidekick that I bought is used. ($300 vs $800 new). It's only 27" wide and 30" deep. It's perfect for bus life and perfect for fitting under the stove. This is also where all of my water spigots are located within the bus, so it only makes sense to have it here. I did have to do some resizing as evidenced by the next picture.
They’re both in their final resting place now.
Eventually, the TV will be here, but in a lift cabinet, which I have to build. This way, I can put the TV down when I want to have windows and I can put it up when I want to watch TV. The lift mechanism should only cost about $200-300
Burning waterlogged wood and cutting dry wood for the wood-fired stove and cabinet. This is the first day without rain in almost a month. Del Rio got 21" of rain over the past two months. It usually gets that much over the course of an entire year!
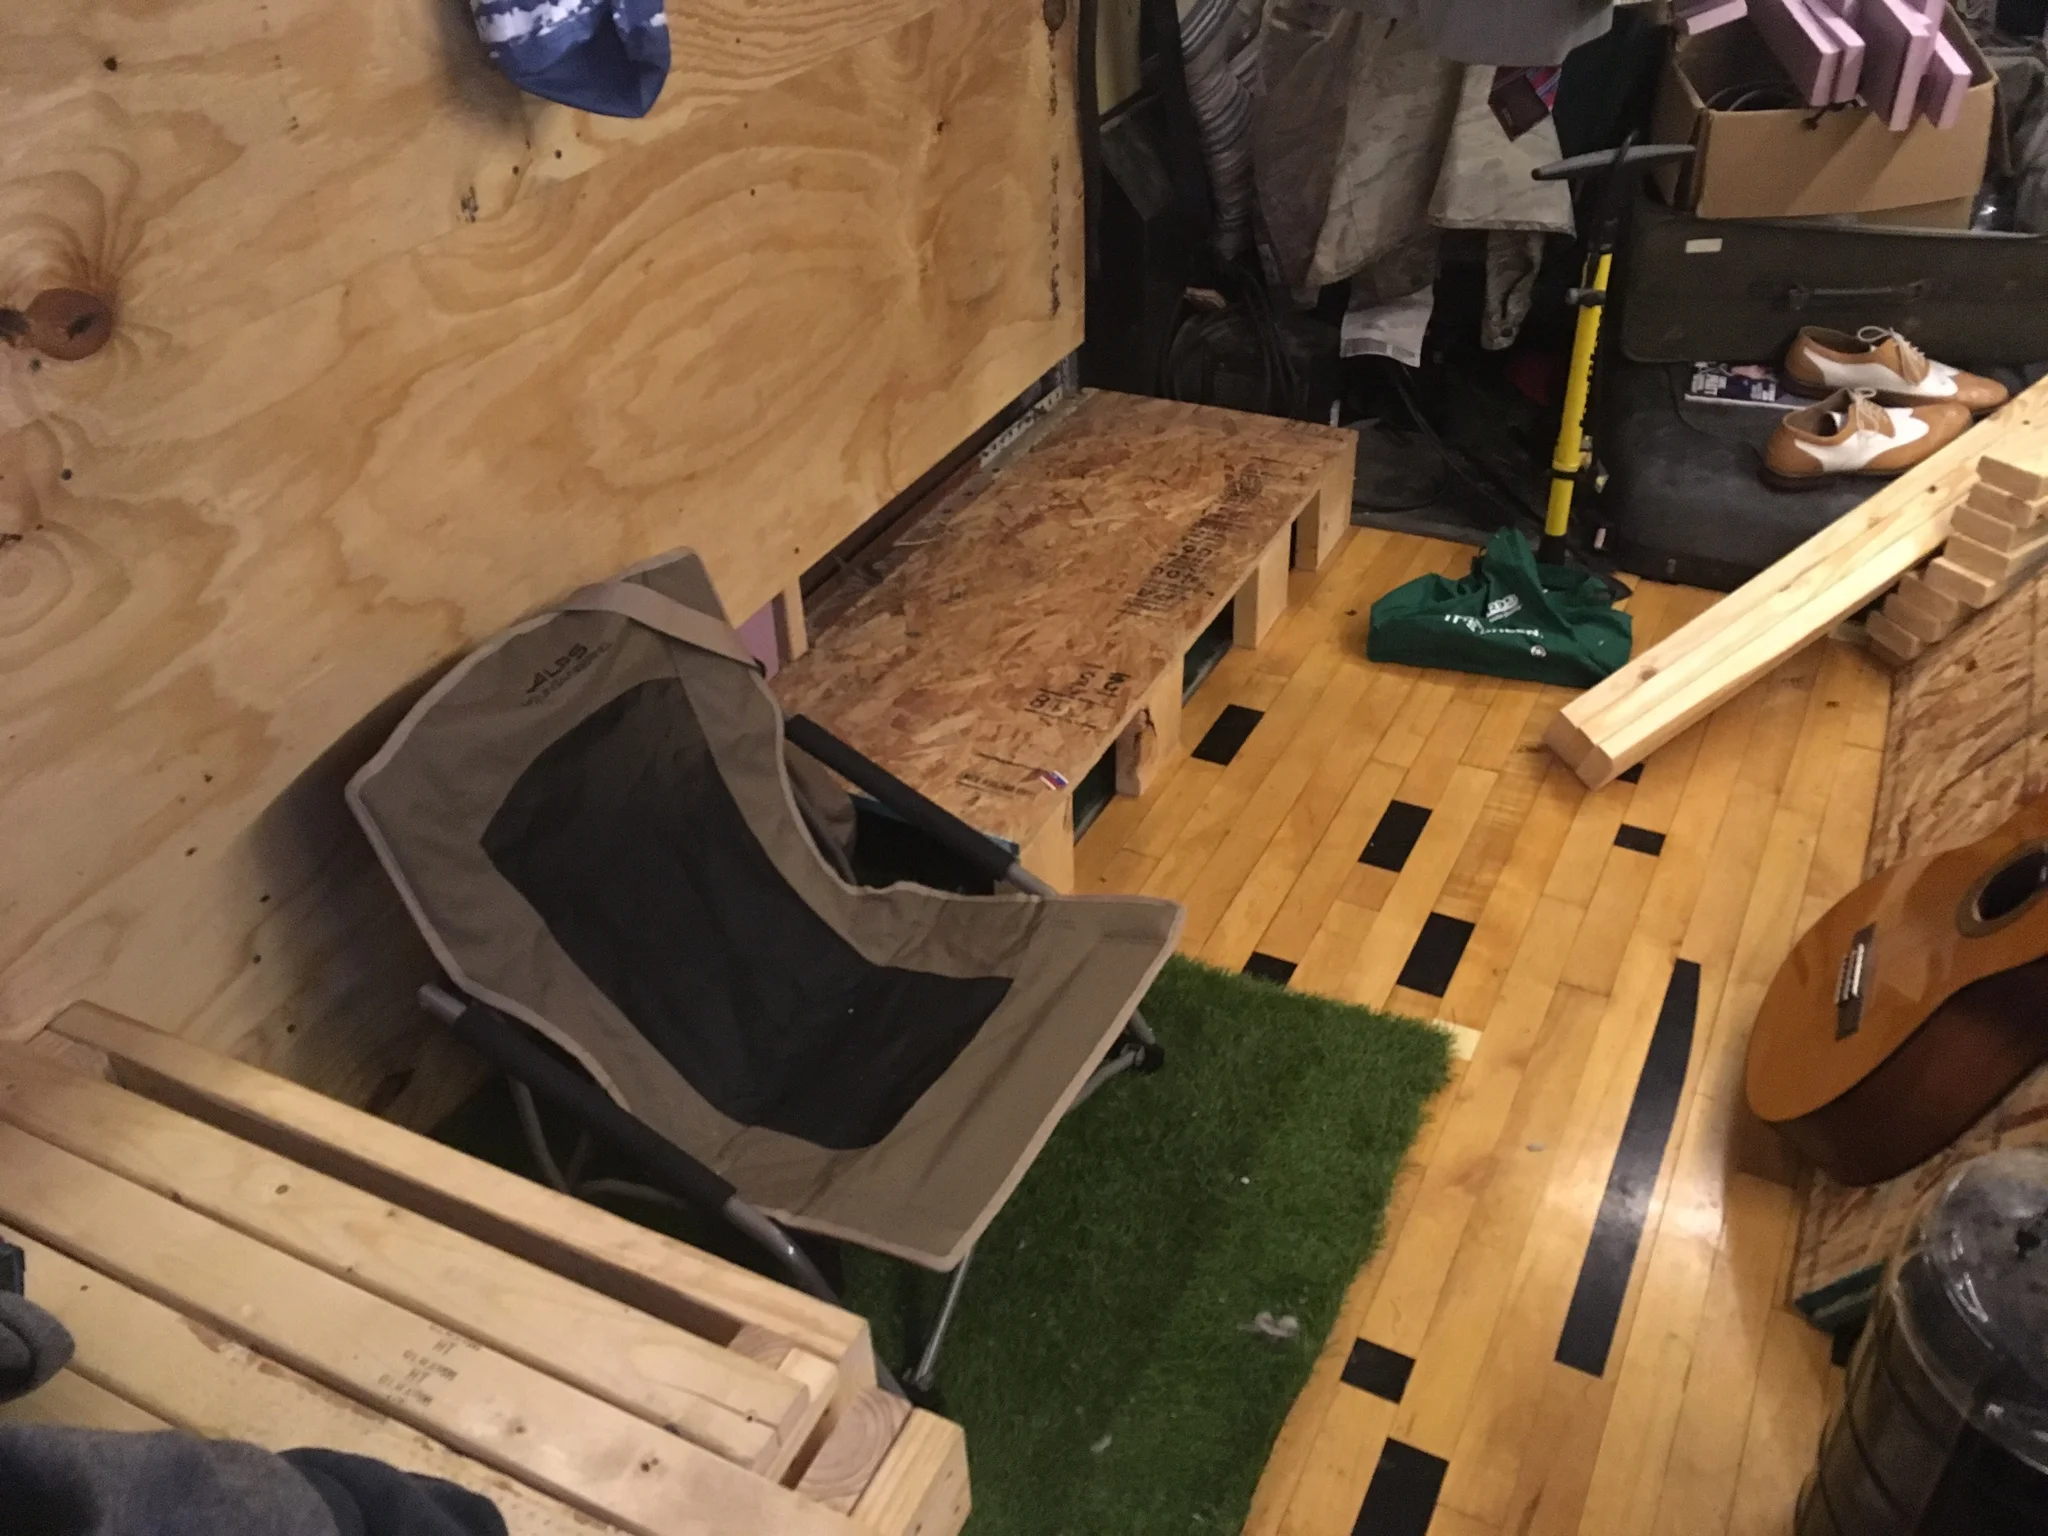
I've laid out grass and a lawn chair for extra seating. The "Relaxation Station." You can also see here the box that I've built over the wheel well. This will be the foundation for the stove's supply cabinet.
The cabinet and stand for the wood-fired stove will be here. I'm going to add a shelf in here for the wood logs/supplies.
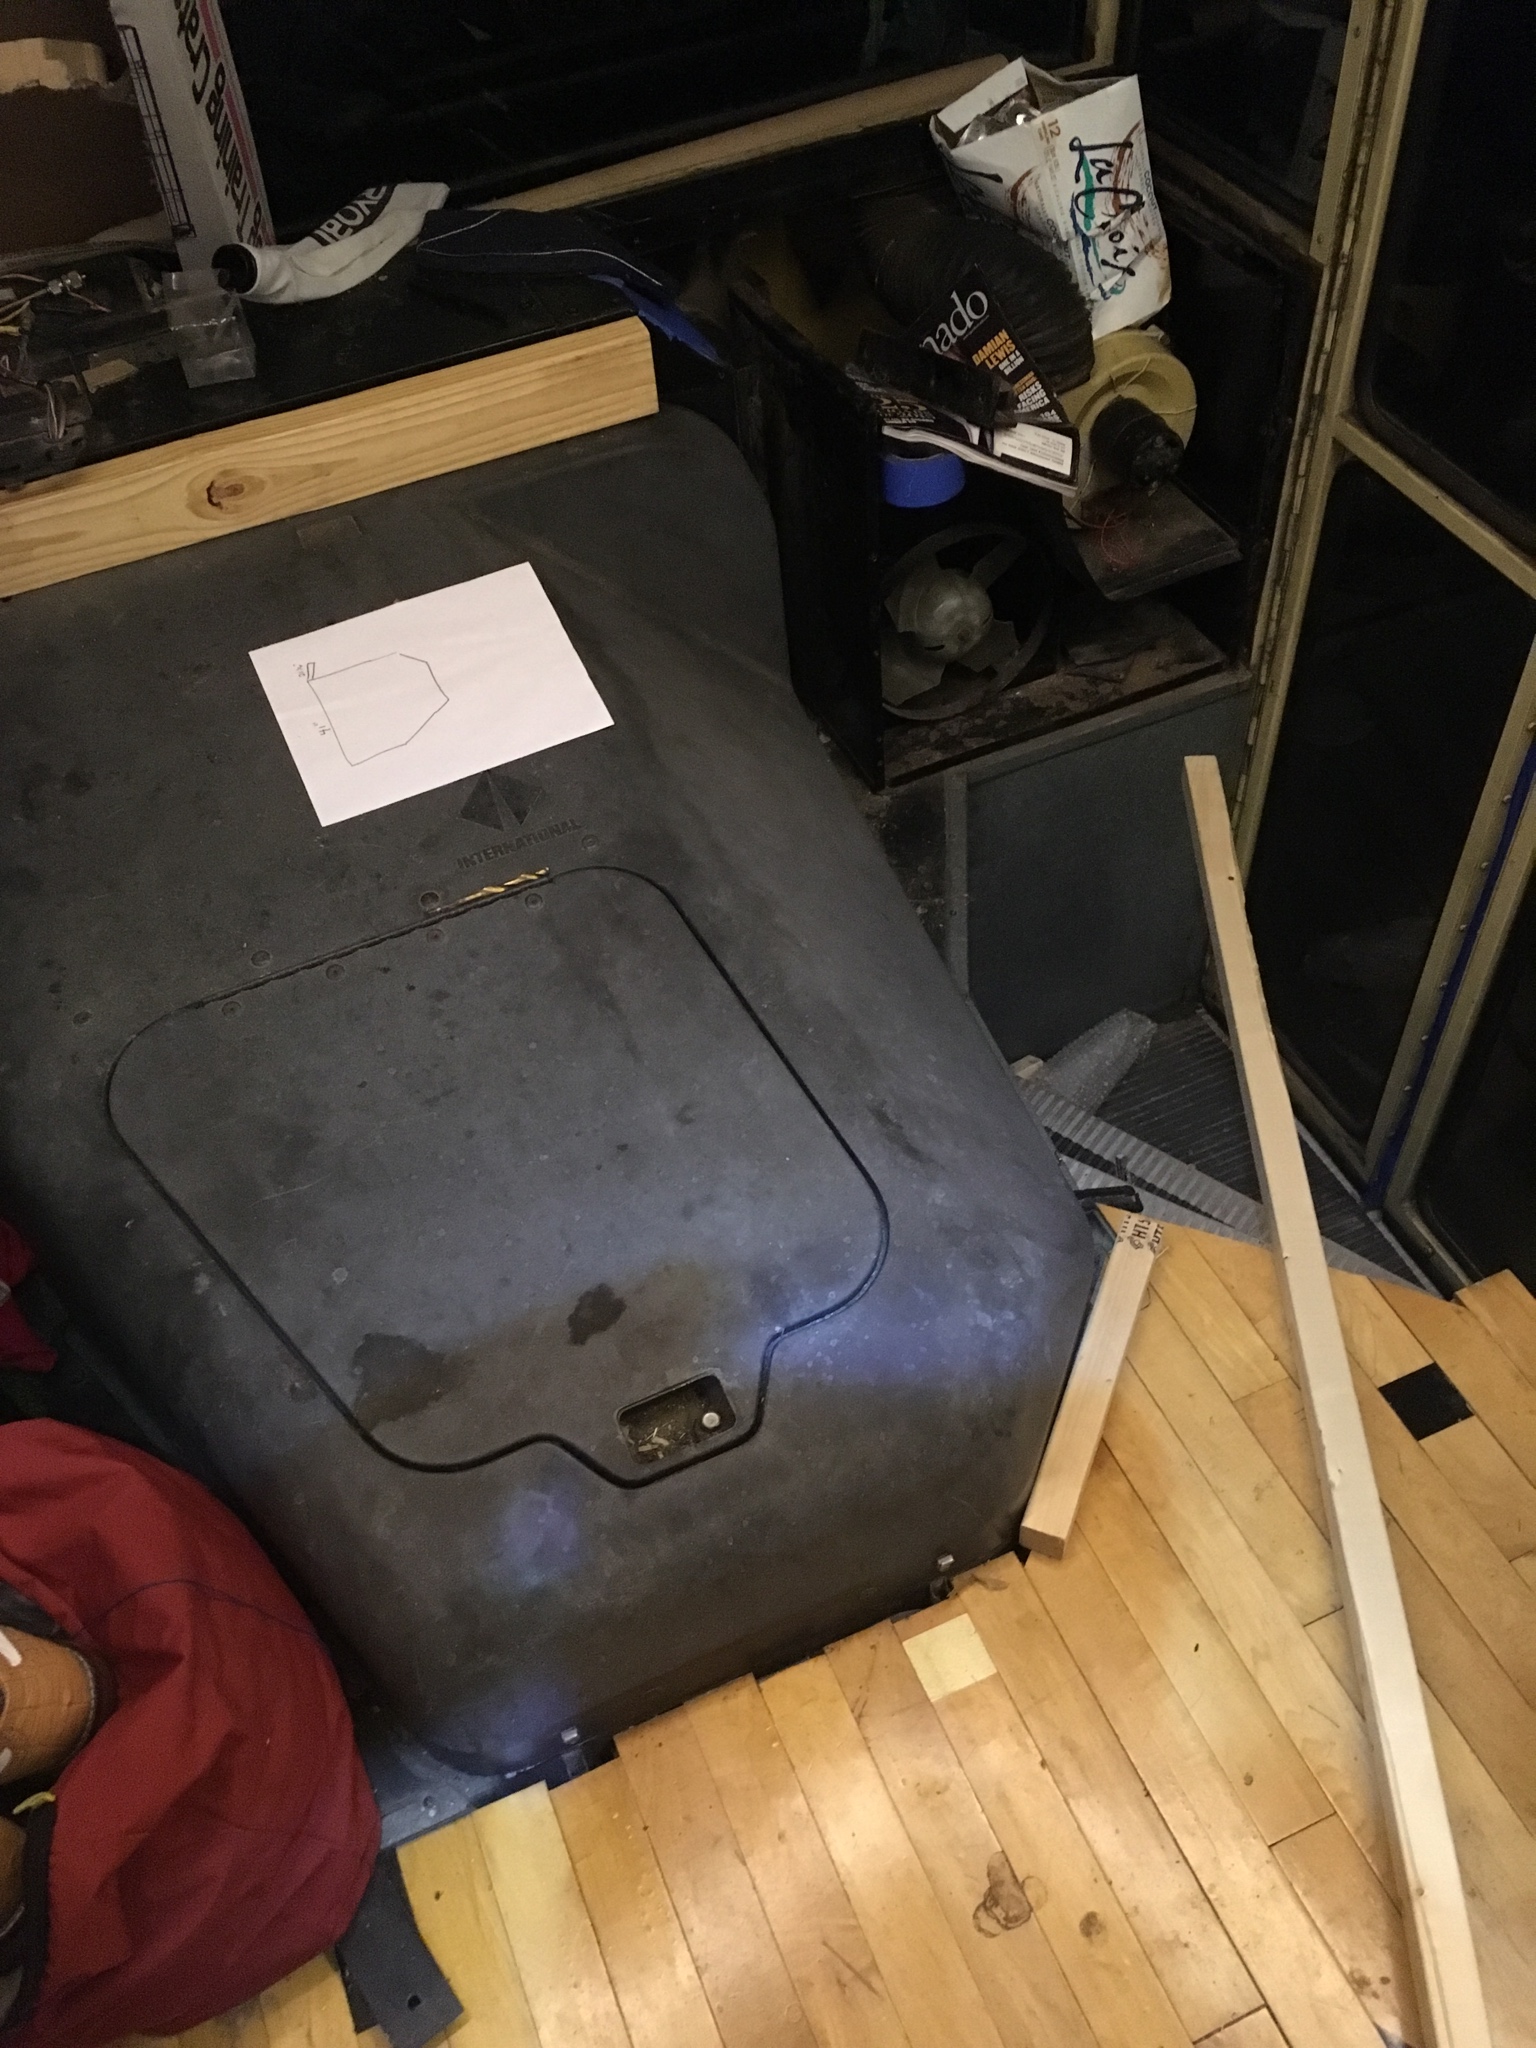
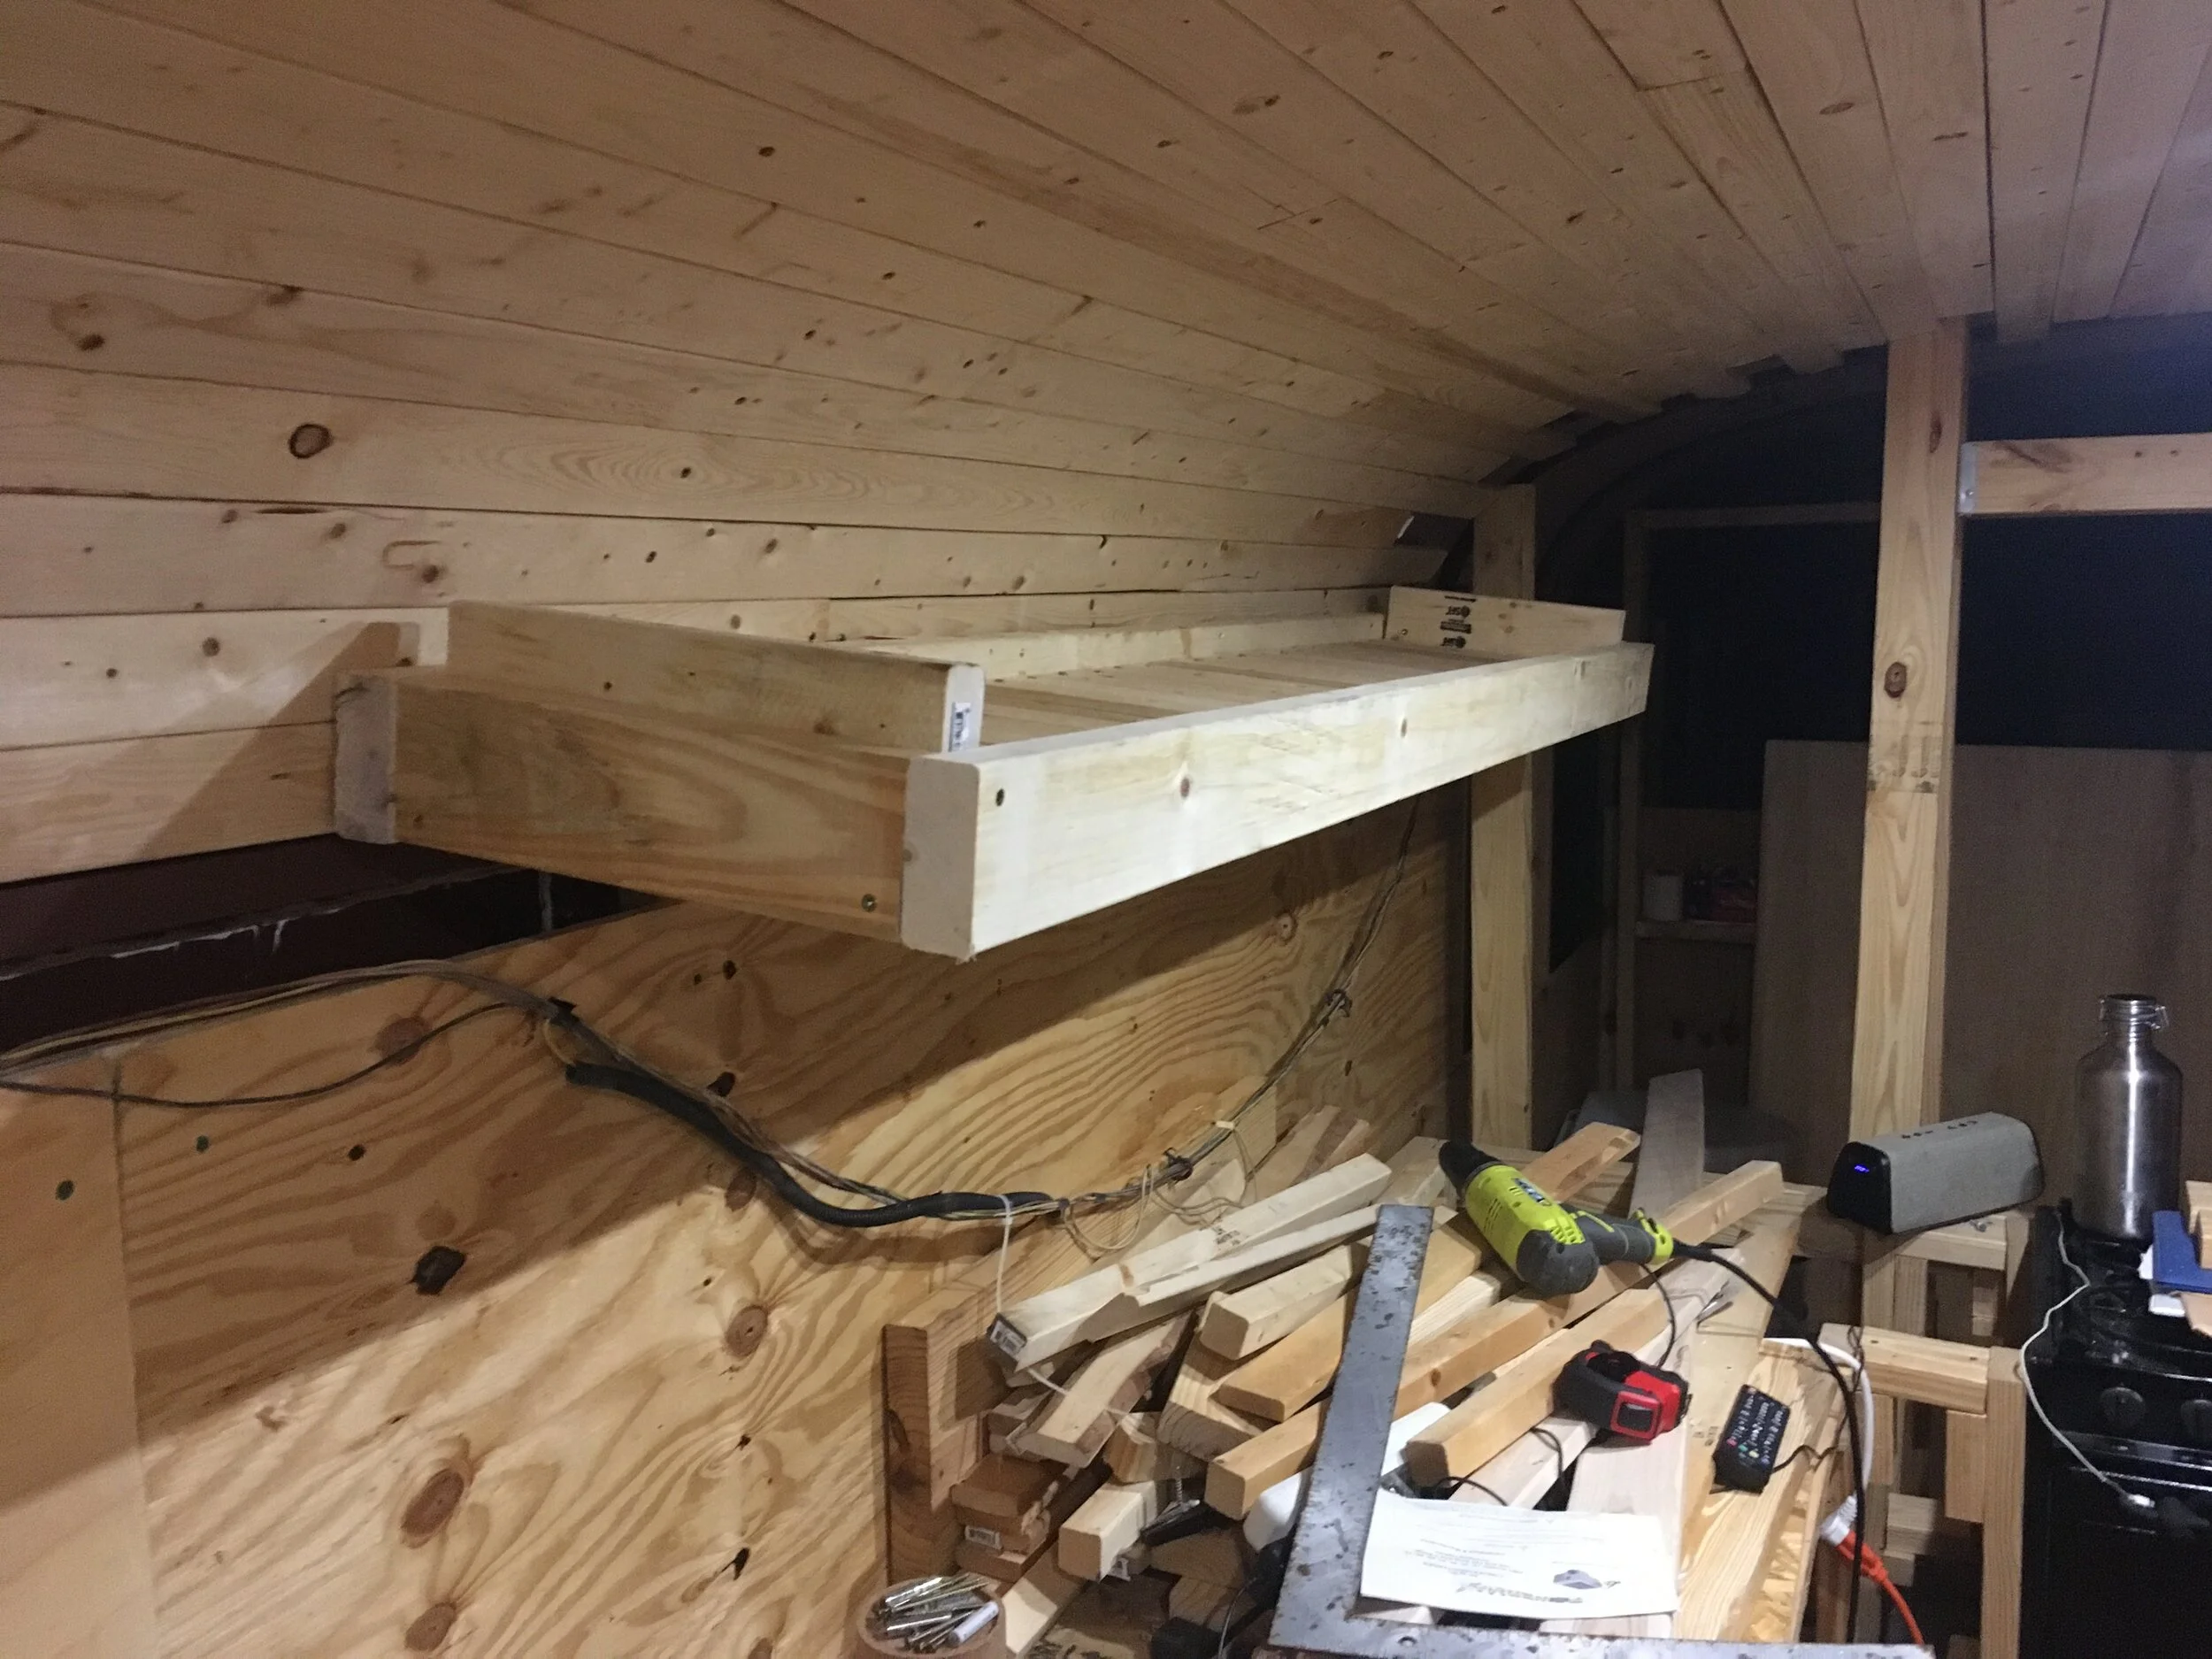
Here's the "doghouse," under which the engine lives. You can see here that it is certainly an odd shape. That doesn't help, but the downward slope is equally odd. I've decided I'm just going to level it out into a table and put stationary storage under a hinged lid. It can only be used for storage while the bus is stationary because it gets really hot and I don't need a fire.
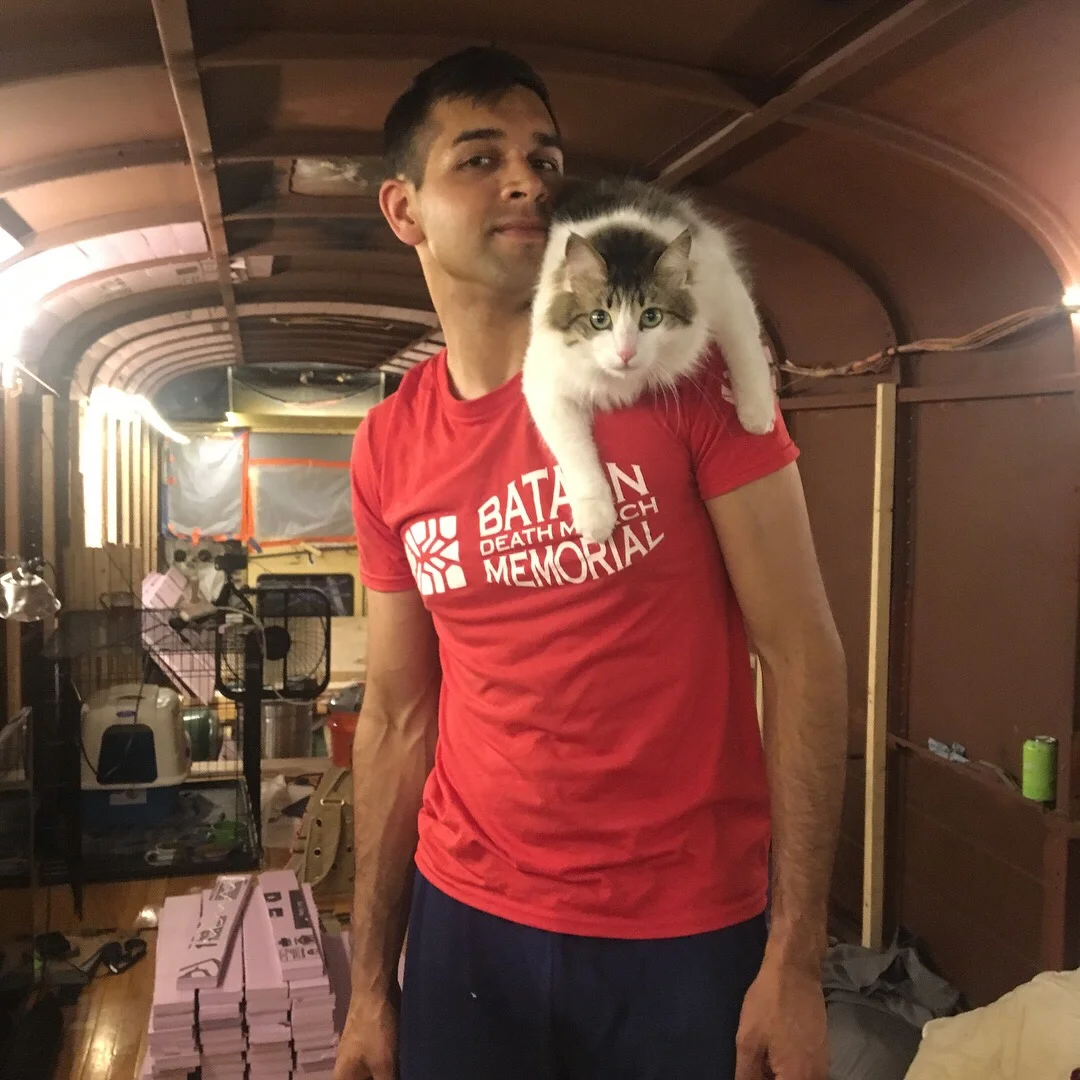
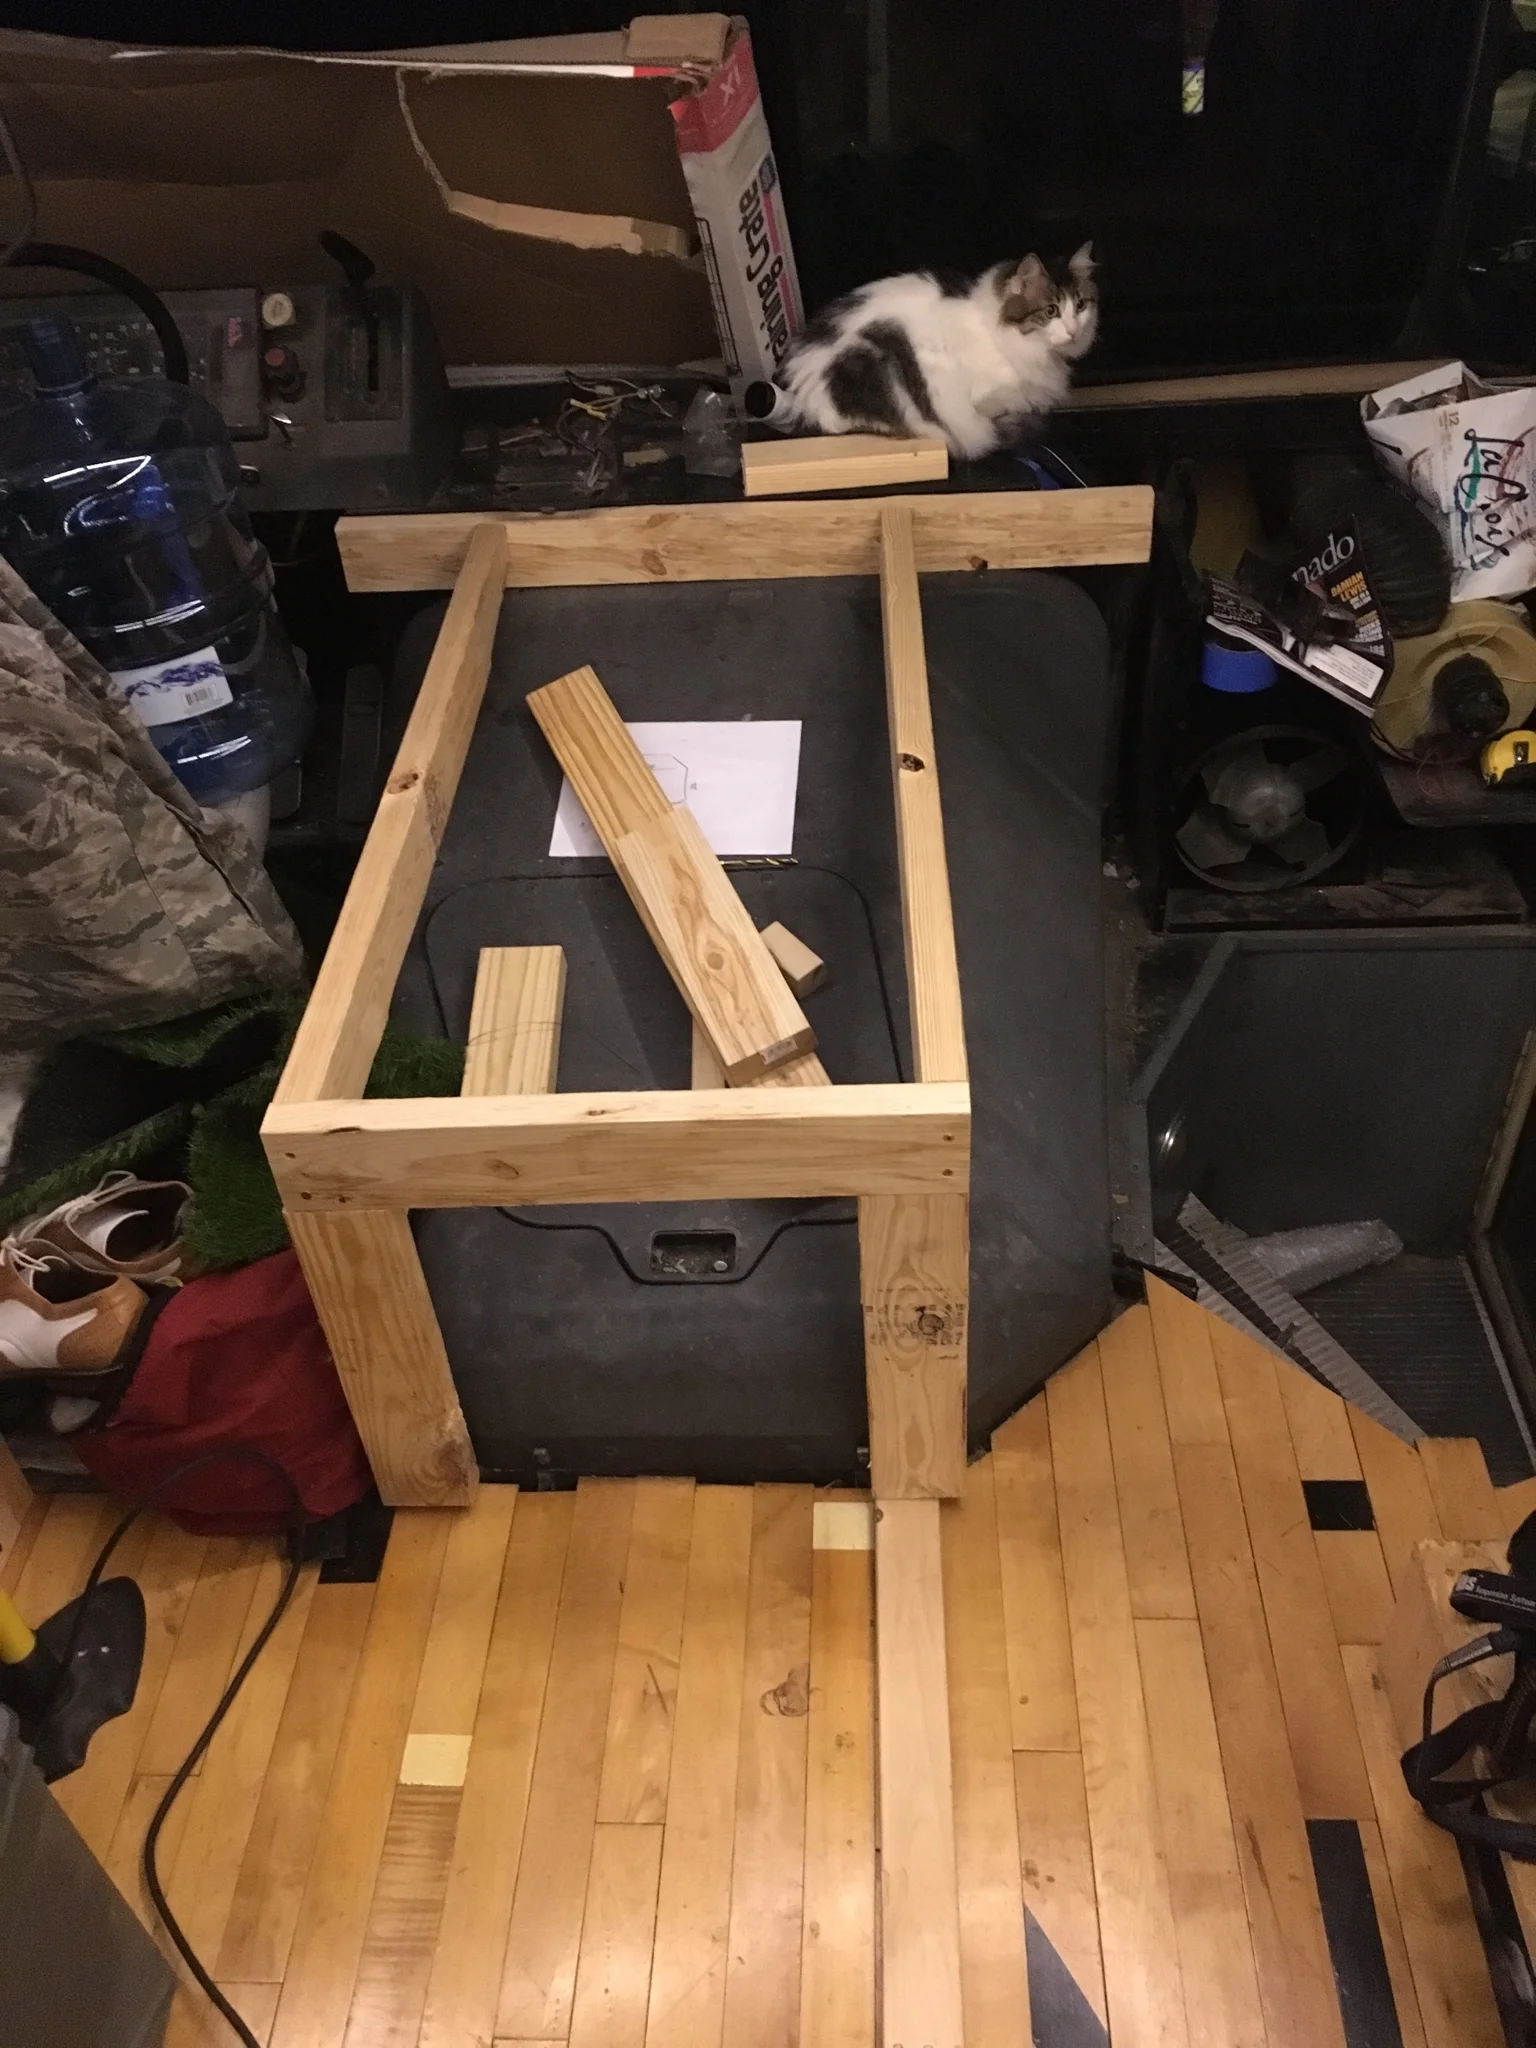
This is my start for the box. The framework is going to be a pain, but well worth it to have another surface for sitting/eating, and for storage. The whole thing will be able to slide off to the aft to enable access to the engine for repairs. Maria has inspected the framework and deemed it acceptable.
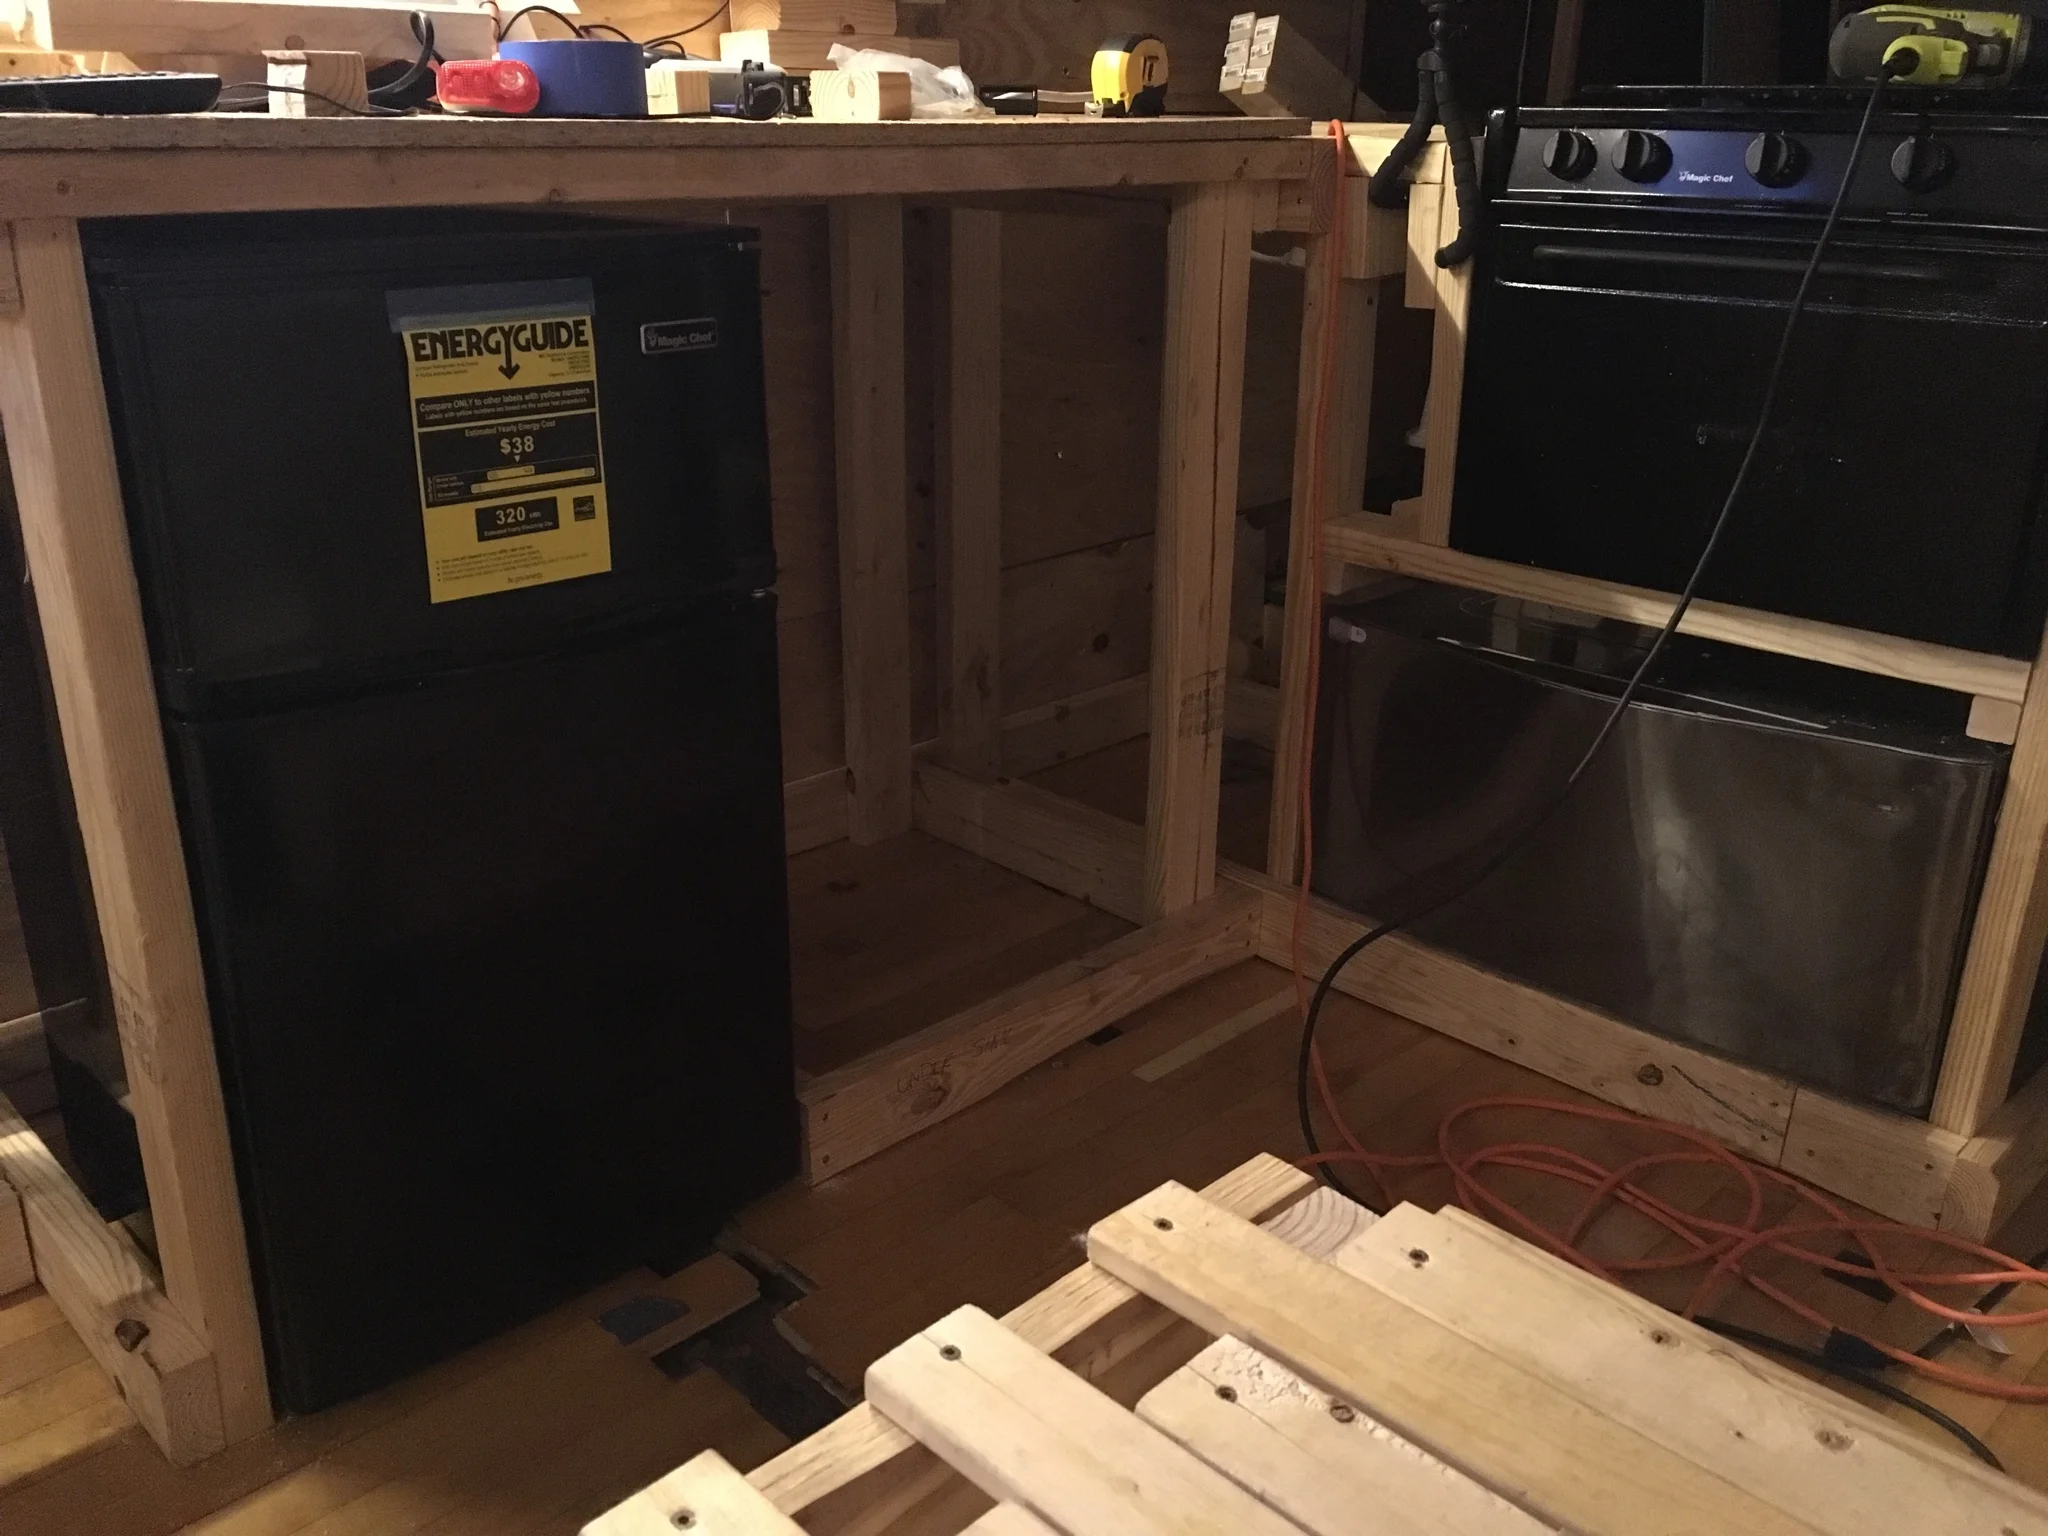
Refrigerator in place. You can see the utility channel that runs underneath it. That’s where my water and electrical pipes/wires will be so that I have easy access to them when needed.
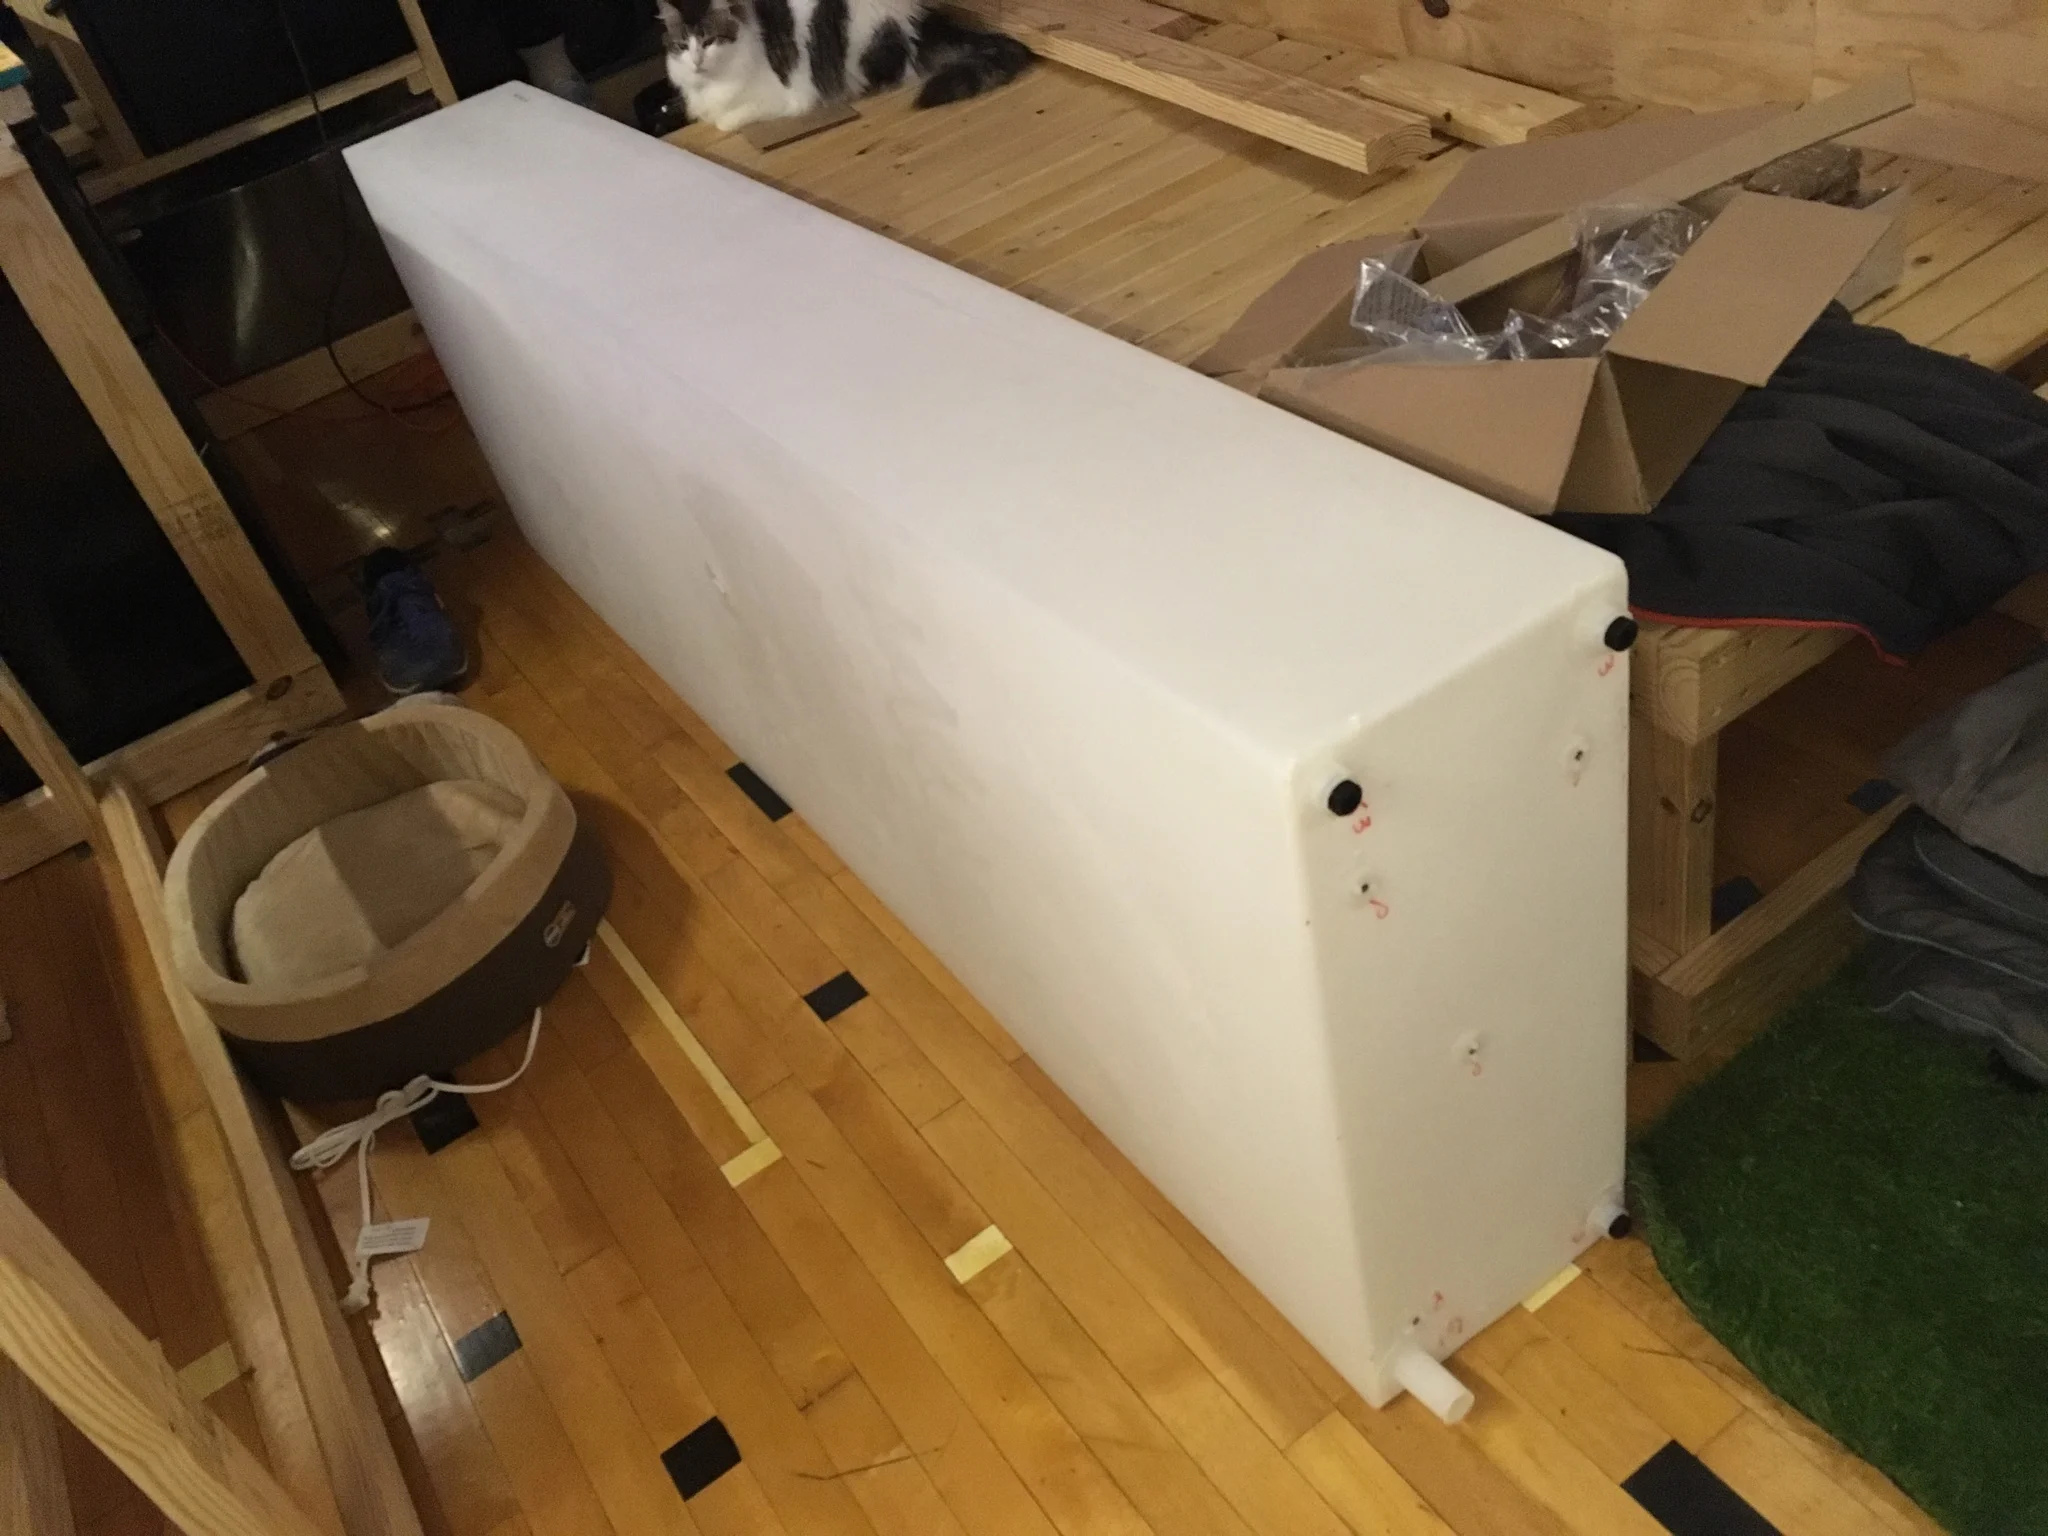
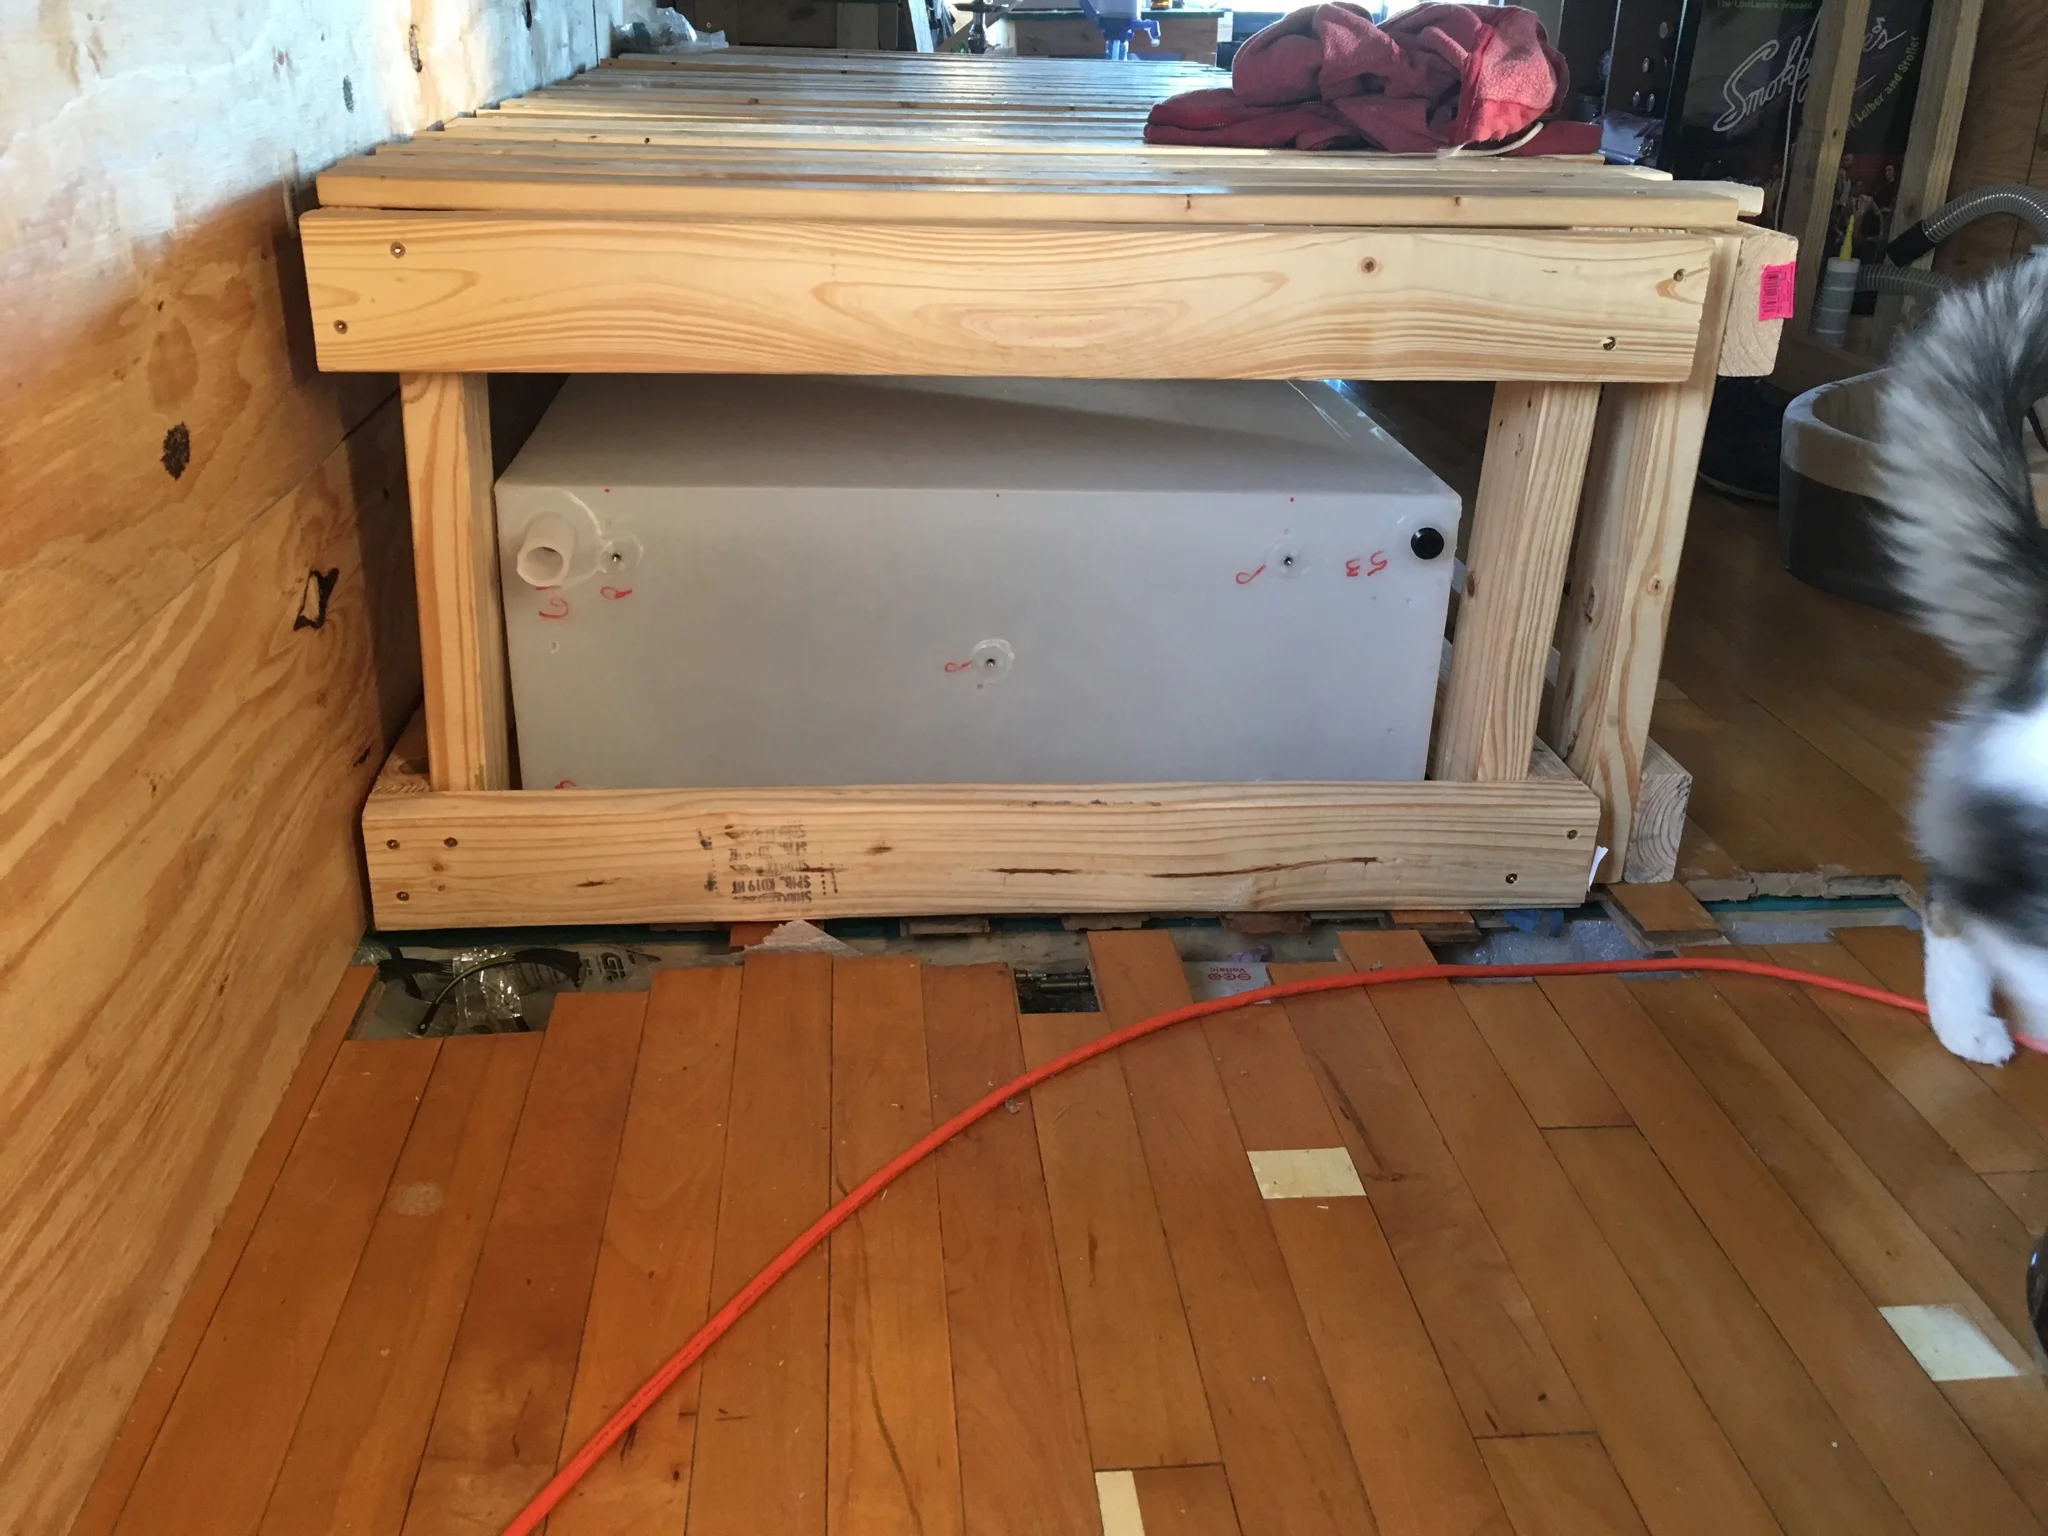
I'm rather frustrated that the water tank I ordered has this little nubs on the end. It makes the tank longer, so I need to rebuild the bed/pullout couch in order to accommodate it. I decided to position the water tank inside the bus so that in the event of freezing weather, it would be more likely to stay warm.
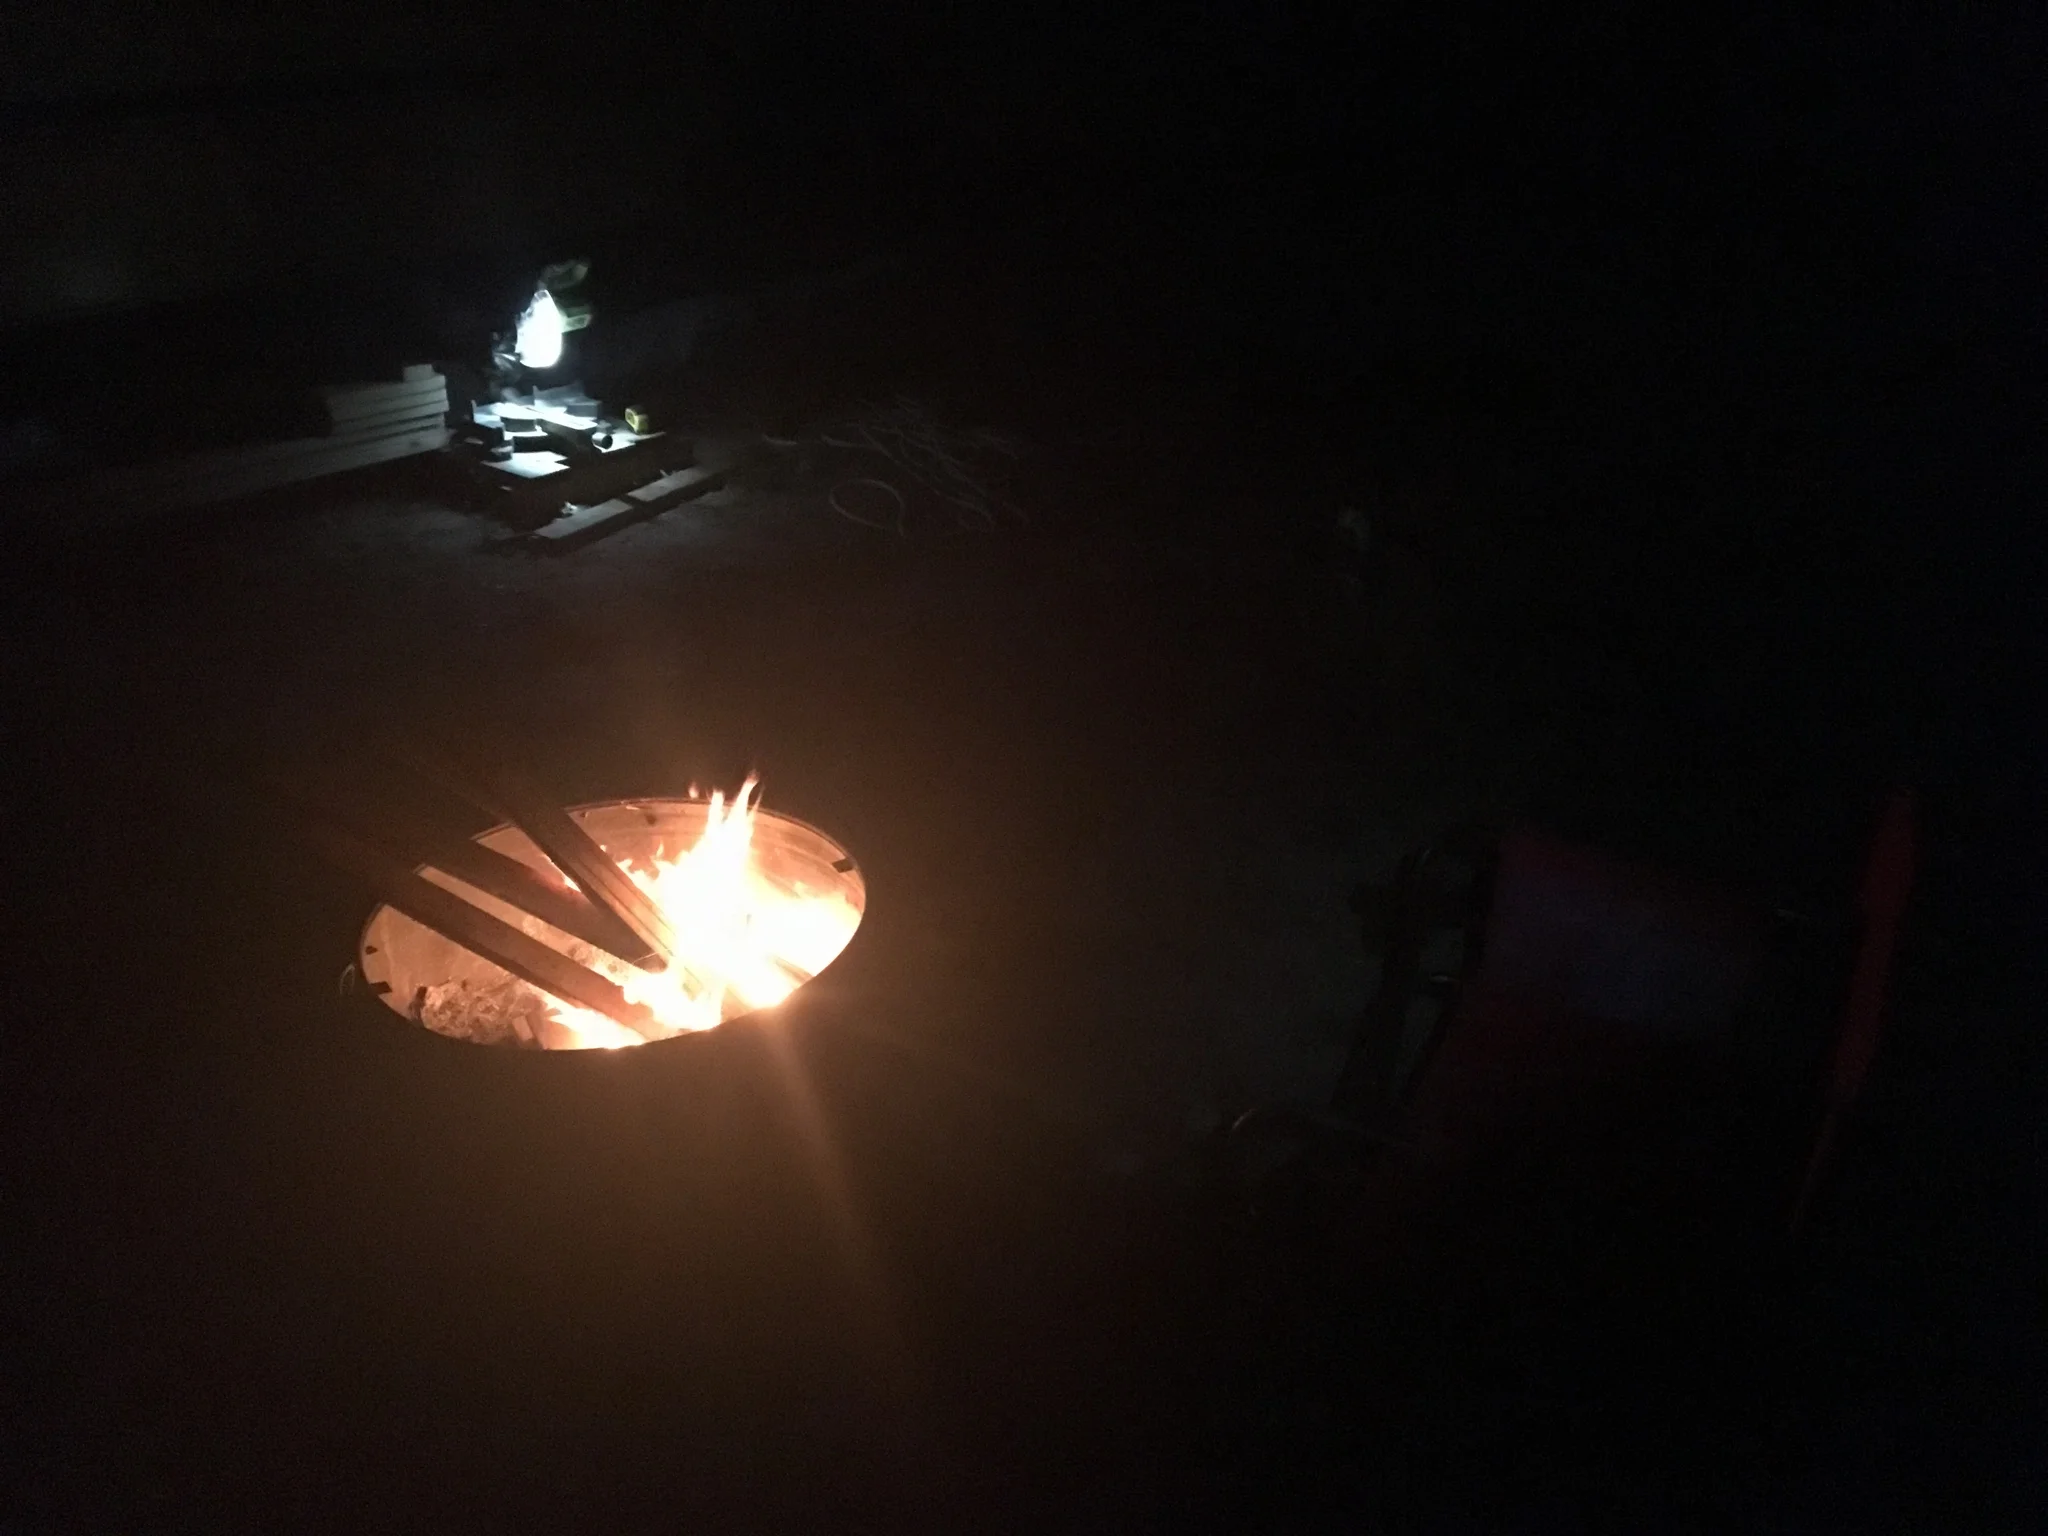
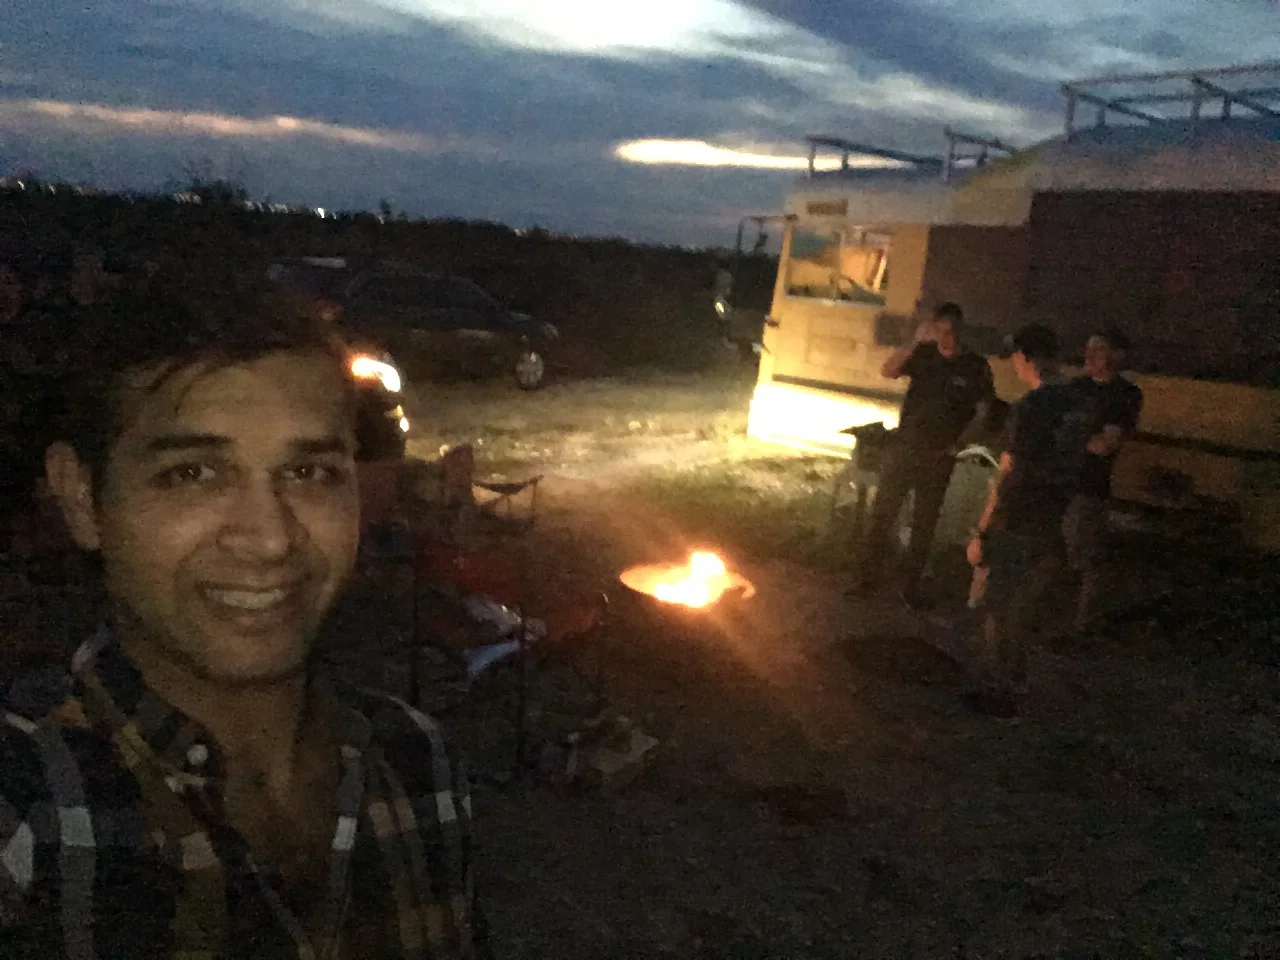
Grainy, but the open house (errr.... bus) went well! Had some friends over for a firepit, beer, and s'mores.
I had to rebuild the frame for the couch/pullout bed to accommodate for the water tank, as you can see the "nubs" which are inlets/outlets for the tank, previously stuck out of the frame. Maria inspected as normal.
After a tornado hit a couple miles away so we rebuilt a portion of the wooden rooftop patio.
I built the frame for the bed. Eventually there will be a platform underneath that the bed will sit on. There will be documentation of this process as I build it.
The second framing section went in smoothly. Plywood was added to the bedroom side of the wall. Bathroom work will be done next.
Started framing the interior walls for the bathroom area. I anchored the tops of the support beams to the frame of the bus using 2x2's and wood/metal screws.
After nearly 9 months away from the bus, I’m back in Del Rio and working ceaselessly to finish it before I separate from the Air Force.
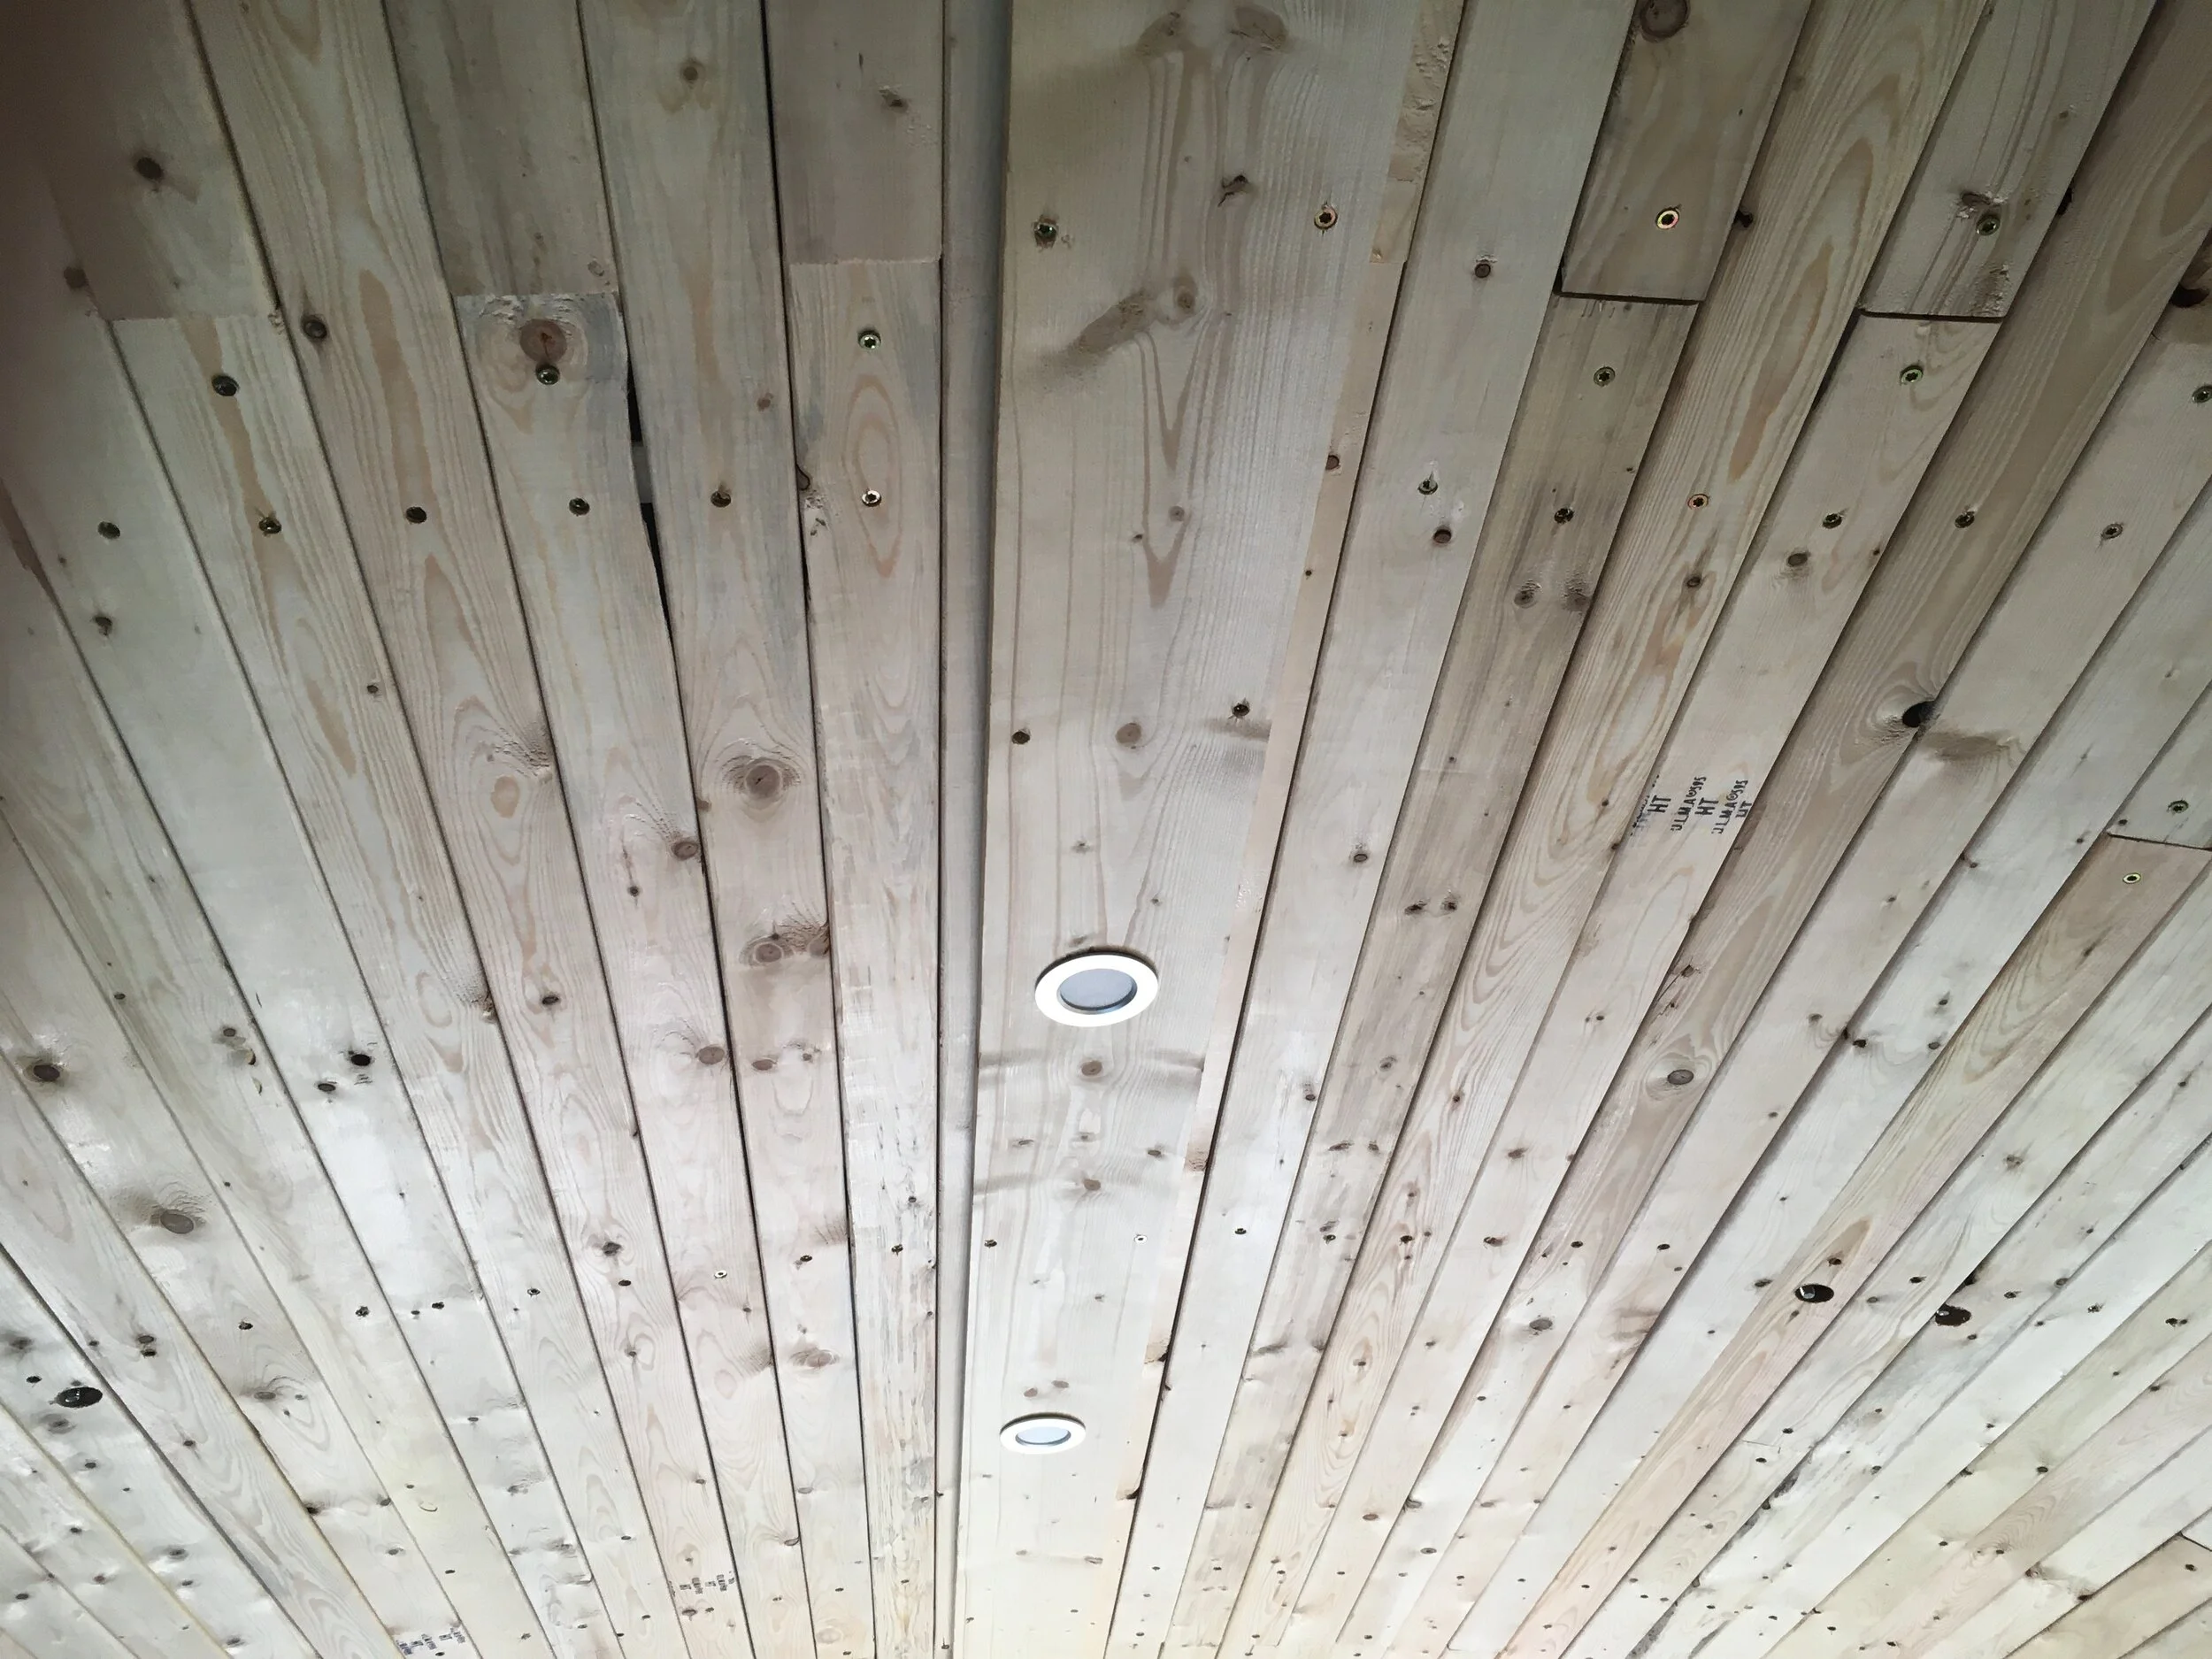
The challenges of installing the ceiling took a lot of planning to overcome, but I was able to with a ceiling that has 1” of insulation, a small gap, and then 1”x3” boards screwed into 2”x2” boards to prevent any thermal bridging to the skin of the bus. For the sheer number of screws, the surface area of the metal would actually raise the internal temperature of the bus.
Finally I have windows that are better than sheets of plastic-wrap. I bought 3 lexan (plexiglass) panels and cut them to size with a dremel. I then used butyl tape to secure the edges and drilled through the metal and lexan to secure with bolts. In order to fit RV windows I’m going to need to install metal bars on the interior and cover the holes with sheets of steel as well.
Finally getting to the center portion of the ceiling. The curve is starting to look good!
Where the bus’ emergency exit was located, I had originally covered it up with a sheet of steel. I used an angle grinder to cut a hole in it so I could install a ceiling fan.
The Fan-Tastic measures 14”x14” so I cut the hole and have caulked and used butyl tape to make all of the metal watertight.
The Fan-Tastic is capable of moving over 900 cubic feet of air per minute. This means that every 2.5 minutes the bus’ air will be fully circulated out. The temperature difference in the summer is immense. Also, I tested my wiring and it worked, and nothing caught on fire!
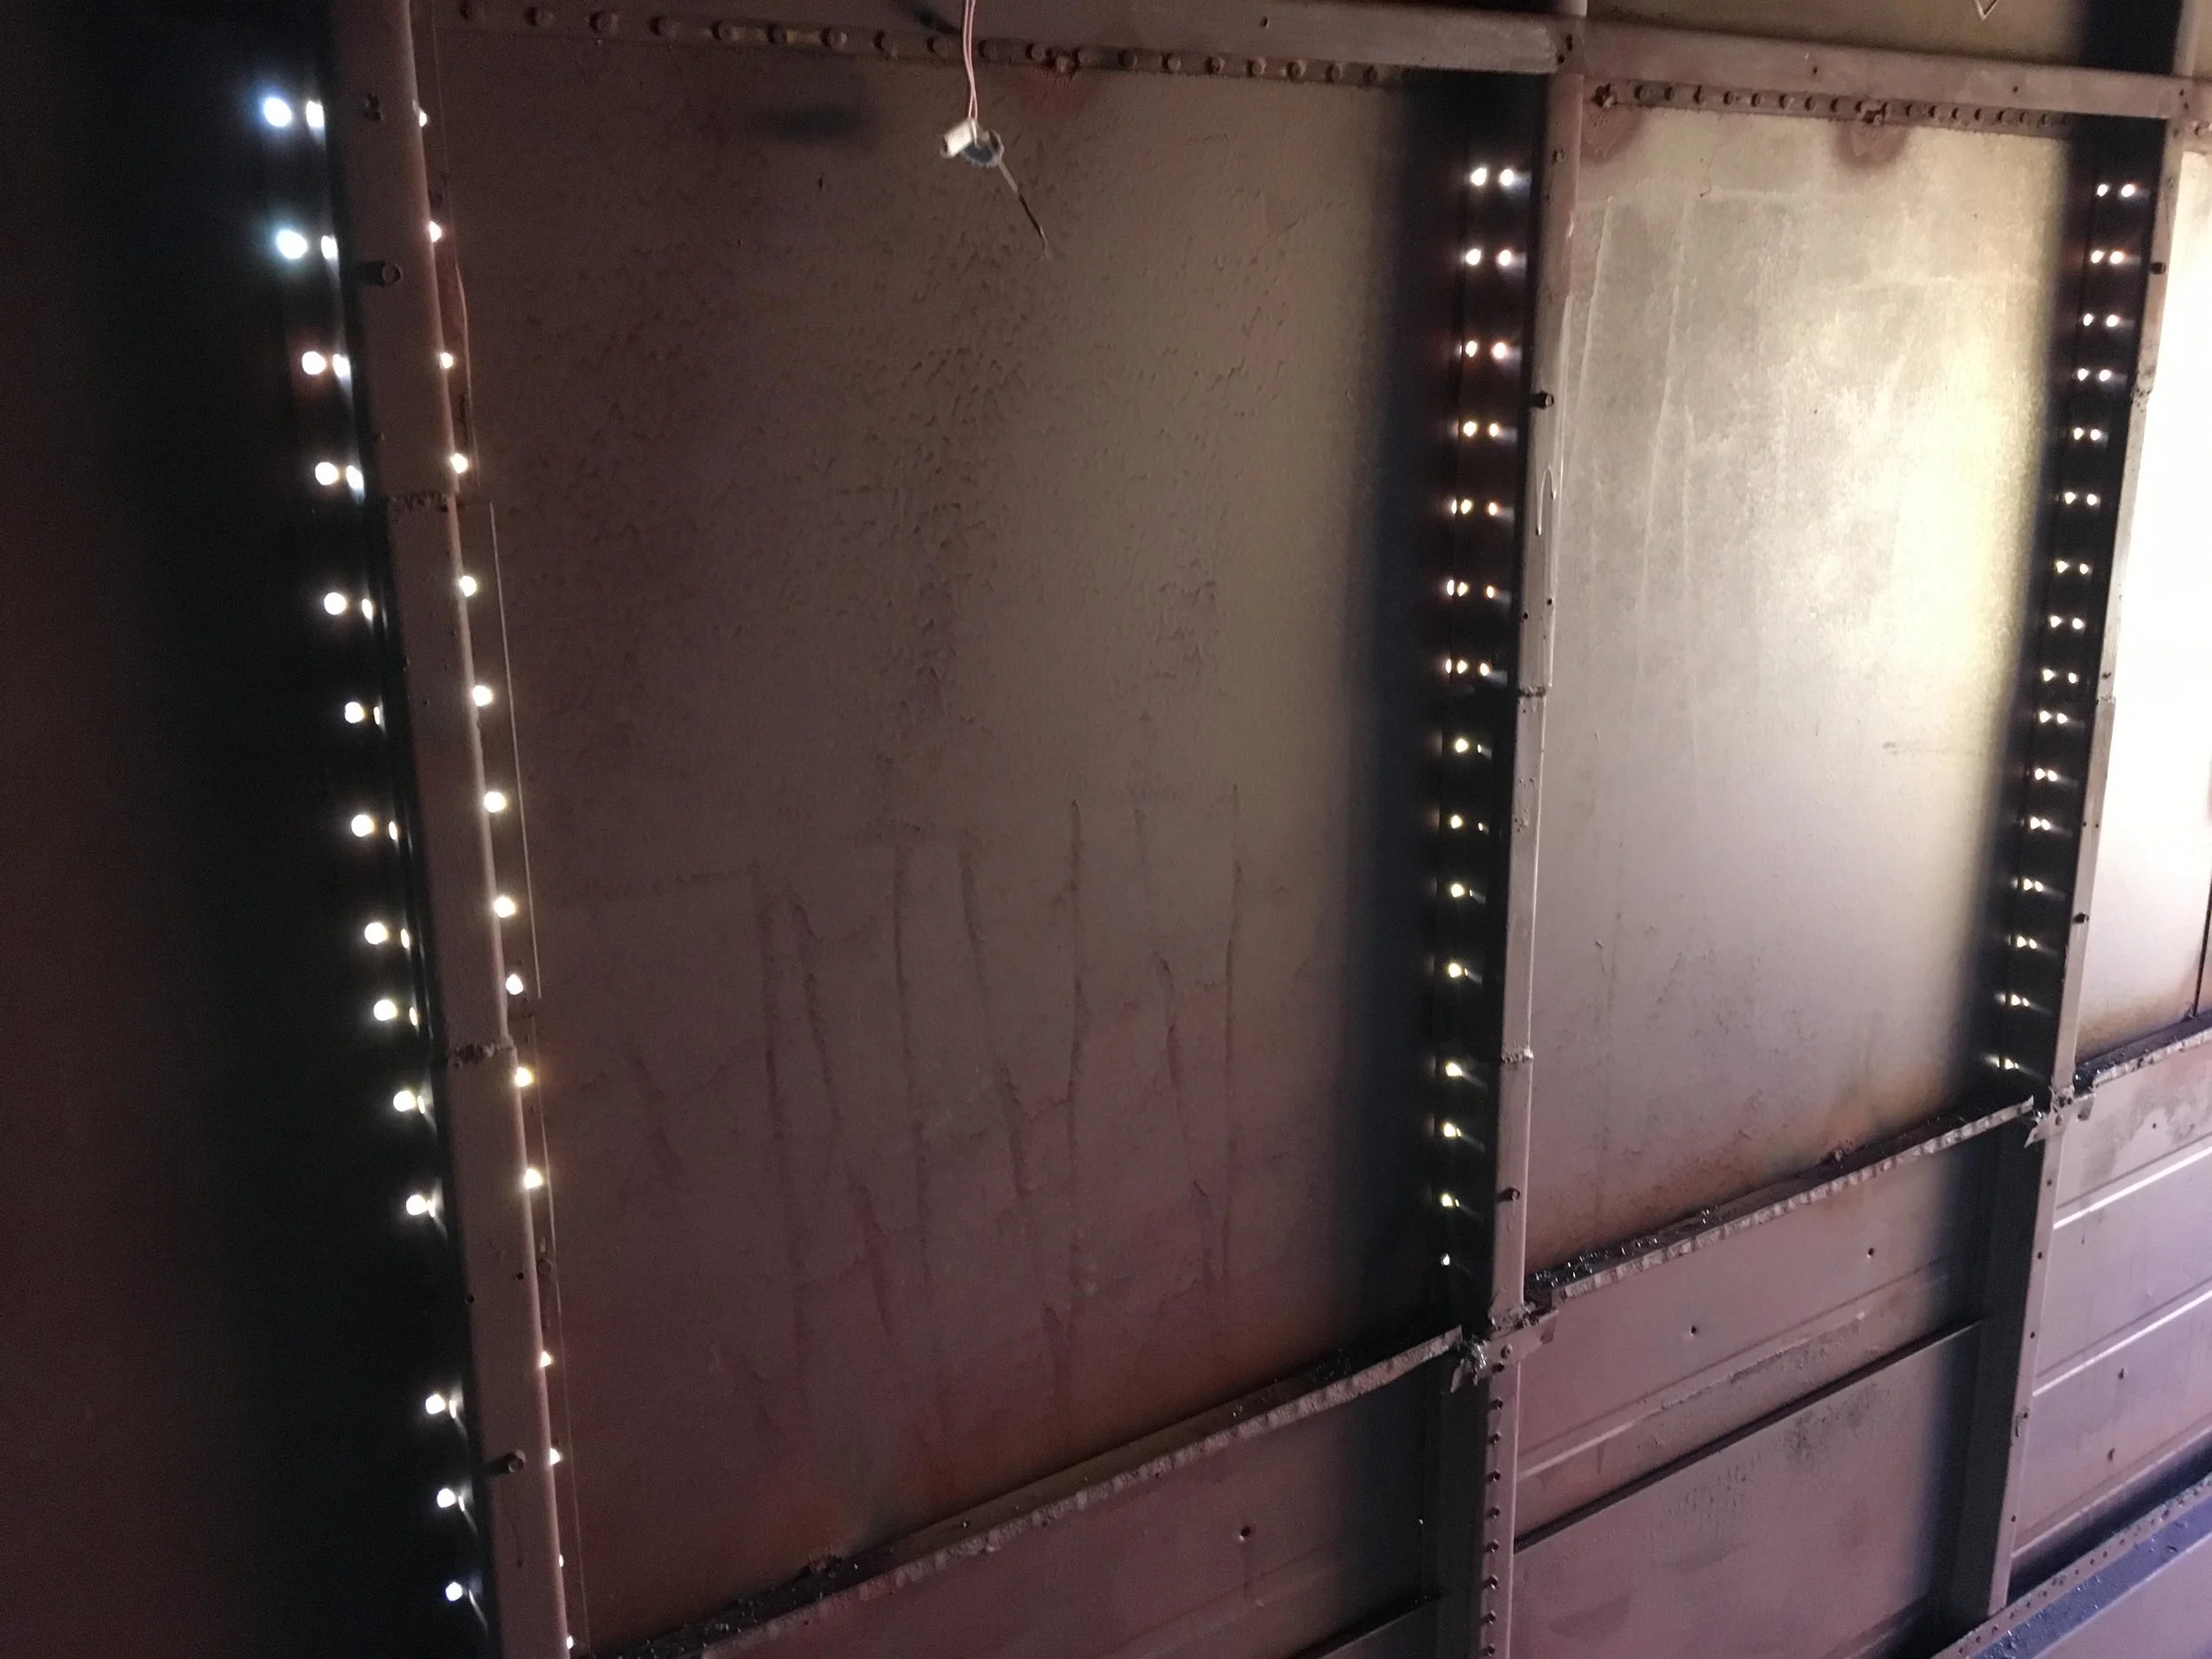
These super cute LEDs are going to be the main lighting for the cabin of the bus. Located along the centerline, they’re extremely efficient!
These were the ideal option for the bus with how slim they are. Each light has an 4000K (bright white) output at 400 lumens and has a minimal amp draw. Also, they’re super cute!
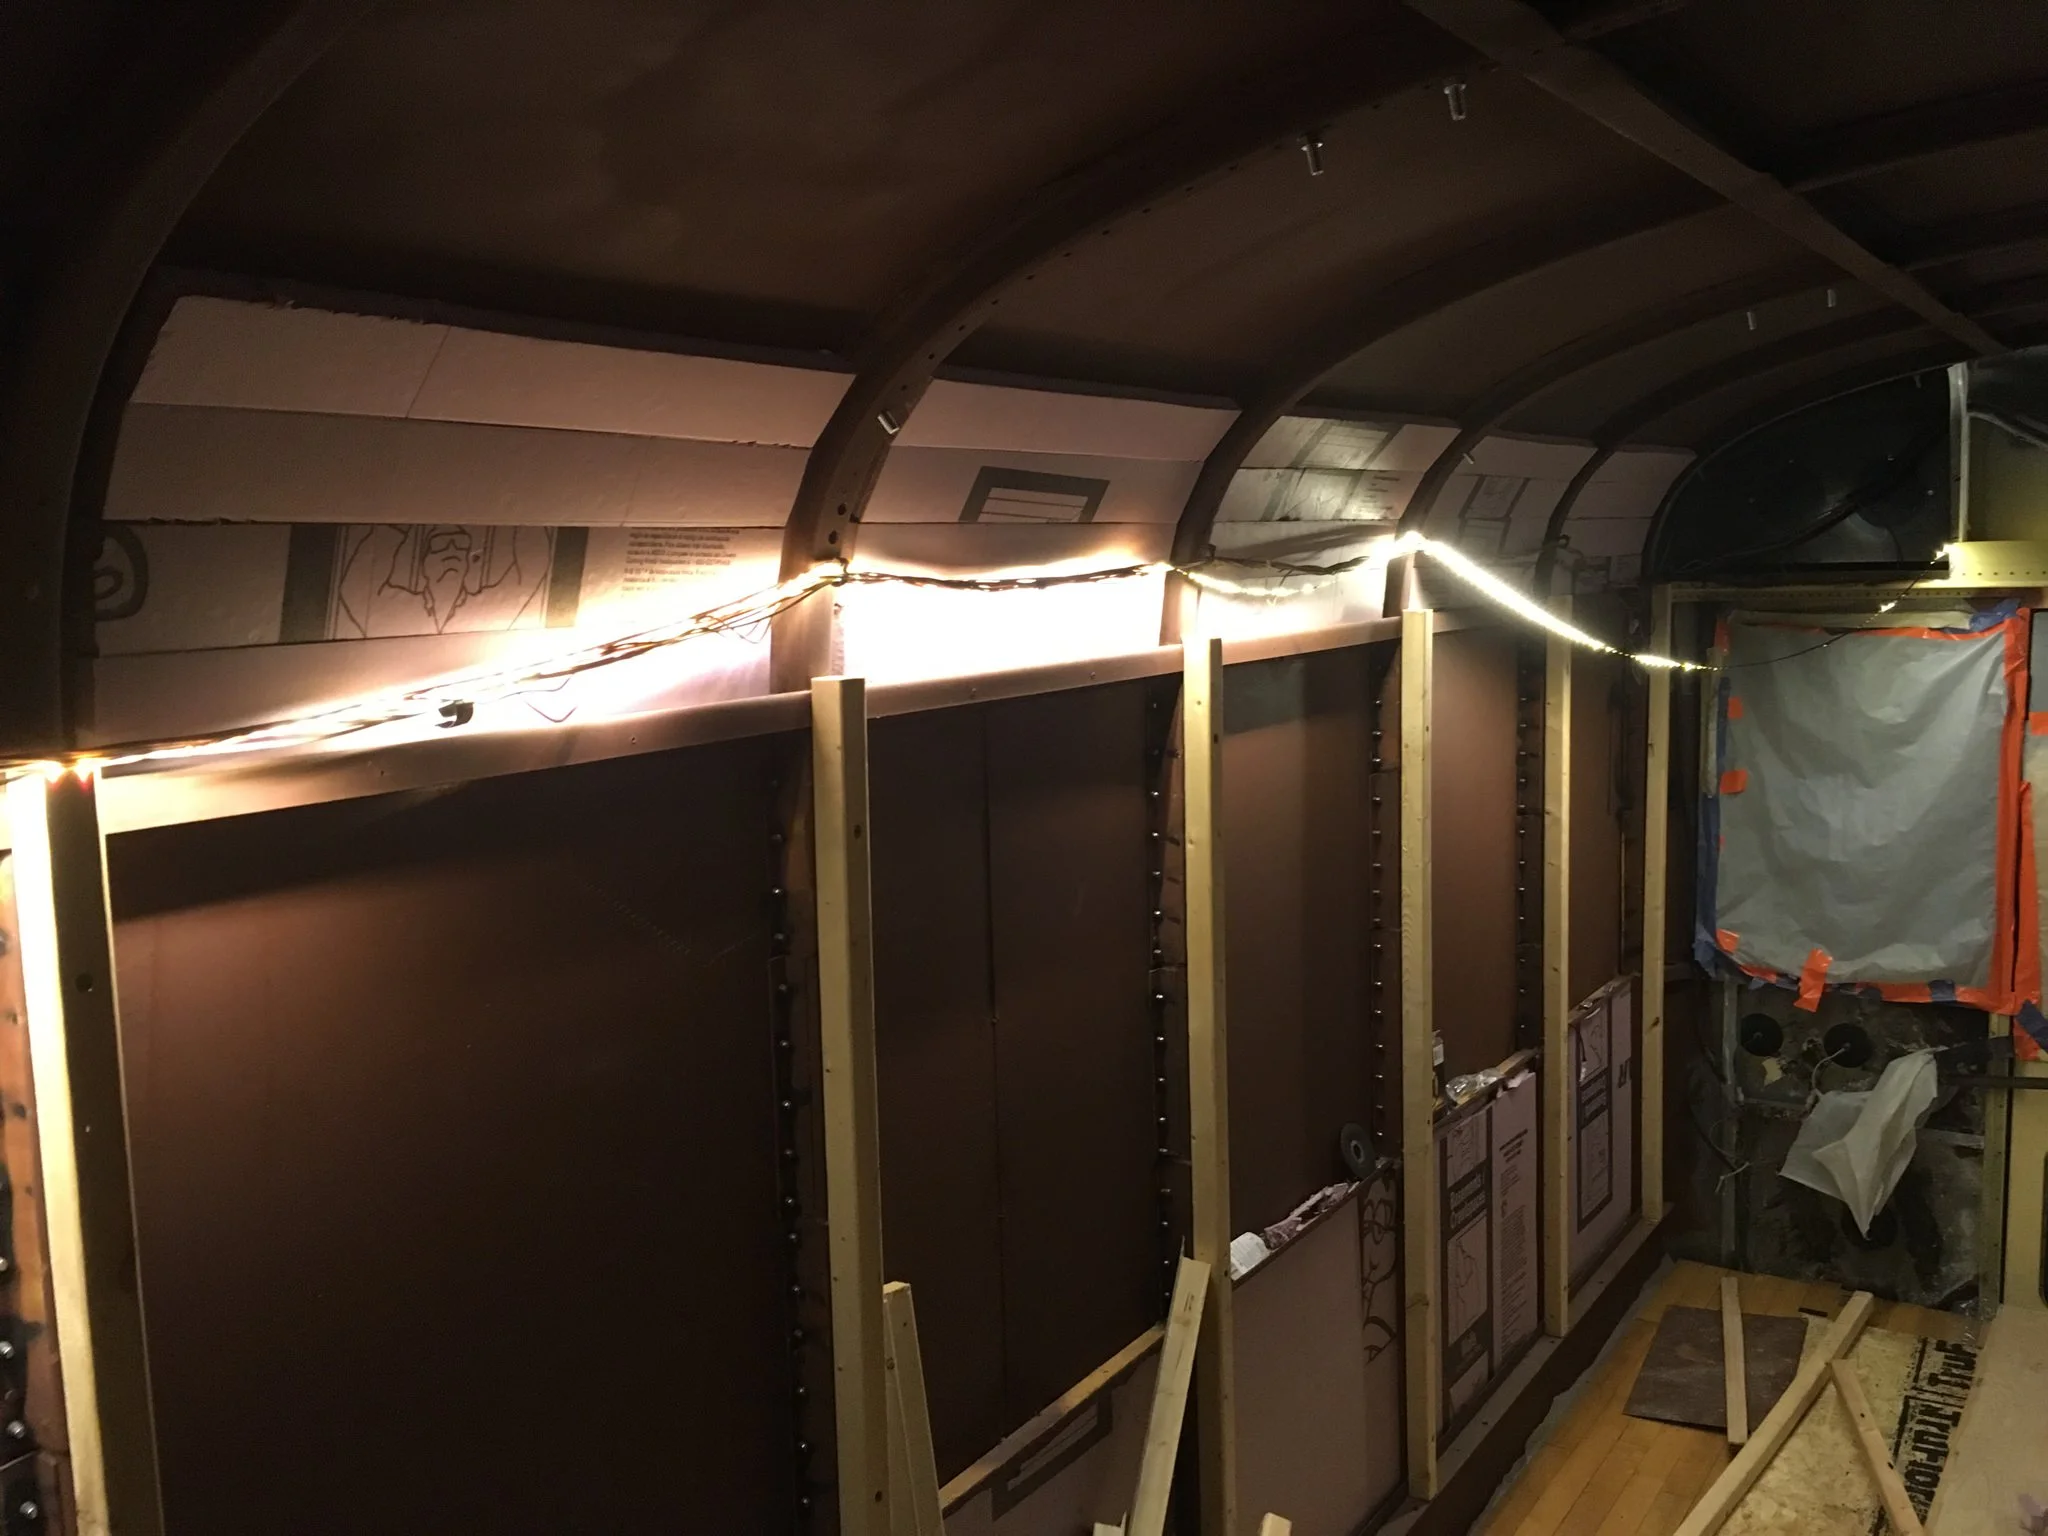
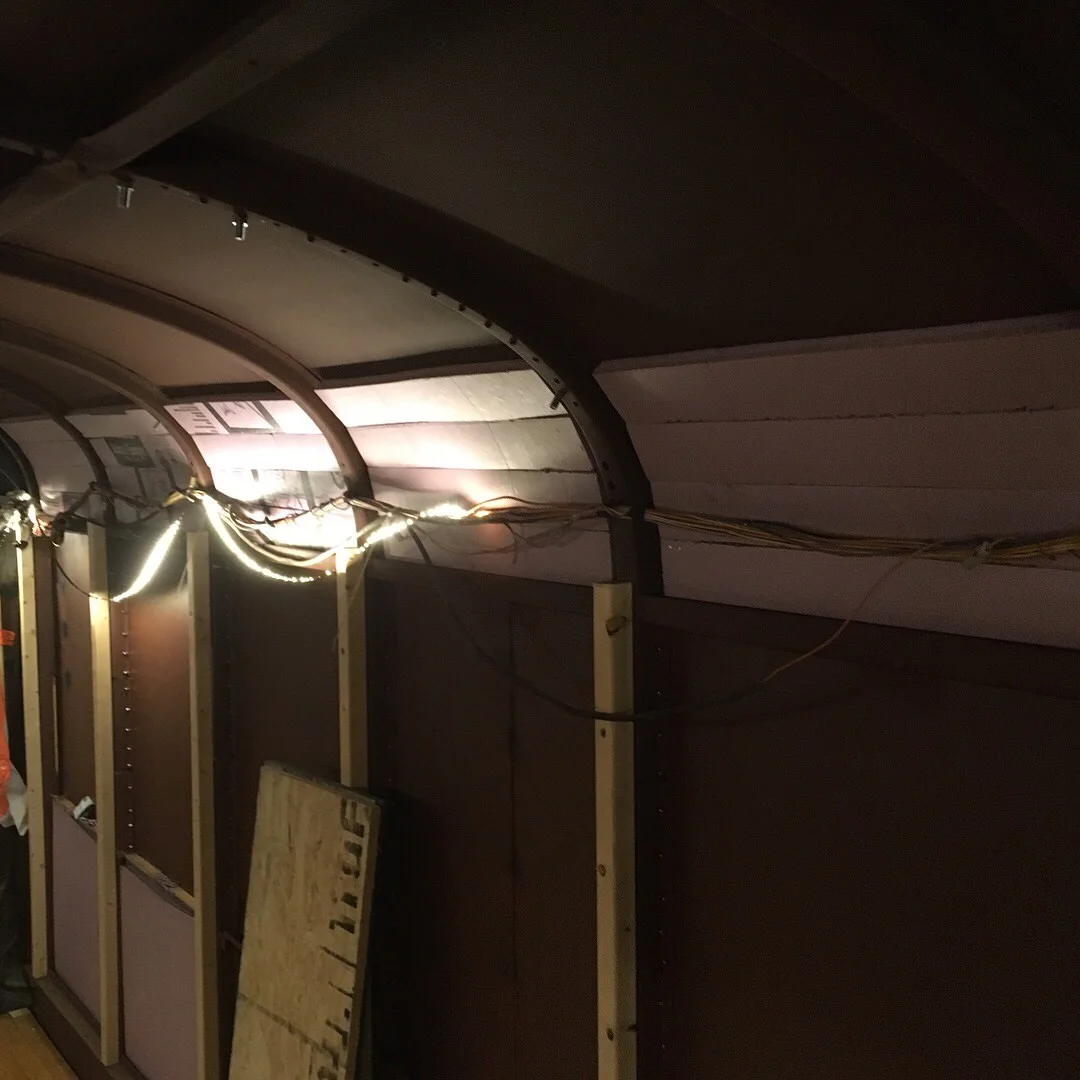
Wired up for the test run, the lights are working and didn’t burn the bus down! I’d have them on in this photo if it didn’t make it impossible to see my work.
Because I have so much leftover hardwood school flooring, I decided to reuse it on ALL horizontal surfaces. Prior to placing the floorboards though, the plywood underlay has to be placed. I used 3/4” OSB (Oriented Strand Board) that’s designed for flooring underlay.
We laid out the boards first, and then cut them to exact sizing for the space. Starting from the back of the counter, we used a nail gun to get the first boards into place. Once secured, we used the flooring gun. It hides the nail, so it provides a better aesthetic to the workspace. I love the paint pattern!!!
My girlfriend did all of the assembling, cutting, and nailing for the floorboards. We’ll eventually go back and add a thick polyurethane coating on it so that it will be food safe for cooking. There will also be a kitchen sink in the corner, which I’ll have to cut out.
I haven’t added the vertical supports for the kitchen cabinets yet, so it droops. They’re super heavy and solid, and I wouldn’t have it any other way.
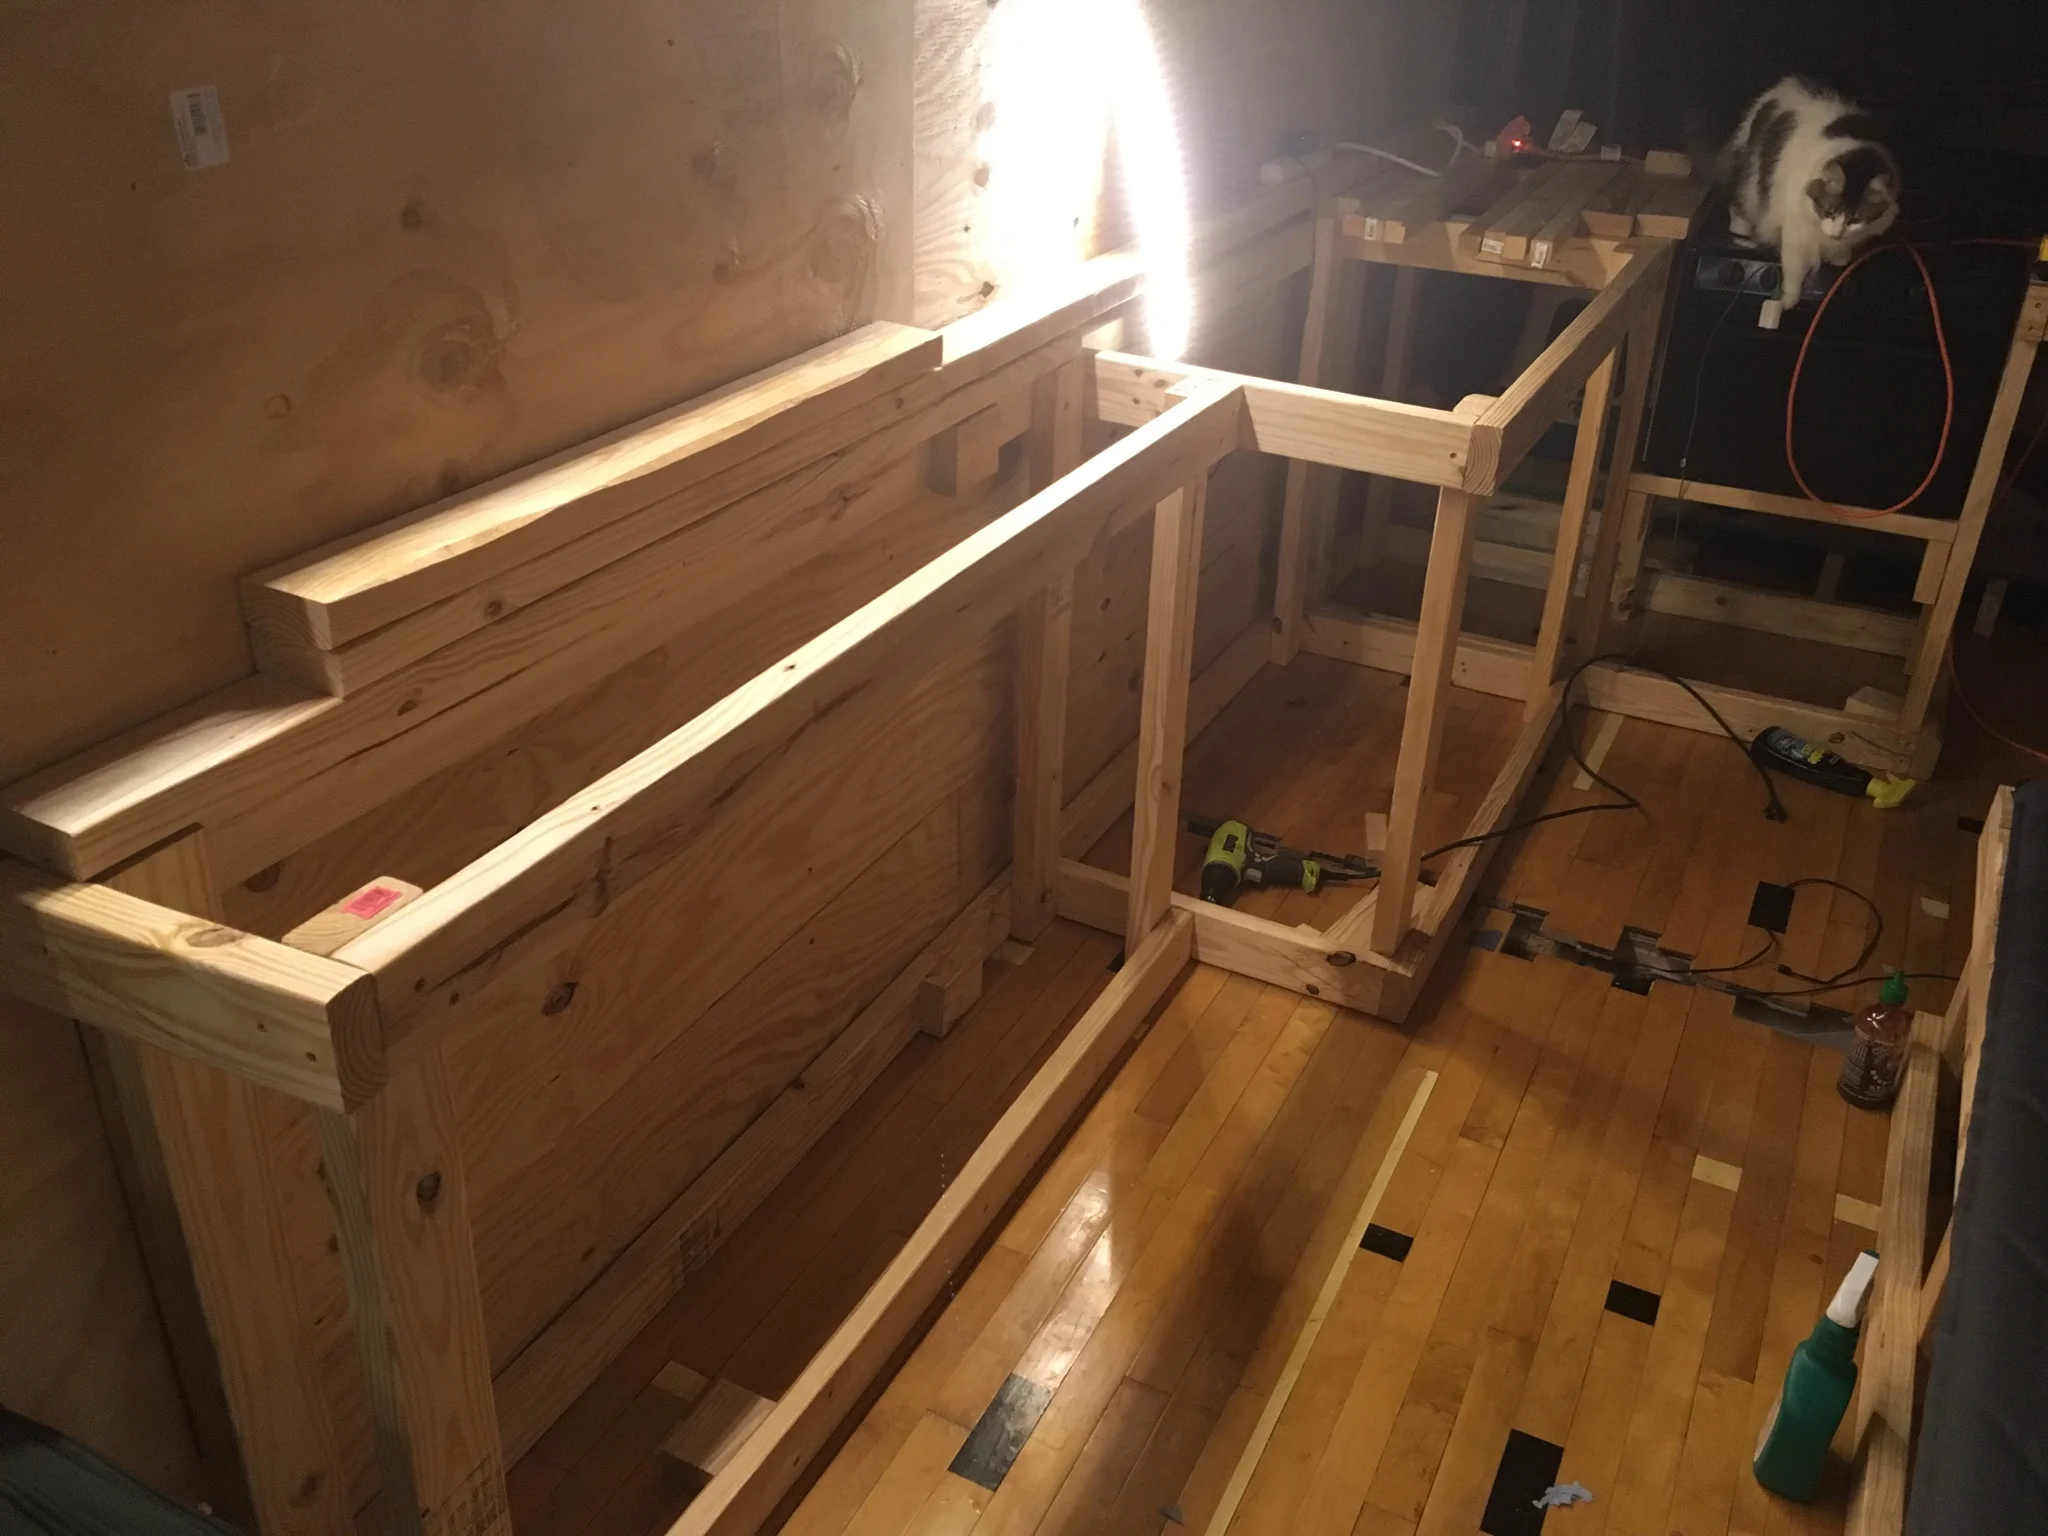
I decided that it was about time to get some of the building supplies off of the ground, so I built the skeleton of the kitchen cabinet. It runs the entire length of the counter.
Getting the cabinet in place meant that all the crap on the counter could be moved and gave me more workspace.
The base for the murphy bed is a wooden base with an IKEA Kallax cube shelf unit within. Ideally, when lifted, these are now usable shelves. The unit will be heavy, so I’m working to come up with a solution to make it easier to raise/lower.
When lifted, this will be tons of room for storage and it will free up the entire floor space.
Though temporary, this is the foundation for the bed right now. I’ve got some work ahead of me.
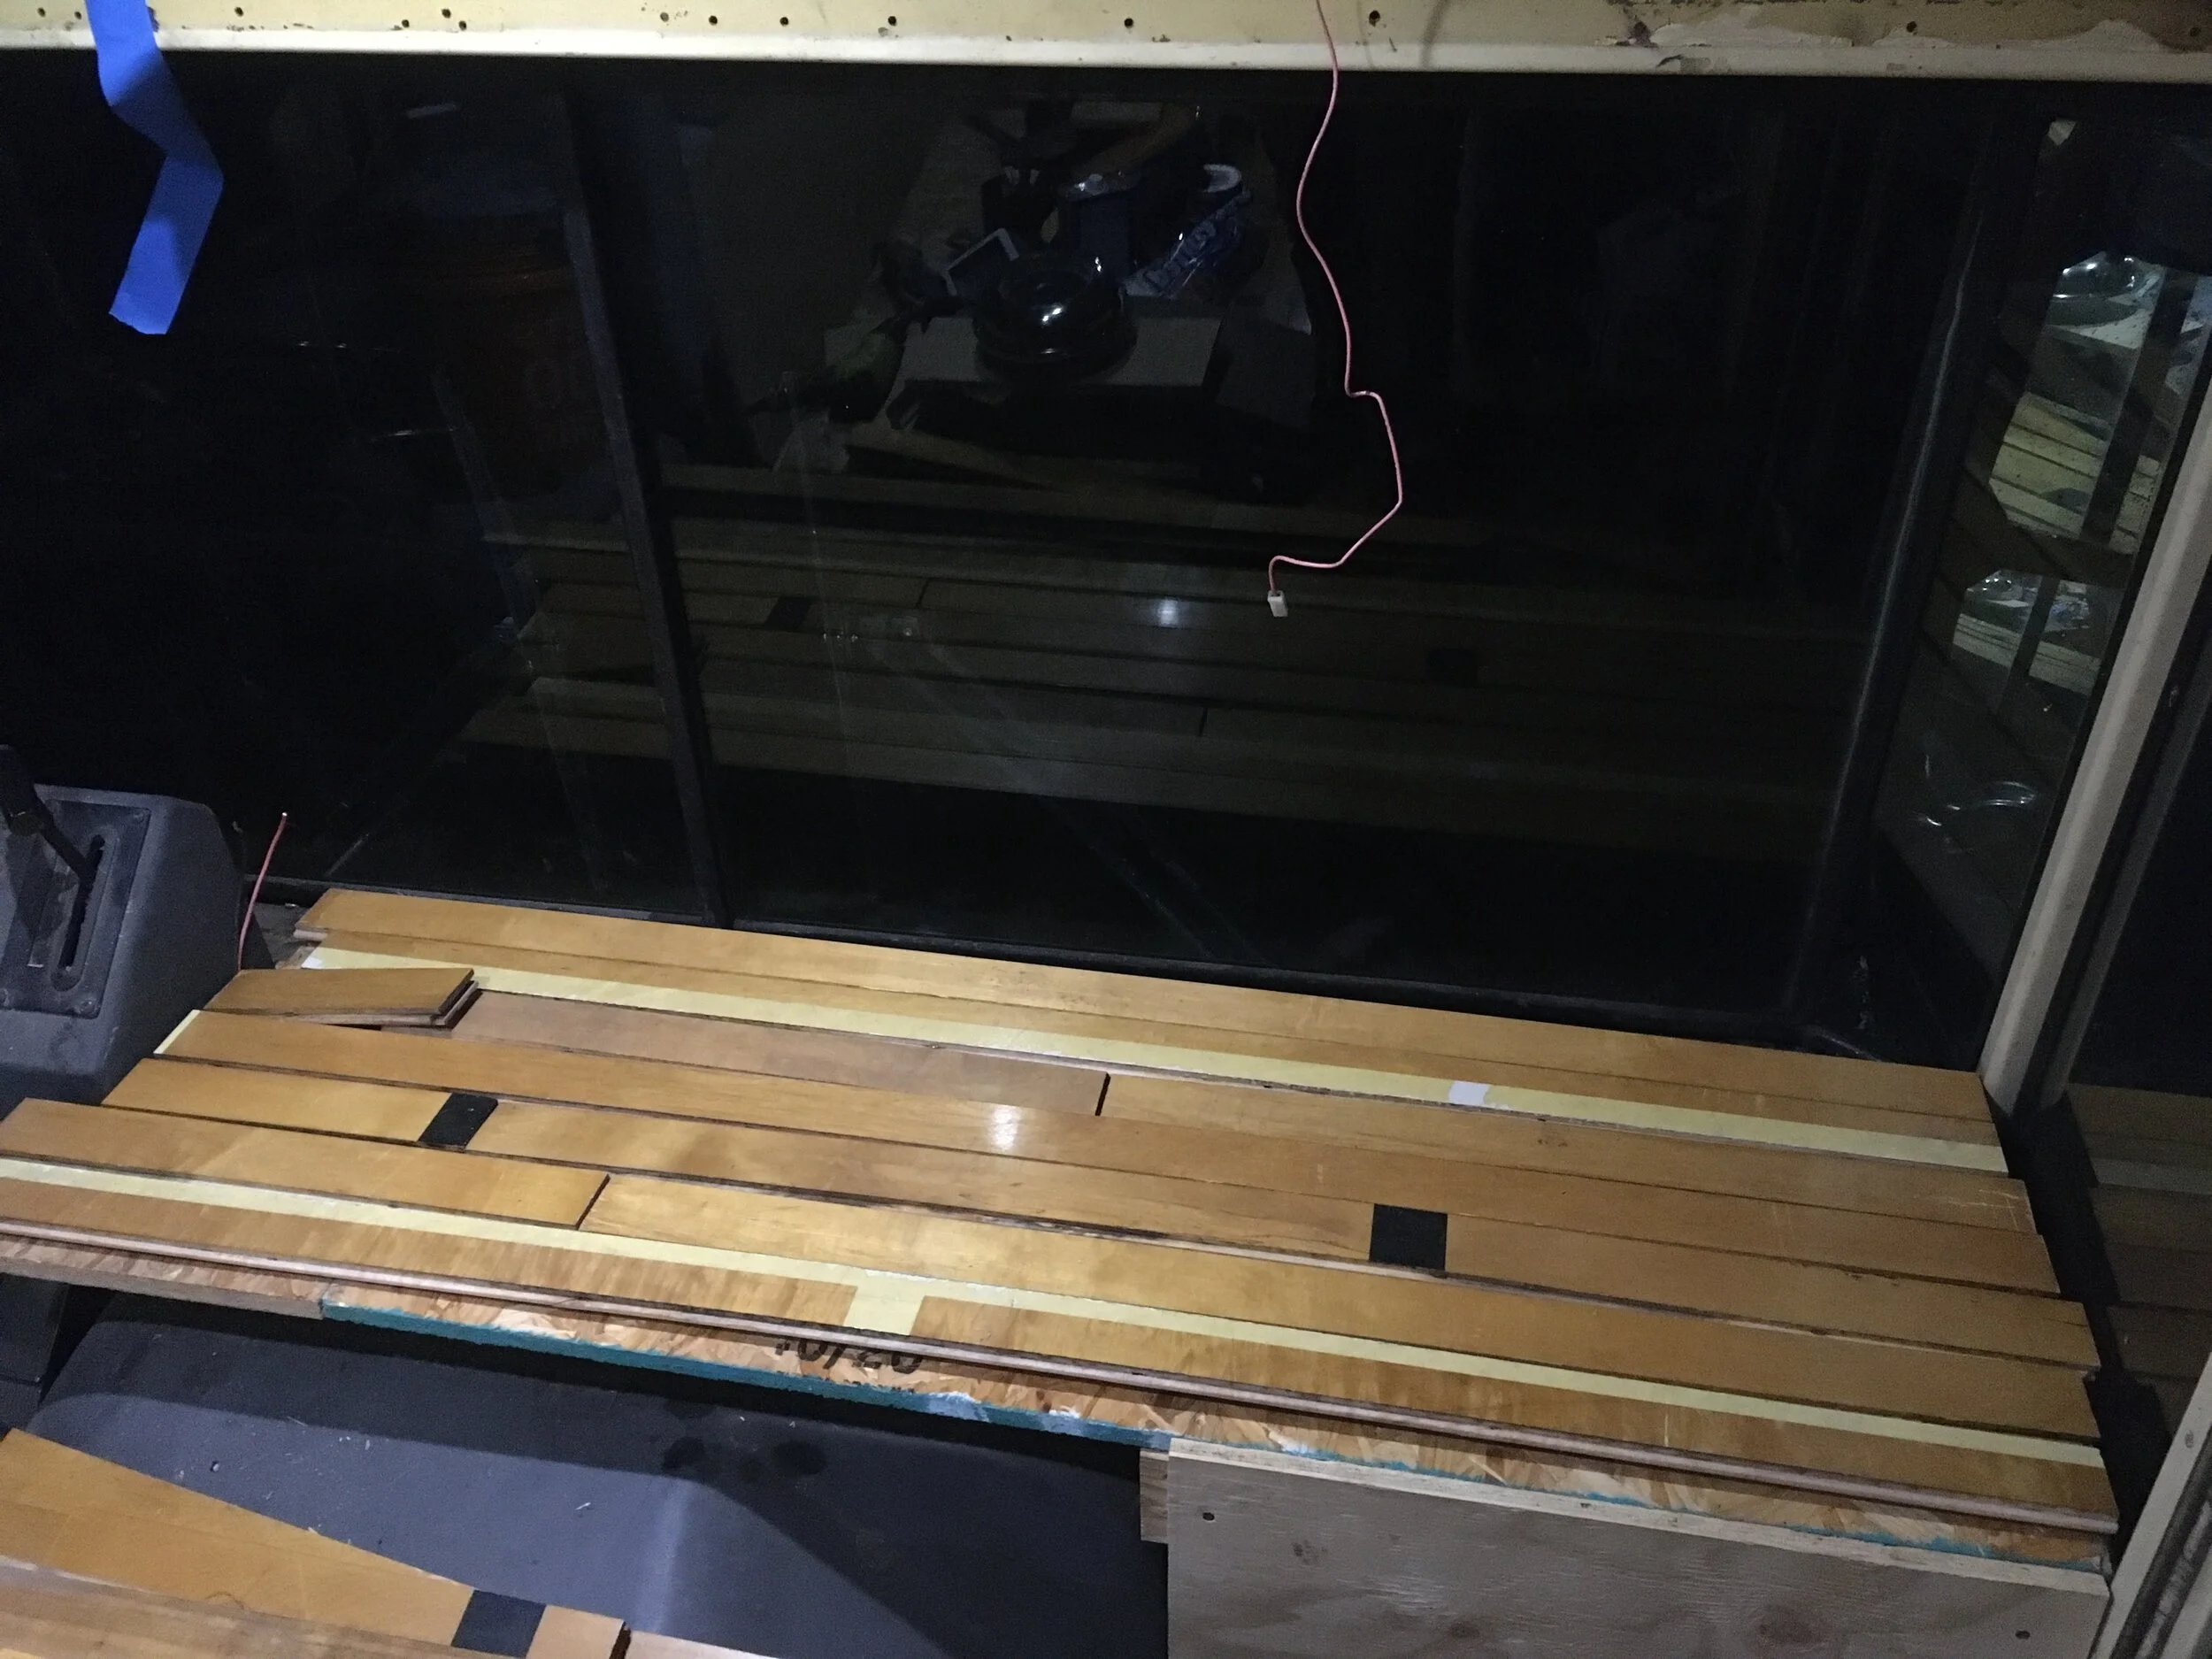
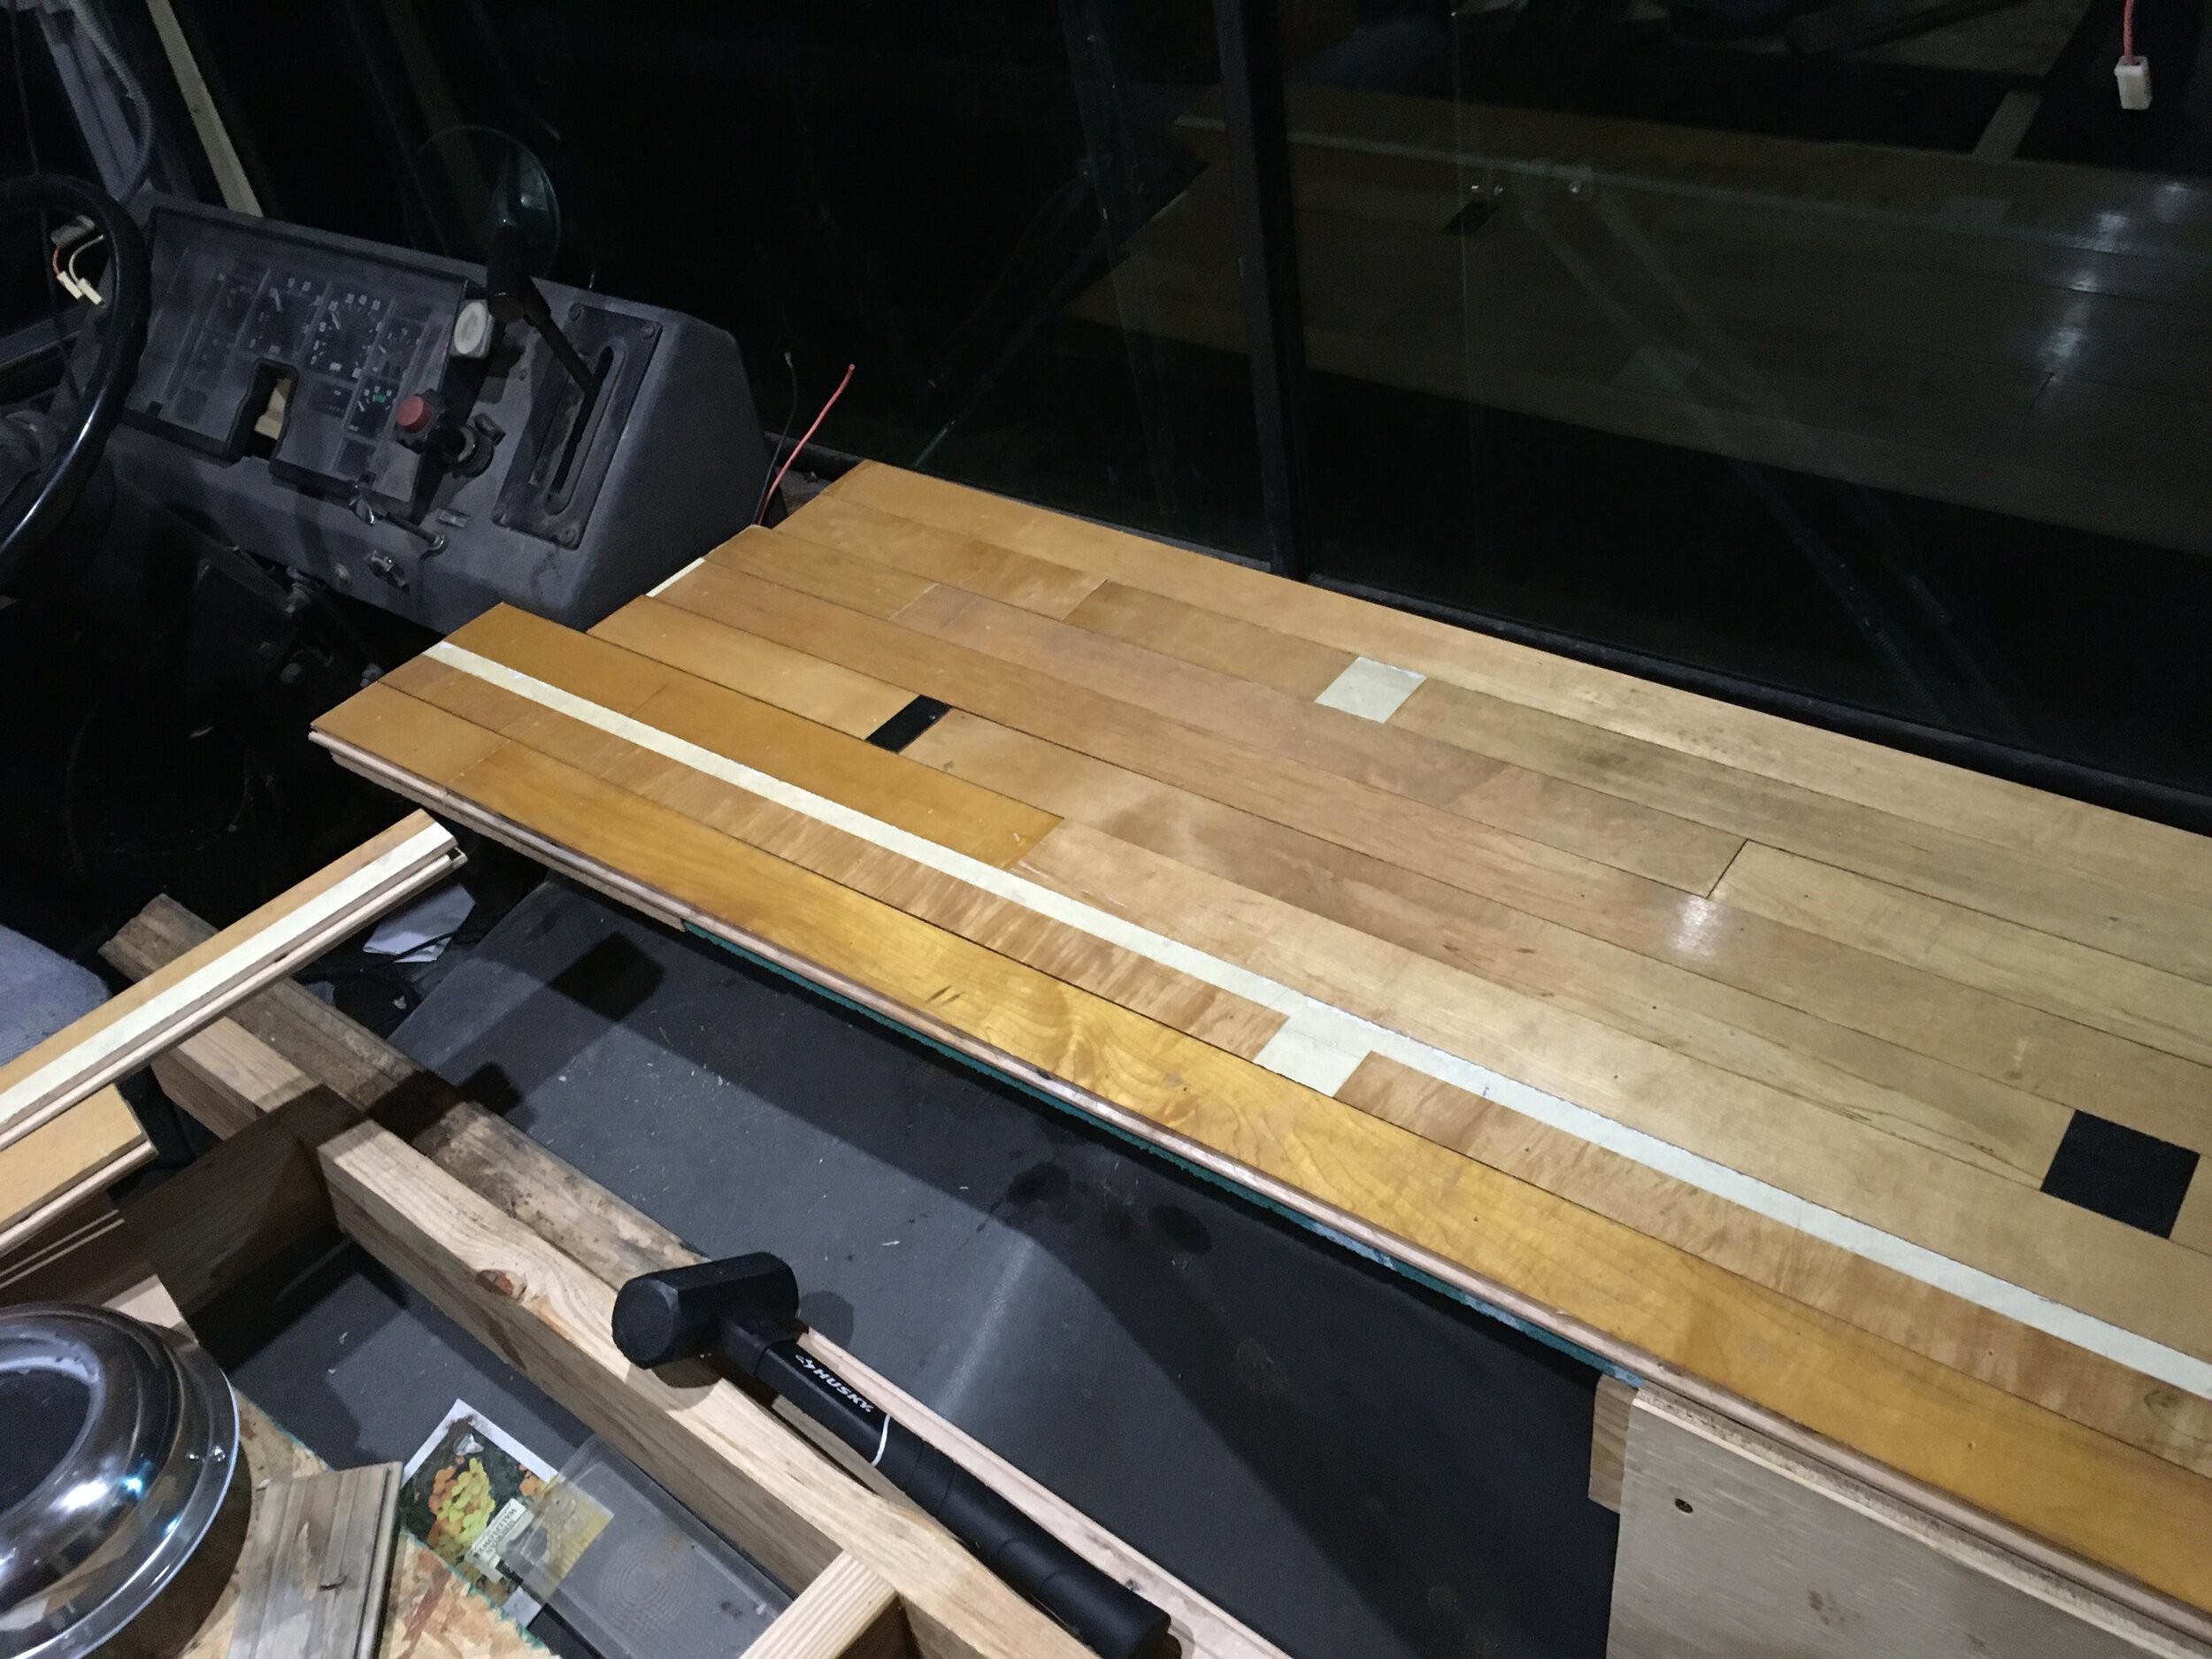
I’ve done some work on the front, adding some plywood to the dash area and working on the ceiling. There will be more hardwood flooring on the dashboard.
Tung Oil can take up to 30 days to dry, but when dry, it leaves a very waterproof and durable coating on the wood. It is natural and has a strong odor, but it well worth the effort and the time. It added a very nice coloration to the ceiling.
It took some time, but the majority of the front ceiling is completed! You can see the lights that I installed, and the bus hasn’t burned down yet!
Though it always slows down the construction on the bus, I love acting. I played the lead male role in this play that took up every evening for two months. After two hours of practice for the play every evening, I came back to work on the bus in the dark. It adds to the difficulty of living/working on the bus, but it is all worth it in the end.
I took a Sunday off from bus construction to build a bedframe for a friend who’s been sleeping on a mattress on the floor. For just over $100, we built a super sturdy and super fun bed frame. Headboard construction eventually! The bed in The Derelicte Bus will also be a floating bed.
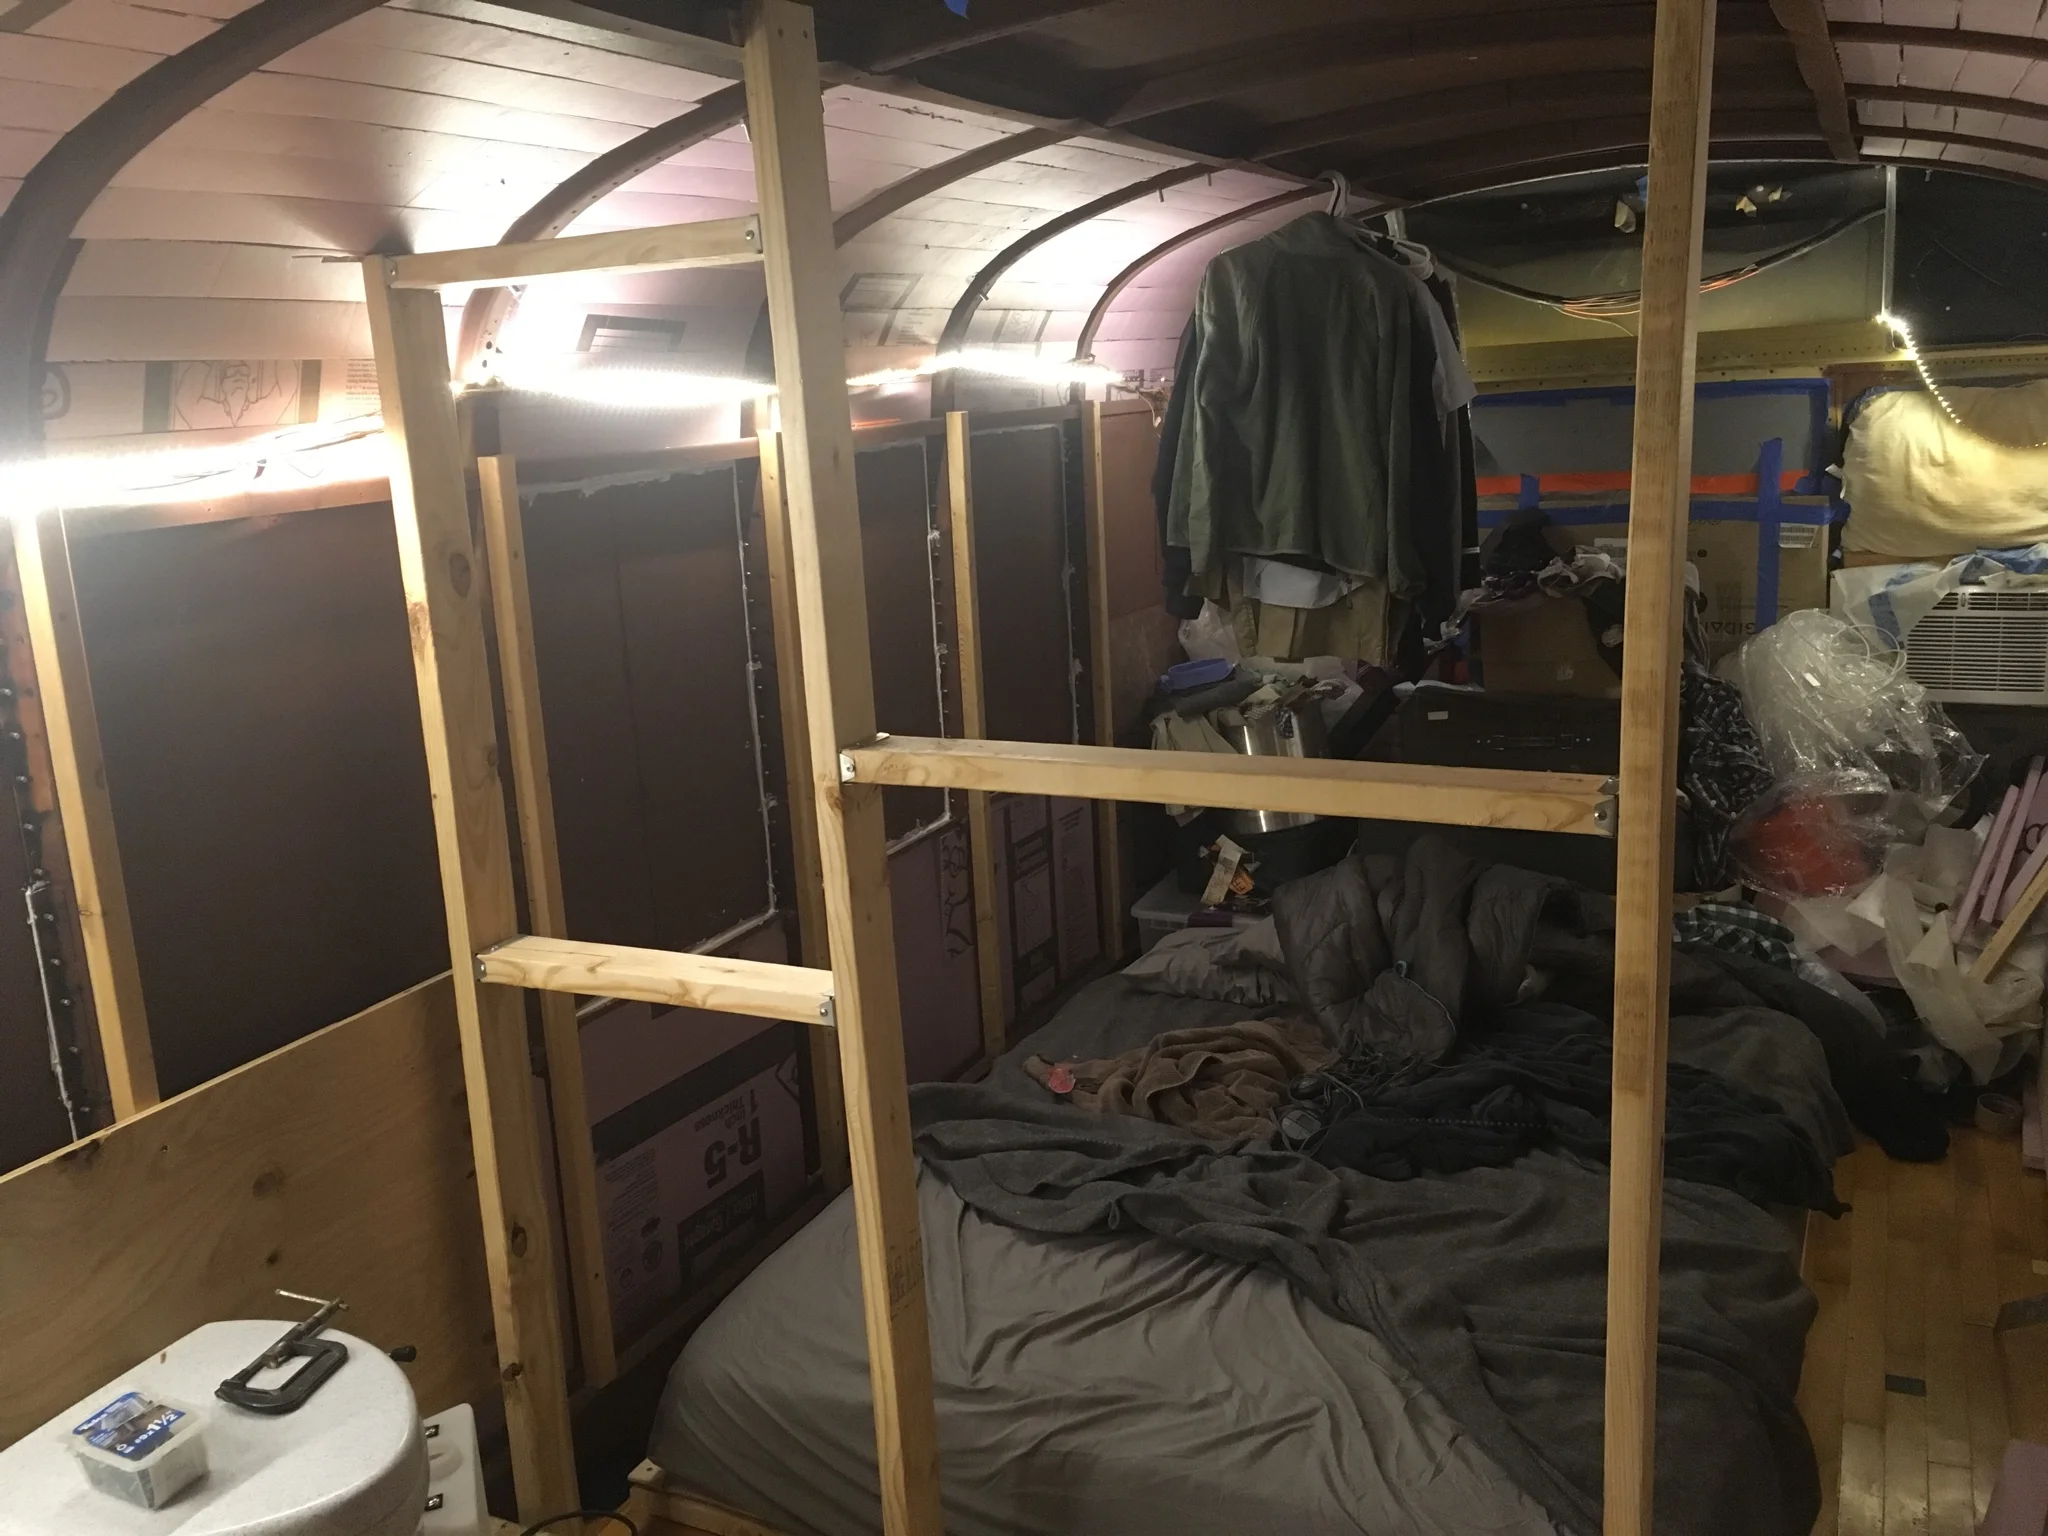
Once I build the skeleton for the bedroom closet, this will be the foundation. Clothes will hung above this on parallel to the wall instead of the normal perpendicular orientation.
In life after the Air Force, I’m planning on becoming a flight instructor. This is the first step!
After finishing the front ceiling, I’ve started pushing back towards the bedroom. The ceiling looks good and the lines are fairly uniform all the way back. This has been a lot of work, but the bus looks really good!
I put up a temporary wall in the kitchen so I could start to analyze how I would attach wiring, cabinetry, stove backsplash, etc. The counter looks fantastic and is actually usable now!
Oh… also, it got down to 29F, so I had to break out the propane heater to work on the bus. Texas weather is ridiculous. It was 70F the next day.
The ceiling in the bedroom has been a long while coming, but I needed to figure out the electrical plans before I placed any of the boards, because getting wiring to the ceiling is impossible with all of those boards in place. Every day it feels more and more like a house.
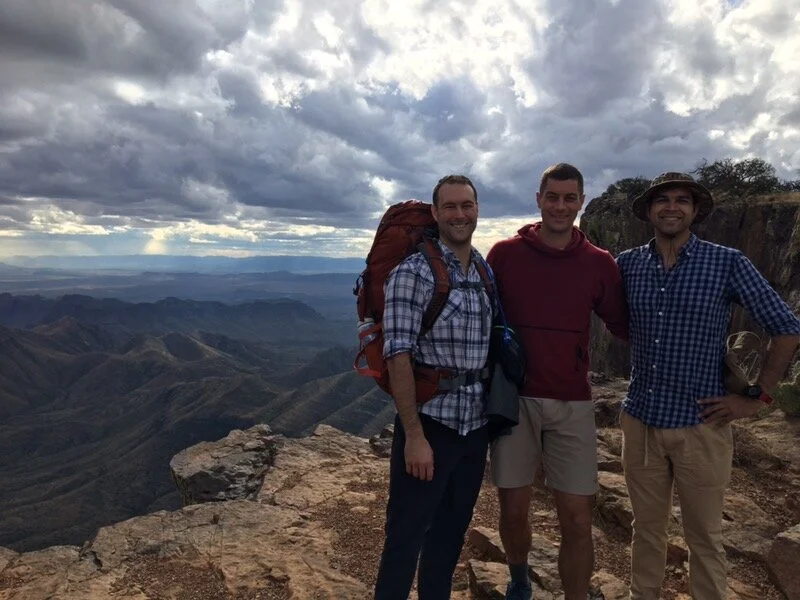
I took a couple days off to hike Big Bend with some of my best friends. This is what I hope to use the bus for in future.
40 miles of hiking over two days was enough to exhaust us, but the views were spectacular.
Fall in Big Bend was beautiful. I’ve never seen something like this in the state before.
I’m going to place the stove here and extend the cupboard to the couch instead of having a 24” space.
Lighting and all of the boards for the ceiling are in place. I’ll be coating them with tung oil eventually.
I’ll have supports under the shelves and a railing in place to prevent books from falling off while I’m driving.
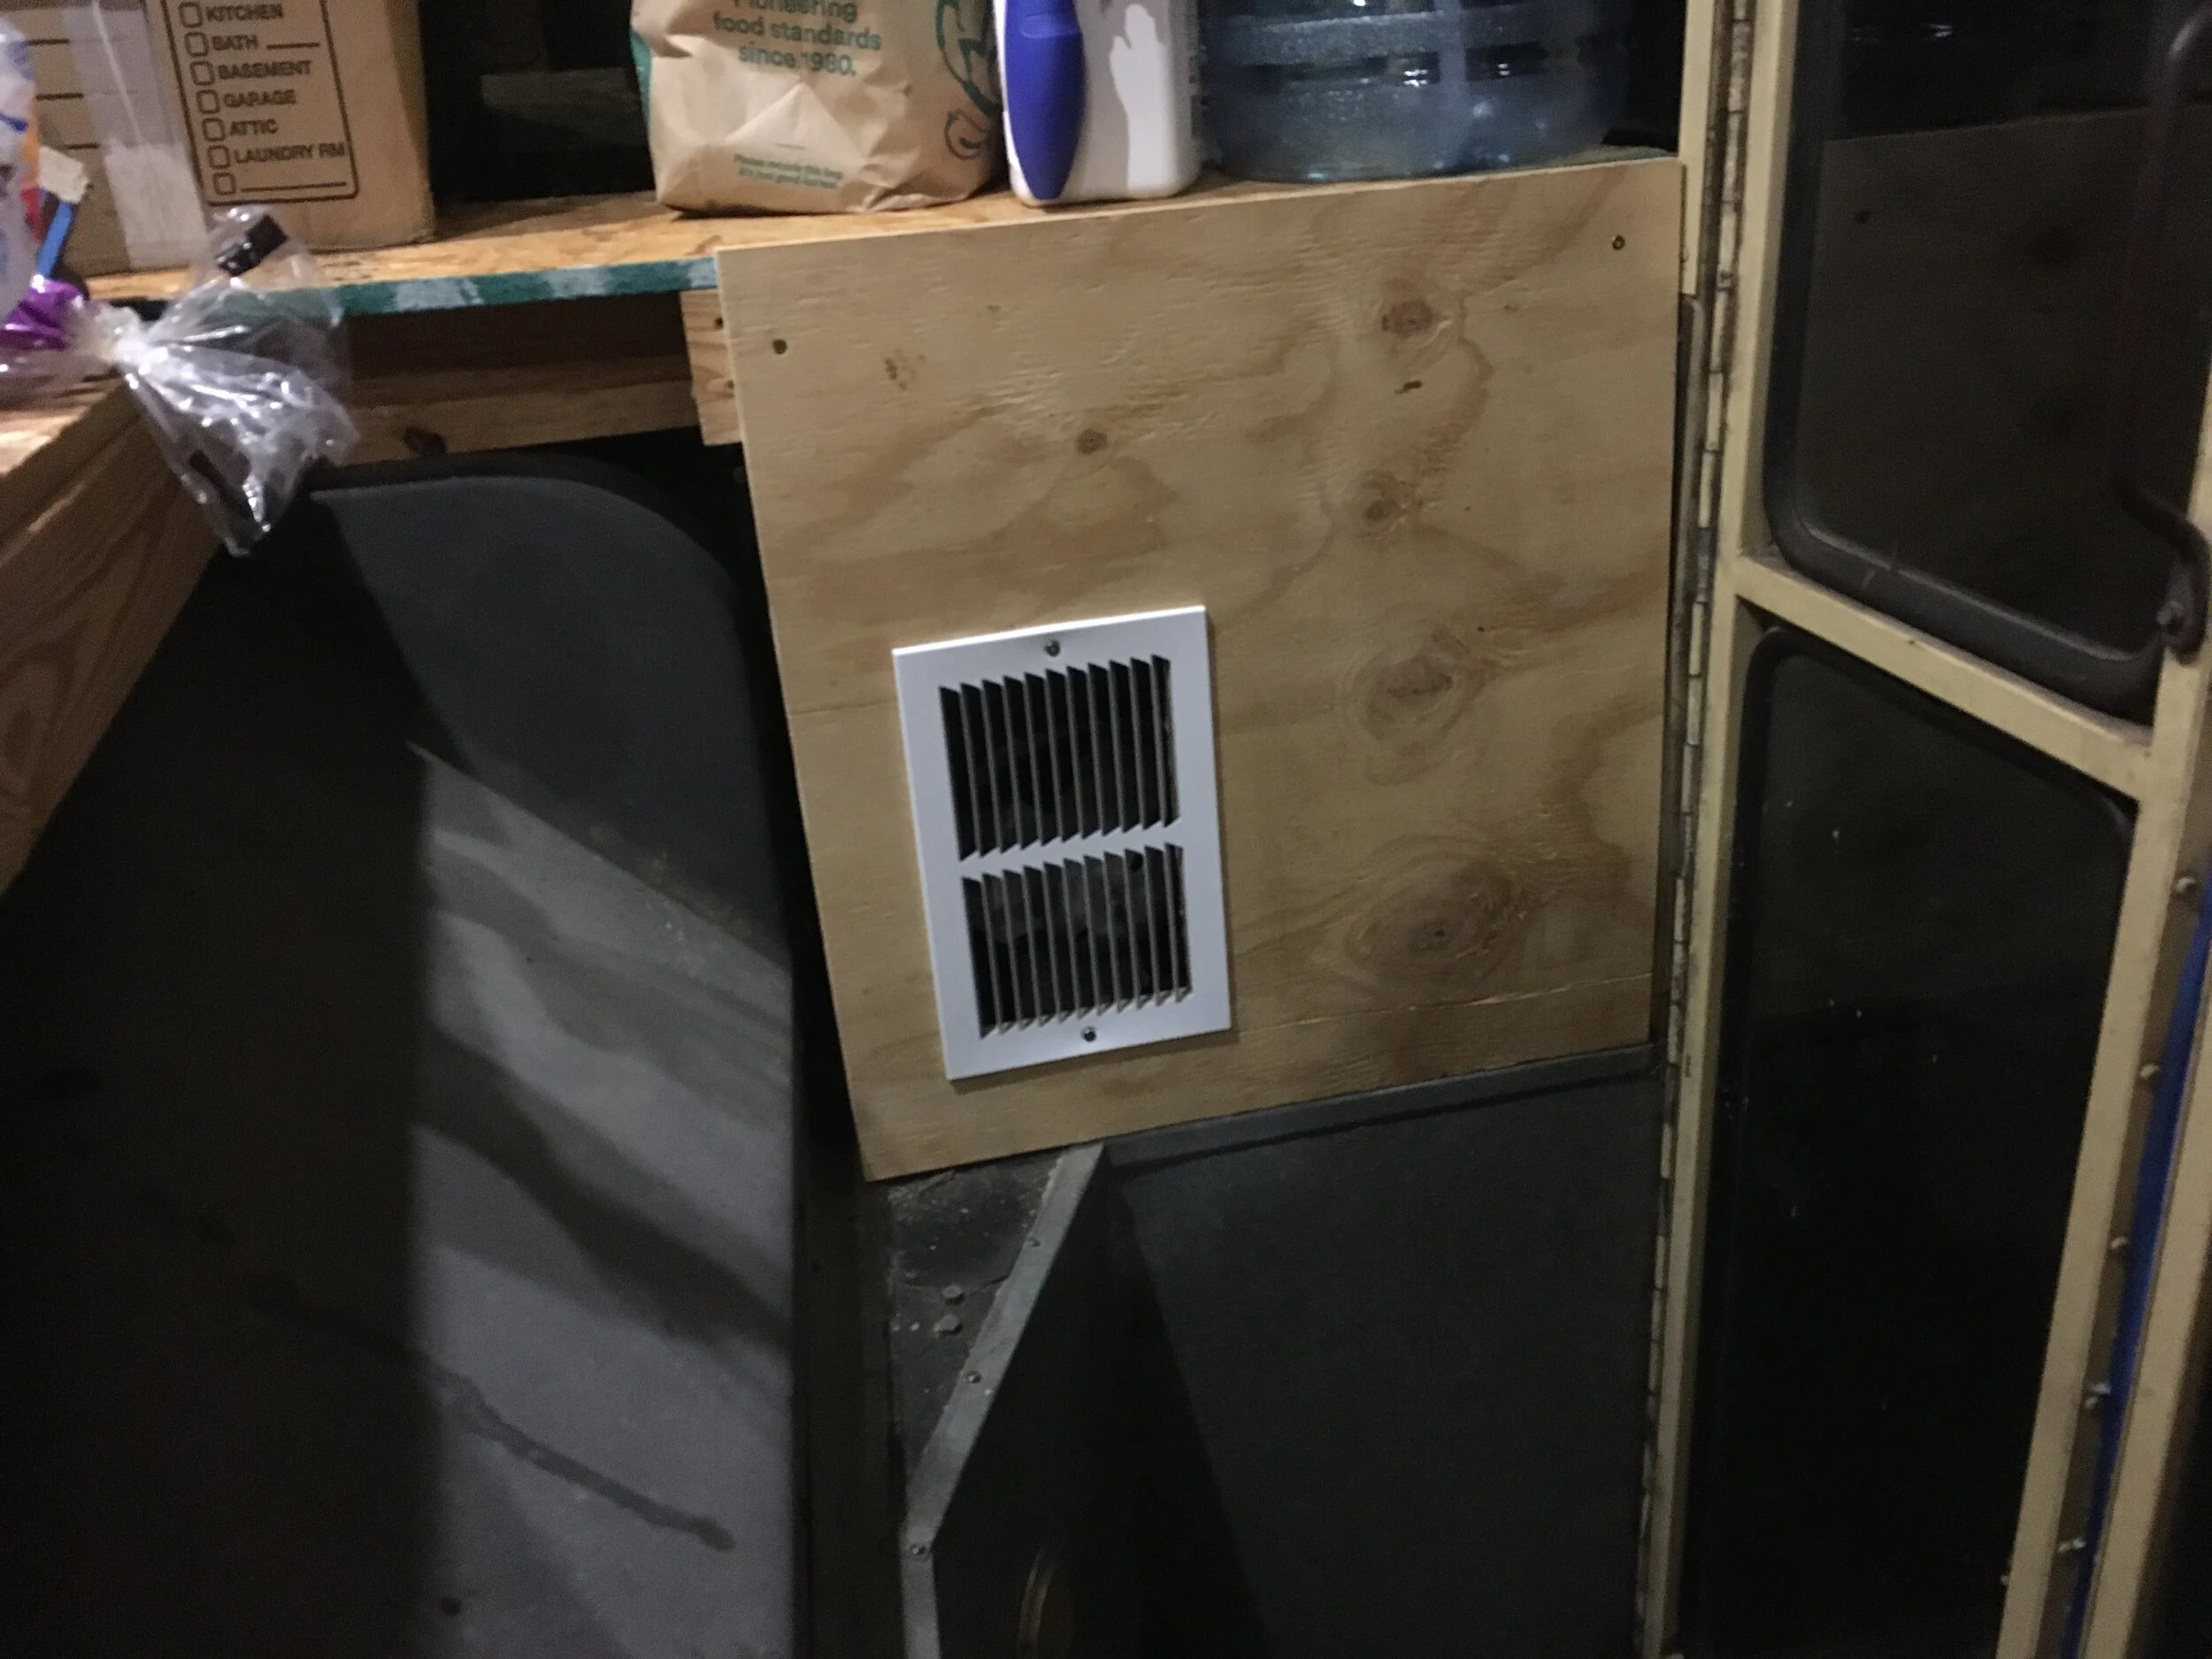
This is the cover for the vent that defrosts the windscreen. I added a vent screen.
This is the first part of the dashboard assembly. It’s already starting to look better!
Before I add my wooden flooring to the dashboard, I need to make sure that my plywood underlay is placed, secured, and level.
Before placing wooden flooring, the pieces need to be measured, the seams need to be un-aligned, and then they need to be cut and wedged (hammered) into place before nailing.
I placed 3/4” OSB plywood on the walls, 25lb Tar Paper, and then finally cement board on the walls of the bathrooms. I’ll be applying a moisture barrier eventually and then tiles on top. Can’t wait to finish the last room!
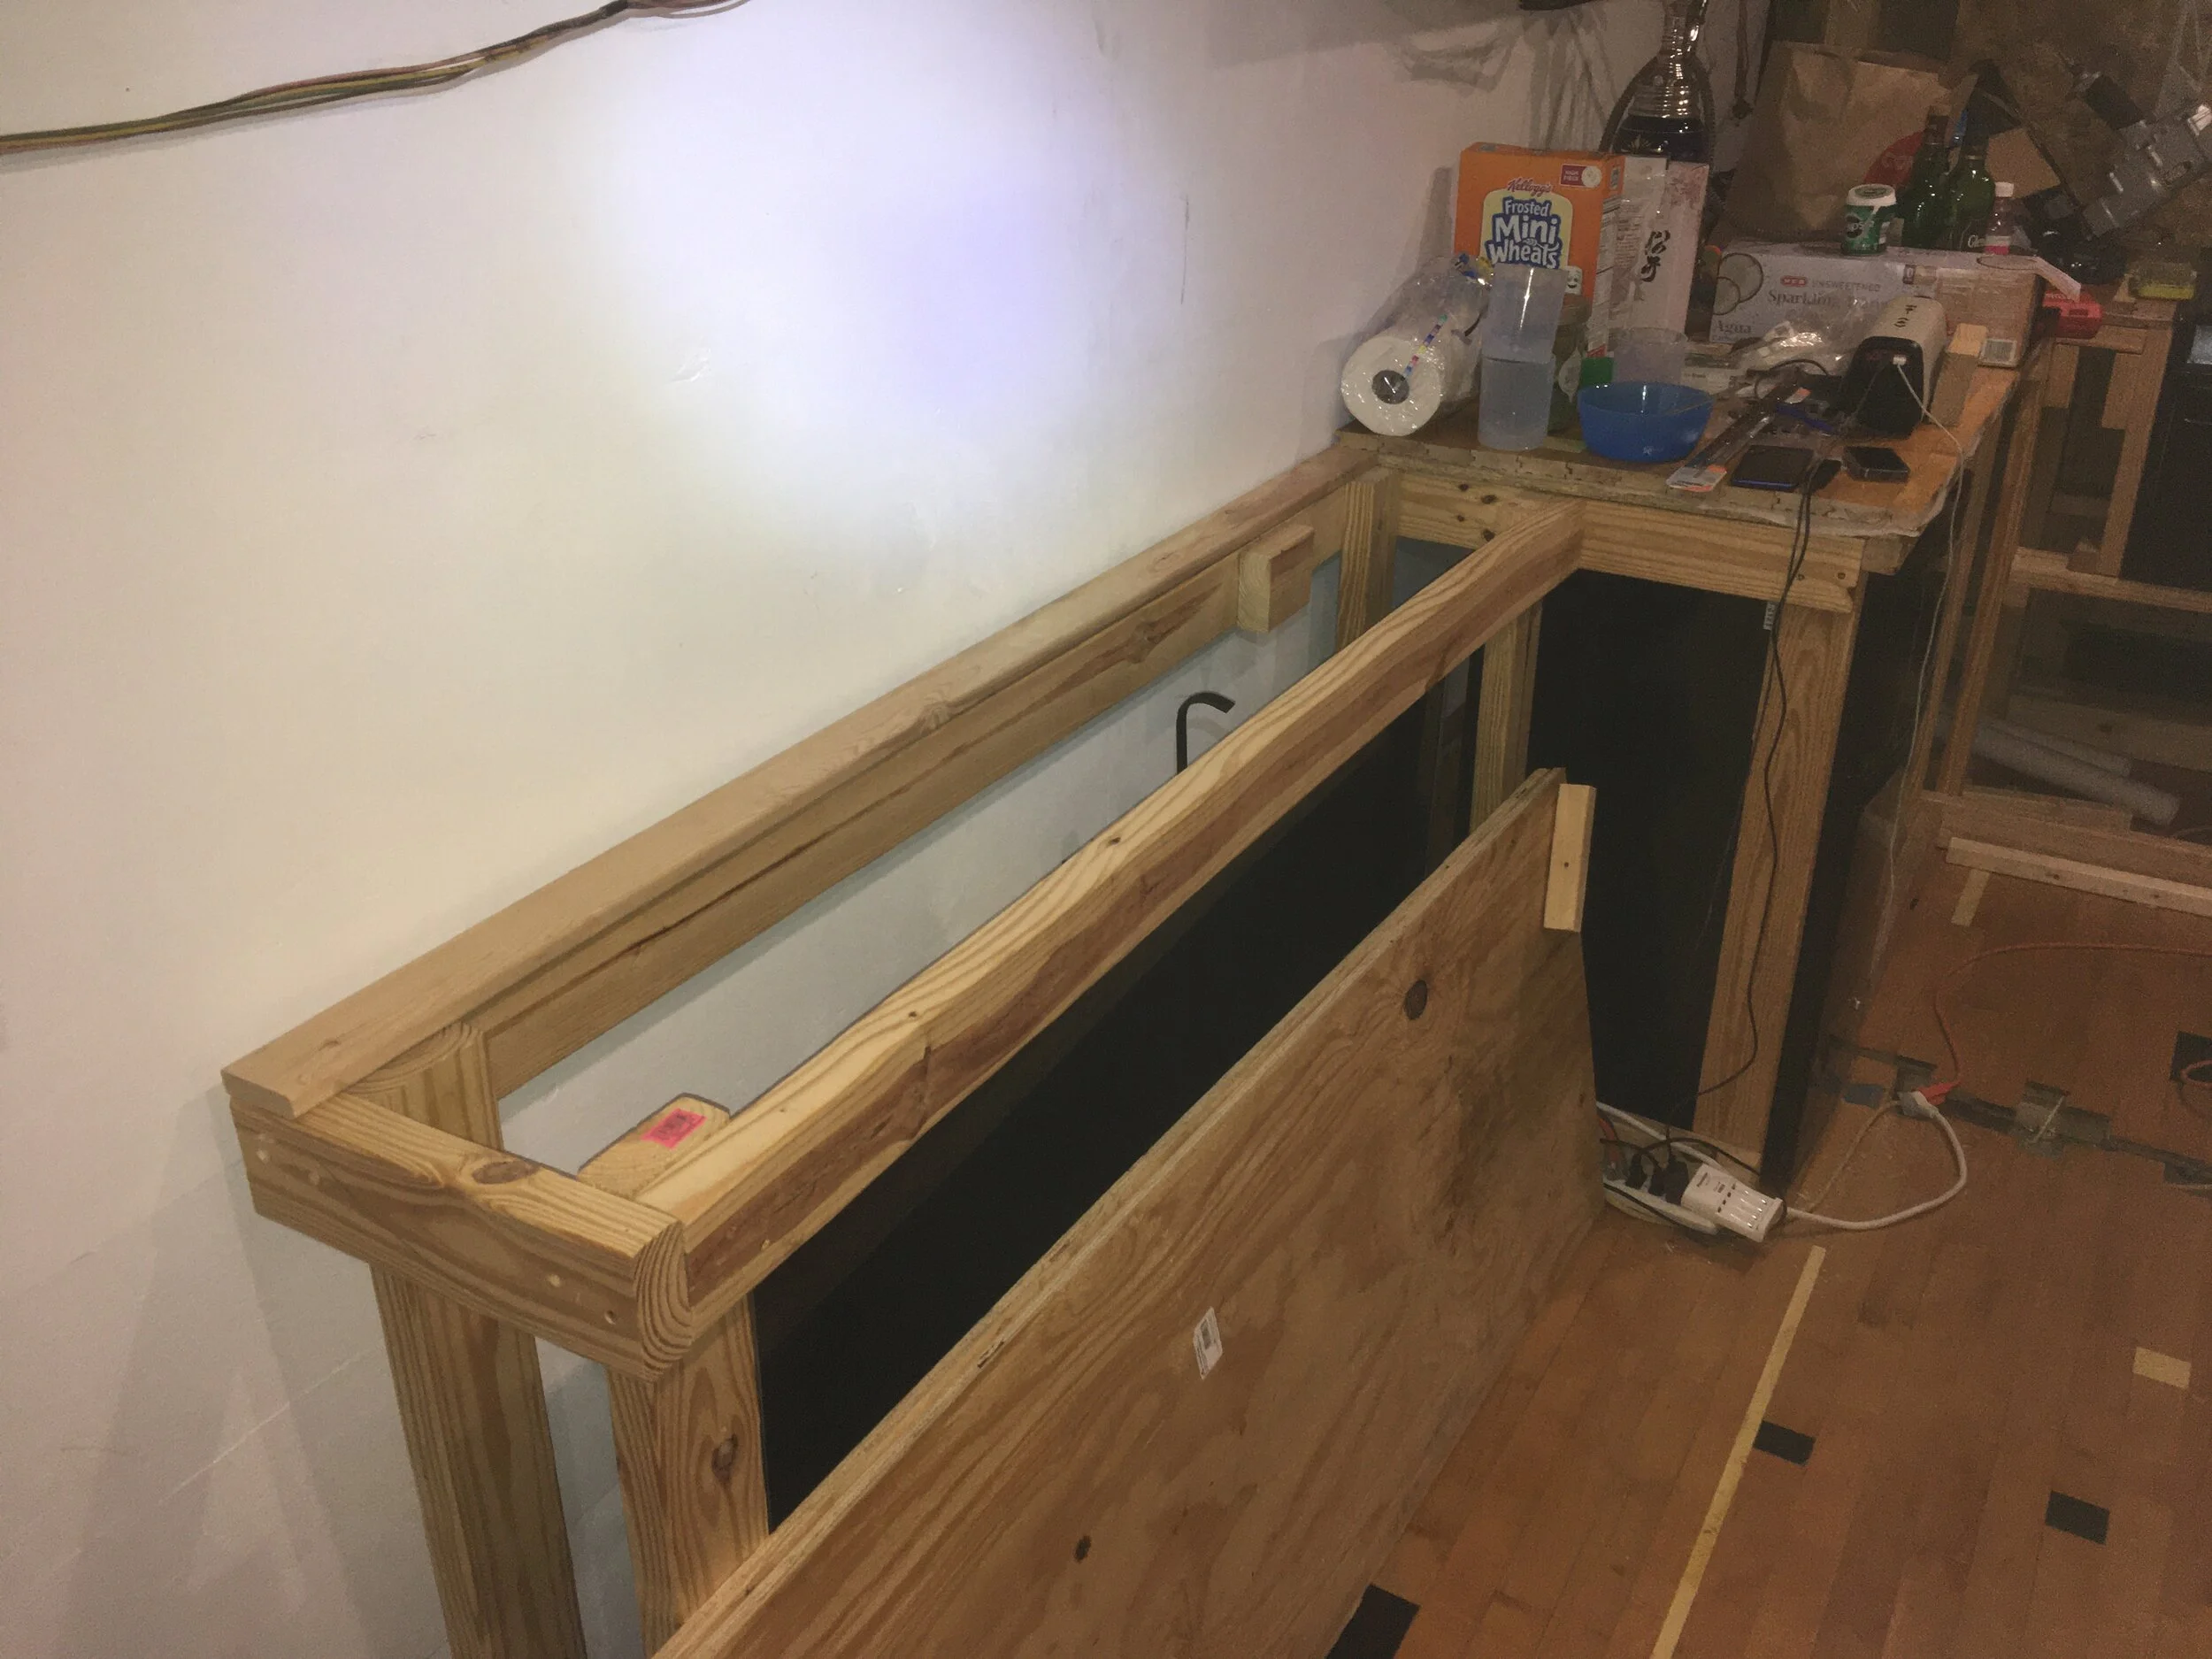
This area will have the litterbox in the box, and tiles on top with coat hangers above. This is the starboard fore wheel-well.
Probably the most challenging part of building the TV lift cabinet is completing the door on the top. Here is my canvas…
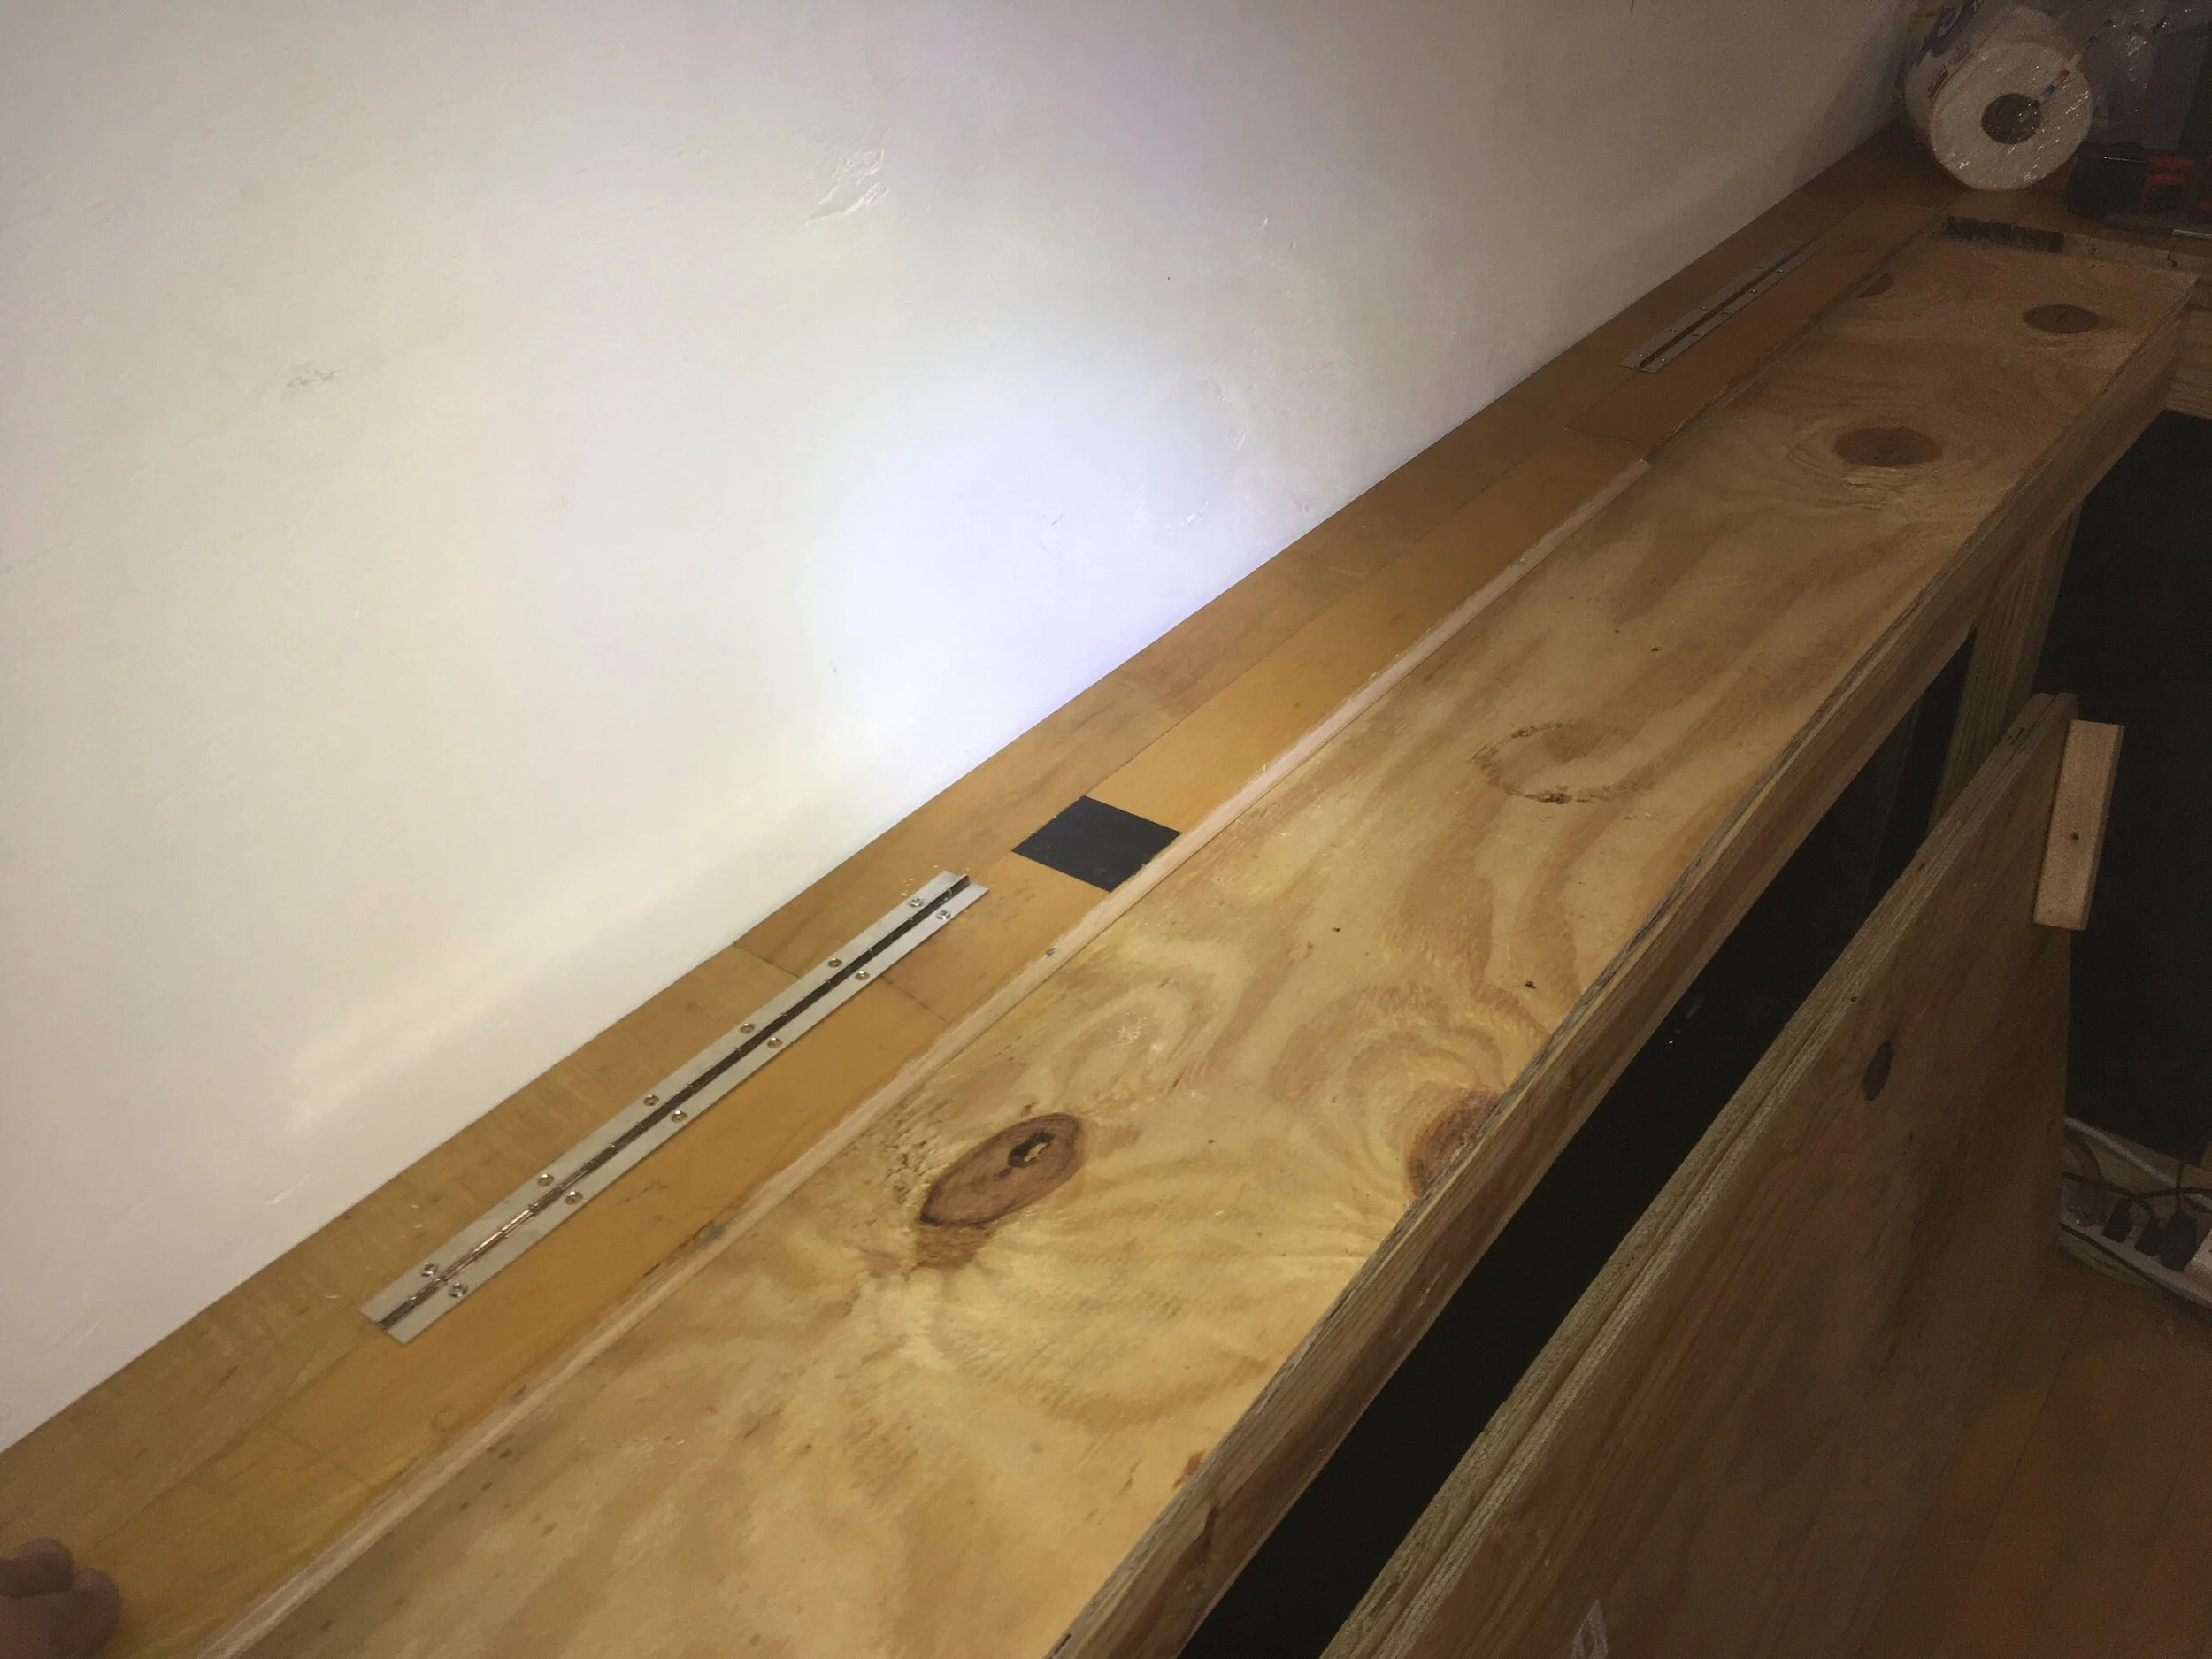
A piano hinge was the most sturdy option for allowing the door over the TV to raise and lower.
I finished adding the floorboards to the top of the lift cabinet and it looks great and works nearly perfectly.
The “Doghouse” is where the engine is located in a flatnose school bus. It’s pretty hideous, and needs to be covered, but the cover also needs to be removable.
Building this box took a lot of work to make sure that there weren’t any seams visible. The good news is that it is now ready for the top to be installed.
Before installing flooring, I always lay it out to make sure the lengths are good. I cut the boards only before I nail them down individually. I’m also finally starting to run out of boards. Possibly the greatest thing that I’ve ever found on Craigslist.
The Doghouse cover needs to be removable so that I can access the engine if/when something goes wrong. As a result, I’ve added these little brass closures. The cover is done for now, but I will eventually be adding cupholders and an ipad mount for GPS and music control.
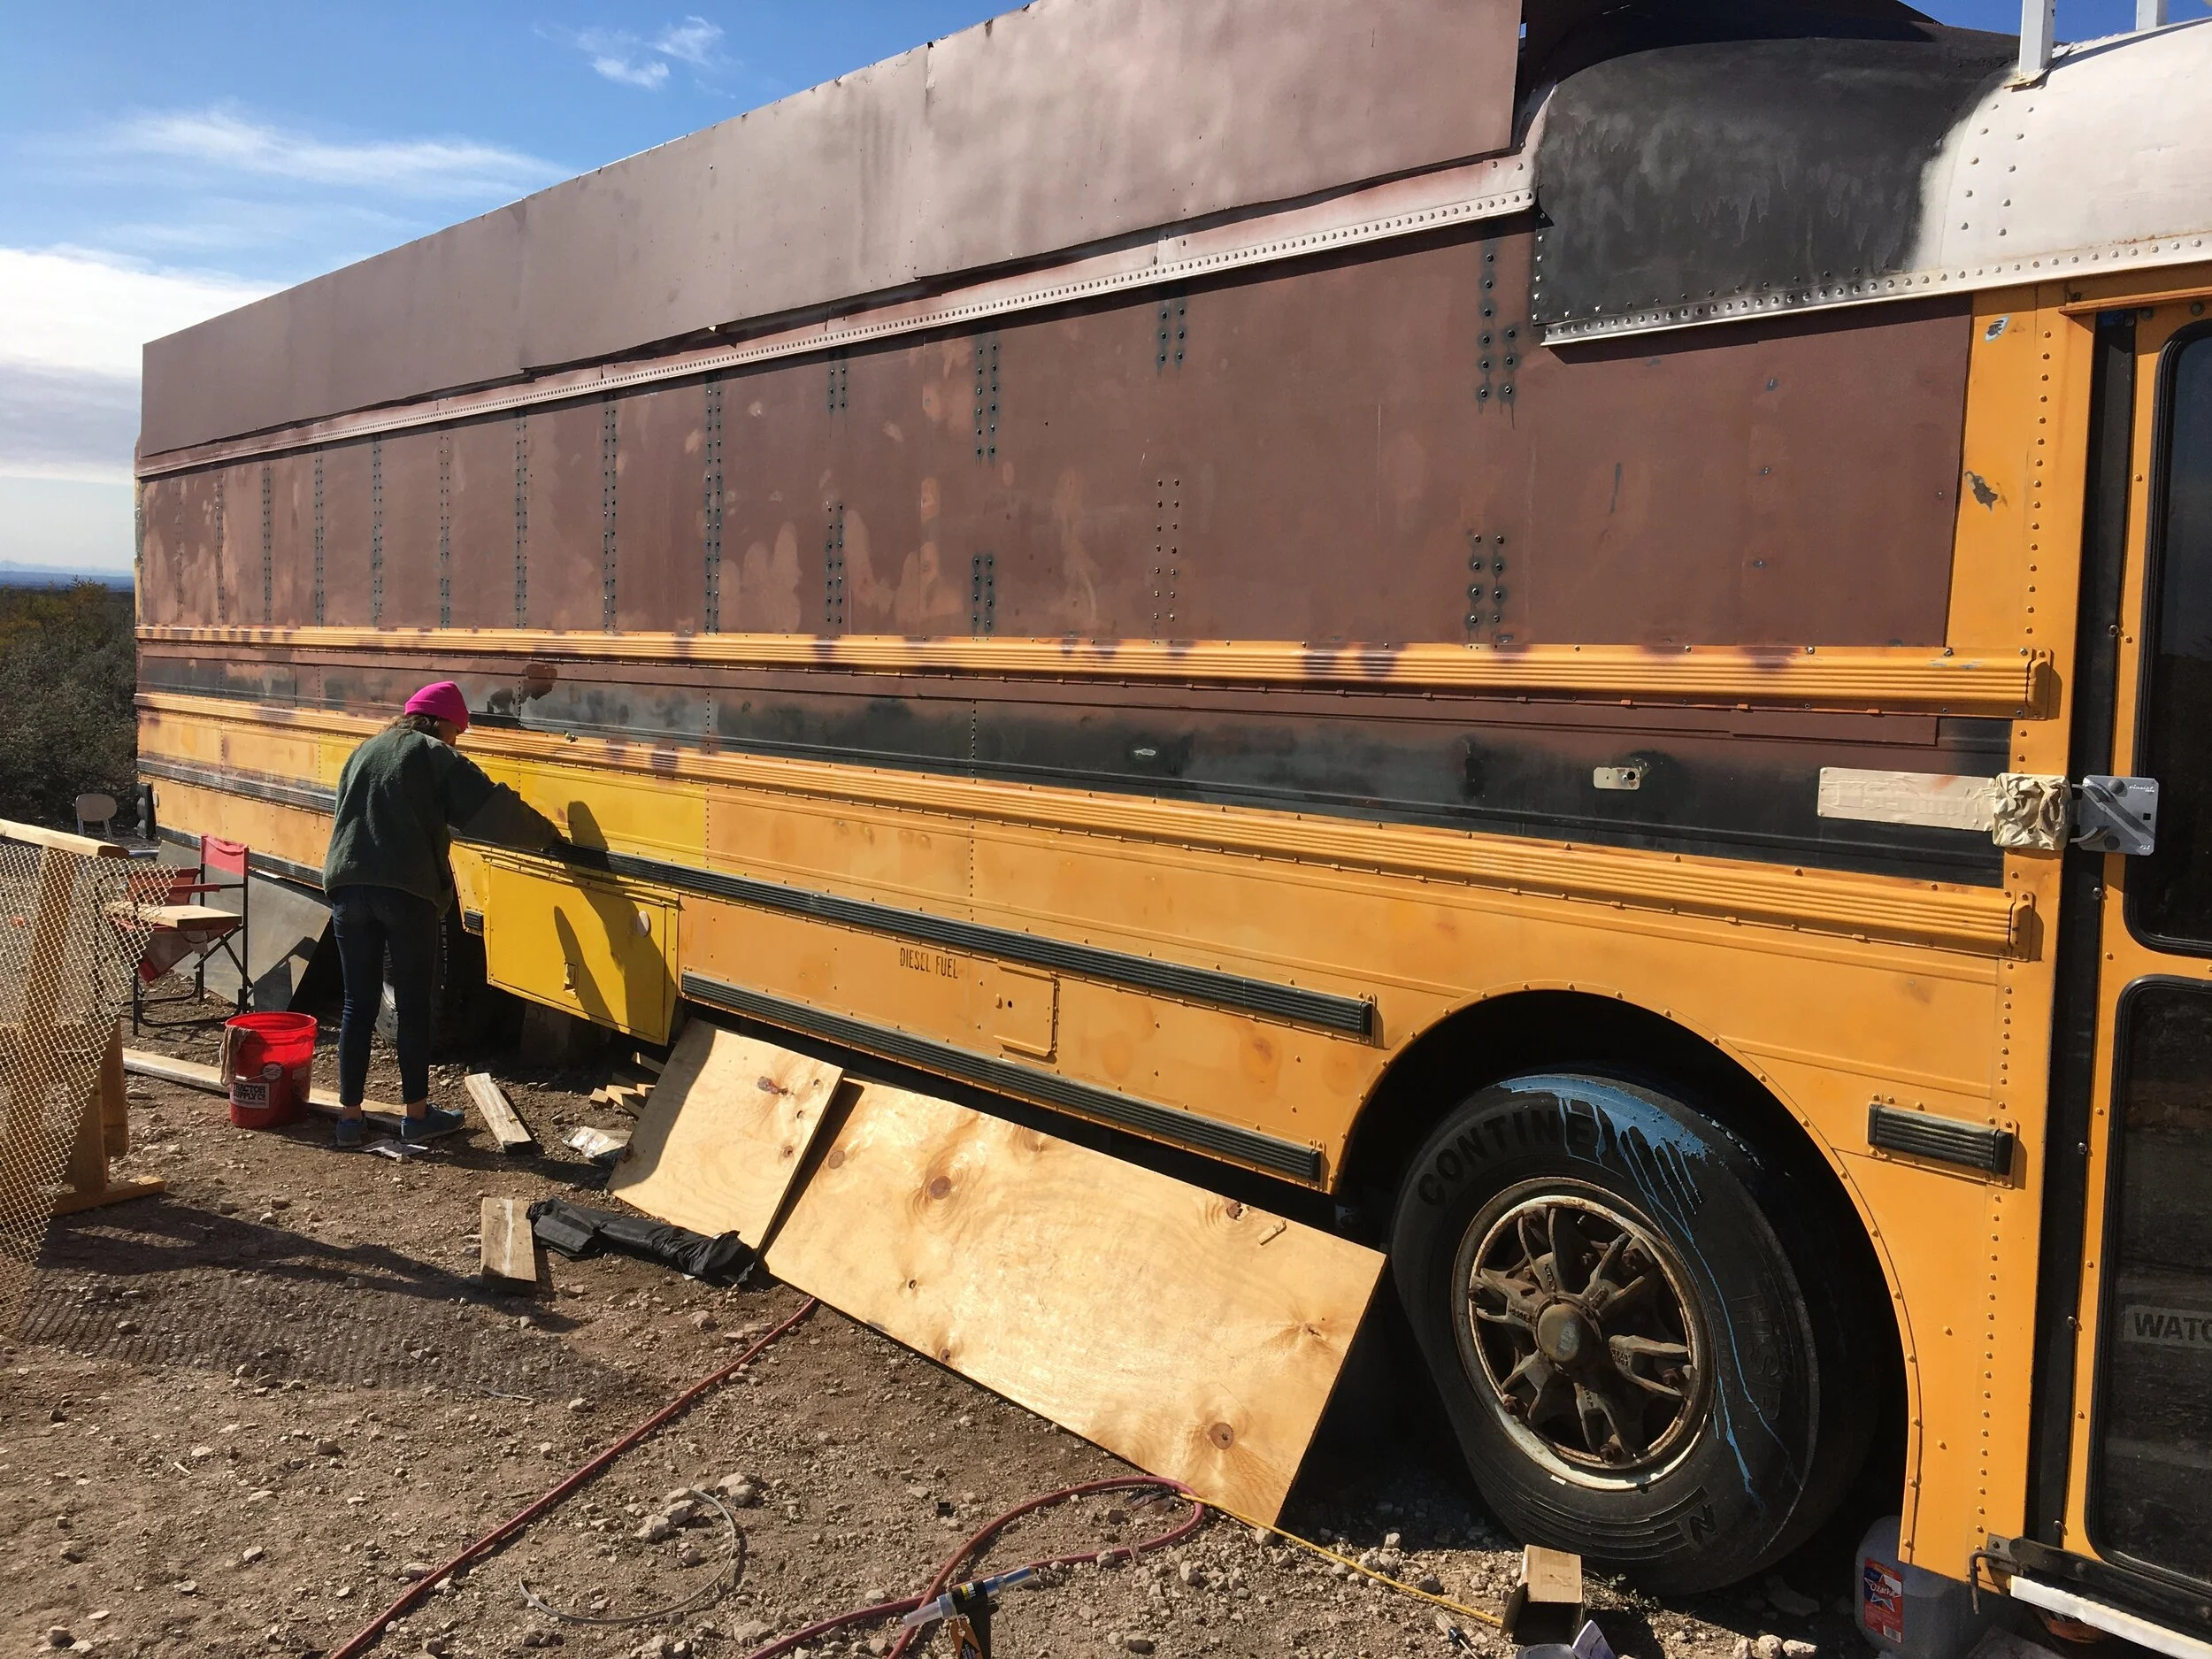
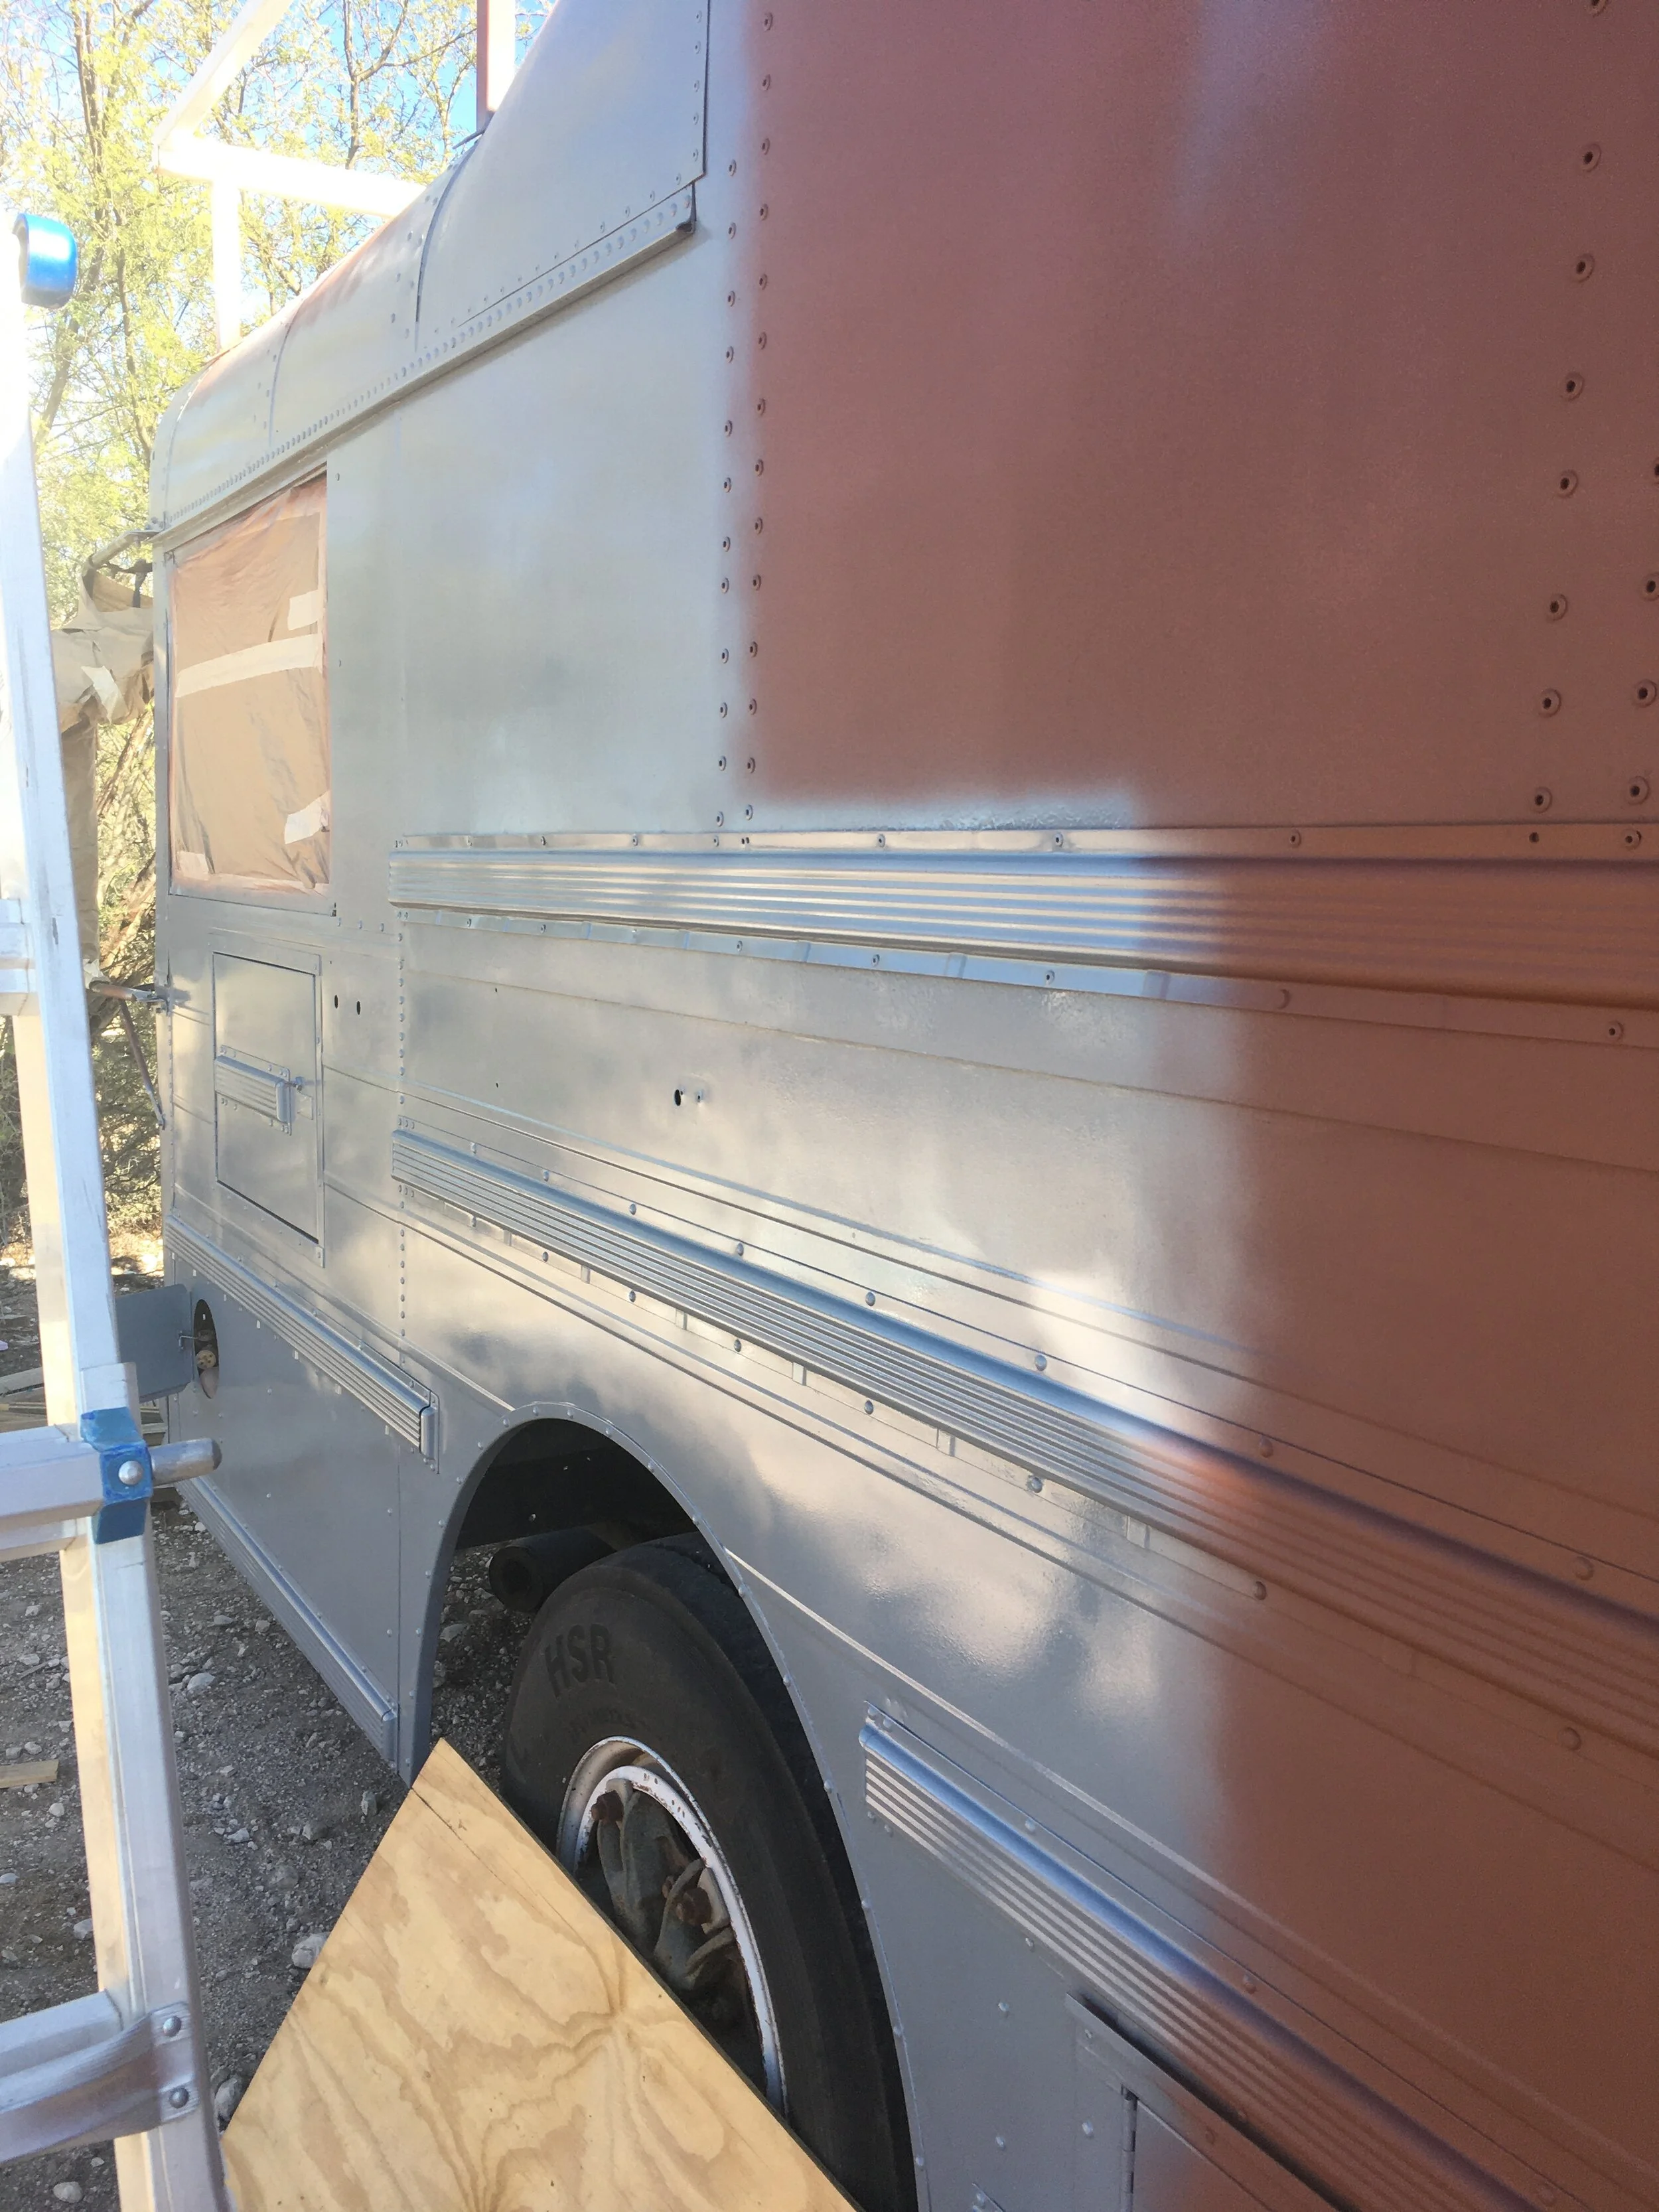
It’s absolutely necessary to prep the surface before laying down enamel paint. Excessive sanding and cleaning were necessary before laying down the Rustoleum Rusty Metal Primer.
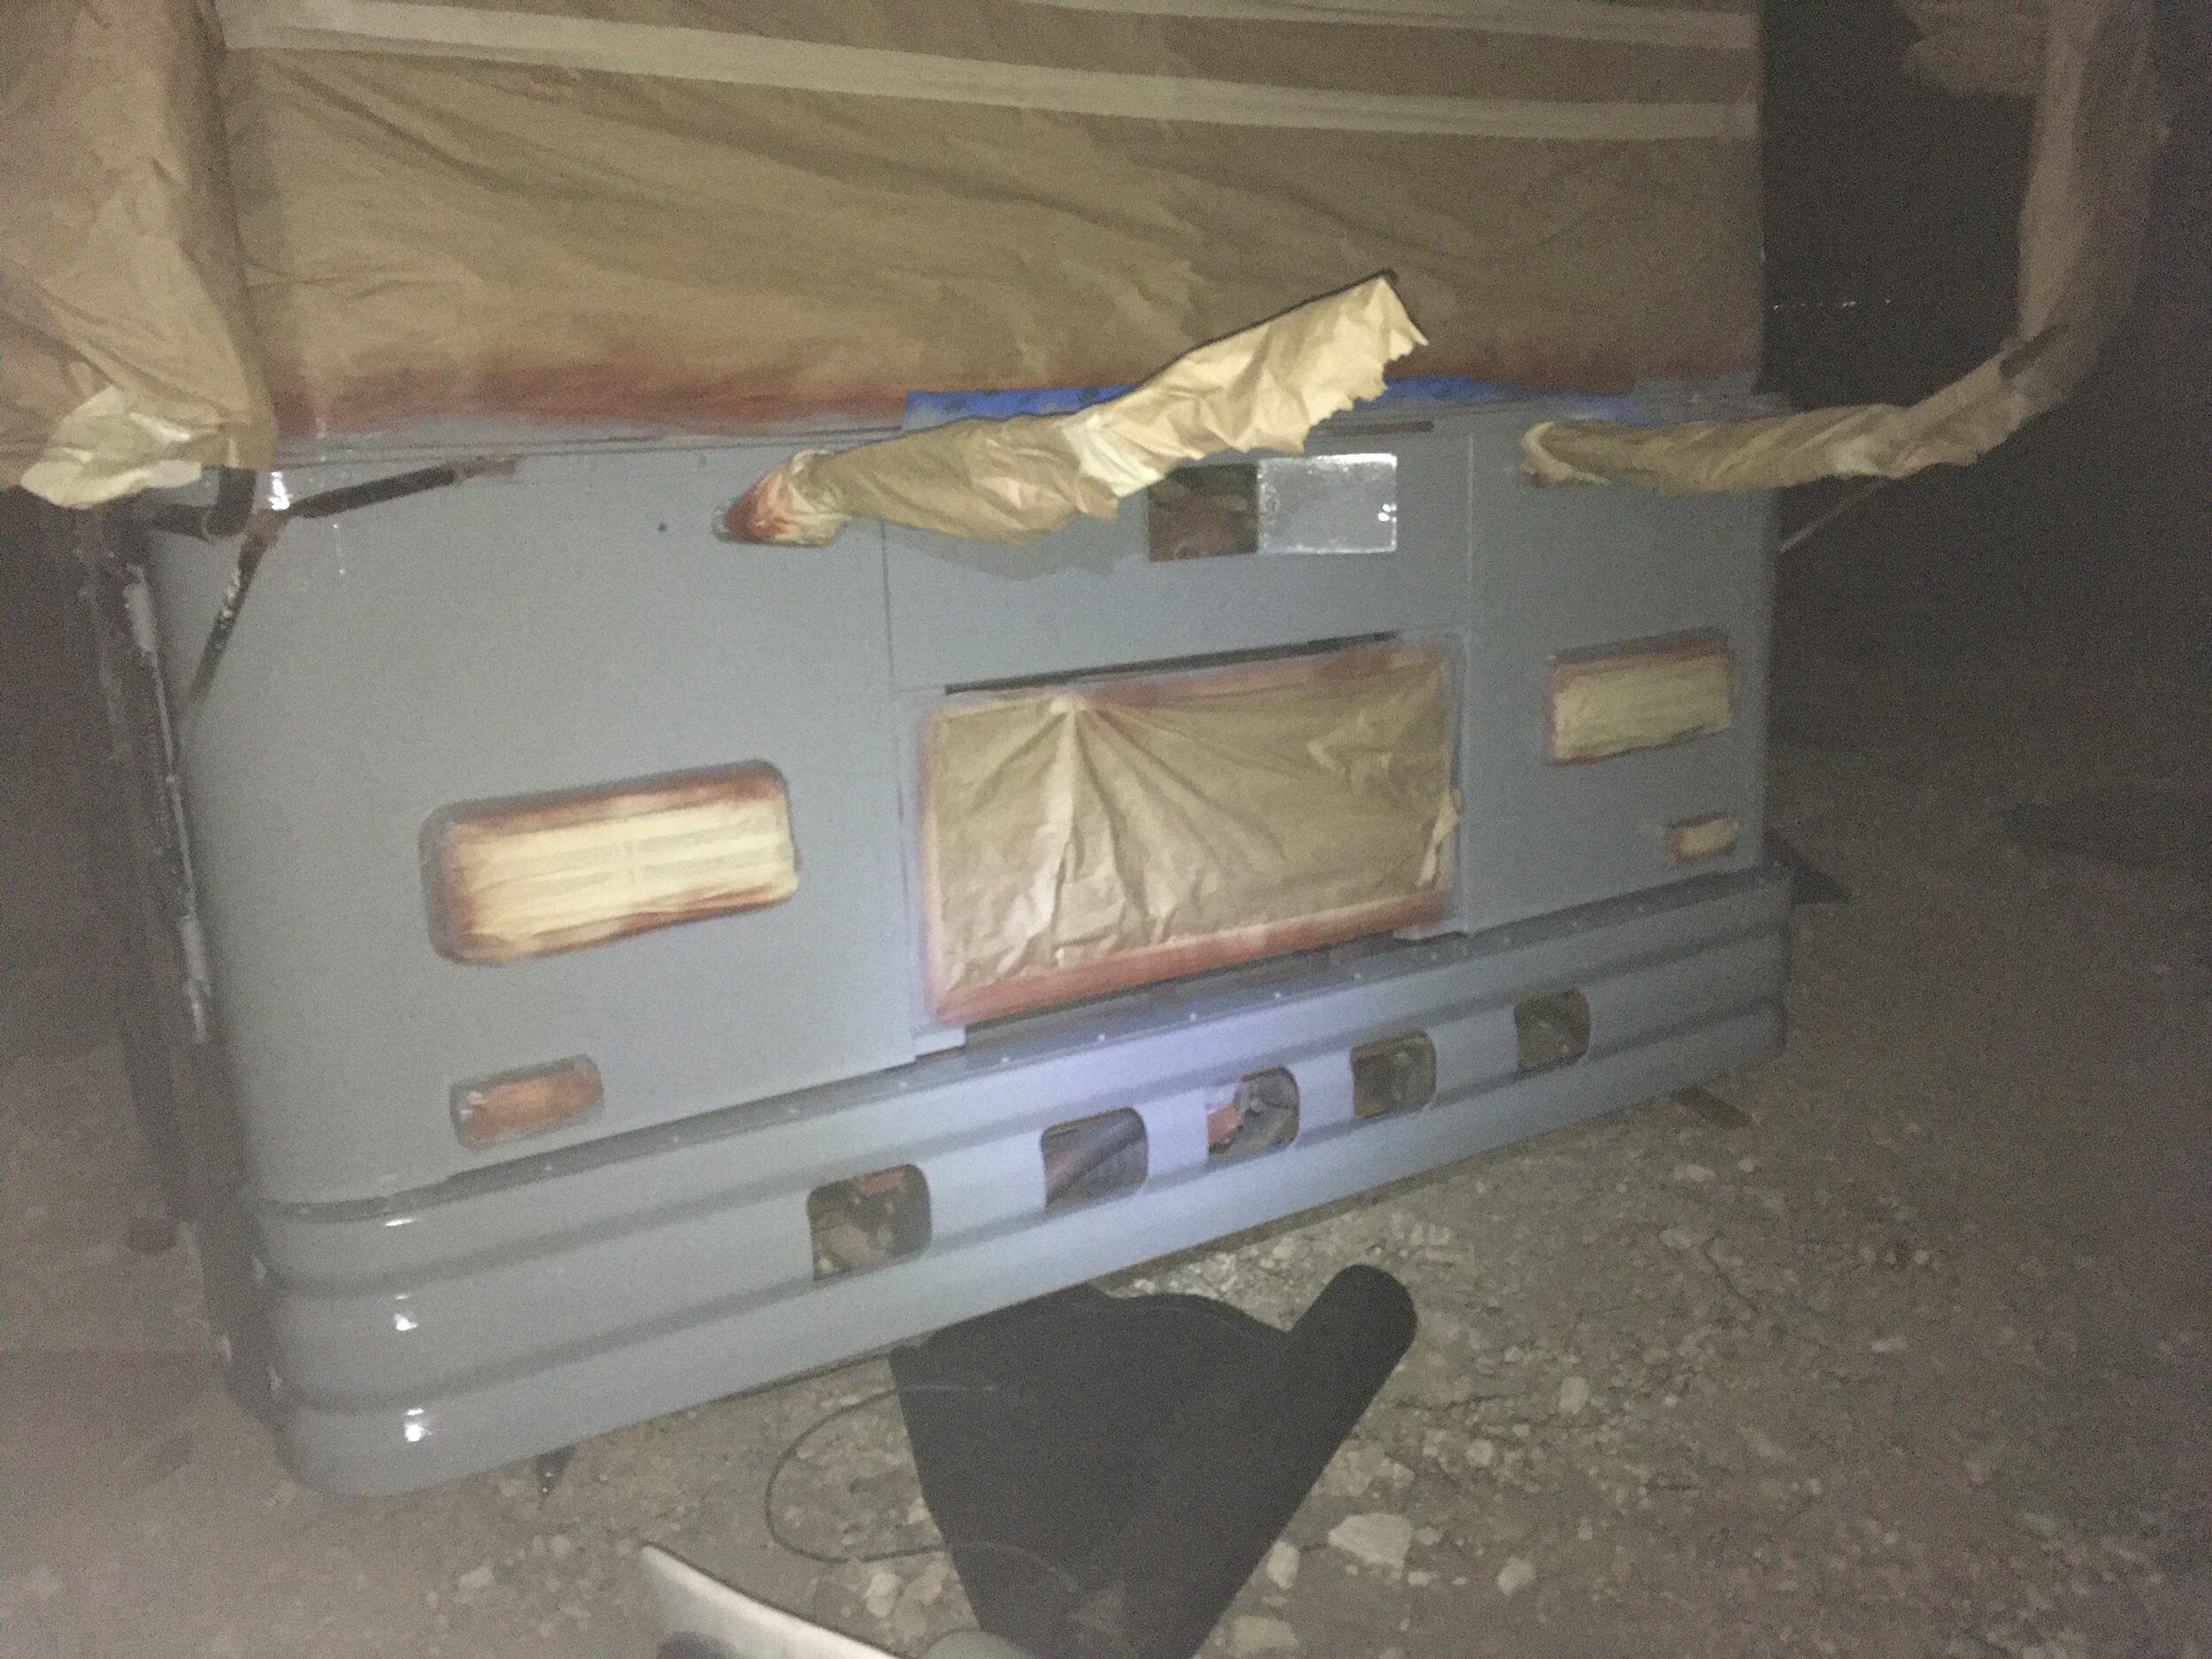
A good tape and prep job takes longer than the actual painting. That was certainly the case here.
I used Rustoleum Rusty Metal Primer with a hardener added. That made the paint more resilient and increased how well it sticks to the bus. I applied the paint using an HVLP gun.
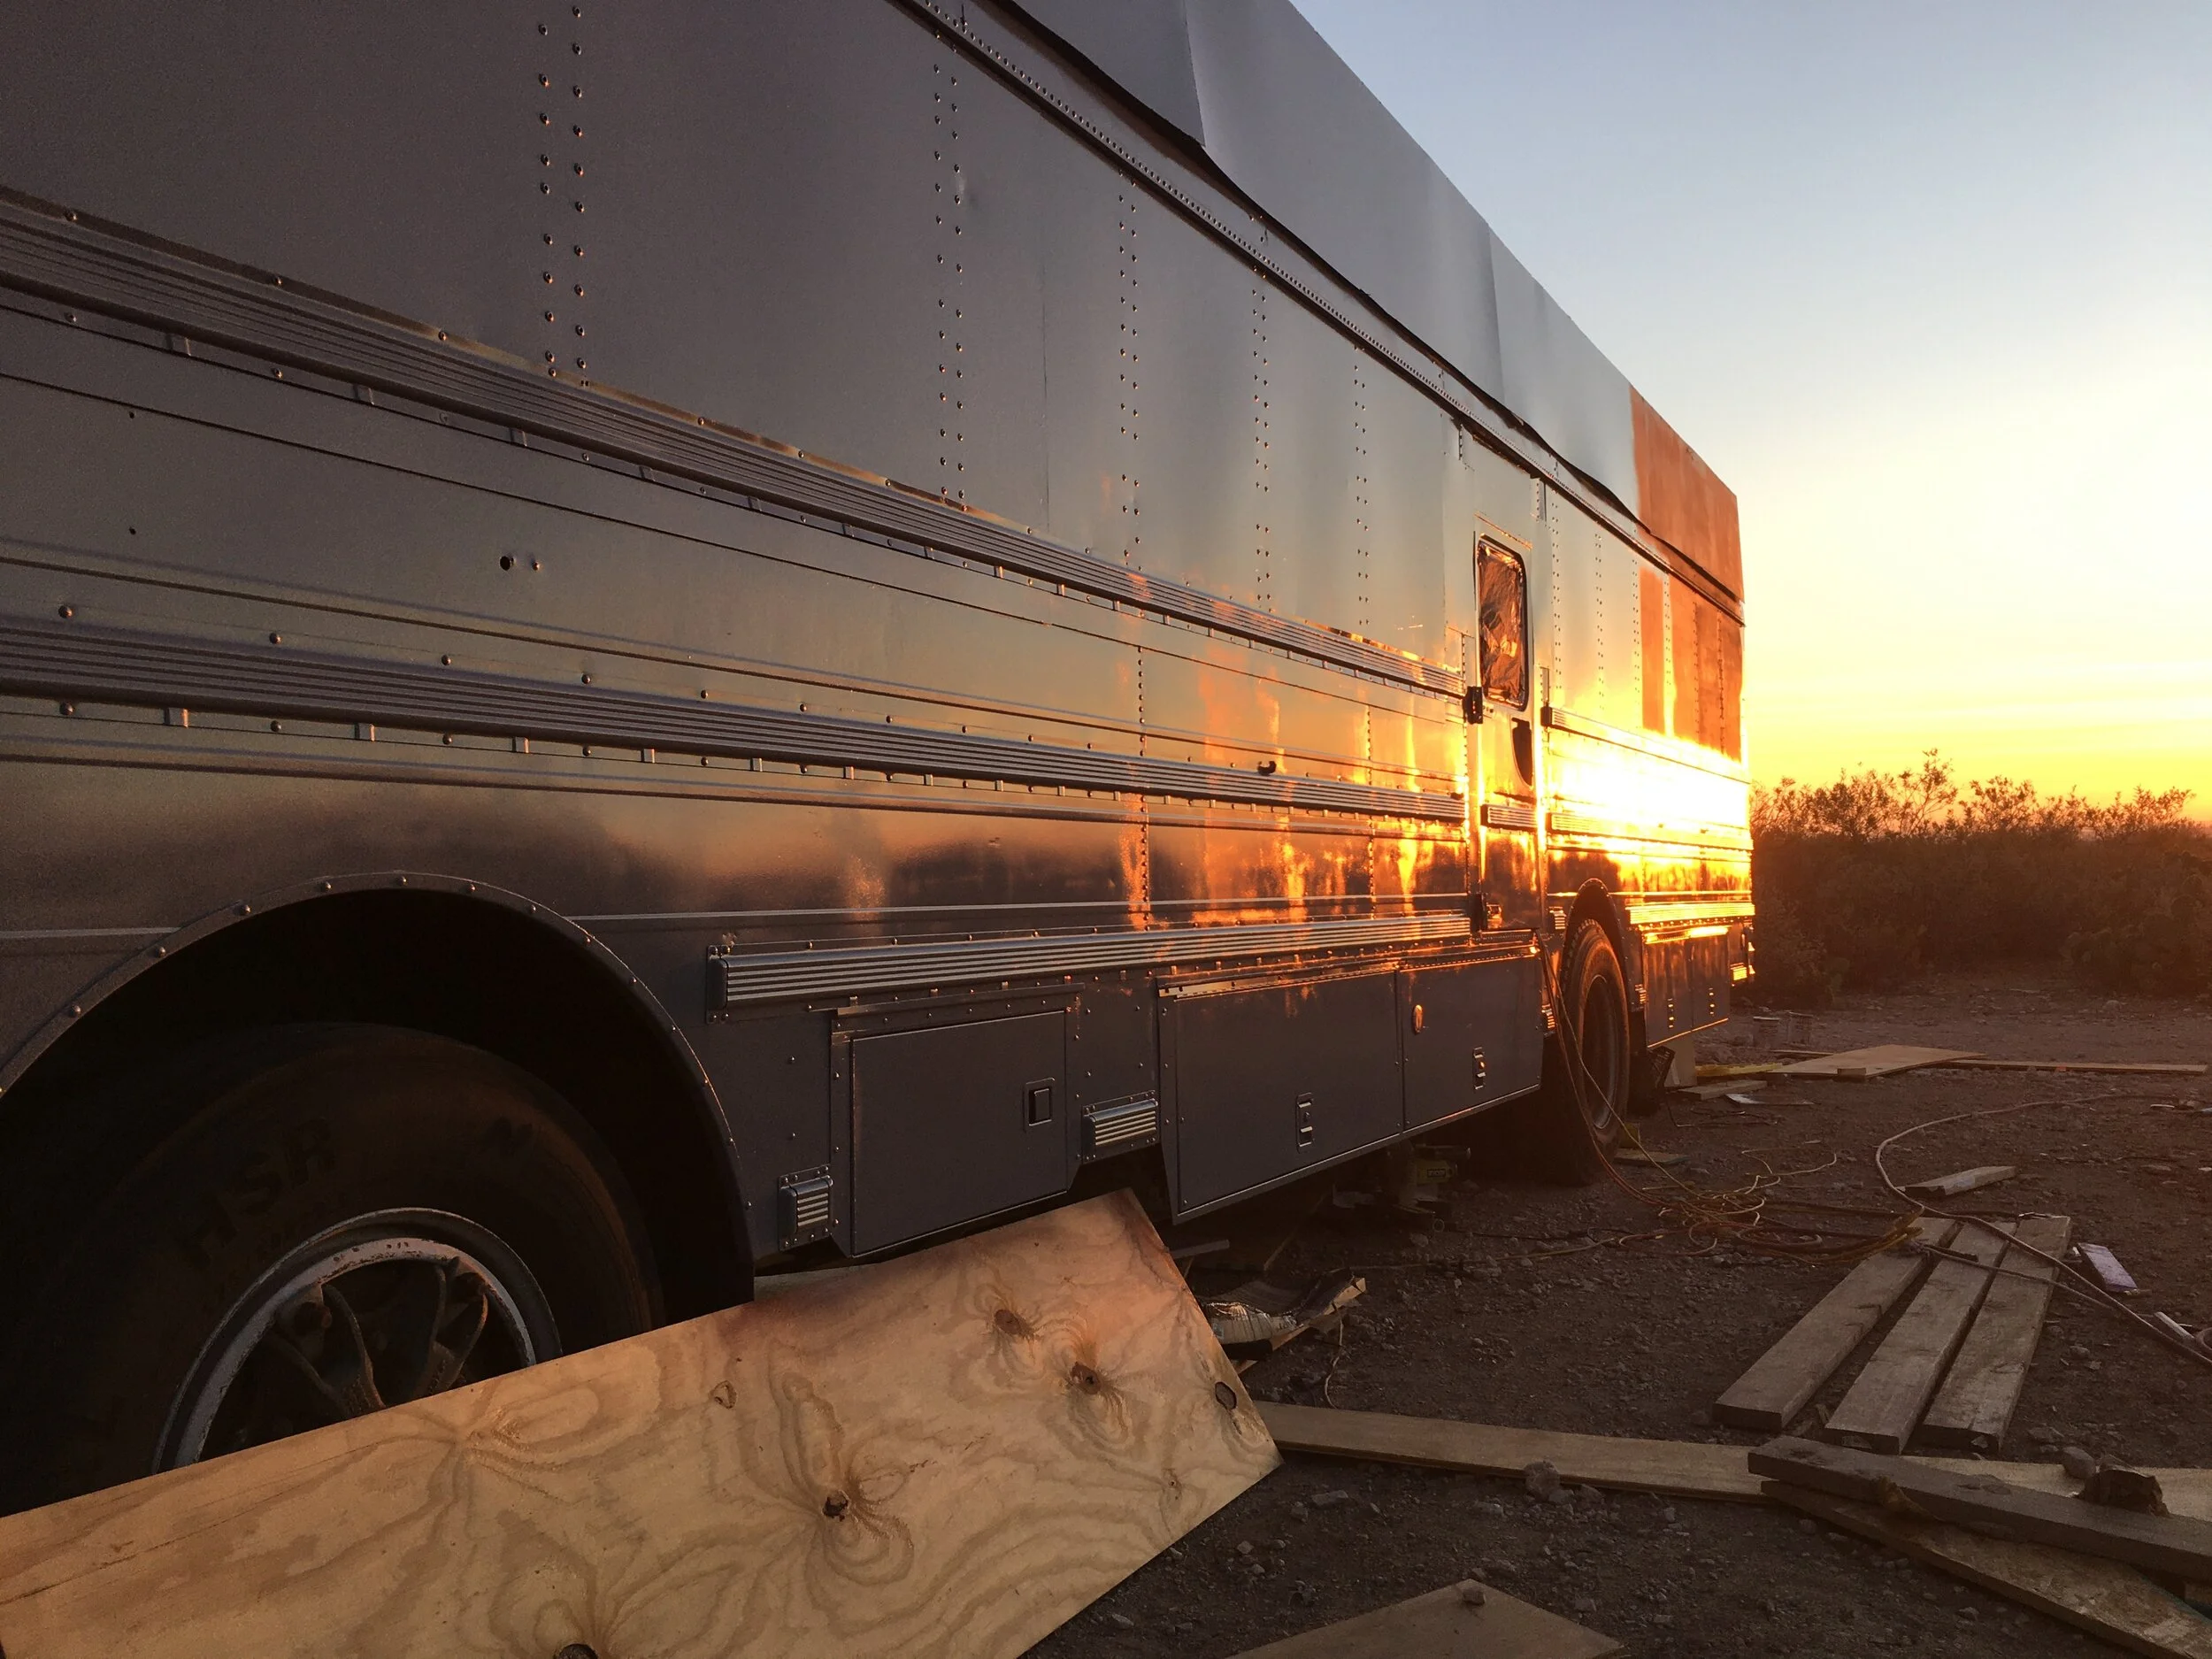
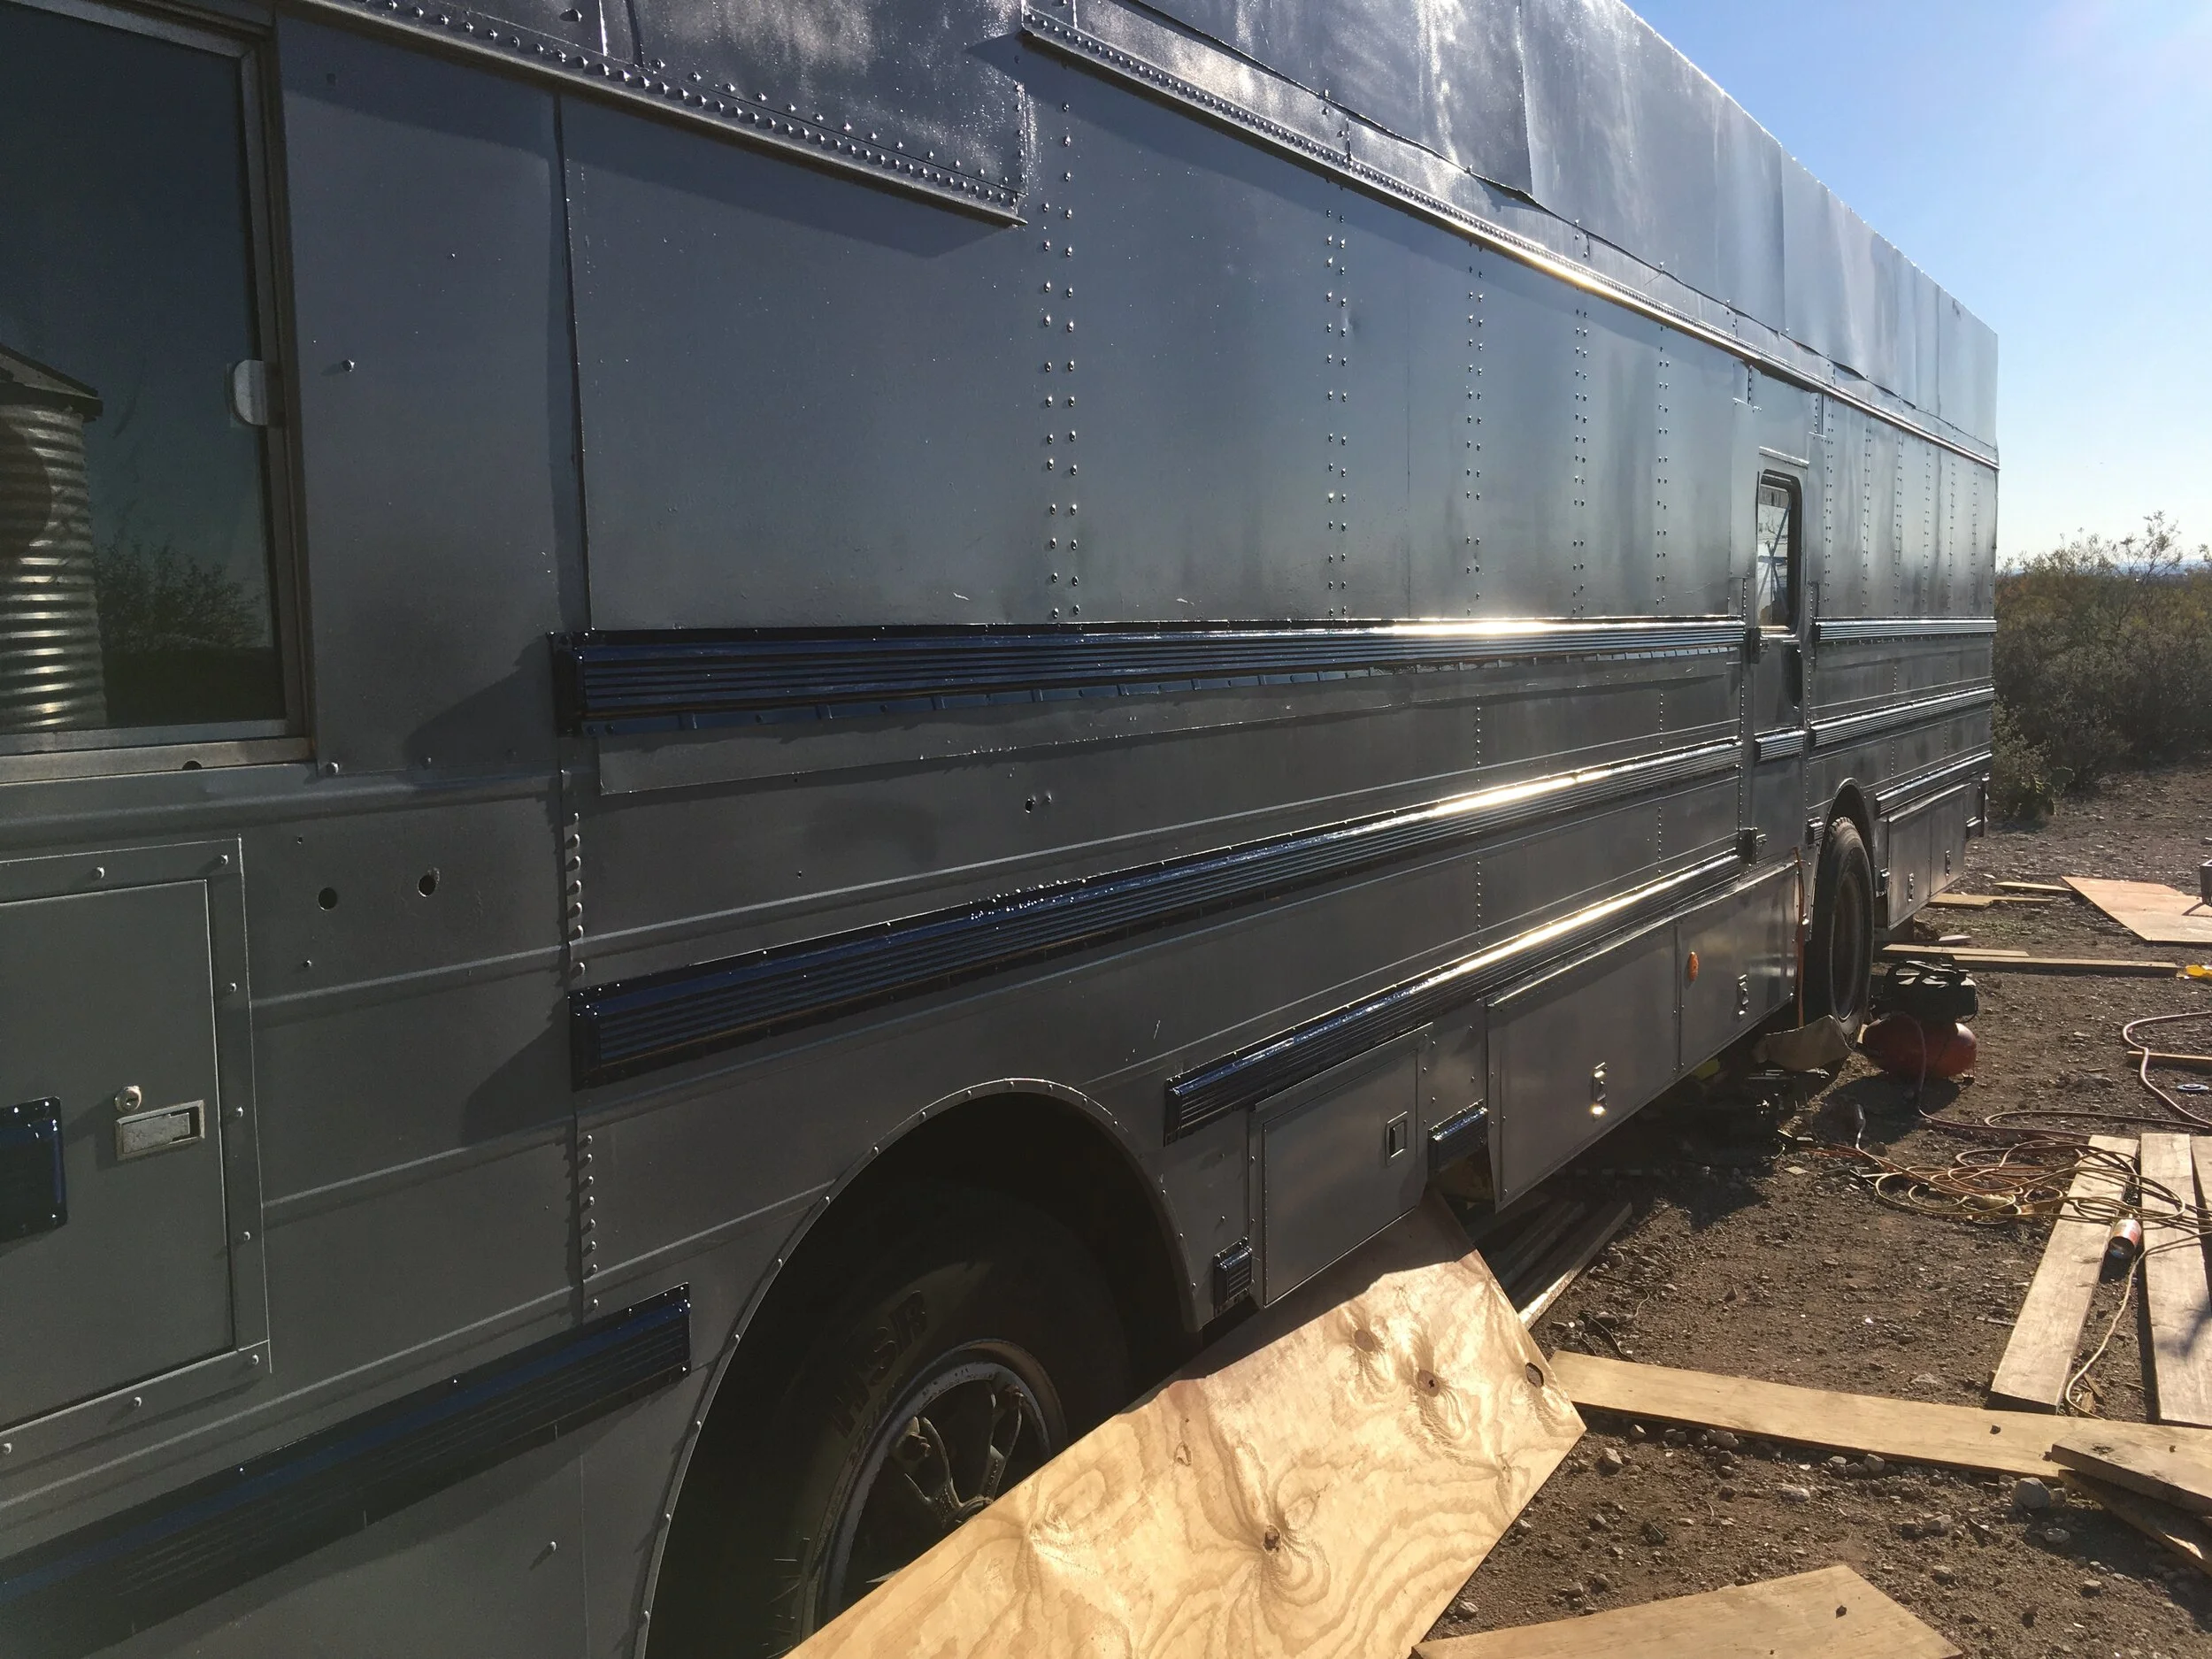
Rustoleum Smoke Grey Enamel is the color that I chose. Applied with a thinner and a hardening agent, the gloss is fantastic. I’m really happy with the paint color.
Applying the paint with an HVLP gun makes it look great, but it really takes a lot of time and patience.
The sun is setting and in order to avoid having bugs fly into the new enamel I take a break and grab a beer while the sunset is reflected in that gloss.
I chose Navy Blue as the color for accenting the rub rails of the bus. Here’s my test area. I ended up using boat paint, as it is stronger and can handle frequent abrasion better.
The entire bus has two coats of grey applied now. The roof is all that is left. I decided to save time and apply the paint with a brush.
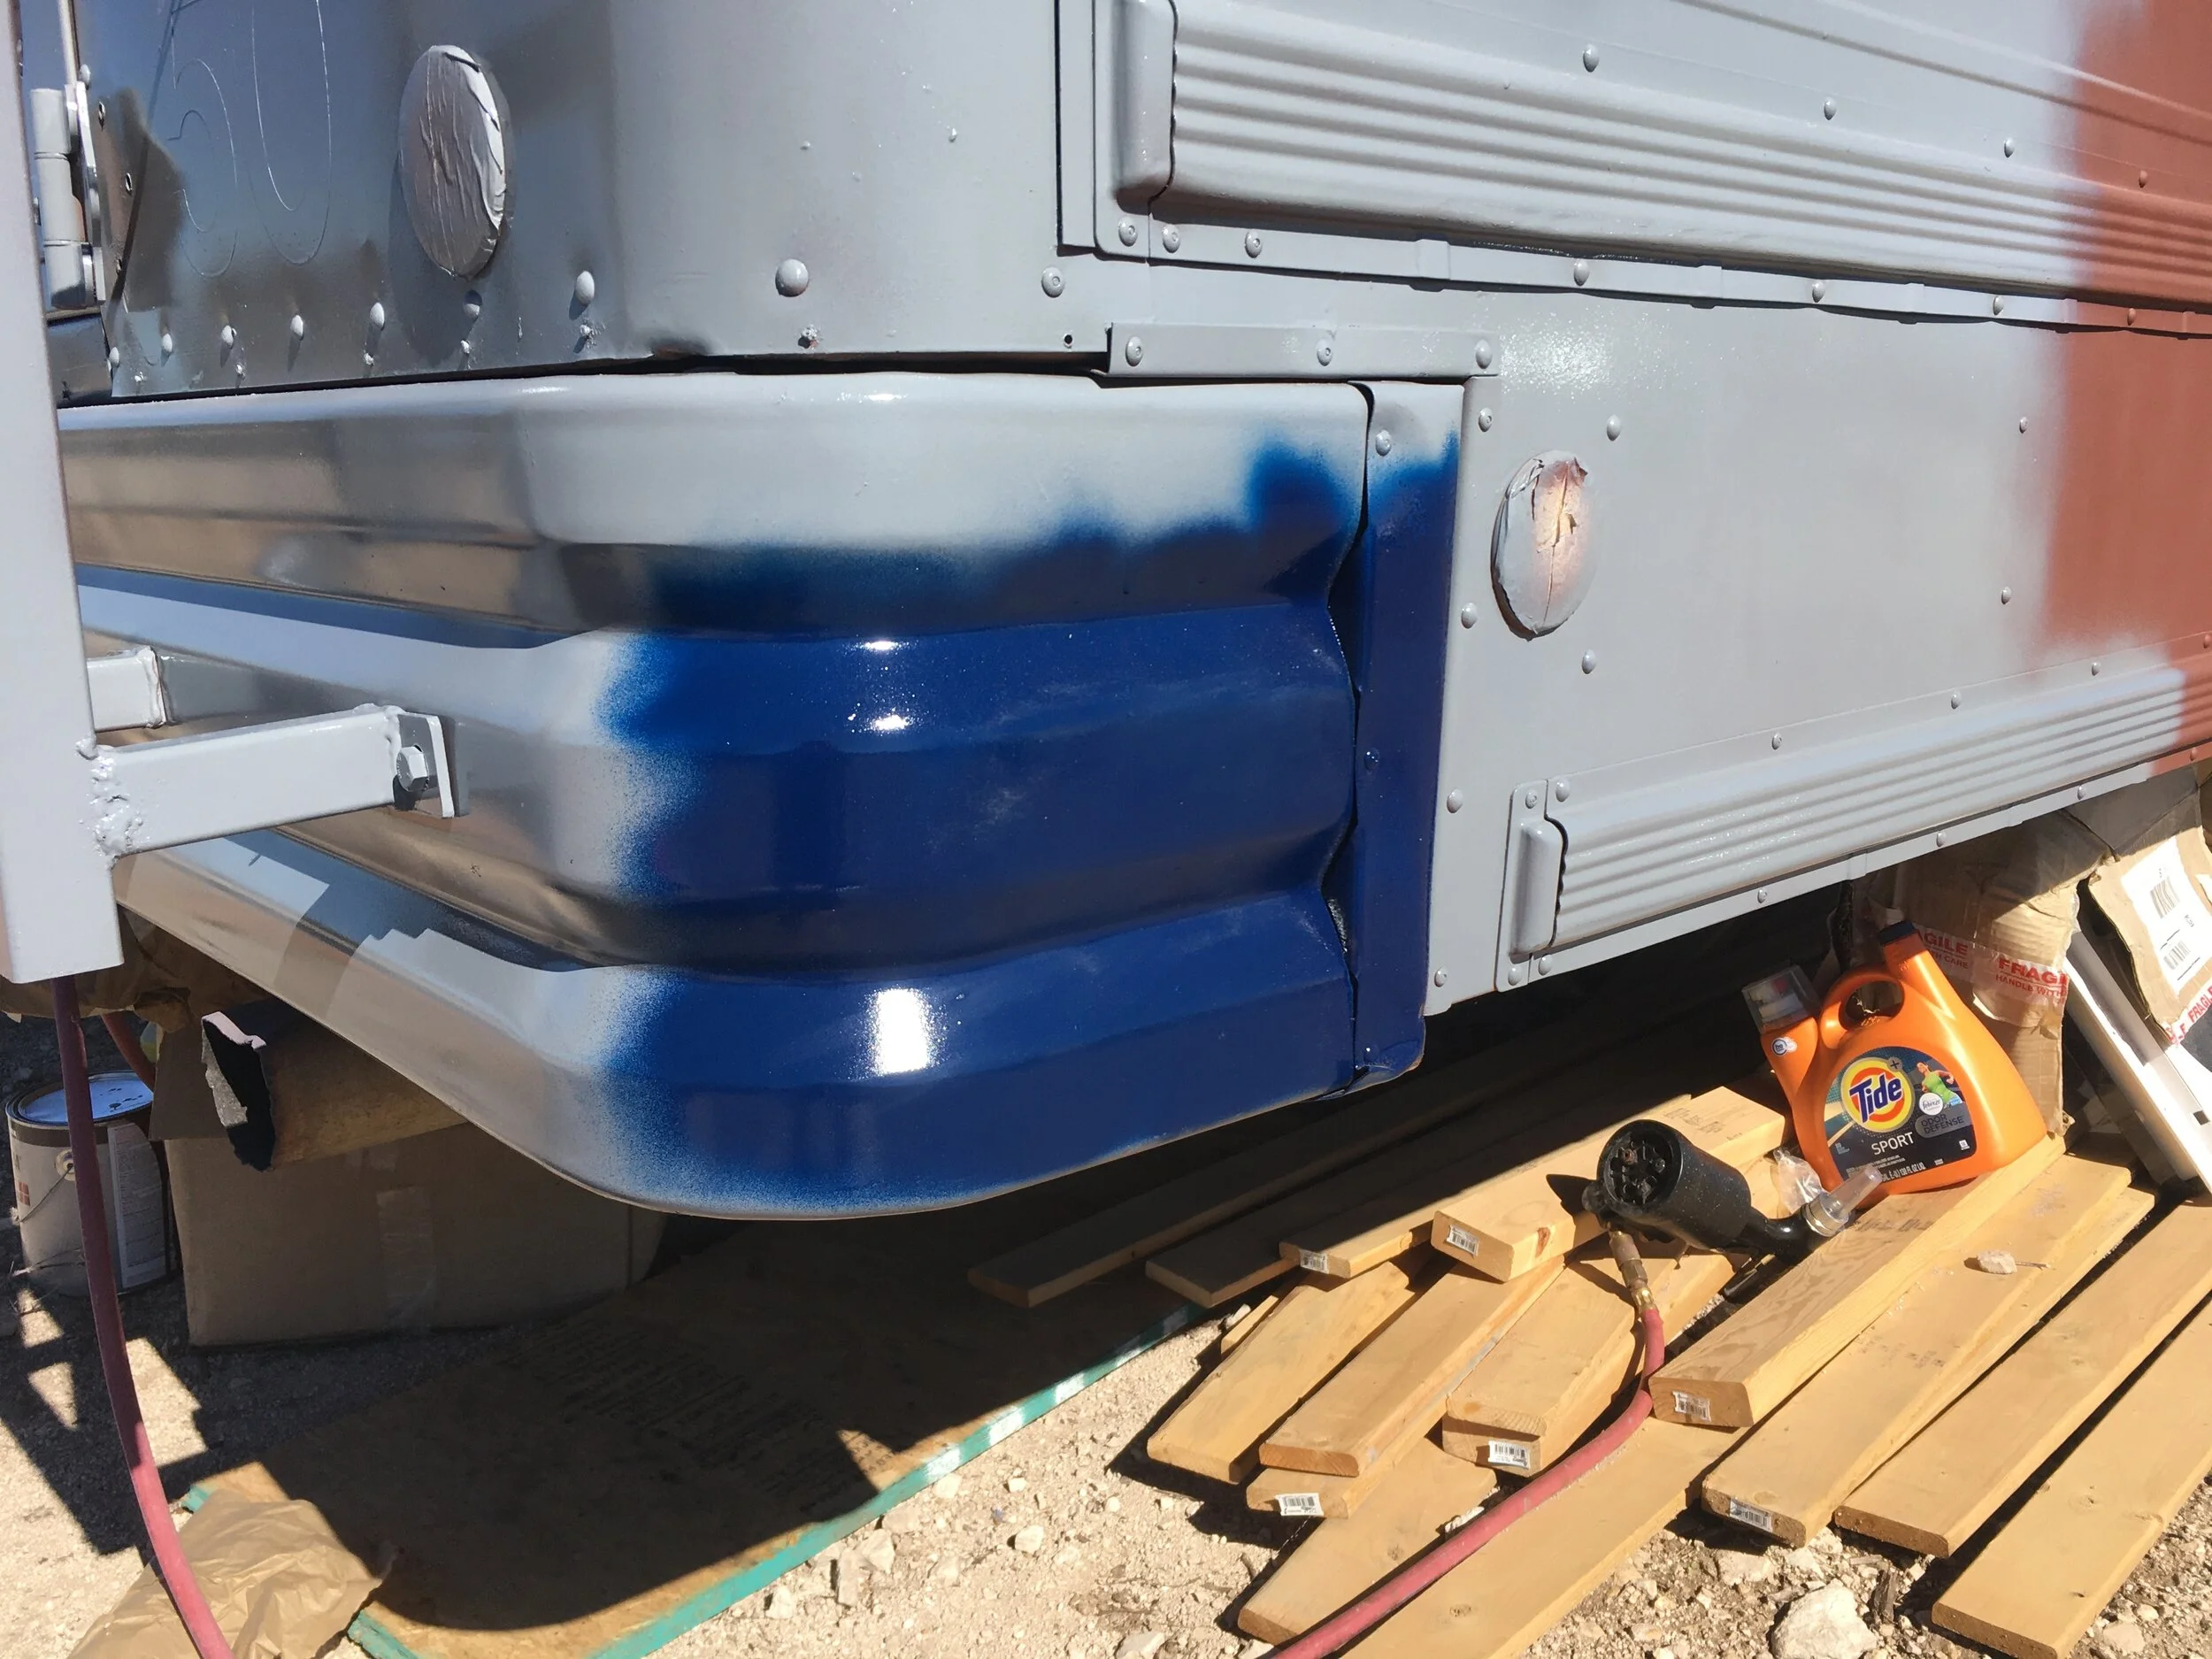
The navy blue looks really good on the bumper, but it did take three coats to get it to not have brush lines.
Gotta pass that state vehicle test before I can transfer the title to an RV.
It took a long time and the wind kept ripping the tape off, but I eventually got it painted. It looks quite smart!
I replaced the window that broke (upper right) and I’m not looking forward to painting this door.
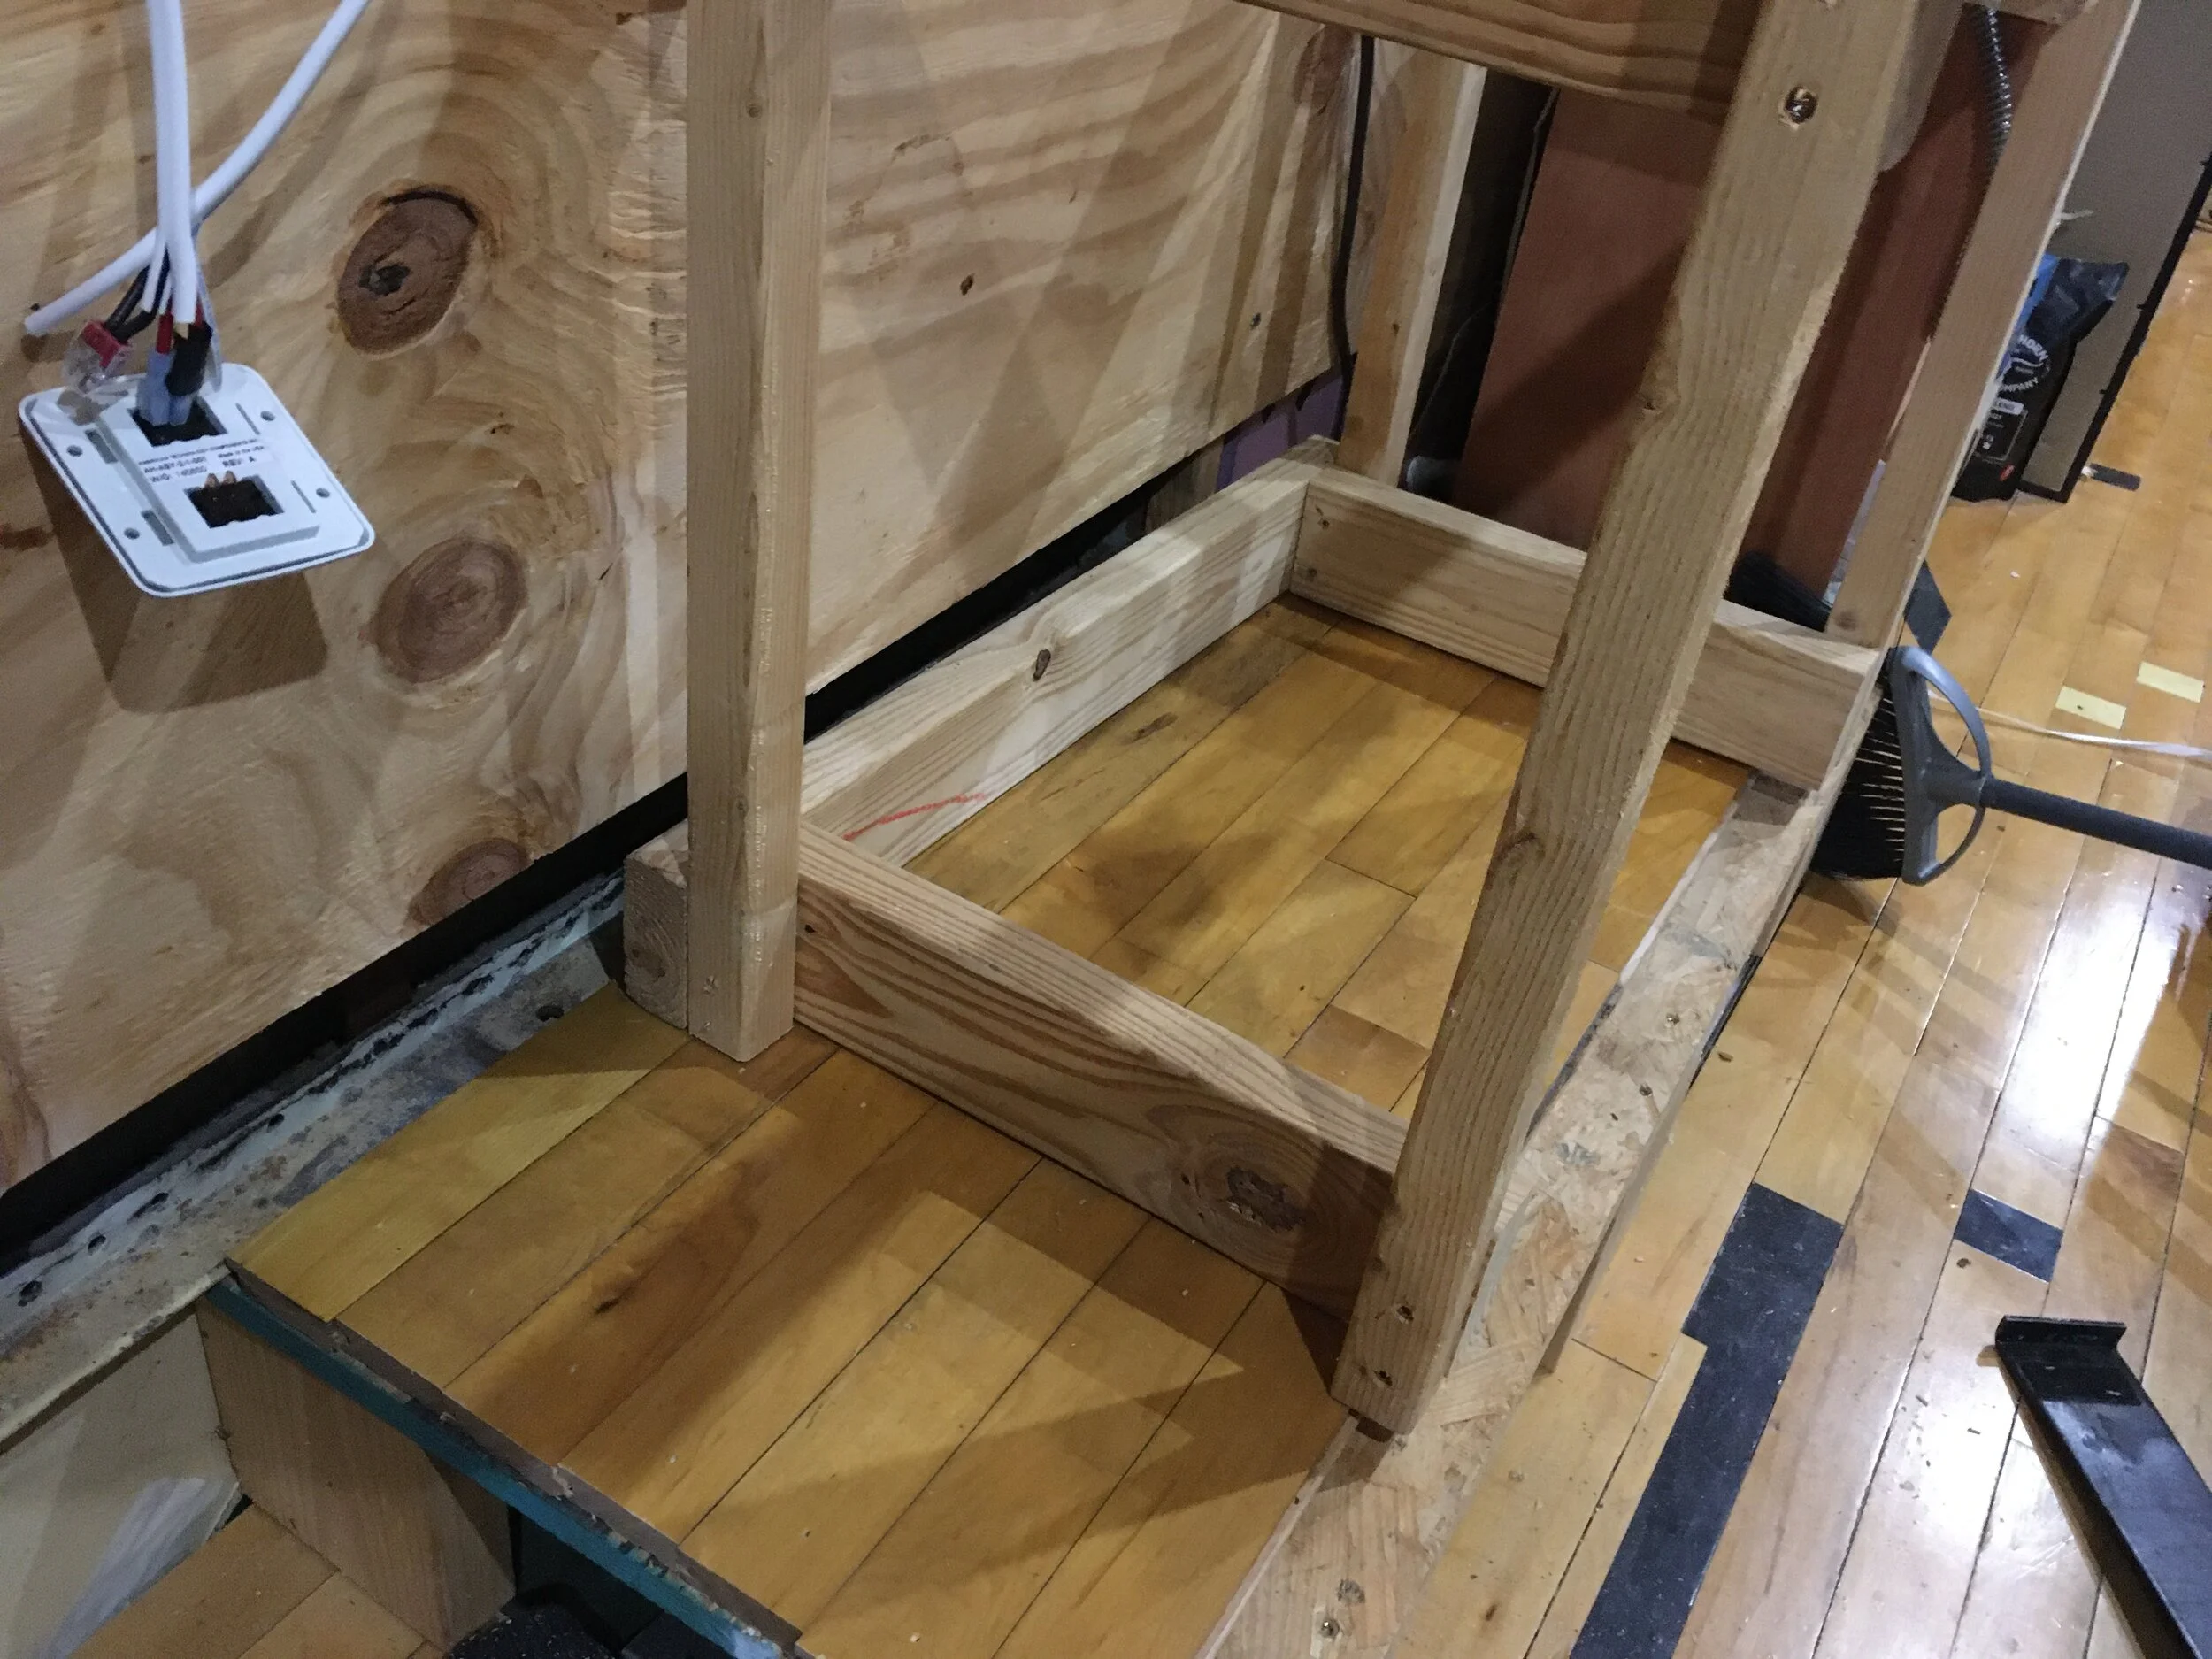
I built the cat box with a hinged door on the side so that the entire litter box can be removed. I’ll have attachments to seat the hinged piece flush.
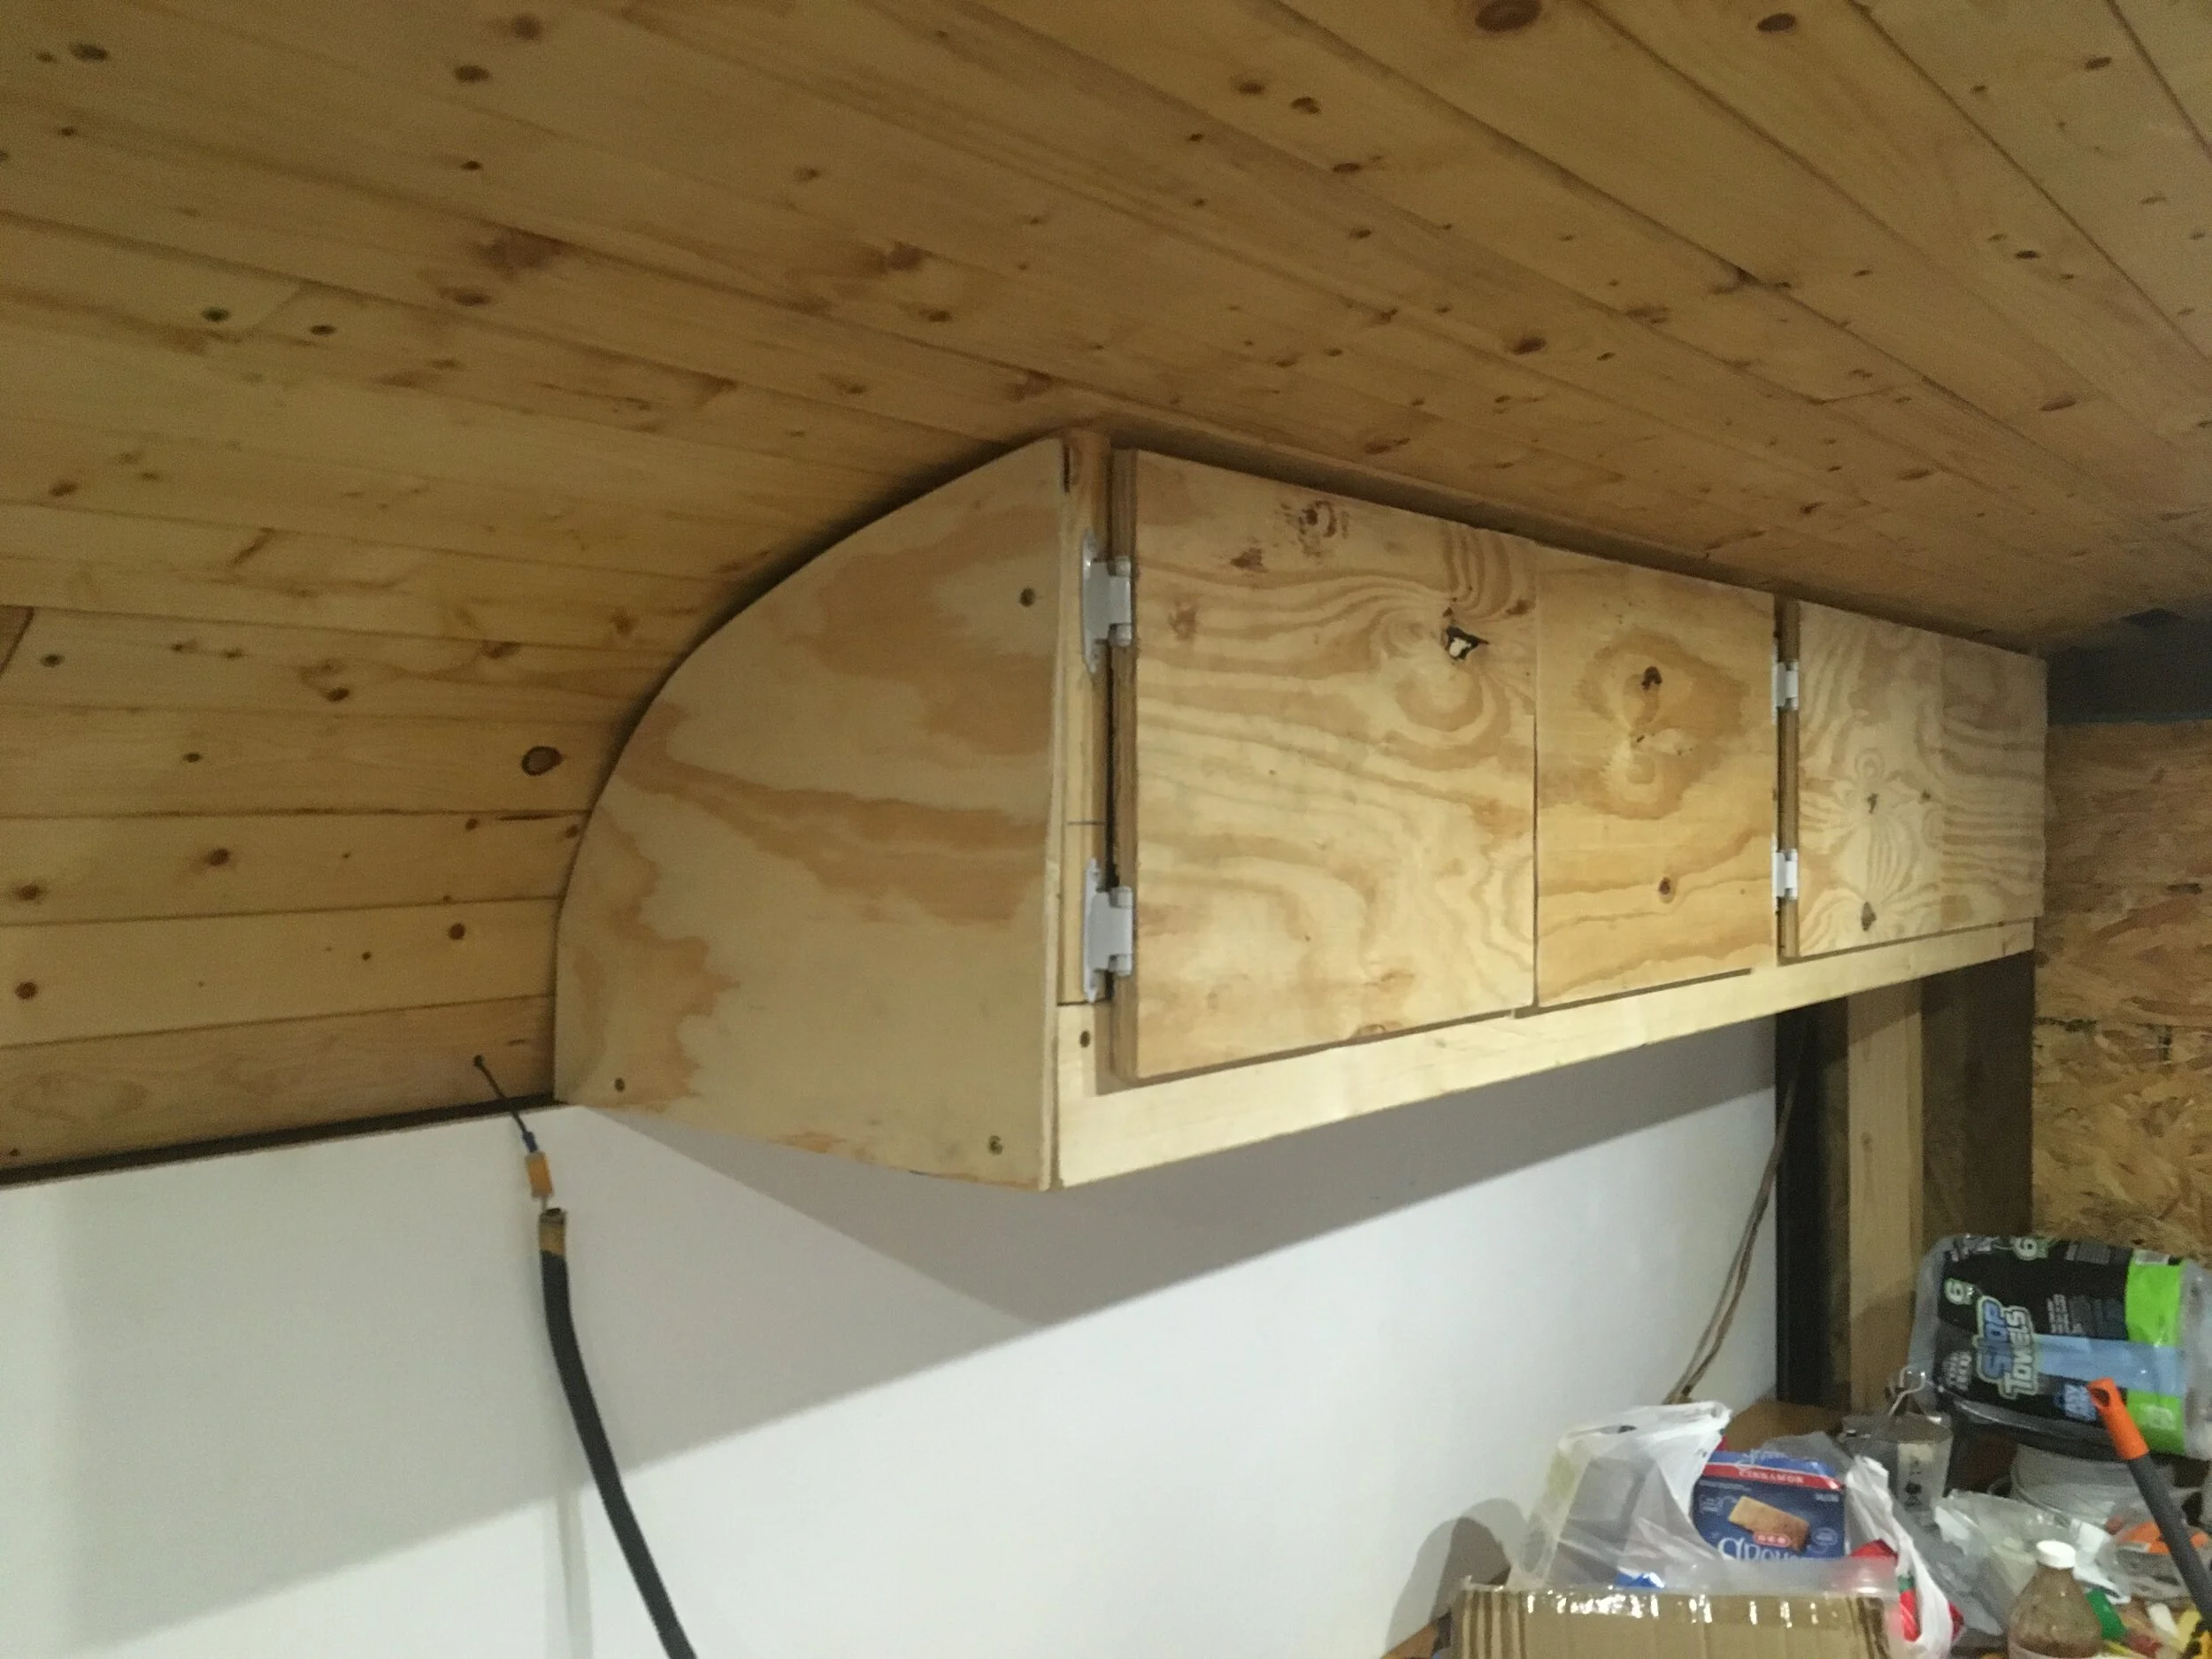
A long time ago, I built these cabinets so I could start keeping tools up there. I’ve finally added doors and the side onto it.
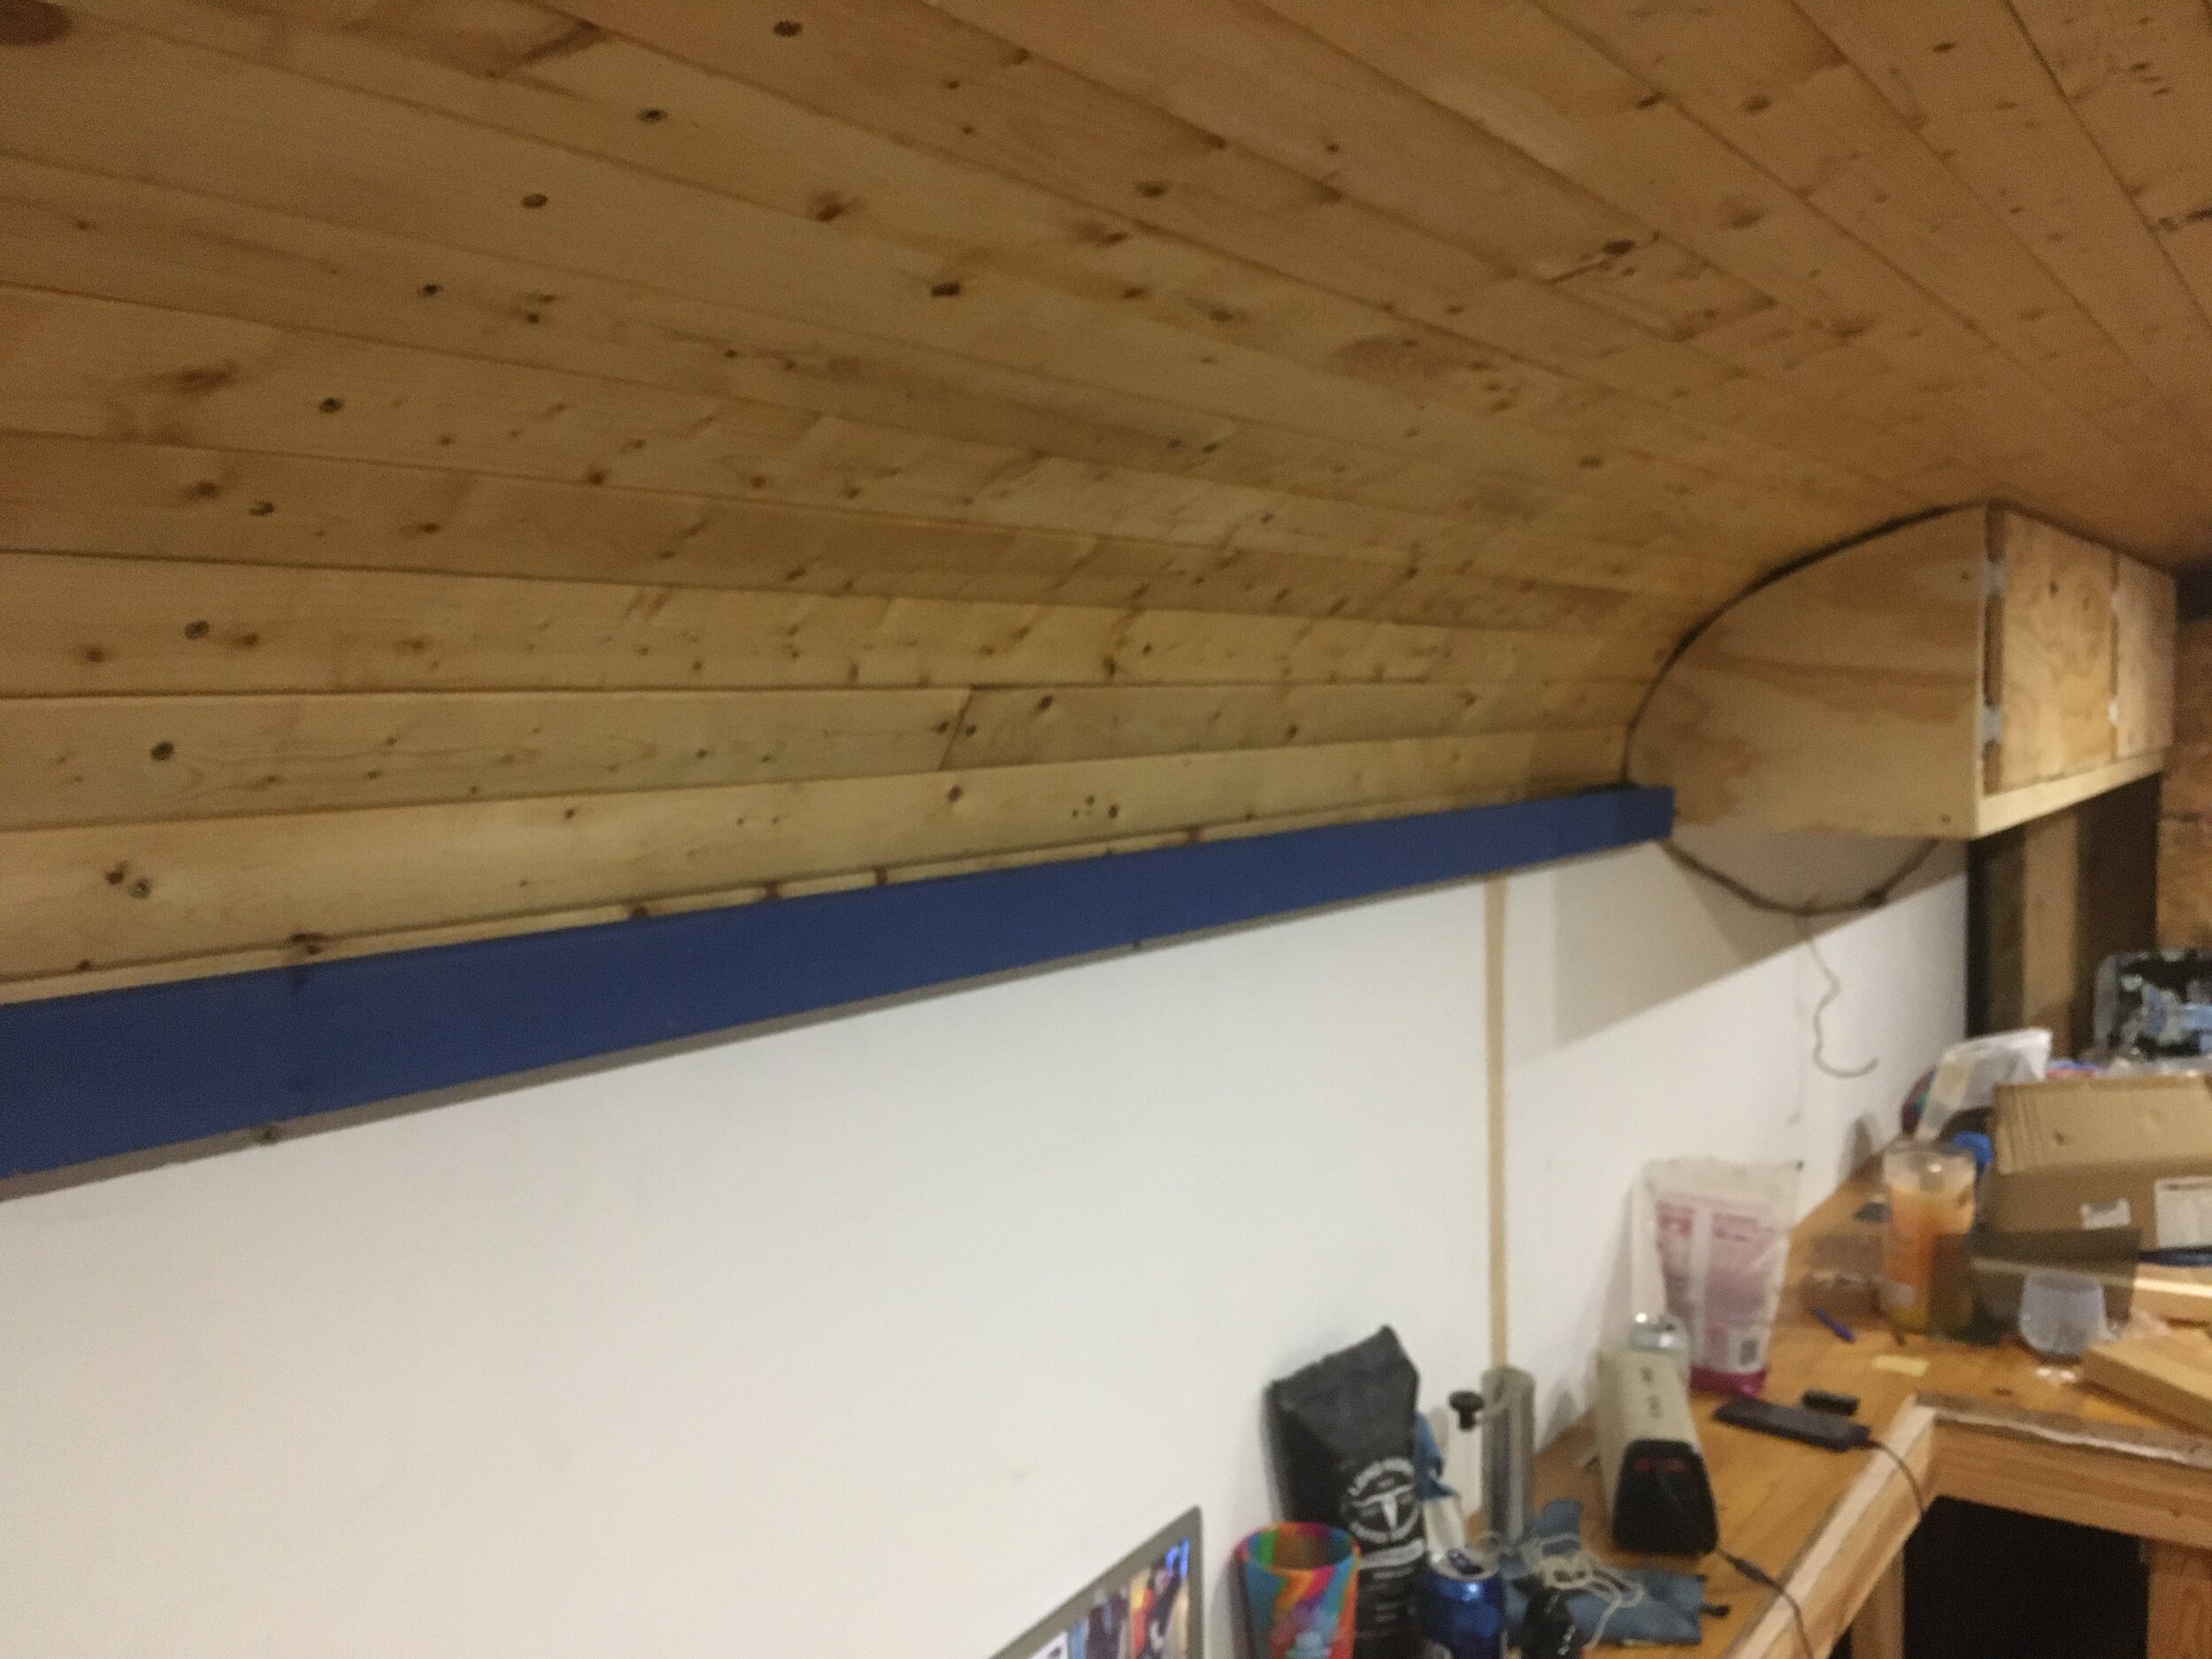
On the rest of the bus, I’ve got shelves for hiding the wiring harness and my home electrics (for easy access). I painted it blue and it serves as an aesthetic break between the white walls and the natural wood ceiling.
Same as in the front, the lip will also have an LED strip light pointed up.
I finally got the roof done. It looks great, and it idn’t rain for about 5 hours, so the paint should have been unaffected.
