Finishing the Ceiling, Starting the Electrics, and Planning for the Entrance Area
Progress on the bus over the past month has gone well, and of course there have been a few things that have slowed things down a little, but overall, I’m really happy with the pace of the work.
Front Ceiling Completion
The ceiling work that I described in the last post has been going really well. I’m done with the front 2/3’s of the bus and I’m really happy with the way that it looks. With 1”x3” boards running the entire length with 1” foamboard insulation, I’m not worried about the insulative capabilities of the ceiling (the walls, now that’s another project that I’m anxious to work through. Next comes the installation of the chimney flue through the ceiling. It is going to be a decent amount of work, but nothing that I can’t handle. I should be receiving the parts for the stove in the mail in a couple days. I’ll publish a post for that, and also make a video for it too!

Lighting and Electrical Installed for the front ceiling area.

The front portion of the ceiling is in place.
Kitchen Cabinet
Upon completion of the ceiling in the front portion of the bus, I was more than relieved to be able to build a shelf to store stuff and get it up and free some space. It wasn’t hard to build, and I used mostly 2x4s and 1x3s on the bottom. It was heavy, but I wanted it to be sturdy (like all things that I’ve built) to withstand the rigors of bus-life. Eventually I’m going to add plywood around the sides and add plywood doors with hinges. My girlfriend and I have since built a countertop underneath the counter area using the leftover wooden pieces from the floor, of which I have approximately 300sq ft.

Supporting the shelf from the bottom proved inadequate, so I added supports from the ceiling. The supports will also be used for attaching the plywood sides.
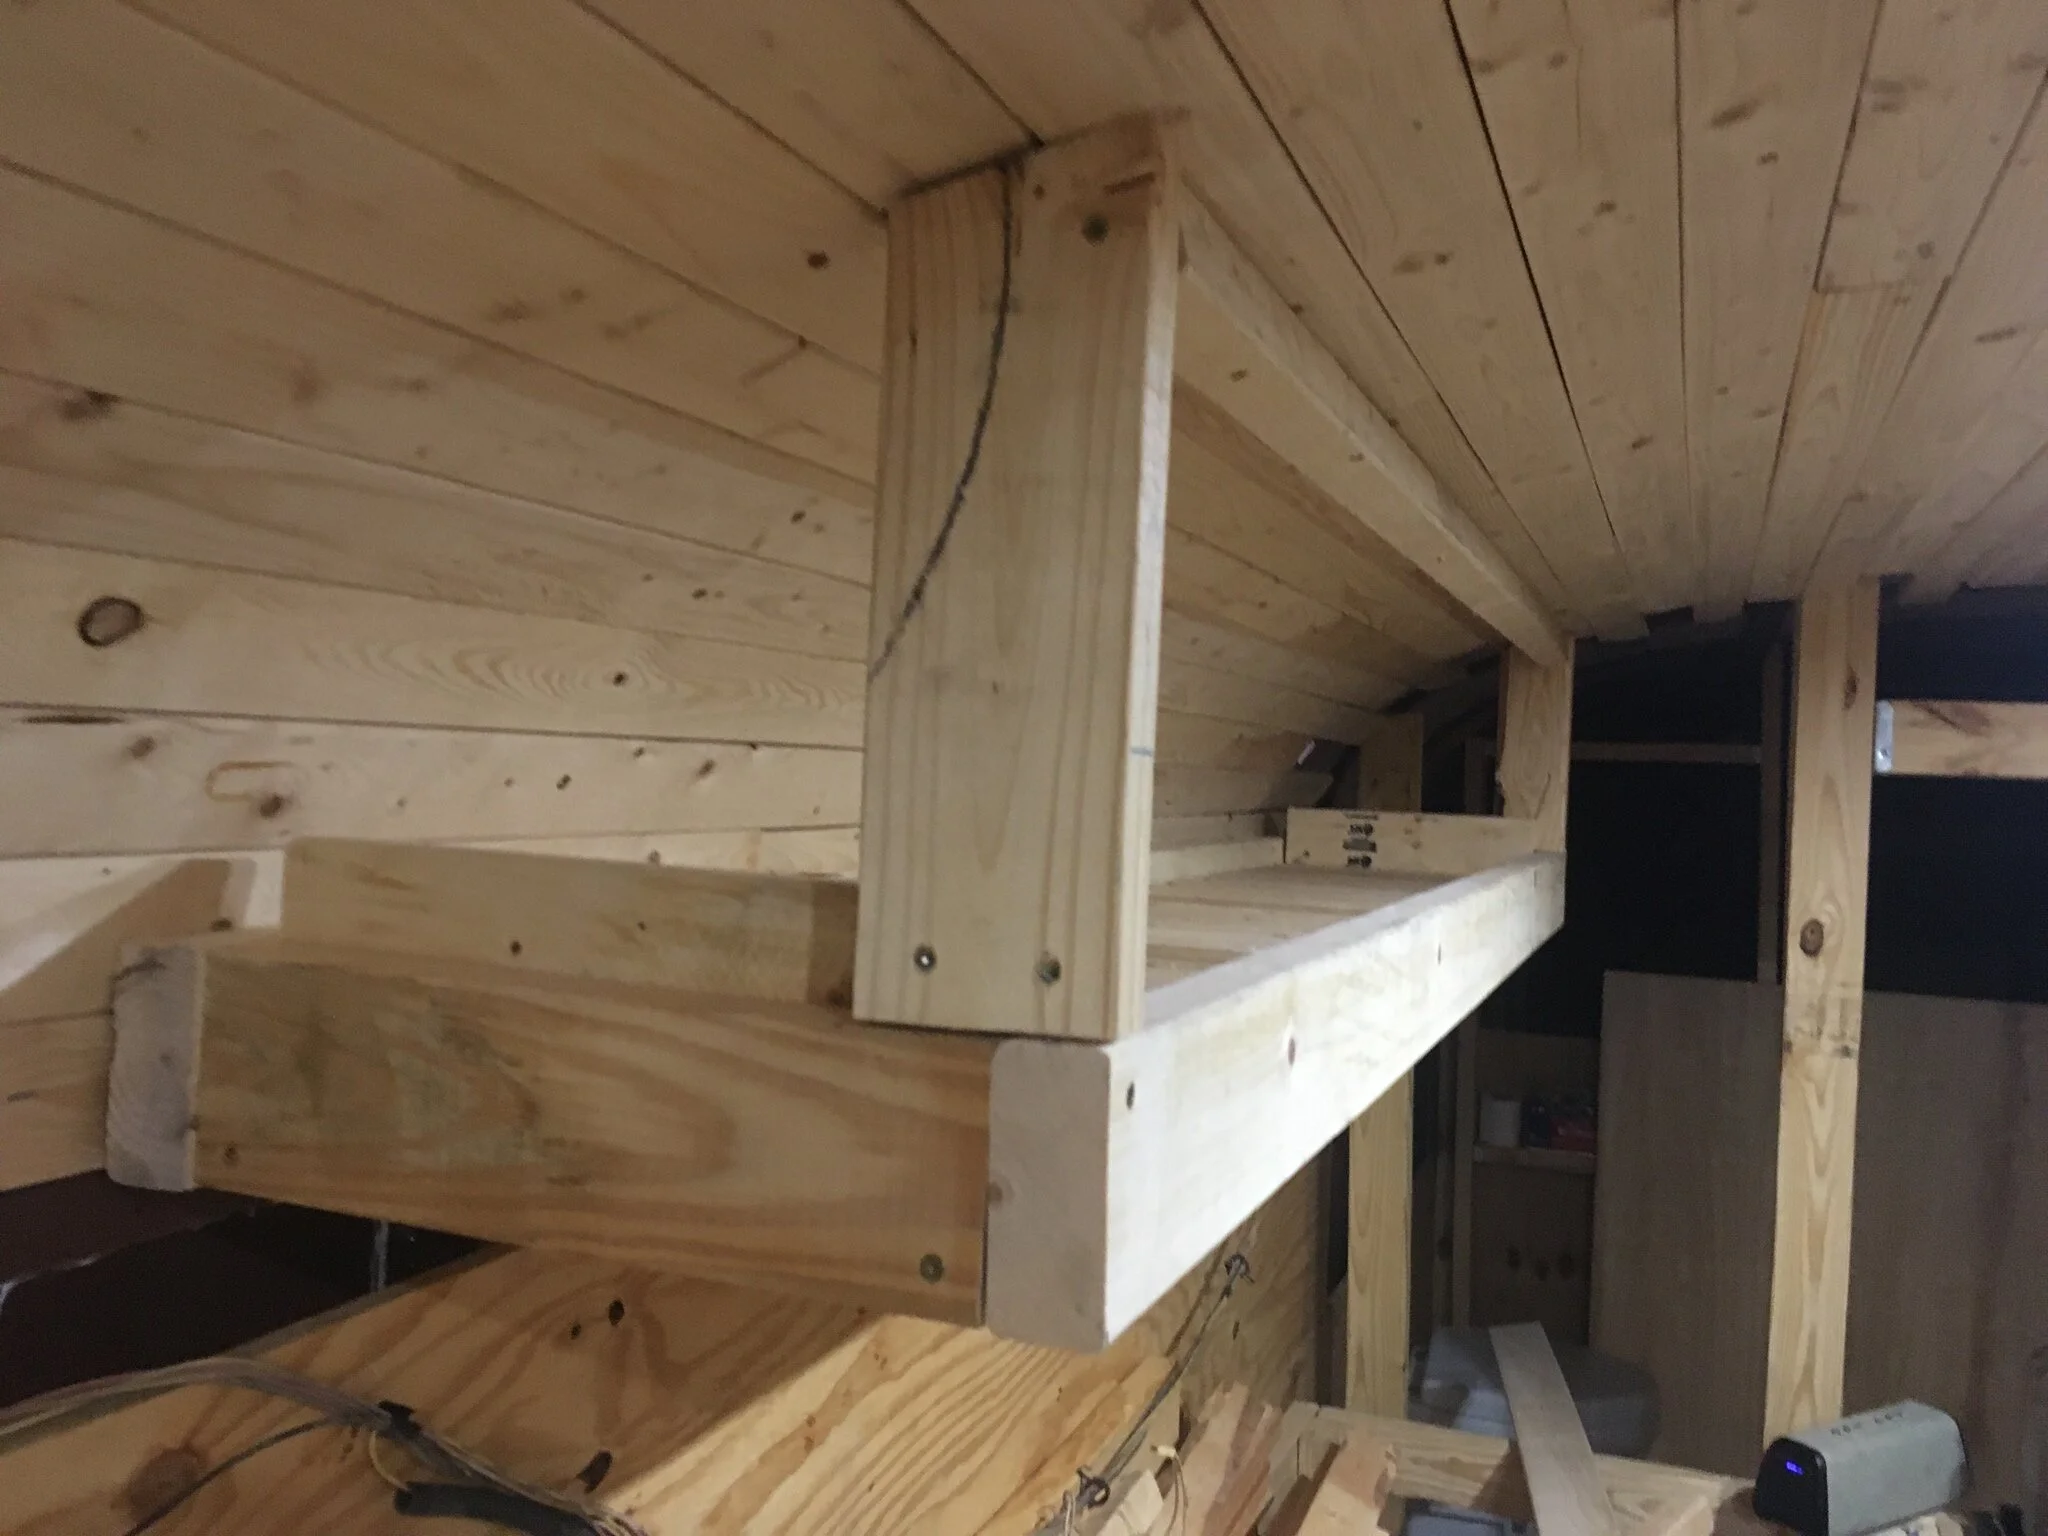
It’s a simple solution. And I’ve already loaded it down with about 100lbs of weight.
Bathroom Planning
The bathroom portion will be the next ceiling area that I work on, but I’m going to put up the walls first because I need to ensure that the ceiling won’t be able to harbor mold/mildew in any way, so that will be a few weeks before I start on that. I haven’t devised a solution yet, but right now, I think a deck sealant will do a great job of protecting the wood and I’ll use some sort of vapor barrier to protect the metal of the bus from the constant moisture that will be expected in a bathroom.
Entrance Area
I also started finishing some of the entrance area, specifically, the doghouse cover. This is an important area of the bus and is difficult to build out because it needs to be removable for access to the engine in the event that maintenance is needed. It is also needs to be functional as the driving area of the bus. Why don’t school busses come with cupholders?!

I’ve since completed the full circle of the front ceiling portion. The roof transition is next. It will be hard.
Lighting the Main Cabin
Providing illumination to the main cabin seemed a daunting task early on, but now feels like it actually isn’t going to be that hard in reality. I watched a bunch of youtube videos on RV electrics and built everything to those specs as a minimum, but I tried to adhere more to marine specs. Boats tend to travel through rougher environments, and though a lot of the things branded “marine” are more expensive, in many cases, there are many reasons why. Additionally, wiring is not a place where I wanted to skimp, and neither was lighting. I do not want to feel like I’m living in a cave.
As a result, all of my wiring is braided (as opposed to solid copper, which can snap in heavy vibration environments) and maximum gauge so as not to lose current in any location in the bus. All of my wiring is also in some sort of hanging harness to prevent breaks.
I purchased slim profile LED recessed lights to place in the ceiling that wouldn’t conflict with my relatively thin ceiling (wood + insulation = 1.5 inches thick). I also plan to run strip lights along the top and bottom of the shelves that I’ll place at the transition from vertical to curved.

Small, but incredibly effective from Amazon at about $5 a pop.

Slim profile LED recessed lighting is definitely the way to go.