Making Your Own Skoolie Walls
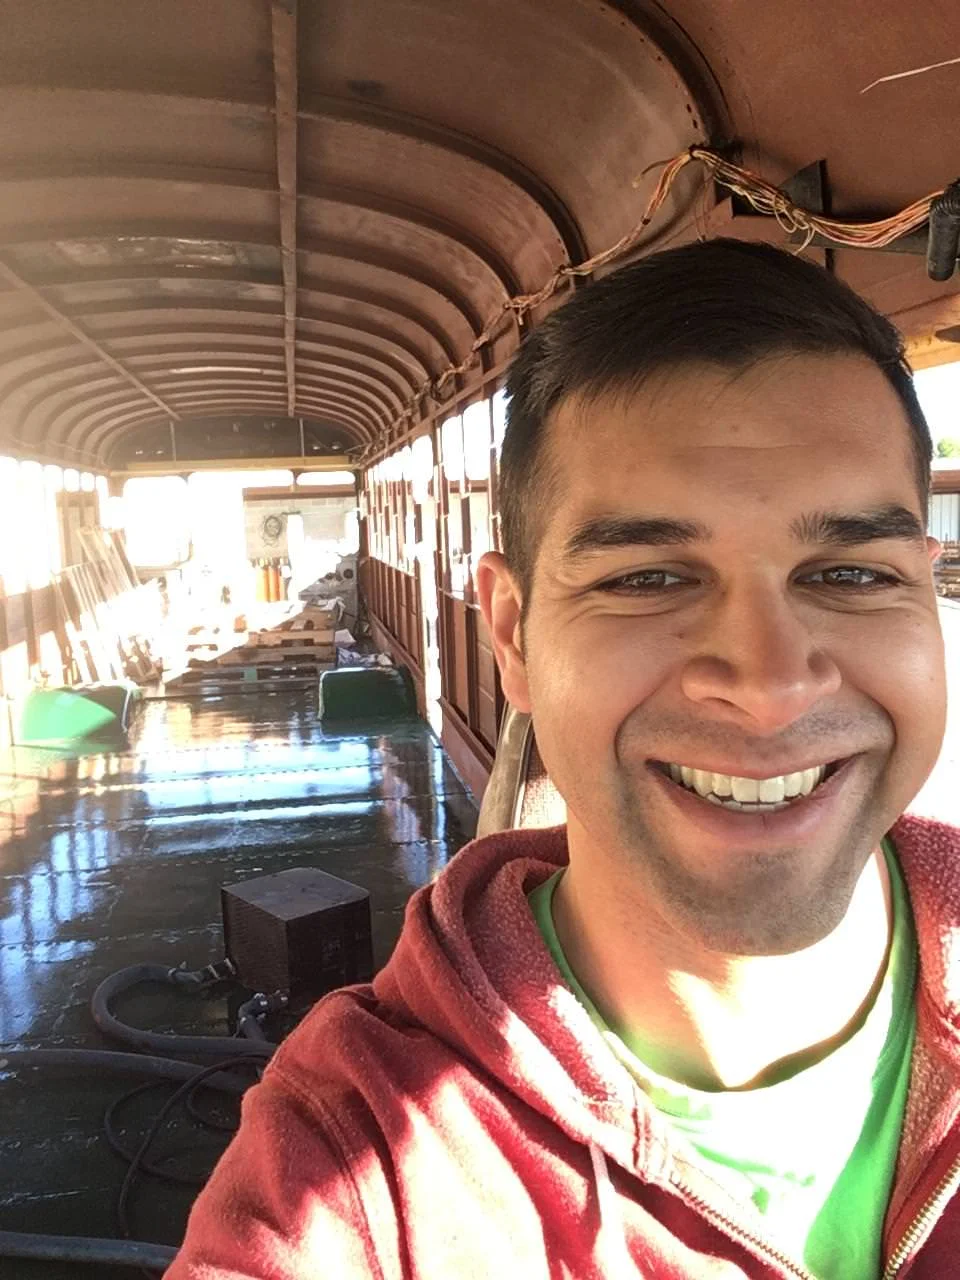
See, no windows or walls!
As you can see in some of my earliest photos, due to the roof raise, The Derelicte Bus was left in a window-less state. To be more specific, it had windows, but there was no glass to separate inside from out, which is less than ideal when it comes to preparing the bus for future work.
Initially, I had planned on forming some sort of metal brackets that would allow for Lexan to slide in and be caulked in place. This was a cheap option, but one that would be prone to seam failure and the lexan would also be likely to break as well. The expensive, but permanent solution would be to match the original bus construction as closely as possible. This would be no small feat, as some of the materials can be hard to work with.
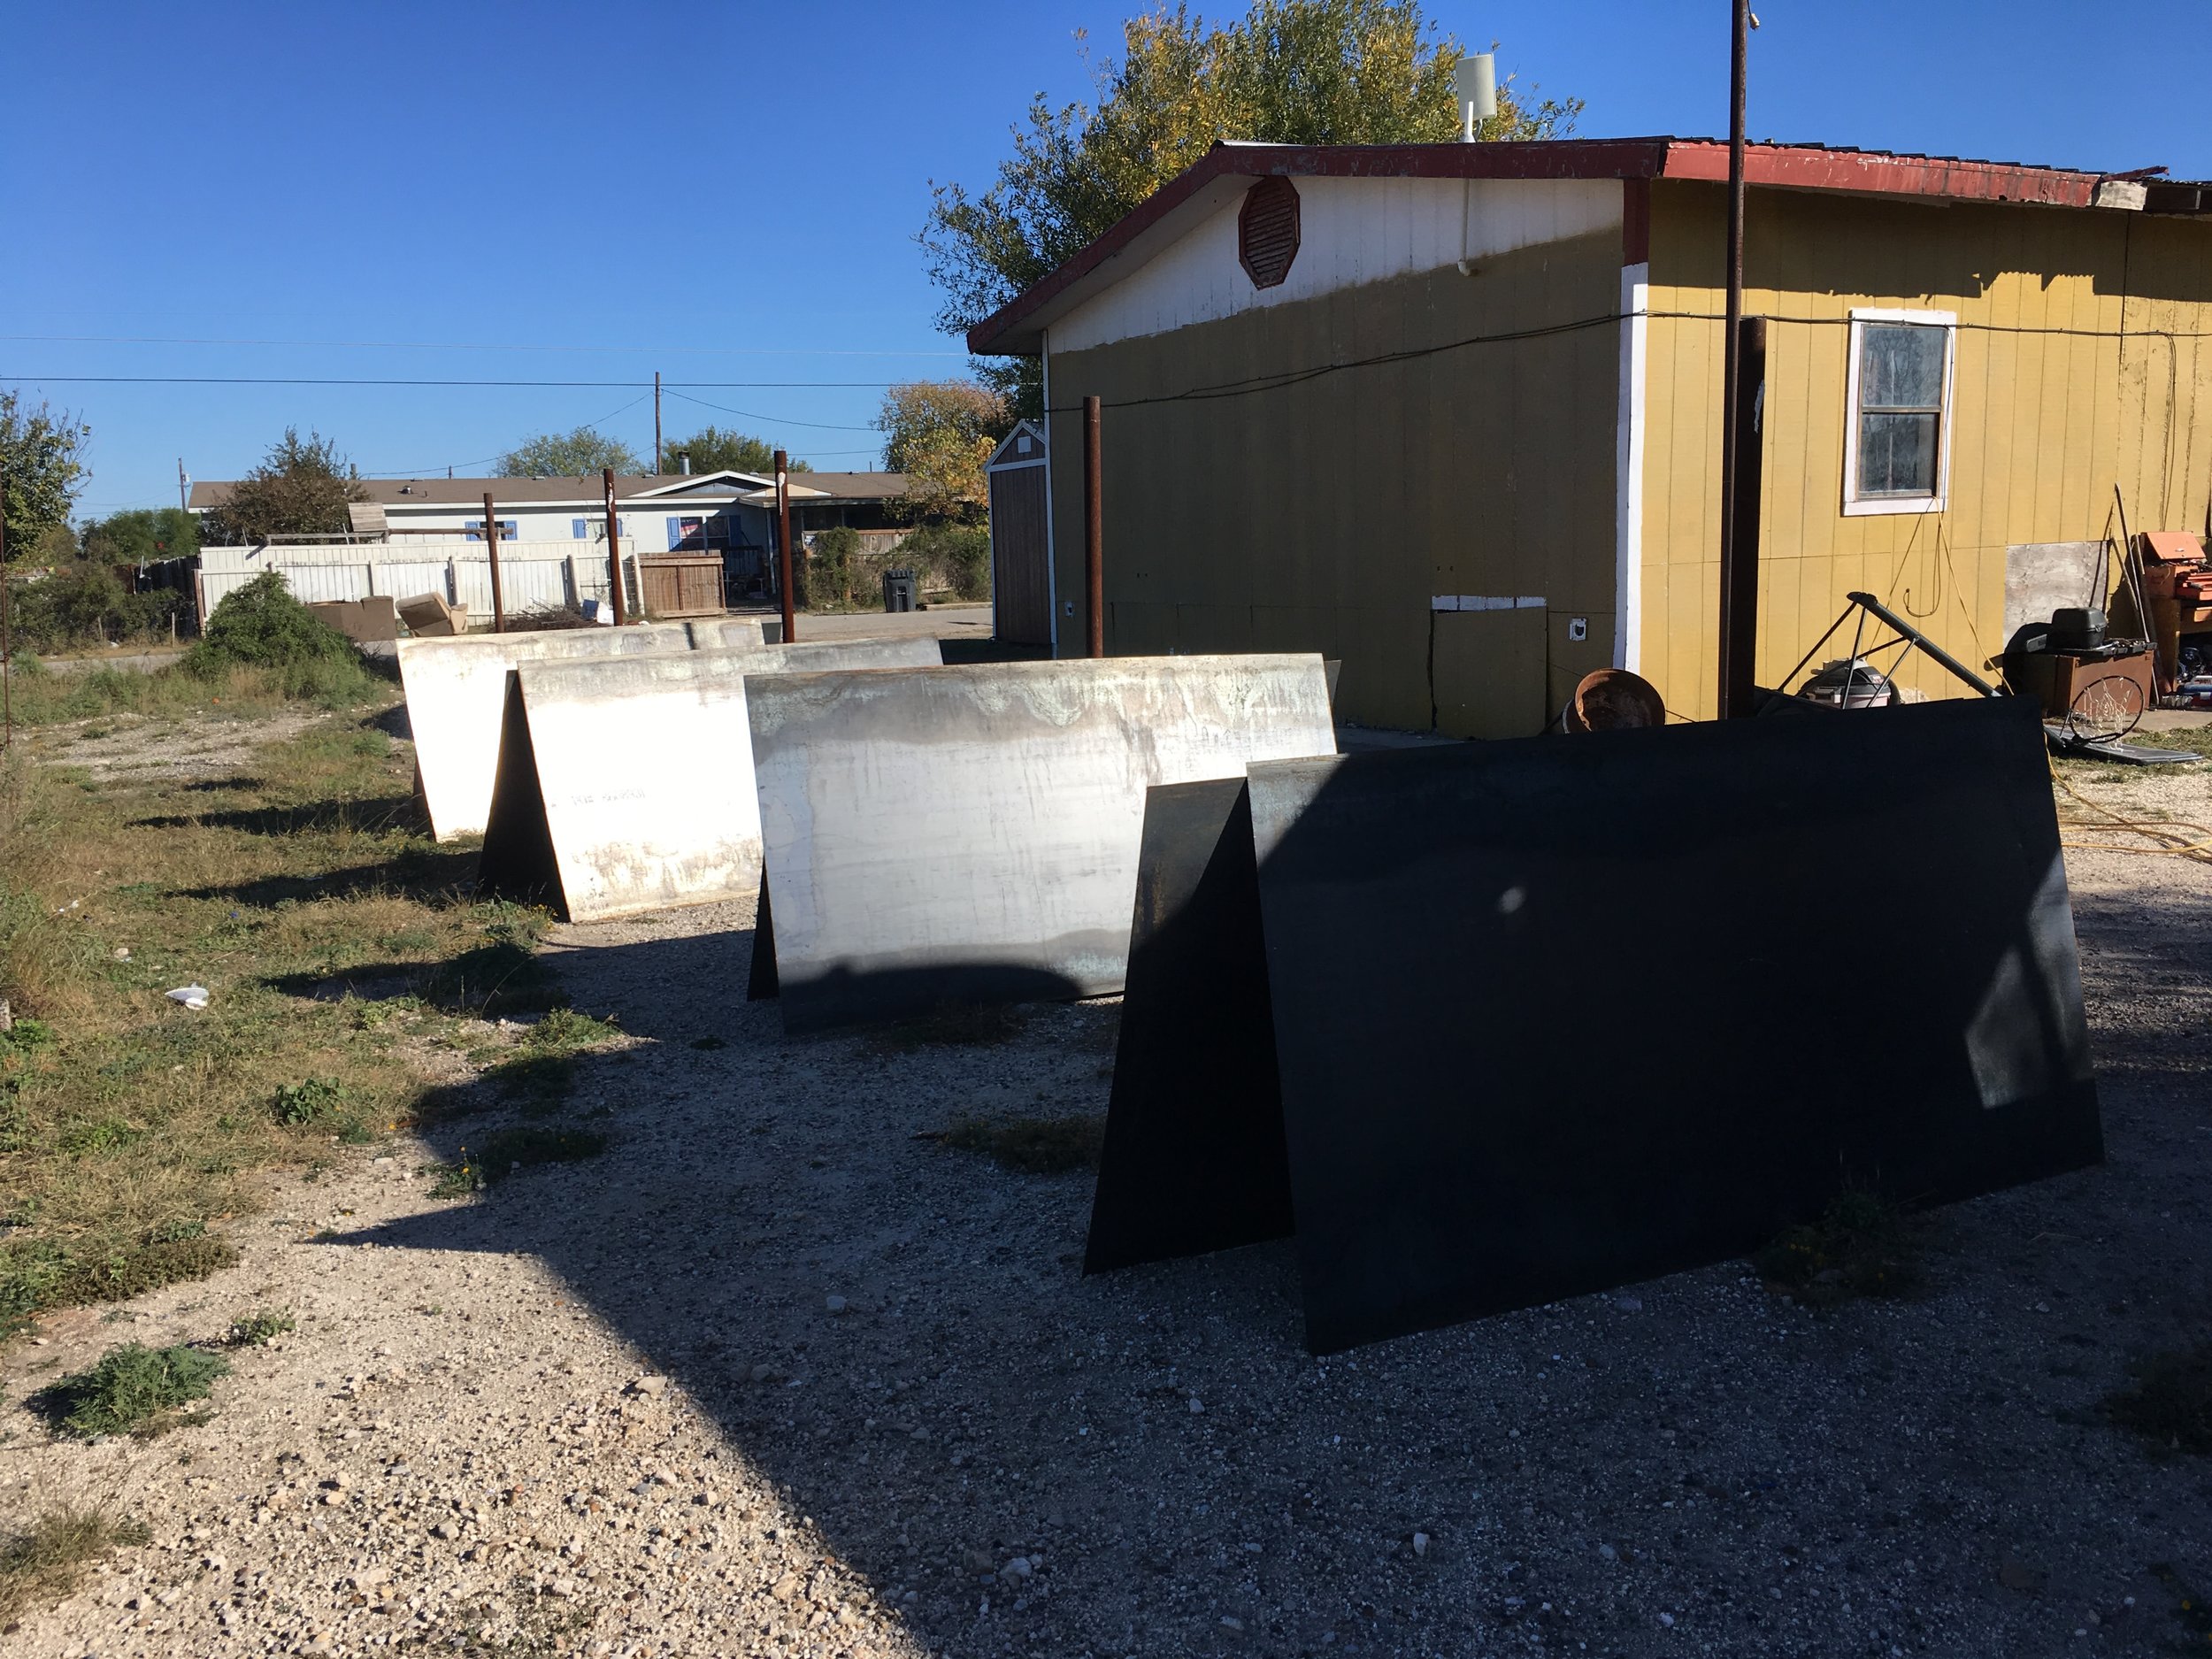
Early Saturday morning with cold rolled USA 12ga steel in the back
School buses as a standard use 12ga steel (most cars use 16ga steel). Also in conjunction with bus manufacturers, I used steel double-blind pop rivets to avoid corrosion due to dissimilar metals. My local welding supplier was very resourceful and was able to provide the steel sheets at a reasonable price. I bought 10 and ended up transporting them using the bus to my work area. Cold rolled steel comes standard in 4’ x 8’ sheets and required some preparation before I would be willing to add it onto the bus. In a similar treatment to the bus floor, I washed the steel with Trisodium Phosphate to clean off any machining oils and then applied two coats of Rustoleum Rust Reformer.
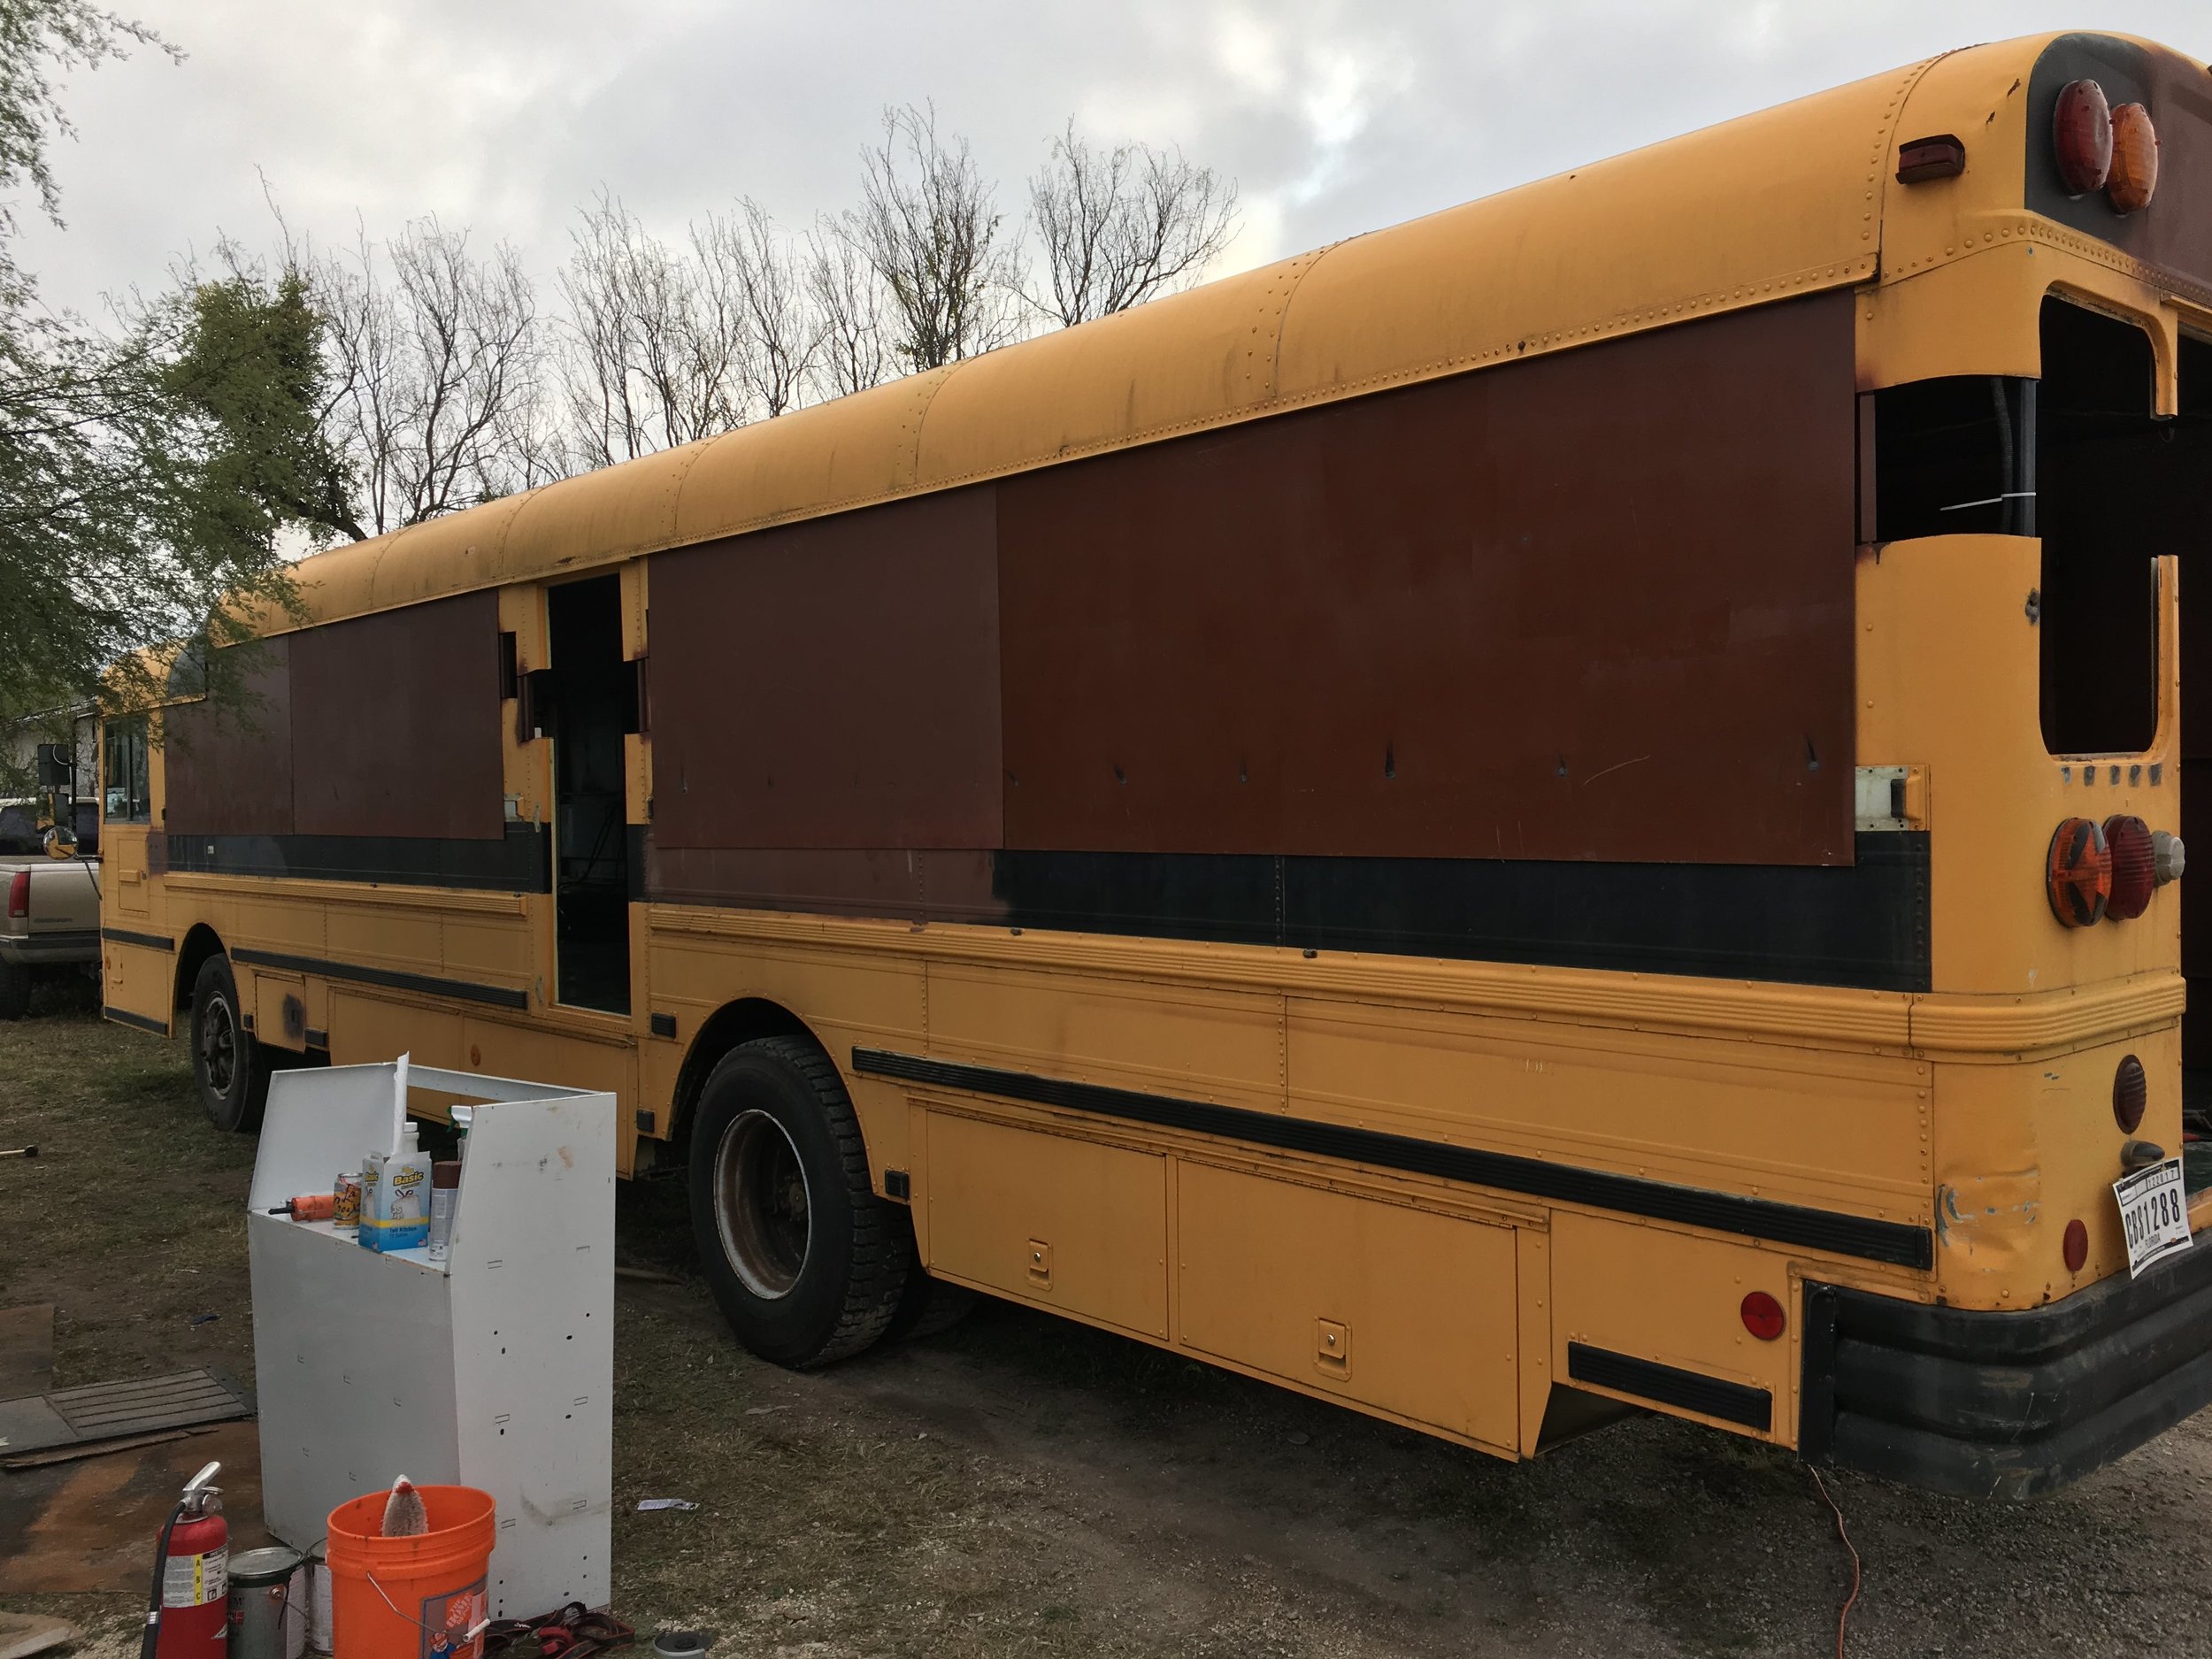
My local welding supply company also had a list of local welders who did freelance work at reasonable prices. I found one who was willing to be creative and assist me with some of my potential issues. He came by to look at the bus and agreed to help me with the walls… and my eventual roof rack. (More on that in the next blog post). the next Saturday morning, I brought my roommate out to the bus and the two of us lifted the unwieldy pieces of steel into place under the rain rail for my welder to tack weld into place. The rain rail is a critical fold of metal that acts as a gutter of sort on the bus. It provides a channel for water to flow while driving and also prevents it from reaching the window seals. By jamming them under the rain rail, the rail retained it’s functionality and also acted as wedge to keep the metal tightly in place.
This is the product of 60 minutes of work.
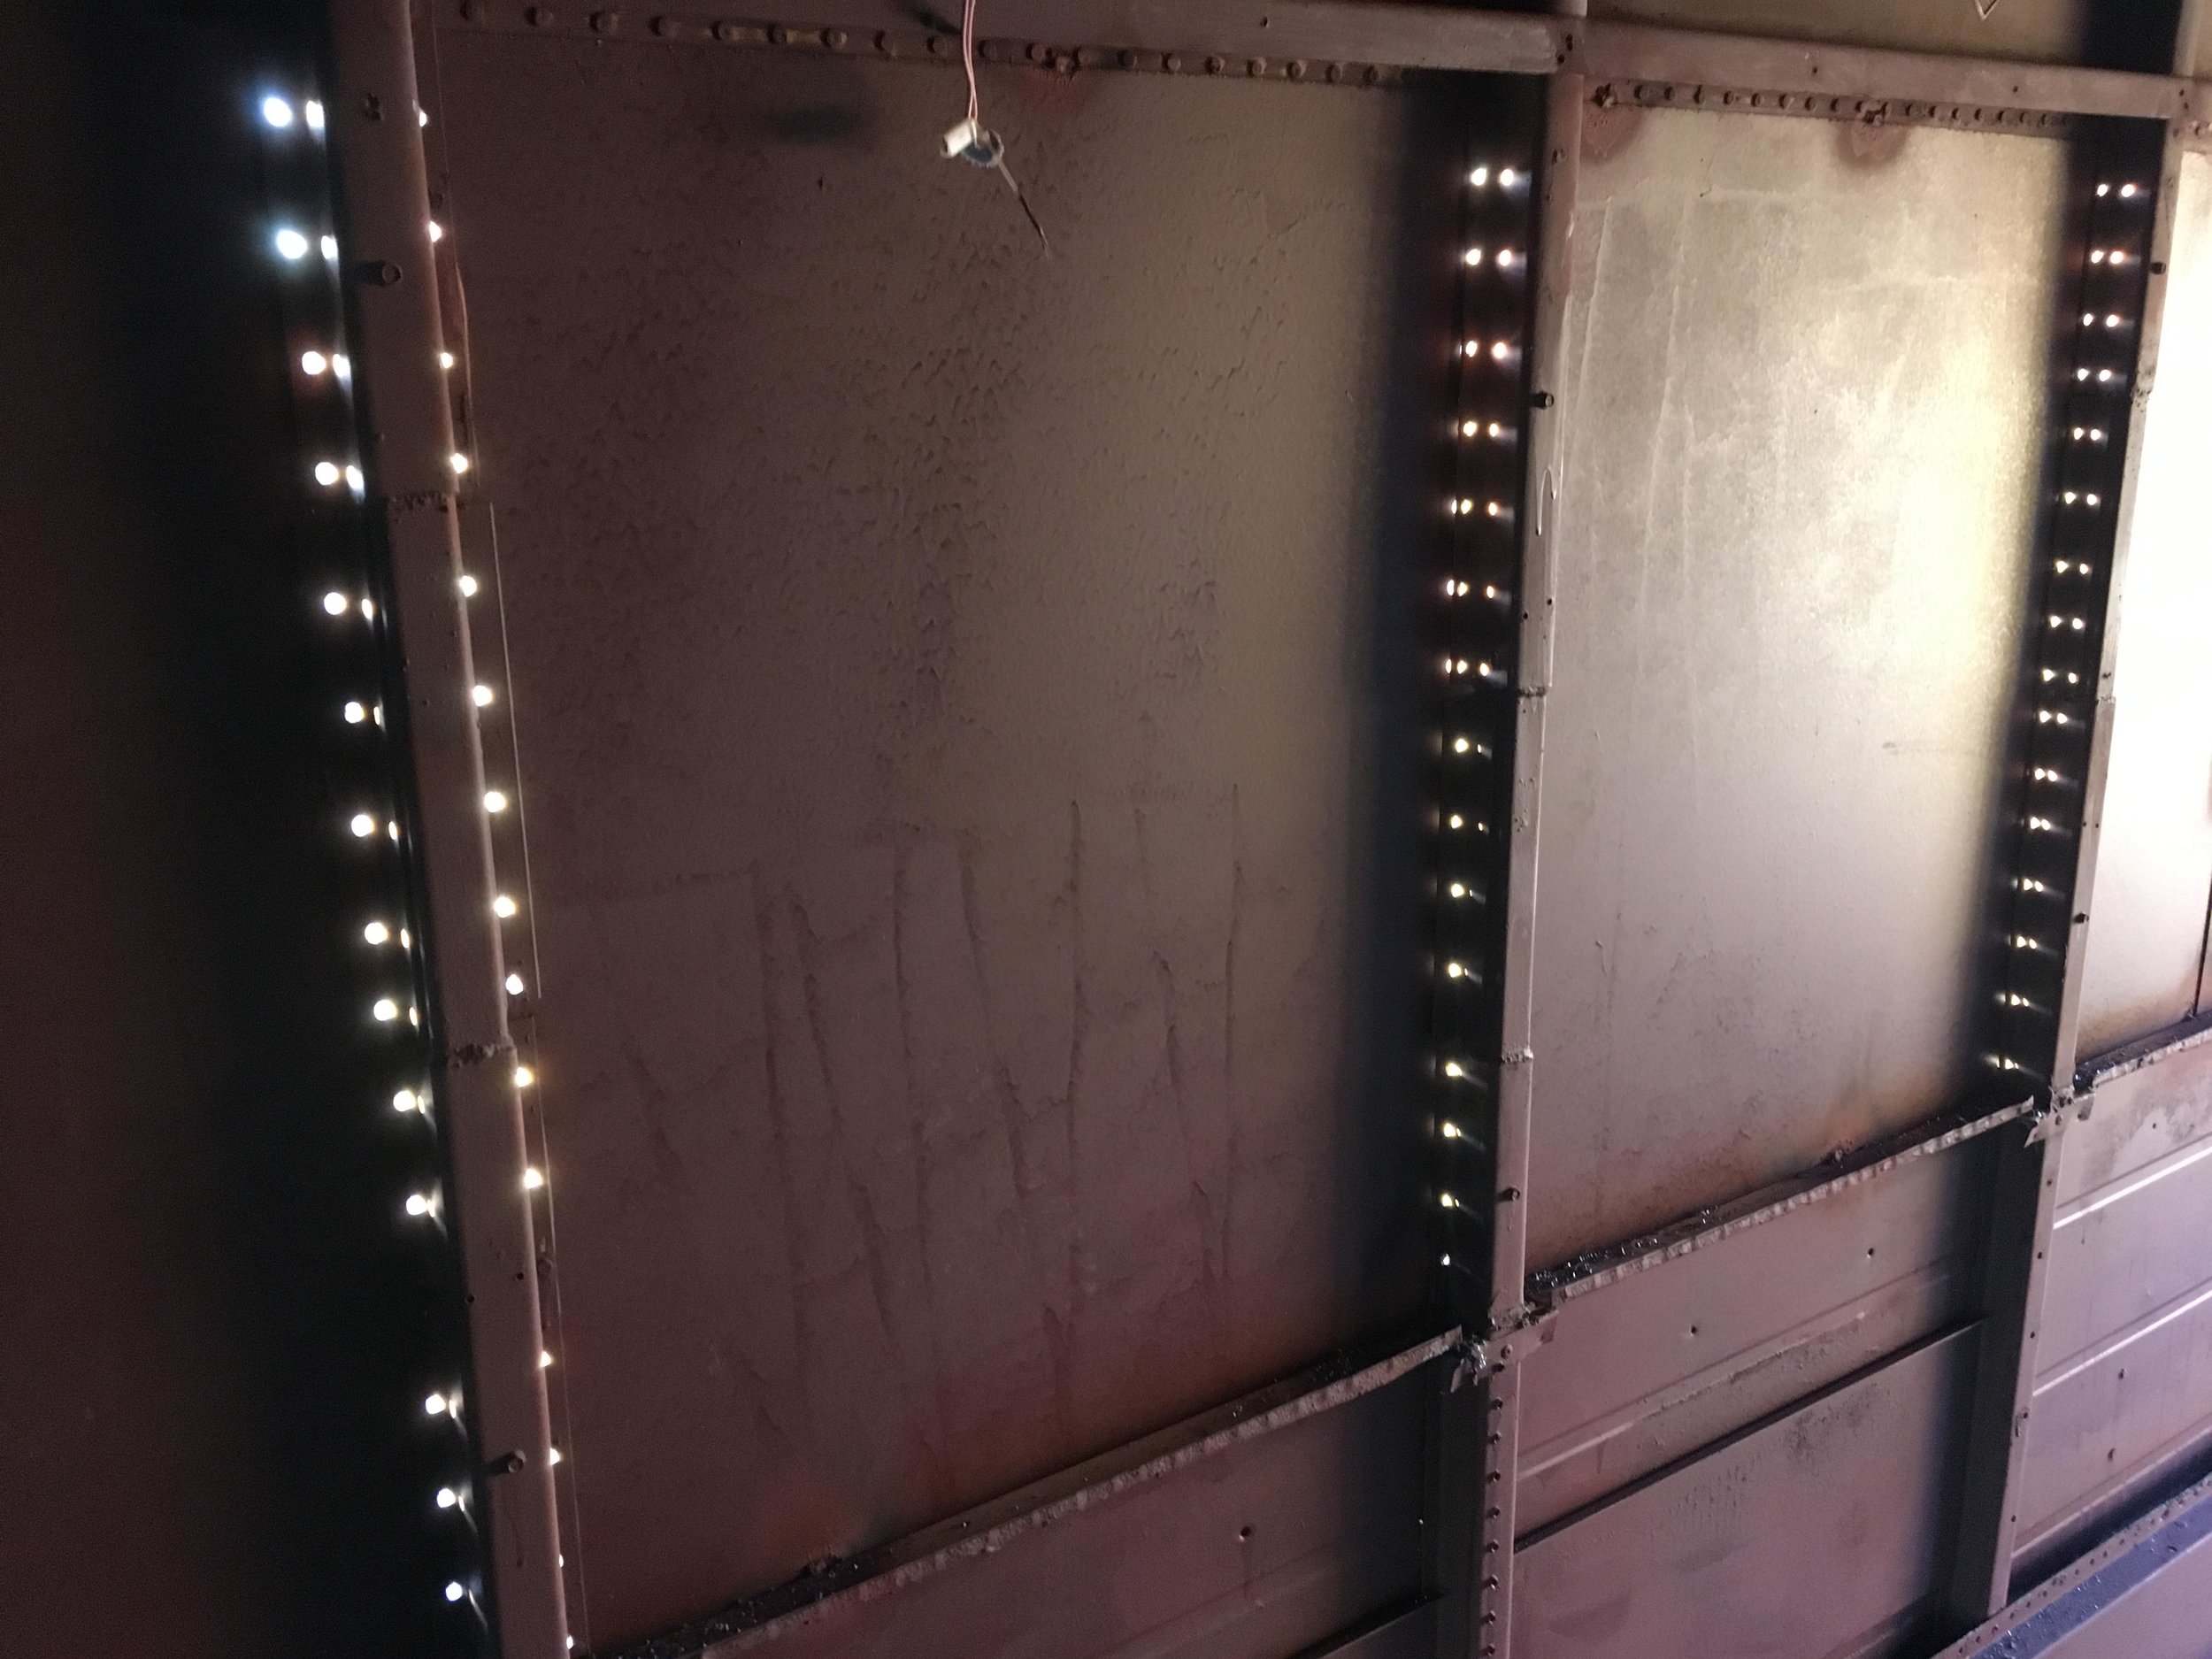
The bus finally felt much more like a blank canvas at this point. It had walls and wheel wells and was overall featureless, but tack welding steel sheets into place is only a temporary solution. Bus manufacturers don’t weld their walls into place. They rivet them into place. Rivets have incredible shearing strength, yet are removable to some extent. This gives the bus construction strength and a degree of flexibility, and with steel rivets, corrosion due to dissimilar metal contact is impossible. I used the posts that the windows were originally screwed into as my riveting posts. It took 45-60 minutes to drill all of the holes into both sides of this “hat channel” (so called, because in profile view, it looks like a hat). This was mindless and exhausting and required the entirety of my weight to puncture through both the hat channel and the new steel walls.
When I was finally done, I riveted my walls into place using a rivet gun and clecos to make sure that the metal was pulled tight. There was not a moment when I had considered using a hand riveter… for nearly 1000 rivets. Pneumatic was my intention from day one, even if only for 10 rivets, it is worth it. At this point, I was very comfortable caulking all of the walls into place to prevent water leakage. More importantly, I was comfortable driving the bus down the road at 65mph, because I knew there wasn’t a chance that the walls would ever fall off.

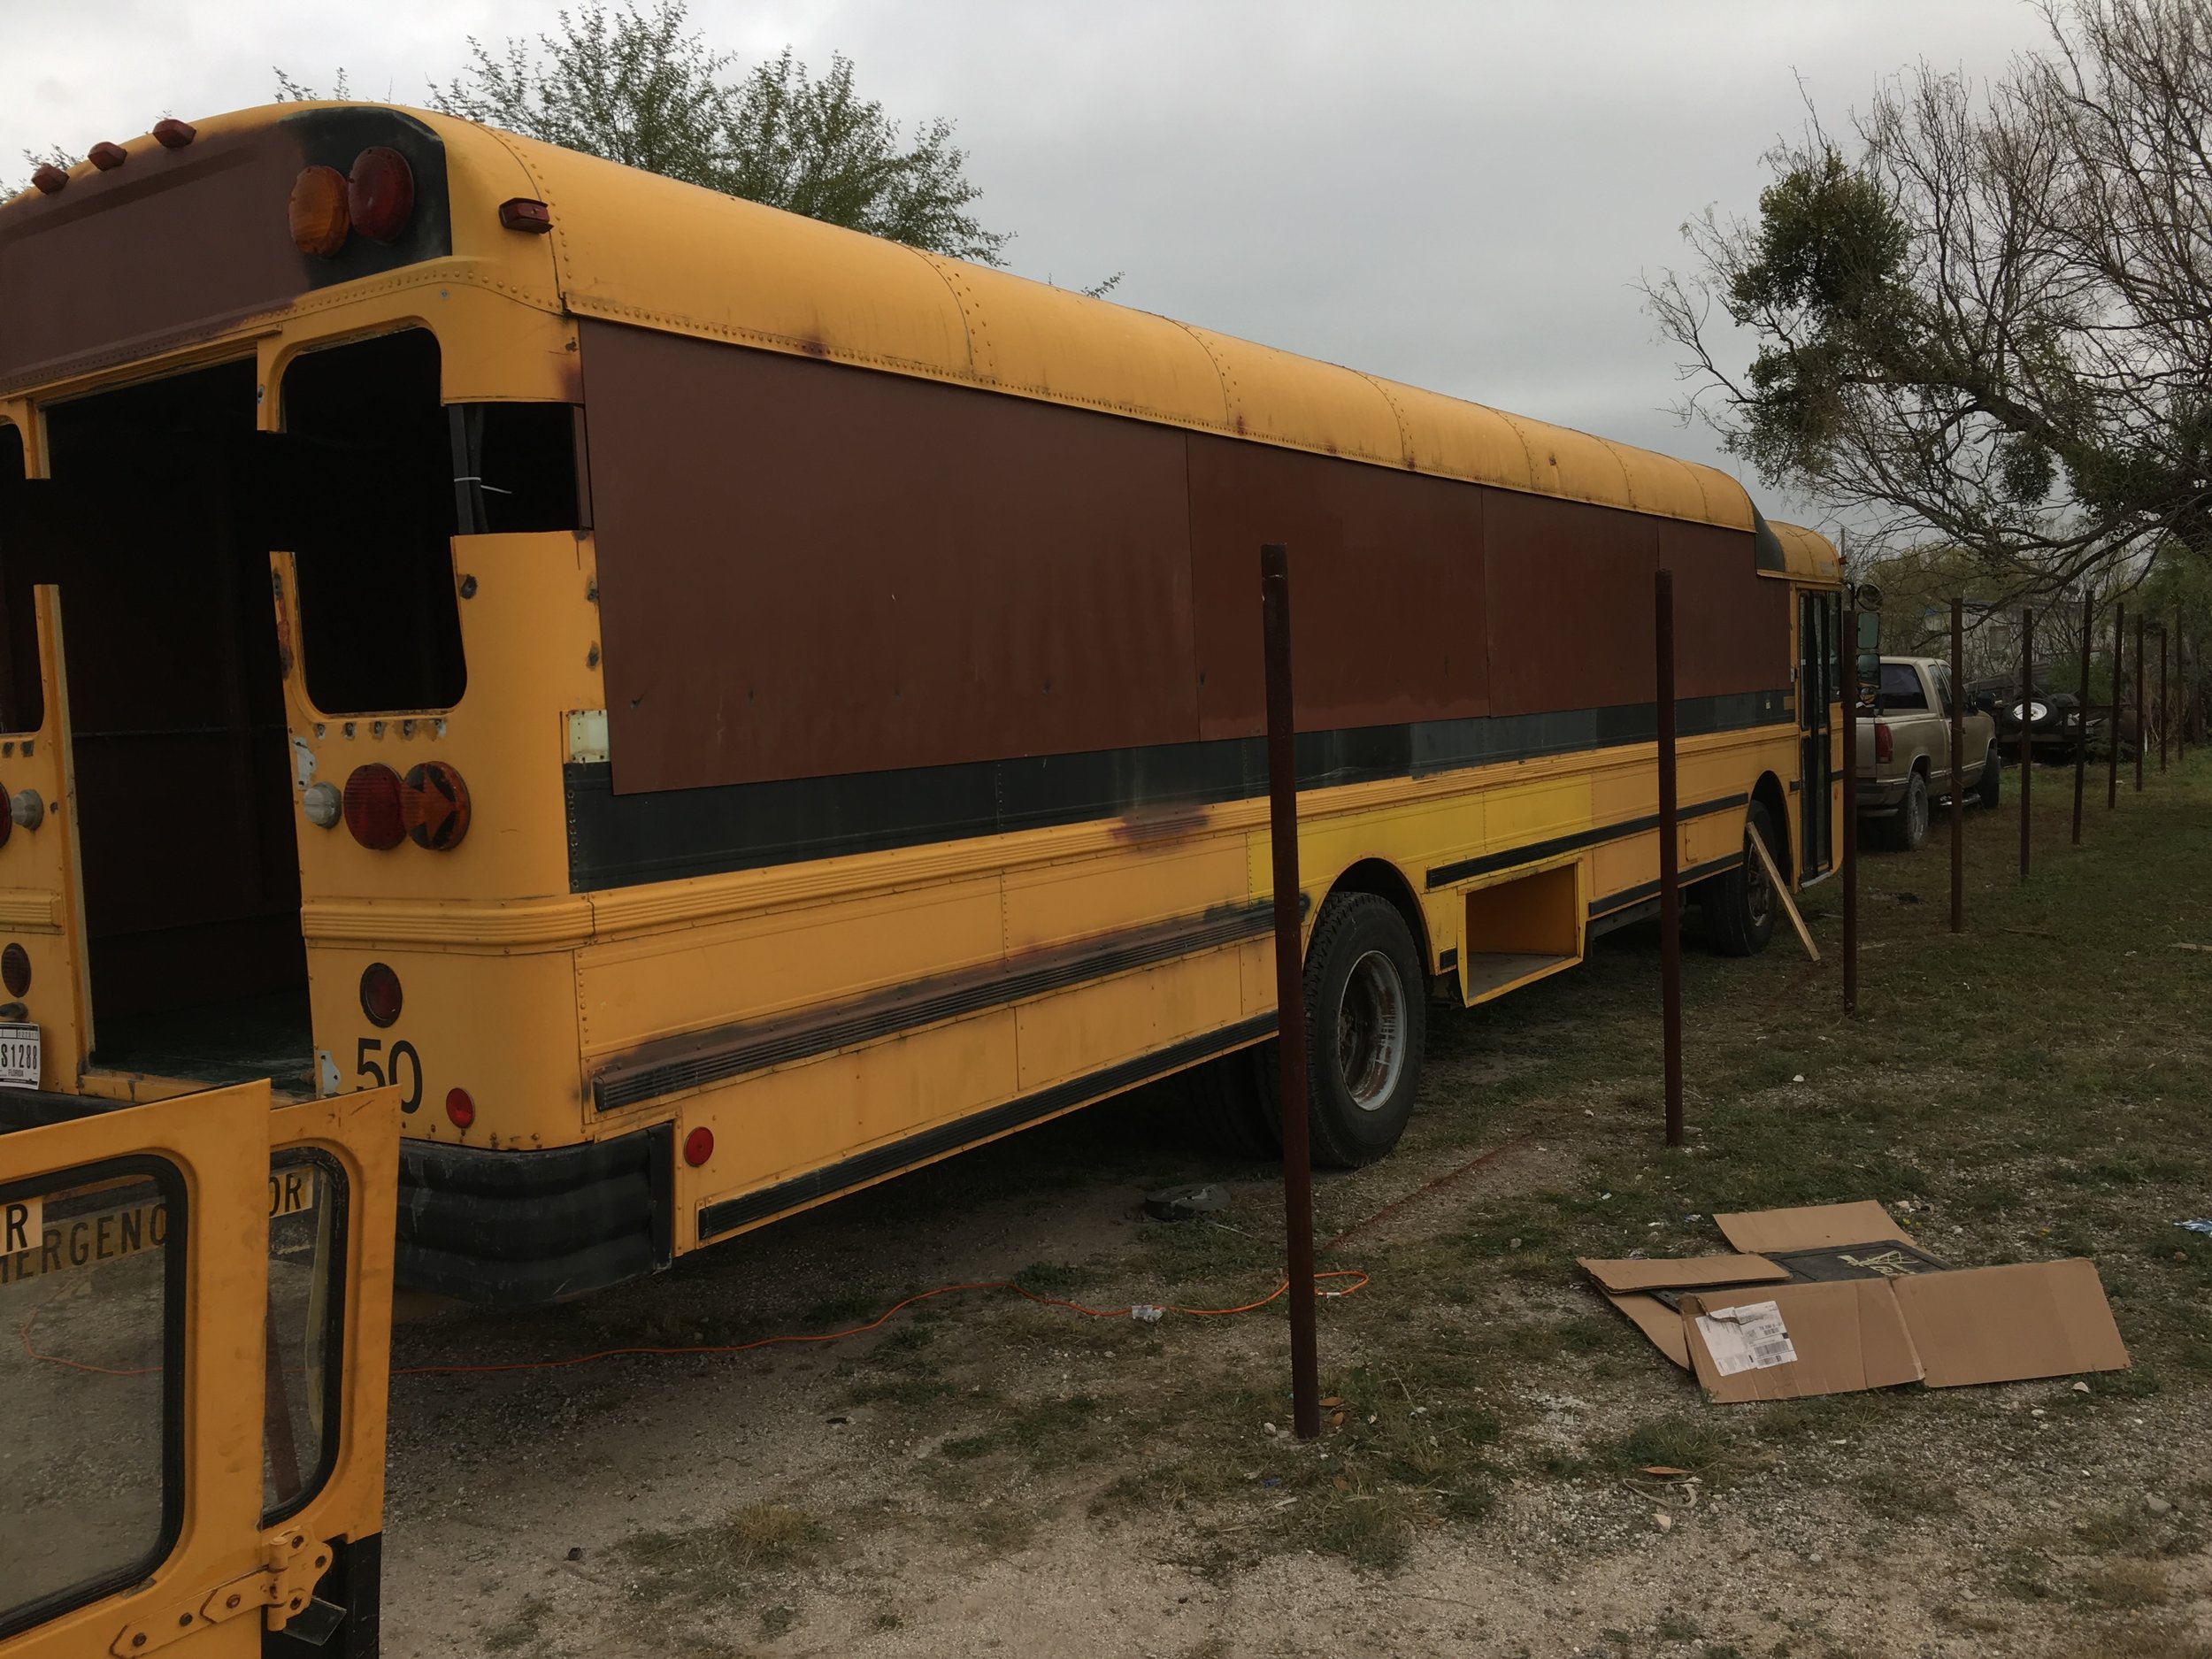
Sure, I could have done less riveting. I could have used steel that was thinner. I could have gone with my original plexiglass idea. But in the end, this is my house. This vehicle will carry my entire world, not to mention my own life and those of others. It would be irresponsible to others and myself to do anything less than original manufacturers specs during original construction. The confidence that I have driving down the road soars at the knowledge of a job properly done.
I’ll be covering windows in a future post, but in my next post I’ll be covering the roof rack. Let me know if you have any questions and check out the video below!

