Back from my Deployment: A Race to Winter

The sun sets in Del Rio. It’s good to be back.
It feels amazing to have returned from my deployment. Two months of training followed by a six month trip to the United Arab Emirates really got me itching to finish the bus. I can’t believe that it is finally over and I’m so happy to be settling back in with friends and family.
The bus actually handled the 8+ months very well with only a few small leaks from the rear windows, which were essentially just sheets of plastic over metal holes. Some of my flooring needs to come up, but I’m not worried about that as I have a TON of leftover gym flooring. Other than that, there really wasn’t much that needed work. My plan is to get to the floor next month after I finish the structure for the forward section of the bus.
So I’ve started a few projects over the past couple of weeks back. I’ll describe them and post some pictures as well.
Fan-Tastic Installation
I installed my Fan-Tastic last week, and I couldn’t be happier about it. It’s one of those things that you think you can live without… until you have it. Fan-Tastic has been making ultra-high-efficiency fans for RVs for a long time and their product really changes the living conditions inside the bus. I purchased a model that has a reverse capability, which is new for the lower-end model, but also really nice for when it’s cooler outside than inside. The Fan-Tastic can circulate approximately 980 cubic feet of air per minute. That means that the bus’ air will be fully swapped out every 2.5 minutes. After testing, at noon on a 100º day, the internal temperature of the bus was a balmy 85º which is a huge difference considering I don’t have an air conditioner currently.
First I removed the sheet of metal that I had in place that covered the emergency escape hatch. I didn’t want to cut it in place on the roof, but I did want to make sure that everything lined up correctly, so I measured the fan in situ and then removed everything. Using an angle grinder with a thin metal cut-off wheel, I cut the 14”x14” hole and made slight adjustments to make sure that it slid in flawlessly. I reattached the sheet of steel to the roof of the bus using butyl tape, caulk, and metal screws and added the Fan-Tastic. The fan needed to be screwed in as well, so I used plenty of caulk to line the entire edge of the fan as it attaches to the steel. Once that was in place, I tested it using a 120V AC to 12V DC converter and a very rudimentary (but safe) wiring setup. At this point, I can’t finish the next step of finalizing the installation until I’ve got the ceiling installed… which by the way is next!

The ceiling with my sheet of steel removed. This used to be the emergency exit on the bus.

14”x14” hole cut into the ceiling. Soon to be screwed down. Butyl tape already in place below.

Jerry-rigged wiring, but the fan works!!!
Ceiling
One of the biggest drawbacks to Texas is the heat. Insulating the bus in a partially-completed state is hard, so I’ve had to accept some limitations in my living conditions. I’m not unhappy about it though. I’m very content with the sacrifices that I’ve made and the sweat nights that I’ve had to suffer. I just imagine I’m on a permanent camping trip. Anyway, insulation for the ceiling was 98% fully installed before I left on my deployment. The next step toward assuring that the bus is insulated is installing the ceiling. I had decided that I would install the ceiling using horizontally mounted crossbars, which will hopefully make sense in this picture.
Using 1”x3” pine boards, I started to screw the ceiling in. This design allows the ceiling to flow with the rounded ceiling of the bus, while being fully removable and easy to place wiring above. I’ll eventually stain the ceiling, but I’m going to wait until it is nearly done to complete that. The rear of the bus will also have the same ceiling, but the bathroom will most likely not, due to the inevitable humidity from the shower.
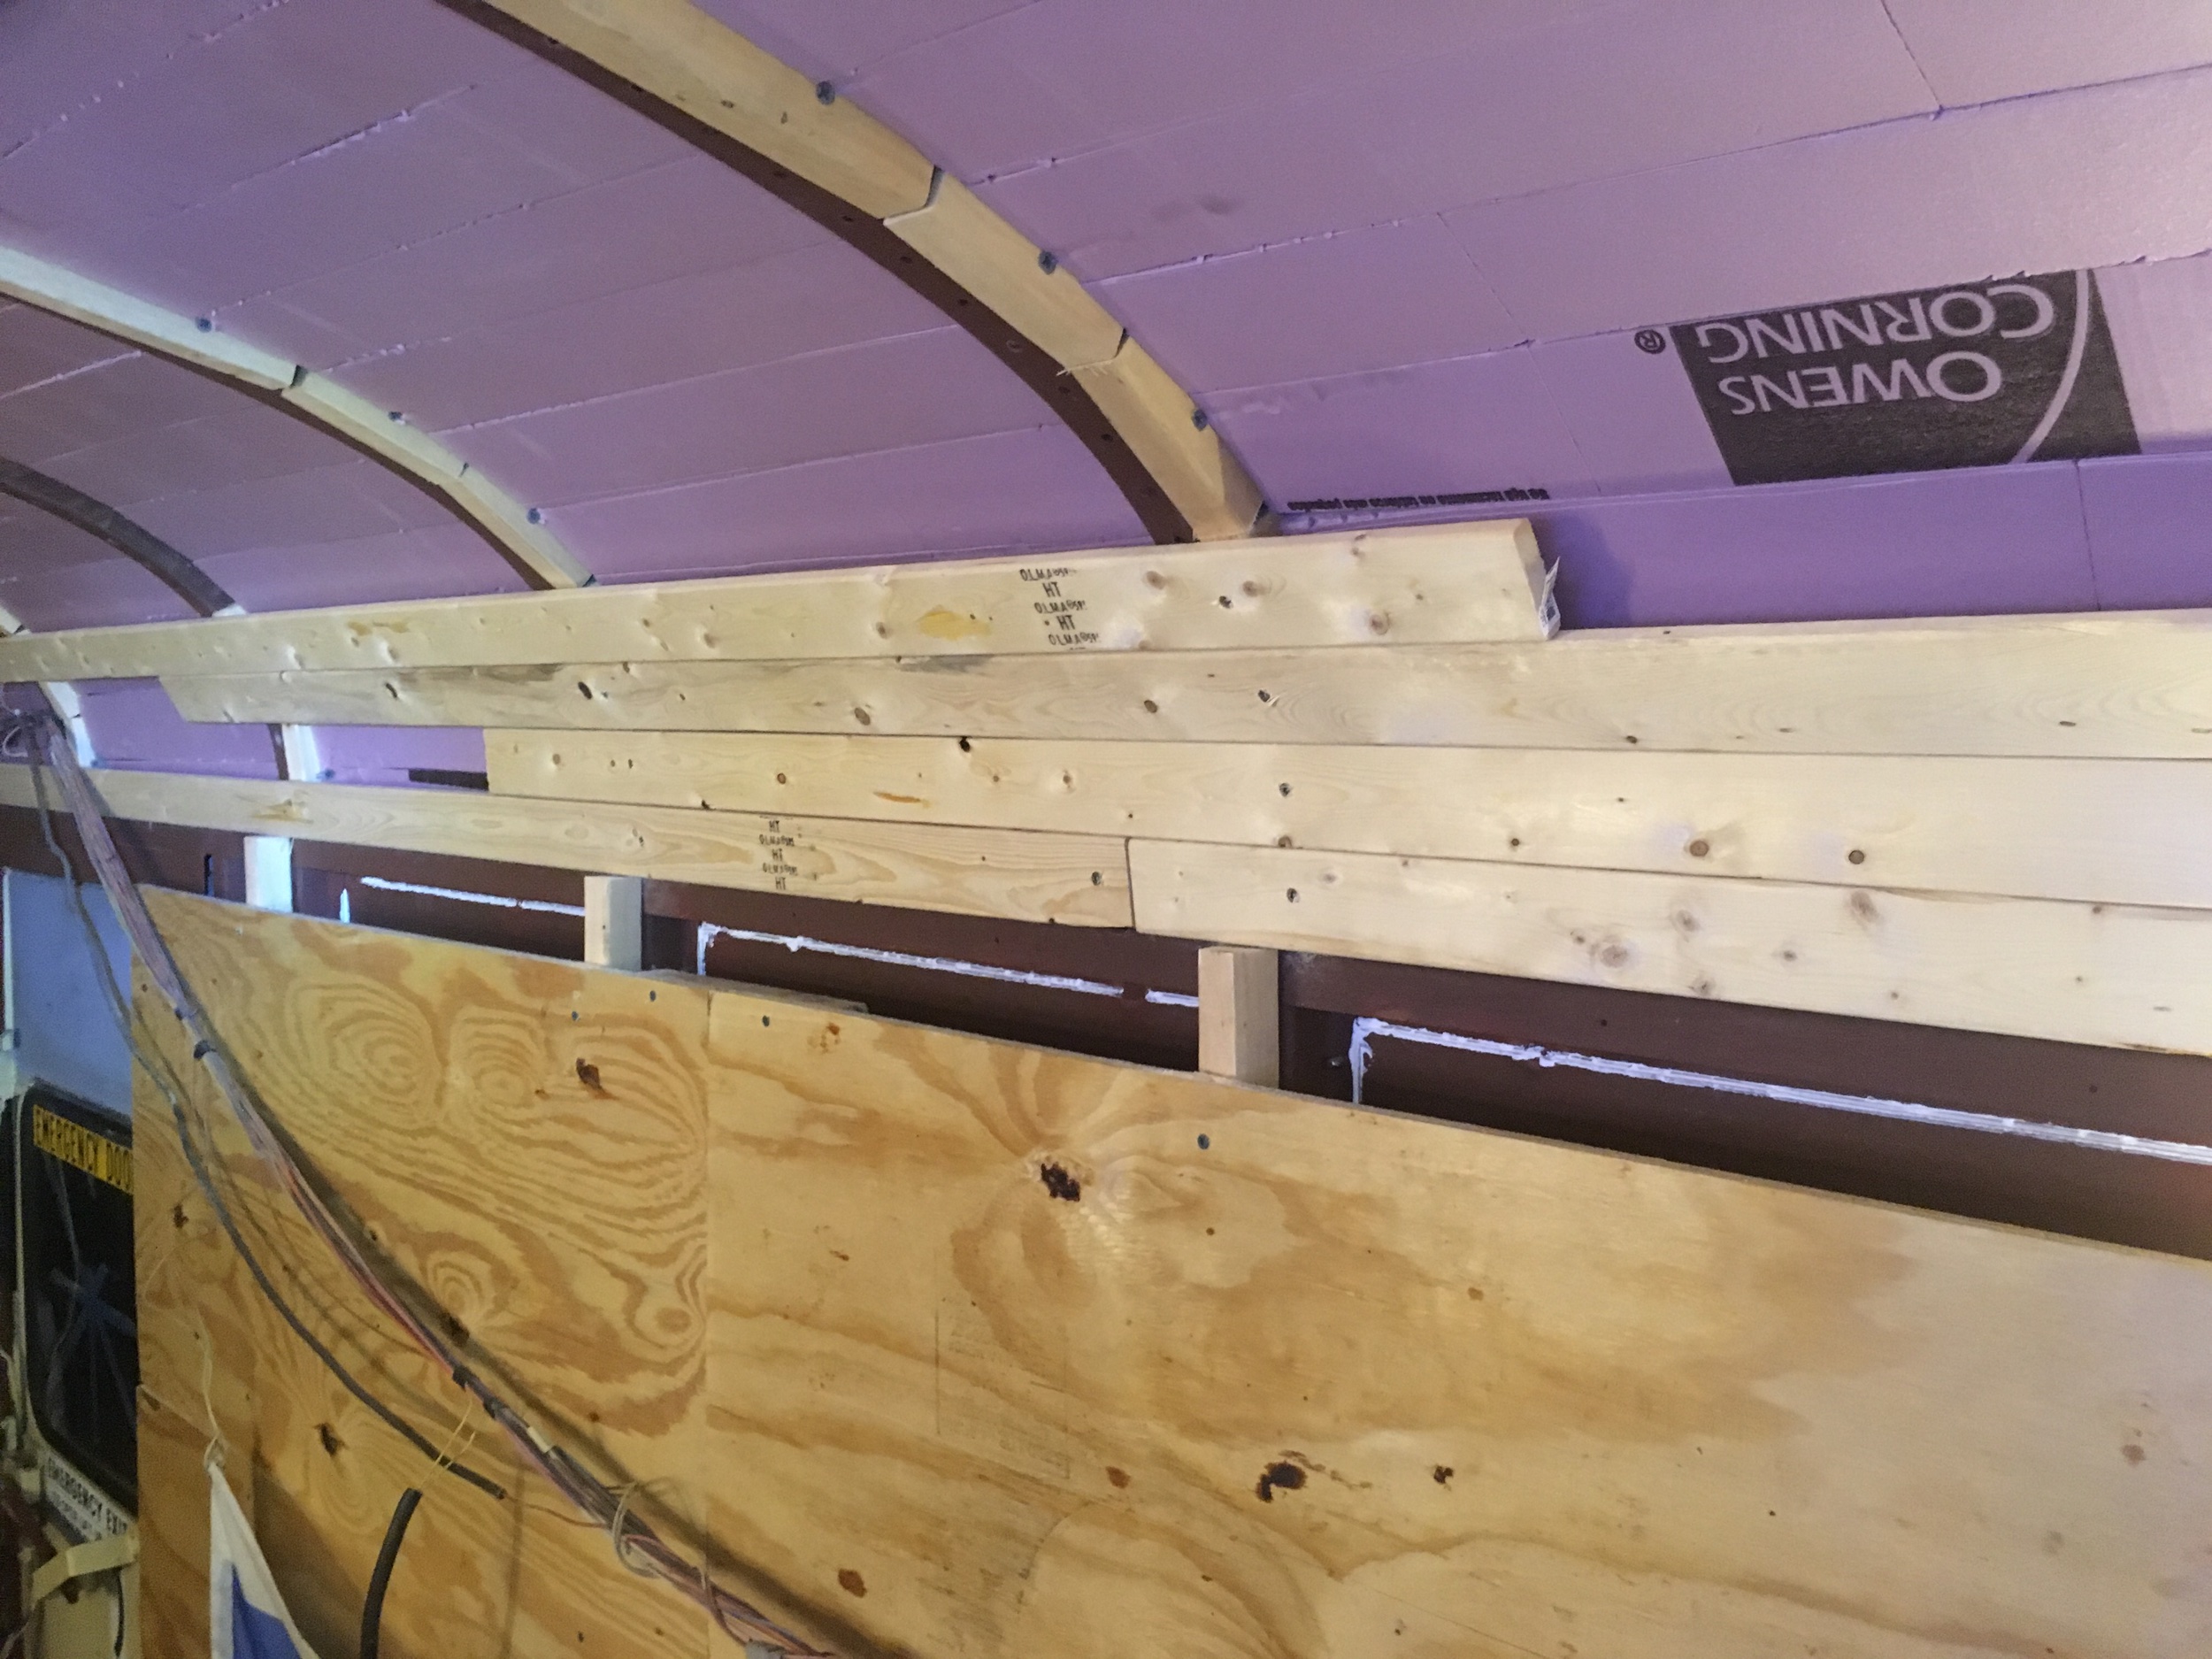
Starting at the bottom of the port side ceiling installation. You can see the wooden supports in place


Rear Windows

Remember that water that seeped in while I was gone? Well, I don’t want that to happen anymore. I decided to purchase 3 panels of lexan (preferable to plexiglass for windows) and measured and cut them to size for the window holes. I placed butyl tape around the edges and drilled a few holes in each one to make sure that it adheres to the frame of the previous windows. This is a temporary solution, which is not going to be easy either.
RV windows require a support structure to be in place in order to be properly installed. Ordering custom windows is a monstrous pain when it comes to manufacturing, shipping, and cost. I would be better-off just buying stock RV windows and welding a frame into place. This will also mean that I’ll have to cut pieces of steel to rivet over the window hole so that I can cut a window that is the correct size. The windows at that point have a near guarantee of being waterproof, to my great (future) delight.
TV Lift Cabinet
The feature I find most entertaining in my bus build is the TV lift cabinet. I’ve enjoyed the hell out of designing my kitchen and living area and packing features into it, but planning is only slightly gratifying in comparison to actually building the things. As I looked at most skoolie builds, I noticed that people frequently compromise on the size of their TV. I don’t watch TV a lot. I stream things on Netflix and watch YouTube videos, but most often, I watch movies from my personal hard-drive. For that experience I appreciate having a full size flatscreen, and mine is a 55”. A TV that large, however would significantly cover up windows, which will be at a premium in the bus. My solution? A TV Lift!
I purchased mine on Amazon from a generic Chinese seller, so we’ll see how long it lasts or how customer service is if/when it breaks, but so far, it works perfectly. The TV cabinet is an extension of the kitchen counter and will be topped with leftover gym flooring (and a healthy layer of polyurethane). In order to ensure access the front of the cabinet will have doors and skinny shelves on those doors.
I’m pretty proud of this!